How To Use A Paint Sprayer
Paint sprayers are a fantastic tool that can save you time and effort when it comes to painting your furniture. If you’ve never used one before, the thought of using a paint sprayer on furniture may seem intimidating. In this guide, we’ll walk you through everything you need to know about how to use a paint sprayer and provide some helpful tips along the way.
So let’s dive in and learn the ins and outs of using a paint sprayer so you’ll feel confident and ready to tackle your next furniture makeover!
Paint sprayers can be an excellent investment for DIY-ers and professionals alike. With proper use and maintenance, a good quality paint sprayer can last for years, making it a worthwhile long-term investment. However, investing in a paint sprayer is just the first step.
Before jumping into using a paint sprayer, it’s important to familiarize yourself with its different parts and functions. This is to make sure that you get the best results but also help prevent any potential mishaps or accidents.
But how exactly does a paint sprayer help in the painting process?
Benefits of Using A Paint Sprayer
One of the main advantages of using a paint sprayer is that it allows for a smooth and even application of paint.
Unlike traditional brushes or rollers, which can leave streaks or uneven coverage, a paint sprayer evenly distributes the paint in thin layers, resulting in a professional-looking finish.
Another benefit of using a paint sprayer is its speed and efficiency. With a spray gun, you can cover large surfaces in a fraction of the time it would take using traditional methods.
This is especially useful for projects like painting furniture, where speed and precision are important. Besides saving you time, paint sprayers also save you money in the long run.
By evenly distributing paint, you’ll use less paint overall compared to using brushes or rollers. This also reduces the cleanup and disposal of excess materials. Check out our comparison between paint sprayer vs roller to learn more.
Now onto the tips and tricks for using a paint sprayer!
Mixing and Thinning Paint
Mixing and thinning paint is another step in making sure your paint sprayer performs at its best.
Before pouring paint into the sprayer, always give it a good mix to make sure all the ingredients are well combined. This will also help prevent any clogs or uneven application.

When it comes to thinning paint, it’s important to follow the manufacturer’s instructions. Most paints will need some thinning to get the perfect consistency for spraying. We have a guide on how to thin paint for a sprayer you can follow.
As an Amazon Associate, I earn from qualifying purchases. I also may earn from other qualifying purchases with other companies or get free product to review and use. All opinions are my own.
Filtering Paint
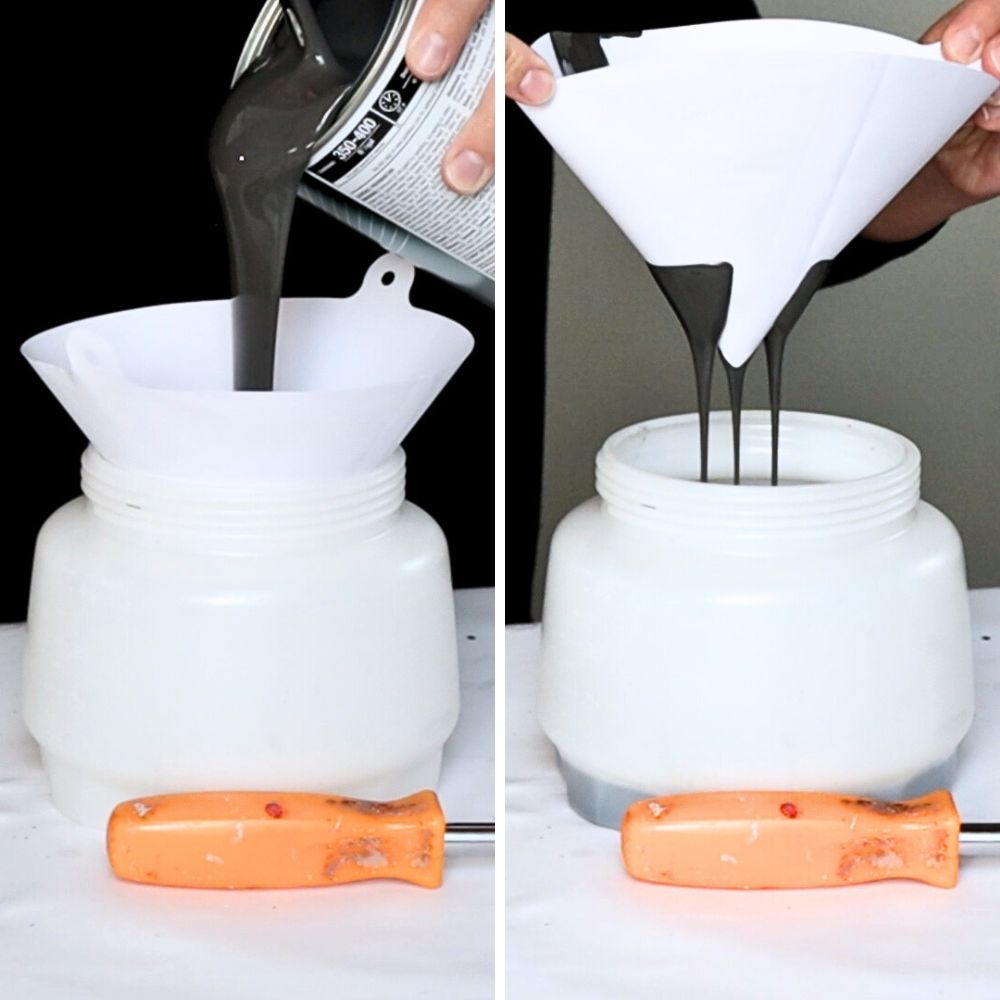
Filtering paint before putting it in the paint sprayer can save you from potential headaches and frustration. Even new cans of paint can have tiny particles or debris that can clog up your sprayer if not filtered out beforehand.
A mesh paint filter is inexpensive and easy to use. Simply place it over the opening of your paint container and pour the paint through it. The filter will catch any large or small particles, guaranteeing a smooth flow of paint from your sprayer.
Taking the time to filter your paint may add a few extra minutes to your prep time, but it will save you from having to constantly stop and unclog your sprayer in the middle of a project. Plus, it will result in a smoother and more even application of paint, giving you better results in the end.
In the past, I didn’t always filter my paint before putting it in the sprayer, and I learned the hard way. Clogs would happen frequently, and I would have to stop and clean out the sprayer multiple times. This not only added time but also affected the quality of my work. So don’t make the same mistake!
Testing Paint Sprayer
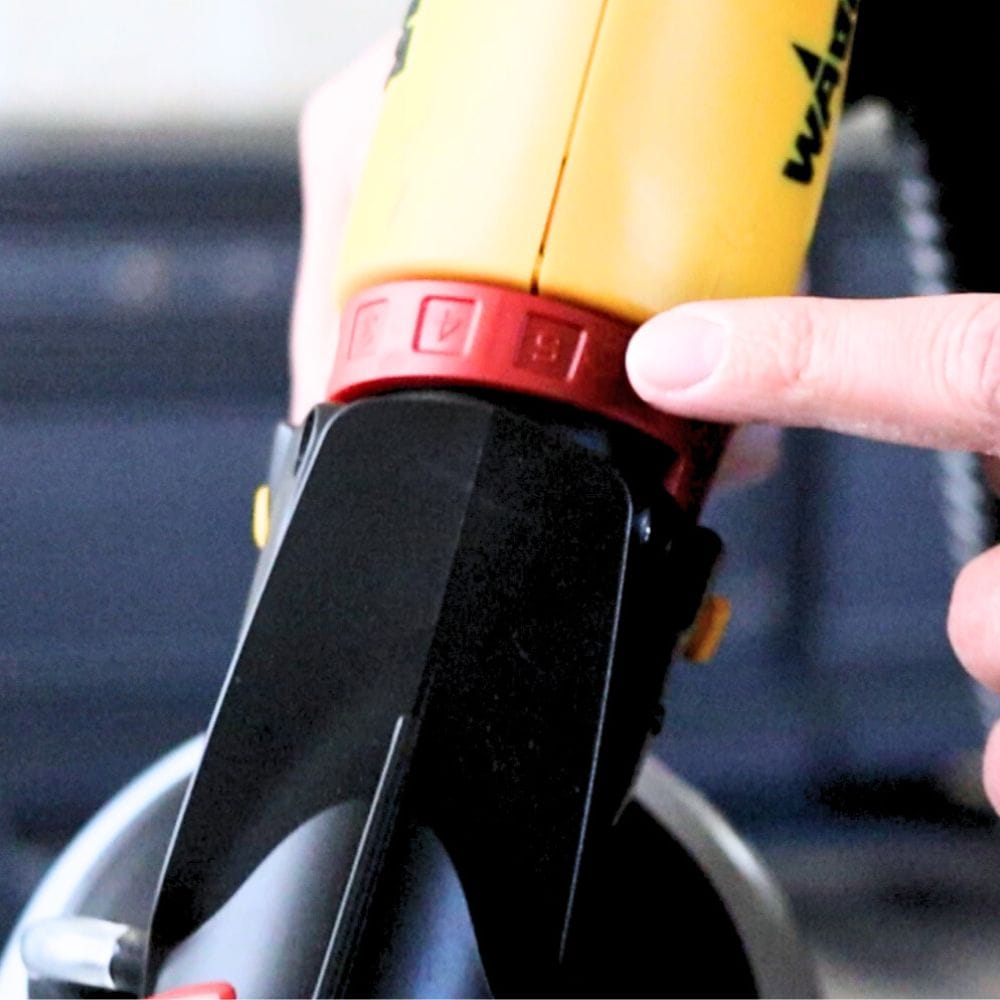
So now you have your paint mixed, thinned, filtered, and ready to go. Let’s start with screwing on the lid tightly and putting on your protective gear, such as a respirator and eye protection.
Spray will often come back at you especially when spraying inside of furniture, so it’s important to protect yourself.
Next, it’s time to test the spray before you tackle your project. This is an important step that many people overlook, but taking a few minutes to test can save you from potential disasters. Spray onto a piece of cardboard or scrap wood to see how the paint comes out and if it needs any adjustments.
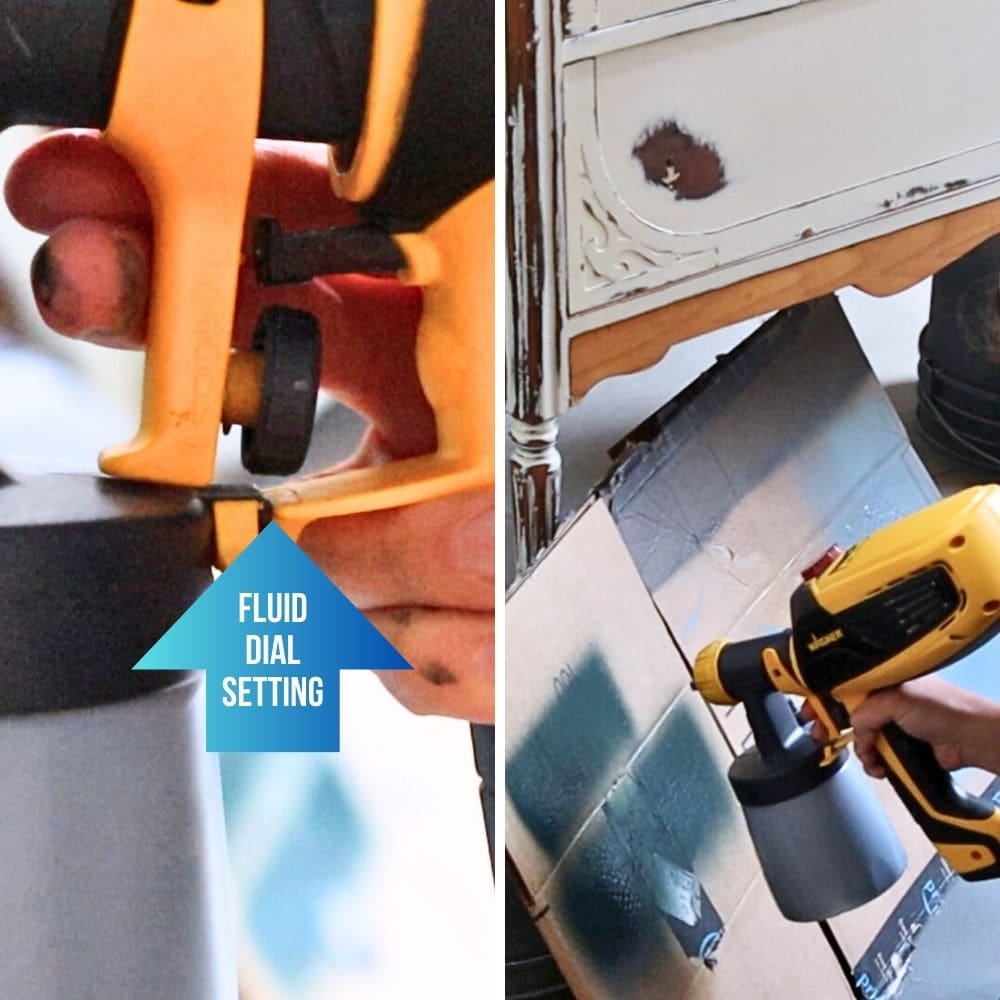
If the spray seems too thick or clogged, try adjusting the fluid dial on the trigger. This will control the amount of paint that comes out with each spray.
If it runs or drips, then your paint is likely too thin and you should add more to the mix. Here’s how to fix spray paint drips to learn more about the steps on fixing paint drips and keeping drips from ruining your projects!
It may take a few tries to get the perfect consistency, but it’s better to be patient and test beforehand than to ruin your project. Keep testing and adjusting until you find the optimal settings for your paint sprayer.
Spraying with Paint Sprayer
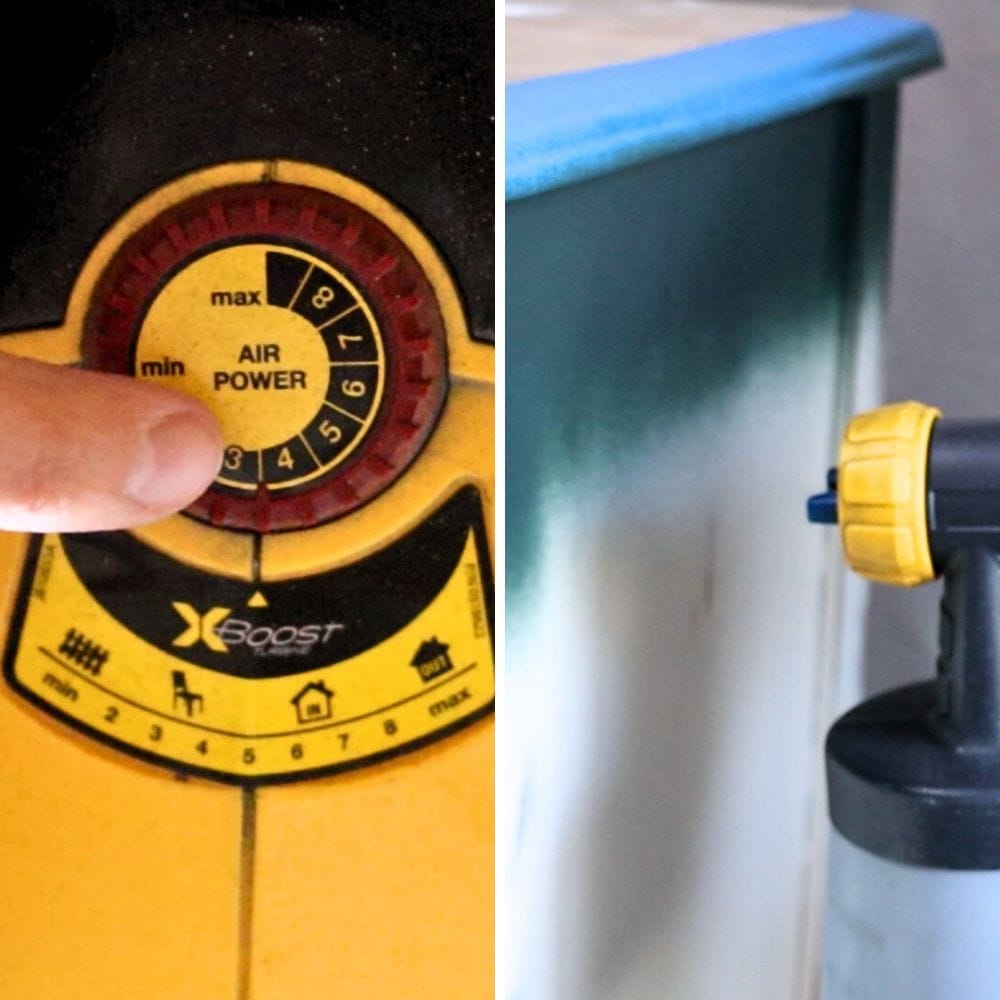
For my settings, I typically have the air power set to 4-5 for my Wagner FLEXiO sprayer, with the dial behind the trigger in the middle. However, every paint and sprayer may require different settings, so it’s important to test and adjust until you find the perfect combination.
If you have these Wagner FLEXiO sprayers, here’s how to use Wagner FLEXiO 590 paint sprayer and how to use Wagner FLEXiO 595 paint sprayer. If you have the Vonforn, here’s how to use Vonforn paint sprayer to guide you.
Check out my honest Wagner FLEXiO 590 review and Wagner FLEXiO 595 review for my experiences in using this type of paint sprayer!
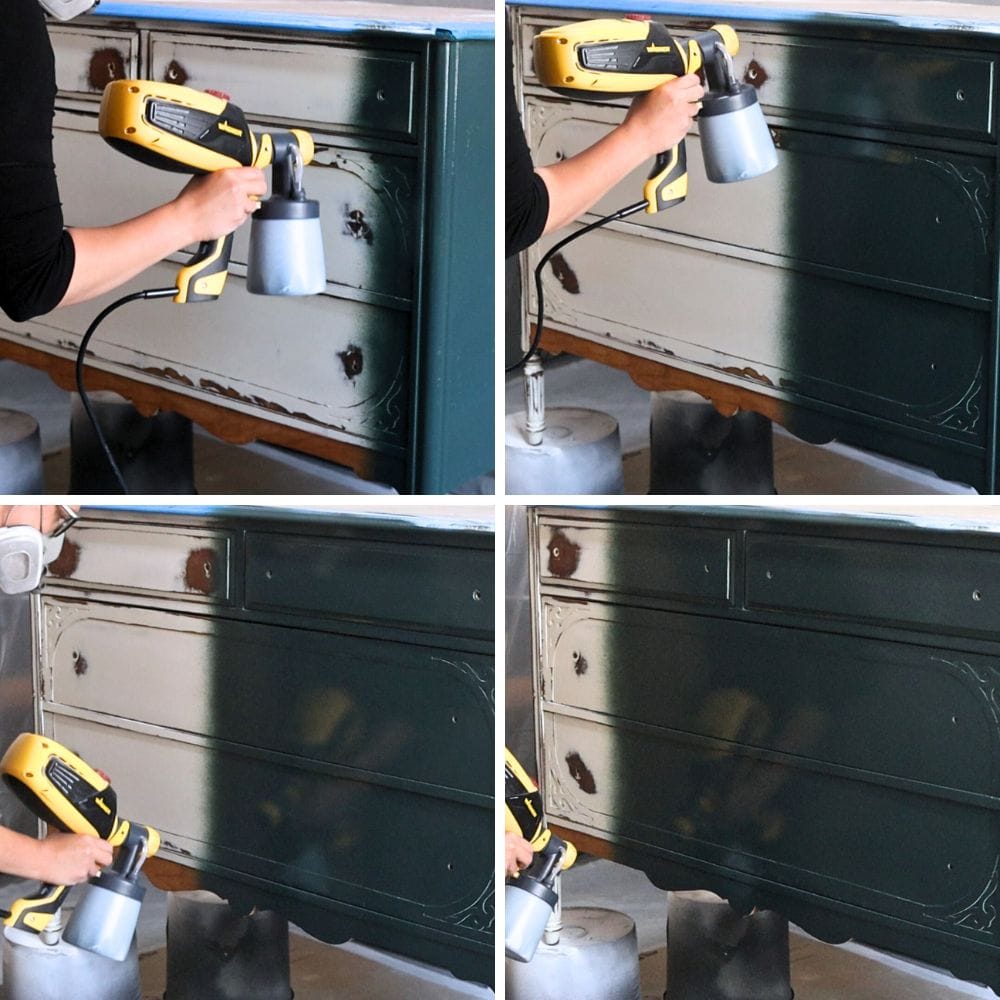
When spraying, I usually start with the front side of the project to avoid any roughness on the top caused by overspray. This is because of little or no ventilation in my workspace. Sometimes, I will spray the top first and then give it another coat at the very end to guarantee even coverage.
Would you like to save this?
How to Avoid Overspray
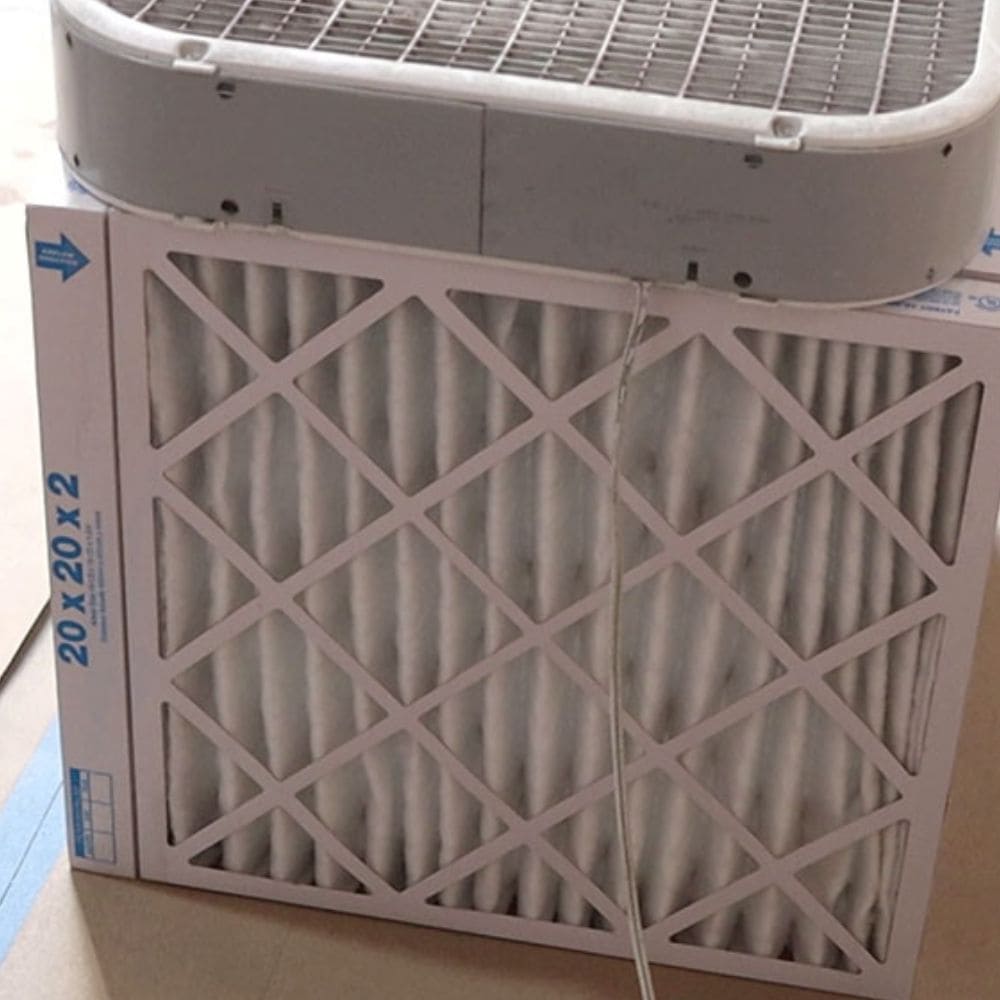
To avoid the overspray mentioned above, I built a filter out of 20x20x2″ filters, taped together to make 4 walls, and set a box fan on top.
The airflow of the fan pushes clean air upwards and filters the paint out of the air effectively. I suggest this DIY filter especially when working inside a garage, tent, or room.
Adjusting Spray Pattern and Fluid Setting
One important aspect to keep in mind when using a paint sprayer is adjusting the spray pattern and fluid setting.
The spray pattern can be adjusted with the tip of the sprayer, allowing for different types of coverage such as vertical, horizontal, or circular patterns.
Meanwhile, adjusting the fluid setting can help control the amount of paint being sprayed per trigger pull.
It’s important to hold the sprayer at a consistent distance from the surface when adjusting the spray pattern and fluid setting, about 6-8 inches away.
Spray it in a back and forth motion, overlapping each pass by about 50% for consistent coverage.
Angling the sprayer can also help reach crevices and details, but be sure to only let a thin coat of paint onto the surface to avoid runs or drips.
Move at a speed that you are comfortable with – it’s better to go slow and steady than to rush and risk over spraying or uneven coverage.
Adjusting the fluid setting can help with this, as a lower output will allow for more control and slower movements.
How to Avoid and Fix Splattering
Splattering is a common issue when using a paint sprayer, but it can easily be avoided by following a few simple tips.


First, pull the trigger back halfway to get the sprayer’s motor started, then pull it back all the way to start spraying. This way, you’ll prevent any initial paint spurts that could cause splattering.
If you find that your paint is still splattering, check the thickness of your paint. It should not be too thin like water, but it also shouldn’t be thick and clumpy.
The air power setting on your sprayer could also be a factor – if it’s too low, the paint may not come out smoothly and could cause splatters.
For any splattering, it’s best to address it while the paint is still wet. You can lightly brush over the splatters to blend them in, or you can wait for the paint to dry and sand out any imperfections.
Leaving Paint in Sprayer
Between coats of paint, you may wonder if you can leave the paint in your sprayer.
Leaving paint in your sprayer for a short period of time, such as overnight or for a day or two, is generally fine if you’re using types of paints for furniture such as chalk paint, mineral paint, or acrylic paints.
Here’s our list of the best paint for spraying furniture to help you find the best paint options when it comes to spraying furniture.
However, if you’re using alkyd or enamel paint, it’s best to clean out your sprayer more frequently – at least once a day.
The paint sprayer becomes harder to clean the longer the paint sits, so it’s best to avoid leaving these types of paints in your sprayer.
In general, it’s always a good idea to clean out your sprayer after each use to prevent any build-up, clogs, or worse, damage. You want your paint sprayer to last longer and perform better, right?
So take a few extra minutes to properly clean and maintain your sprayer after each use.
If you used water-based paint, oil-based paint, or shellac on your paint sprayer, learn what to use to clean paint sprayer here.

Here’s how to clean a Wagner paint sprayer, how to clean a Homeright paint sprayer, and how to clean a Fuji Q4 paint sprayer to guide you with the proper ways to clean your paint sprayer.
Using a paint sprayer is an efficient and effective way to get a professional finish on your furniture.
However, it’s important to take the time to properly learn how to use it, from testing and adjusting settings, to avoiding splatters and cleaning it thoroughly after use.
With these steps, you’ll be well on your way to becoming a paint sprayer pro!
More Paint Sprayer Tips
- Spray Painting Indoors
- How To Spray Polyurethane
- Why I Use a Paint Sprayer
- How to Clean Shellac Primer out of Sprayer
- Wagner FLEXiO 3000 VS 3500
Follow us on YouTube to get more tips for painting furniture. Or share your project with us on our Facebook Group and be part of our community. See you there!