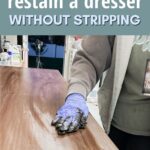
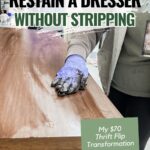
How to Restain a Dresser Without Stripping: My $70 Thrift Flip Transformation


I recently started a new makeover that turned into one of my favorite projects yet, and I am excited to share how to restain a dresser without stripping! This simple technique is beginner friendly and saves so much time while still giving amazing results.
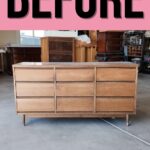
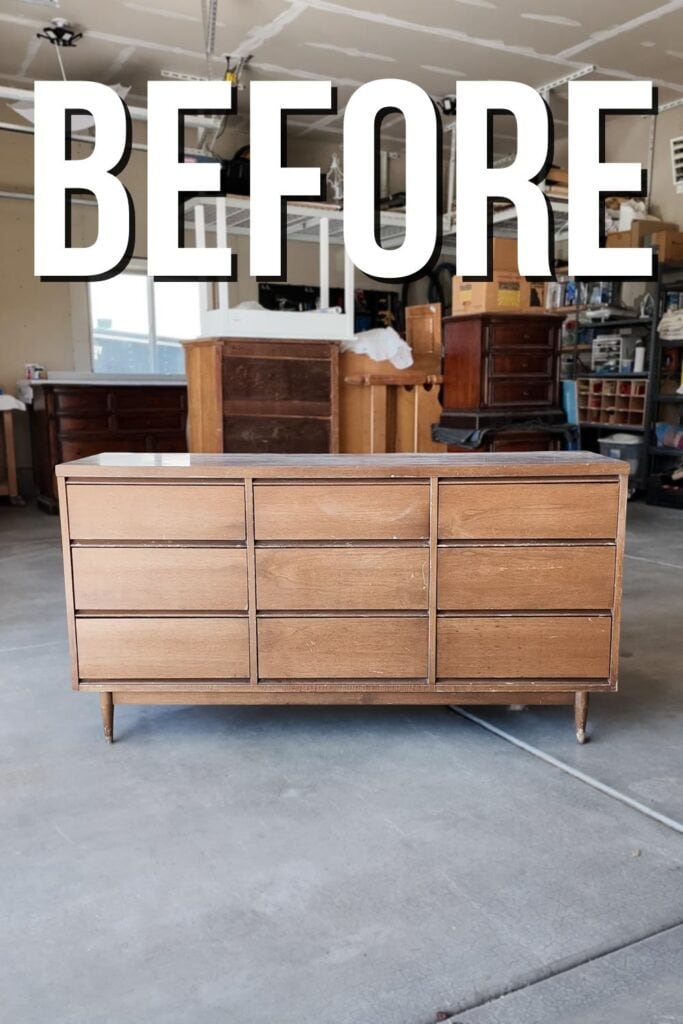
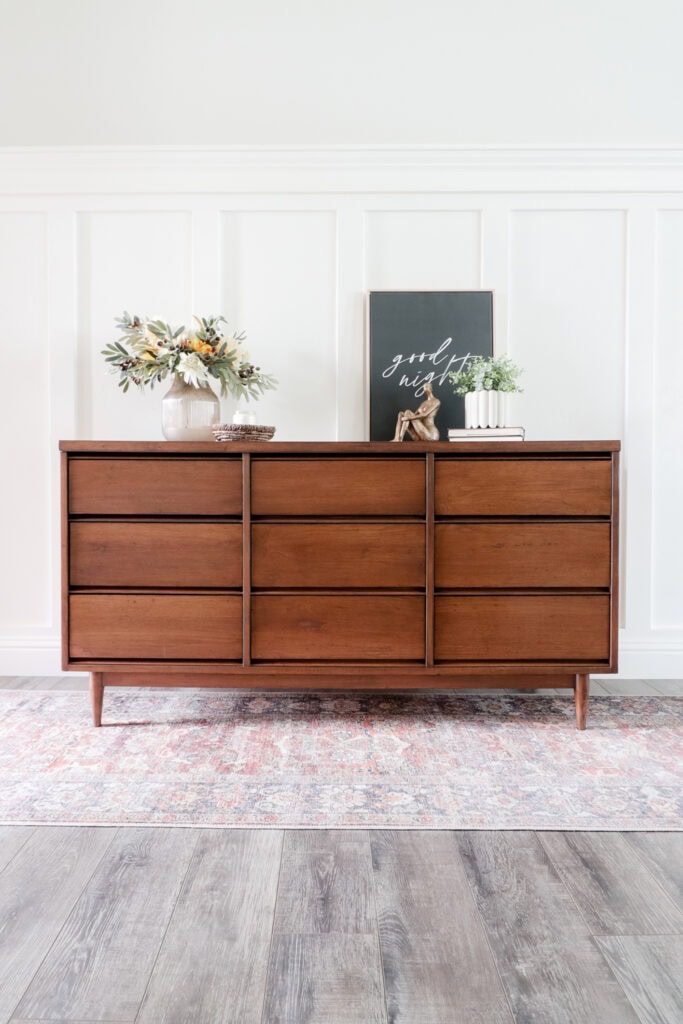
In my $70 thrift flip transformation, I turned a worn mid century modern dresser into a fresh, beautiful piece using these easy refinishing furniture techniques that anyone can do at home.
Welcome to Furniture Fixer Upper day, where we join 4 of our talented furniture friends and bring you brand new makeovers! I’ll link to my friend’s makeovers after our after photos at the bottom of this post! Don’t forget to check out their masterpieces!! Okay, back to our makeover!
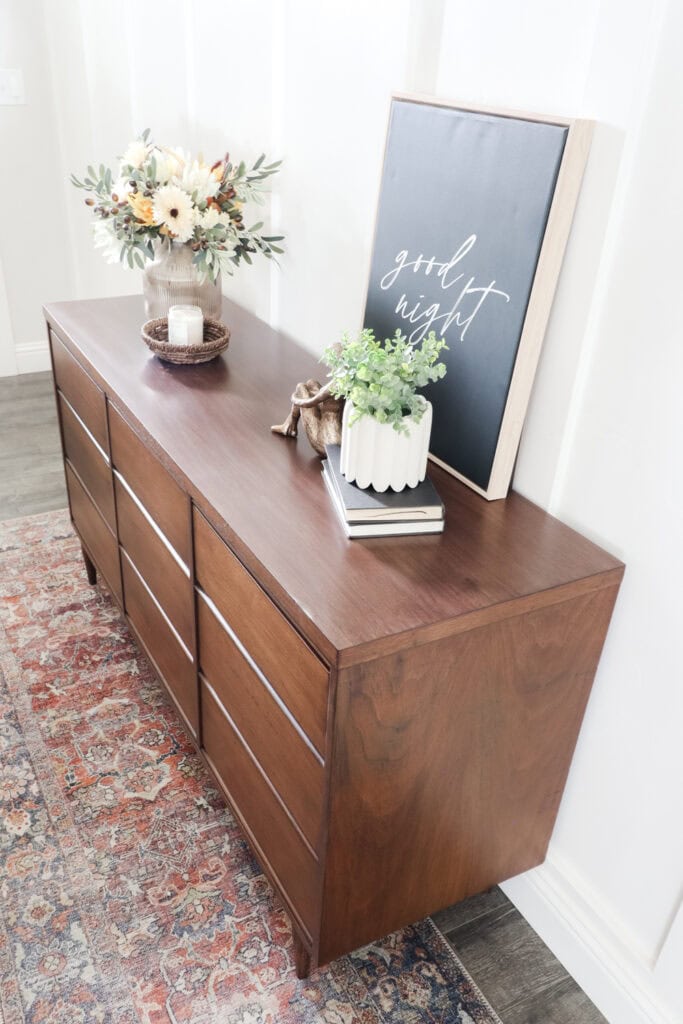
I love MCM pieces because they have clean lines, so much storage, and a warm wood look. This one was mostly real wood with some veneer and a laminate top. The laminate didn’t bother me since it is durable and does not scratch up like wood.

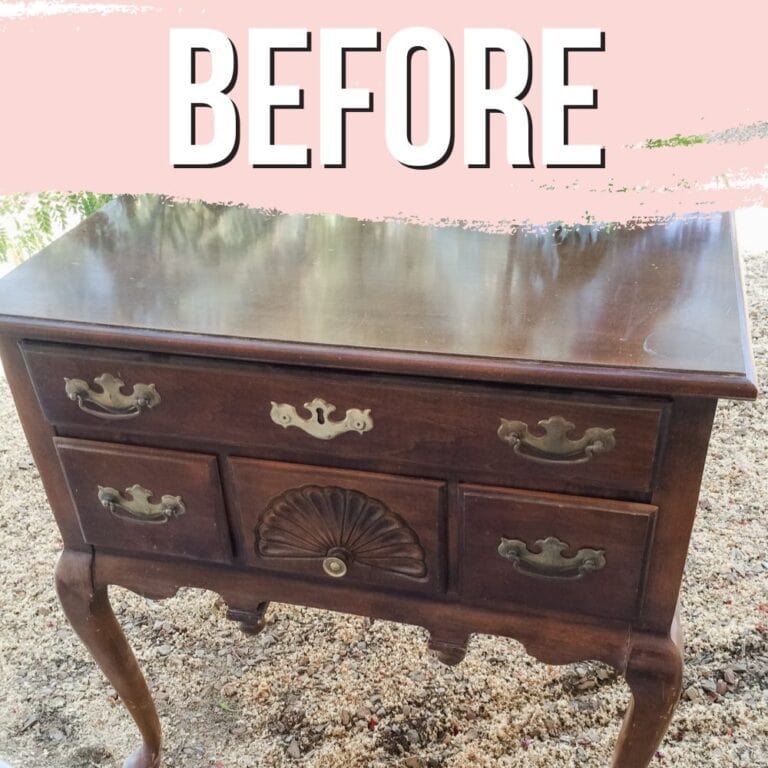
It did have plenty of wear, though. The dresser had a very deep gouge on the side, chipped veneer, a few busted corners, and many scratches and dings all over. But overall, it had good bones, and the drawers were real wood.
It is not the highest quality, but it is very good quality furniture. And you cannot buy this at just any furniture store these days.

Supplies Used on Restaining a Dresser Without Stripping
As an Amazon Associate, I earn from qualifying purchases. I also may earn from other qualifying purchases with other companies or get free product to review and use. All opinions are my own.
- Krud Kutter
- DeWalt Orbital Sander
- Shop Vac
- Adapter
- Instant Super Glue
- Bondo Epoxy Wood Filler
- SurfPrep Sander (Use code RAY10 to get 10% off your order)
- 220 Grit Sandpaper
- Foam Pad (Use code RAY10 to get 10% off your order)
- Tack Cloth
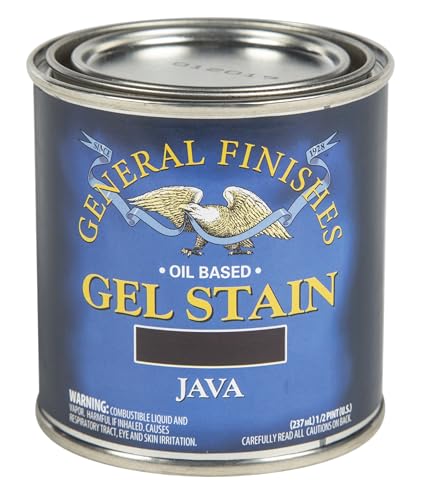
- General Finishes Java Gel Stain
- Lint Free Rags
- Mohawk Blendal Sticks
- Minwax Waterbased Topcoat
The Makeover Plan
So my first plan for this was a quick makeover with paint. I first thought about staining it, but I was really hesitant about staining because the top is laminate, and then there’s so much damage that I needed to fix and fill, and then make it look stained again.
And that just didn’t sound like it was going to be a very quick makeover. It sounded like it would take a week. So I was leaning towards painting it.
We were discussing our plans for it, and then our neighbor saw it and asked if she could buy it when we were done with it.
She said she really loved the color and look of wood, though she would also be fine with paint, since we don’t really take custom orders anymore. Thinking about it a little more made me think, “Oh, maybe I could actually stain this.”
So we decided to try a stain that would not take a whole week of working. We wanted a quick and easy way to restain the dresser, cover the scratches, and make it look like a well loved piece instead of something that had been sitting in an old house for years. Our goal was to keep its character, and just make it look fresh.
I haven’t done this technique in several years, so I was nervous to try it again. It had been a long time, and this dresser had quite a bit of damage that I was not sure I could really hide. I know that I have done it in the past, but this one felt different, with bigger damage and larger surfaces.
Preparing the Dresser
So, I cleaned the dresser with Krud Kutter to remove all the grease and grime. This thing was pretty gross. It had years of built up grime, and the Krud Kutter just melts the years of gross off.
And then I used my DeWalt orbital sander. This is the sander that I recommend to beginners. Check out my list of the best sanders for beginners here. I sanded the laminate top to scuff it up and help the paint adhere to it.
I had my DeWalt hooked up to our shop vac using this adapter. You can use it to hook any sander to a shop vac. Here’s my guide on how to connect orbital sander to shop vac.
Fixing the Damage
Then I filled and fixed the big damage. One corner had a chunk of veneer missing, and another area was loose. I used my instant super glue to secure this loose area, and within 10 seconds, it dried and had a very strong hold. It literally only took one minute to glue the veneer back down.
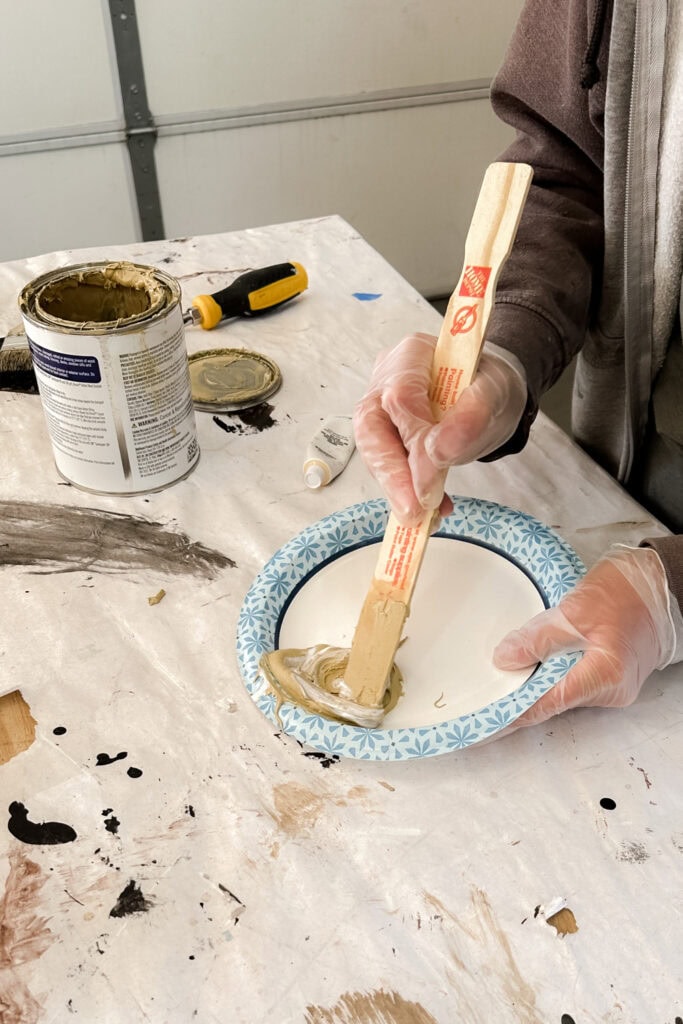
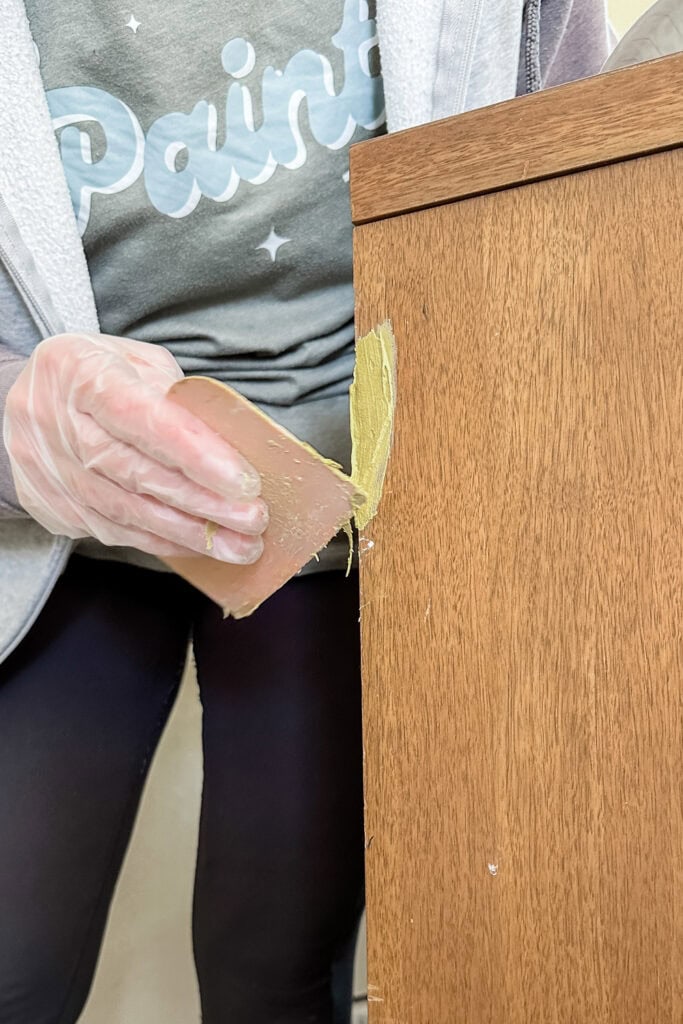
Then, we mixed up a small batch of Bondo epoxy wood filler to repair the corners. It dries quickly, so we worked fast, spreading it out and shaping it as it started to set. I sanded the filler with just 220 grit sandpaper on our SurfPrep sander.
You can sand it by hand as well, and you might want to use something like 100 or 150 grit. Anyways, this is a project you could sand everything by hand, especially if you don’t have a bunch of damage.
Sanding the Dresser
Then I gave the whole dresser a light sanding to scuff the surface and smooth everything out. I used my SurfPrep sander with 220 grit sandpaper, switching between foam pads for the grooves and details and flat paper for the larger areas.
It’s a little easier to handle than my DeWalt, but either one works great for this kind of project. Learn more about if this sander is worth it in my SurfPrep Sander review here.
I wasn’t trying to sand down to bare wood. I sanded out some of the scratches, but not too much because I didn’t want any patches of raw wood showing through, making the finish look really spotty, blotchy, and uneven.
So, this technique works best on furniture that doesn’t have heavy damage, or on solid wood pieces where a few scratches are fine to keep. It gives the furniture a clean, refreshed look without the hassle of stripping off the old finish.
Once I was done sanding, I cleaned everything up with our shop vac, and then I wiped things off with a tack cloth to remove all the dust.


Restaining Dresser Without Staining
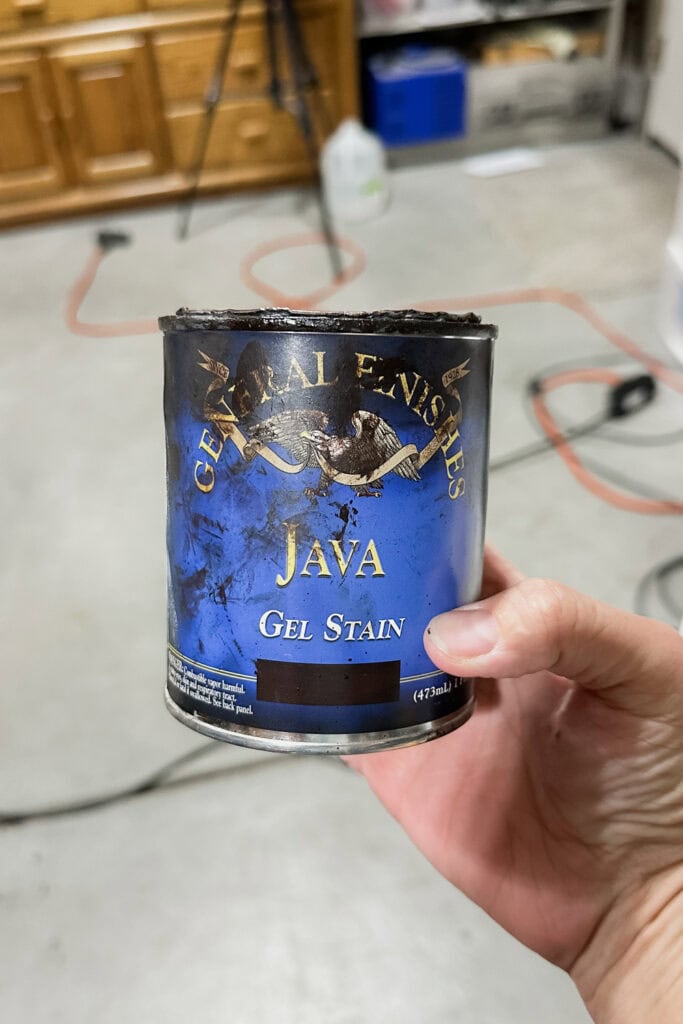
And because I haven’t done this in such a long time, I was a little nervous to try it again. I tested out 2 different gel stains, but wasn’t happy with how they looked. Then I grabbed the Java Gel Stain from General Finishes.
Would you like to save this?
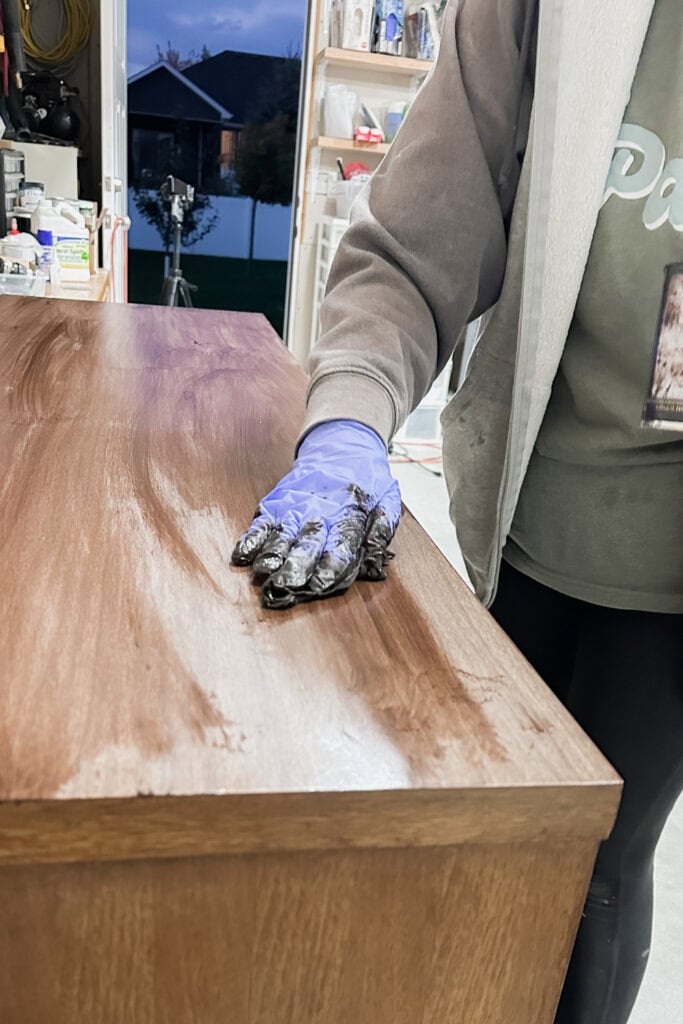
It’s darker and worked beautifully to blend everything together. I liked that it could go right over the old finish instead of having to soak into bare wood. I wiped it on with a lint free rag, working in the direction of the grain.
Staining the entire dresser took about an hour and a half. I worked slowly, still unsure how it would turn out, and constantly wondered if it would work. After I was done with each section, I would step back and look at it, wondering some more if I should keep going or just stop and paint it instead.
I started working on the dresser around ten in the morning when it was warm outside. While the Bondo was drying, I came inside for lunch and even had time to work on a few other things.
I was just taking my time, and I got it all the way stained by the time it was getting dark outside. And honestly, when I stepped back and looked at it, it looked pretty good overall, though I could still see some of the deeper scratches and repairs that needed more blending.
If your furniture doesn’t have big, old, and deep scratches or places that you have to repair first, it would be a very, very, very quick makeover to restain your furniture. It will also look so much better than having these light wood colored scratches all over your furniture.
Blending the Repairs
At that point, I could still see a lot of the damage and the outline of the areas that were sanded down to raw wood around the damage, which bothered me, so I let the dresser dry overnight. The next day, I grabbed my Mohawk Blendal Sticks set and picked several shades that matched the wood grain.
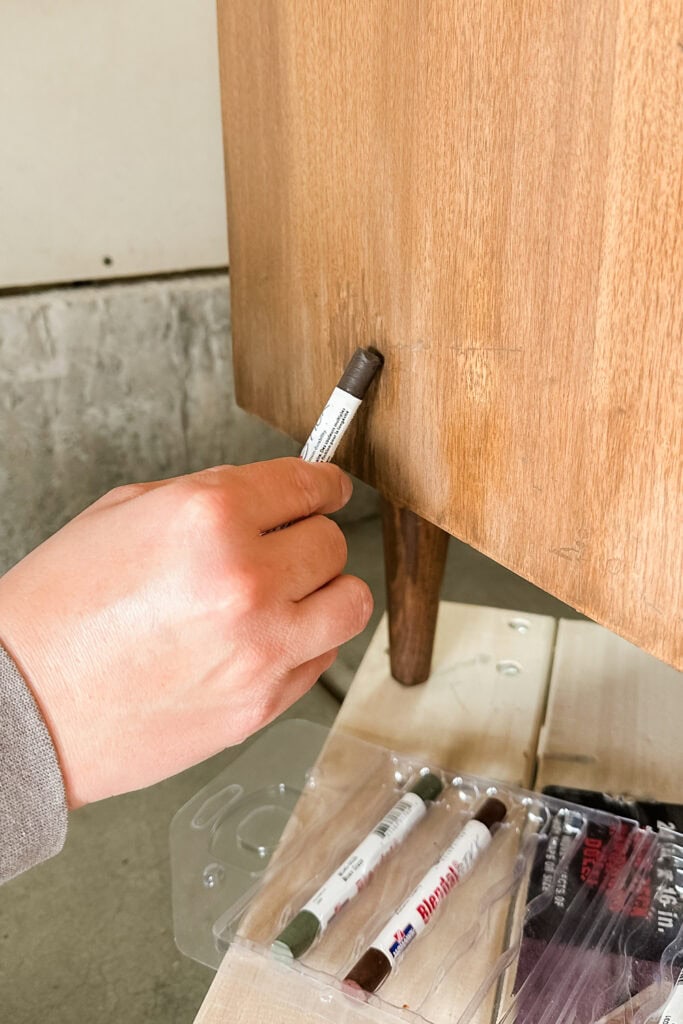
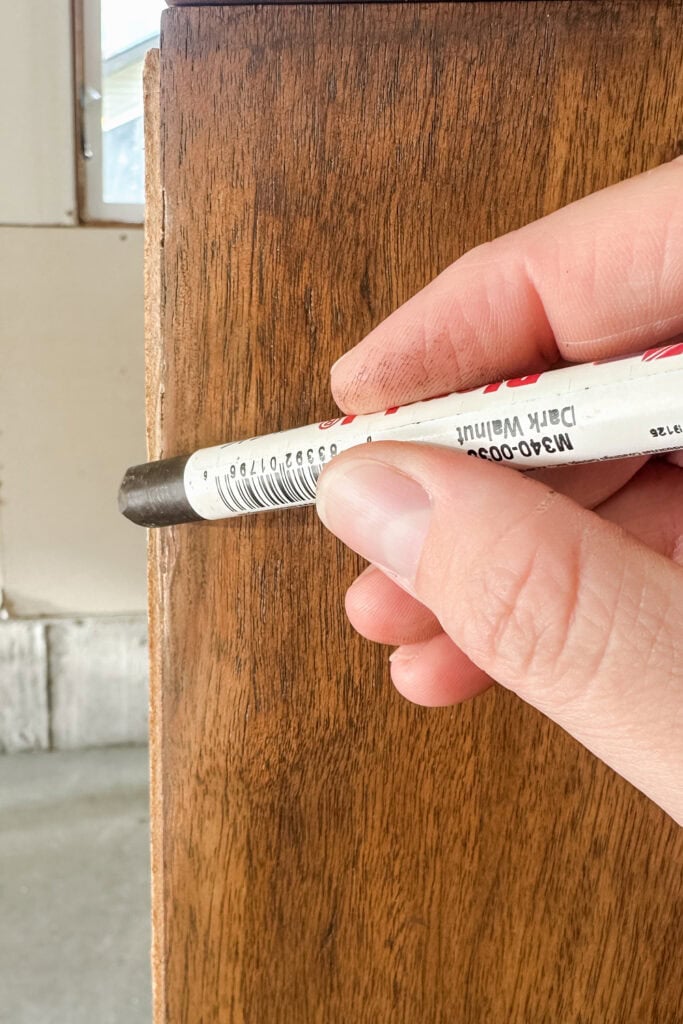
I used lighter and darker colors where needed, coloring over the repaired areas and blending them with my fingers in the direction of the grain until everything looked more natural.
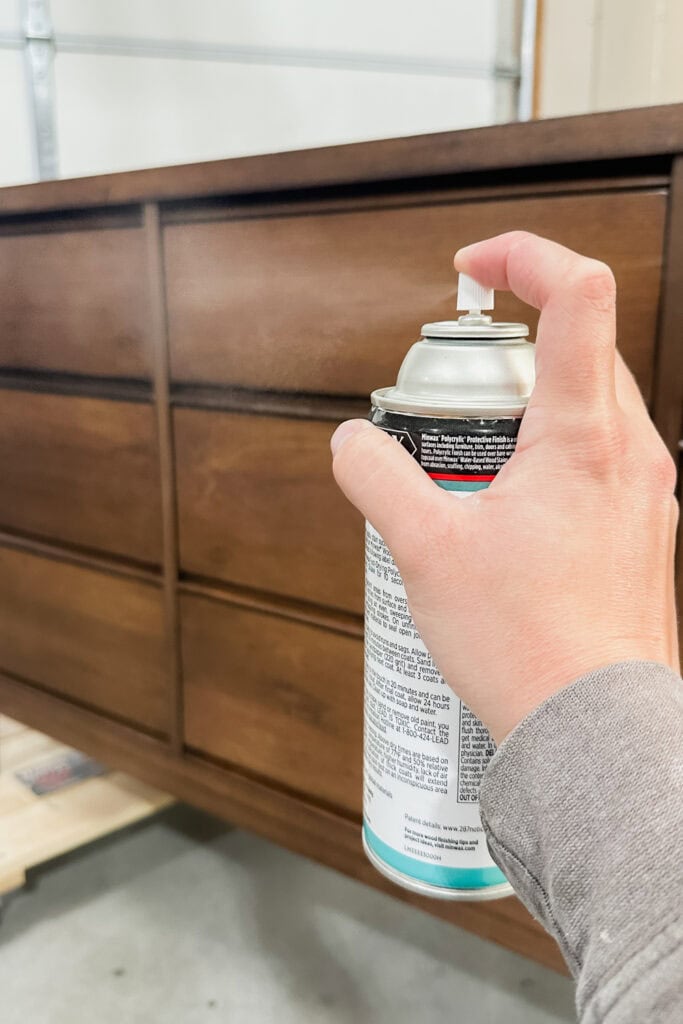
I was happy with how it looked, but it seemed to need another layer of blending. I sprayed a light coat of Minwax waterbased topcoat over the Blendal Sticks, let it dry, and then went back over everything for another round of touch ups. If you’ve never used them, they’re very forgiving and easy to adjust if a color looks too light or too dark.
It did take some time to go over all the larger repairs, but the spots filled with Bondo were much easier to blend. I even used a few lighter colors in the darker areas to even out the tone, and everything started to come together nicely.
I worked my way through all the damage, focusing on hiding the repairs so they wouldn’t stand out and look like a terrible, homemade DIY job. After a few hours of blending and touching up, the repairs were hidden enough that I was happy with it.
I finished by spraying a good coat of topcoat over the entire piece, and let it dry overnight.
I couldn’t decide if I should keep working on the dresser or just leave it as it was, so I took a break and came back the next day to get a fresh look at it. Sometimes when you stare at a piece for too long, you only see the mistakes, and stepping away helps you see it more clearly.
The next morning, I went back out to the garage and was so happy with how it looked. I was so glad that I stained it instead of painting it. Honestly, staining it took about the same amount of time as painting would have.
The blending of the big, old damage took the longest, but I was very happy with how it turned out. I finished it with two more coats of topcoat in the spray cans, which makes it so easy for beginners.
Restaining Furniture for Beginners
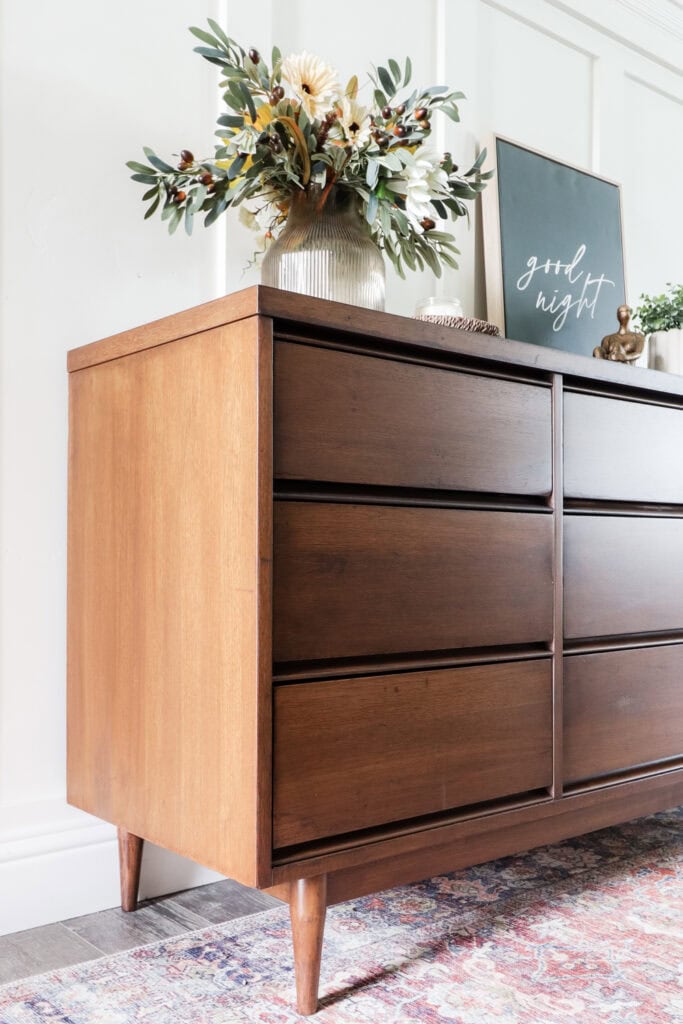
So, from this old $70 thrifted MCM dresser that looked rough, now it looks fresh. There are still scratches on it that you can see, but we’re not going for perfect. We’re going for just a refresh, something you would be proud to have in your home.
You don’t need any fancy equipment or experience to do a project like this. I already had most of the supplies on hand, but even if you bought everything new, it would probably cost around $150. If you tried to buy a brand new dresser like this, you would easily spend over a thousand dollars.
Don’t forget to check out these other awesome before and after furniture makeovers from my Furniture friends!! (Click the links below the photos!)

- Painting a Lane Cedar Chest from Petticoat Junktion
- Easy Painted Sewing Table Makeover from My Repurposed Life
- How To Restyle and Paint a Leather Tabletop from Salvaged Inspirations
- Painted Vintage Mahogany Dresser from Confessions of a Serial DIYer
More Before and After Makeovers
See All >
Click any of these “before” photos below to view the “after” of that makeover.


It’s amazing what you can do with a little gel stain, sandpaper, topcoat, and some Blendal Sticks. Now this piece looks beautiful again and ready for a new home and many more years of use!


How to Restain a Dresser Without Stripping
Learn how to restain a dresser without stripping, with my new furniture makeover featuring a $70 thrift store find.
Materials
Tools
Instructions
- Start by cleaning the dresser with Krud Kutter to remove all the grease and grime. Krud Kutter just melts any build up right off, leaving a clean surface to work with.
- Lightly sand the surface to scuff up the finish. If using a sander, hooking it up to a shop vac helps keep the dust under control while you work.
- Repair any damage by gluing down loose veneer with instant super glue and filling deeper spots with Bondo epoxy wood filler. Once it dries, sand the repairs smooth with 220 grit sandpaper.
- Give the whole dresser a light sanding to even everything out, then vacuum the dust and wipe it down with a tack cloth to make sure the surface is clean before restaining.
- Apply General Finishes Java Gel Stain using a lint free rag, wiping it on in the direction of the wood grain. Work in small sections, wipe off the extra stain, then let it dry overnight.
- The next day, use Mohawk Blend All Sticks to blend and touch up the repaired areas. Pick a few shades that match the wood grain, using lighter and darker tones as needed, and blend them with your fingers until the finish looks natural.
- Spray a light coat of Minwax waterbased topcoat over the dresser, let it dry, and then add another coat or two for a smooth protective finish.
Recommended Products
As an Amazon Associate and member of other affiliate programs, I earn from qualifying purchases.


More Refinishing Furniture Ideas
- How To Stain Furniture Without Sanding
- How to Refinish Wood Furniture Legs
- How to Refinish a Table
- How To Get A Natural Wood Stain Color
Love it! I have used the Java stain in the past on a goodwill coffee table & side table. They looked like Pottery Barn, when I was finished!! It is so easy to work with & so satisfying! Keep up the good work!
That’s fantastic! And thanks so much!
I have to try this. I love the darker stain.
Awesome! You should definitely try it out!
This is GORGEOUS Natalie! Pinned XOXO
Aww thank you SO much Denise!
It looks amazing, Natalie! Hydrated and fresh! And that had to be the easiest sale ever ha ha! I had a local customer reach out after I redid my black painted dressing table from our last FFU makeover saying she was interested. She picked it up the next day. Love that! XOXO
Ah that’s the best! 😍 Don’t you love when that happens? It feels so good when a piece finds its new home that fast!
You made a great decision! I love the dark stain on this MCM piece. It’s perfectly lovely now. I bet your neighbor will love it for years.
Pinned!
gail
Aww thanks so much Gail! So happy you love it!
Does the piece say who the mfg is?
Love how the piece turn out and choice of color
Hi Mary! So glad you love how the piece turned out and the choice of color! Unfortunately, I don’t remember the manufacturer of this piece. It’s usually located inside a top drawer or on the back of the piece. We may have photos of it somewhere, but I haven’t had a chance to dig through and find it yet.
I have the same dresser and did mine black and regretted it everyday since. This is so beautiful with darker stain. I wish I had seen this before.
Aw thanks! 💛 I totally get it. Black can be tricky. You could definitely try this darker stain on your next project or even redo a piece if you want!
Wow! I love it! Your finished dresser looks amazing. We tried to stain, and we said never again. Thanks for sharing your steps. I found you on HomeTalk.com and am following you there.
Aww thank you so much! I totally get it. Staining can be tricky, but I hope this was helpful for you. 😅 Thanks for the support!