How To Stain Furniture Without Sanding


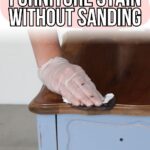

If you’ve been avoiding refinishing your piece because of the tedious and time consuming sanding process, we’ll walk you through how to stain furniture without sanding! This method is perfect for those who want a new look without all the extra work and mess.
Plus, it’s a great alternative for delicate or intricate pieces that may be easily damaged by sanding. So, let’s explore these easy and effective refinishing furniture techniques minus the sandpaper!

When you sand down the finish of an old piece, you create a smooth and even surface for the new stain to adhere to. You get to remove any scratches, dents, or imperfections in the wood. You can read more about the importance of sanding before painting furniture here.

But let’s be real that this process can take time and effort, not to mention it creates a huge mess with all the dust. And for some pieces, it may not even be an option because of its delicate or detailed features.
So, how can we skip this step while still creating a beautiful stained finish? Is it possible? Keep reading to find out and get all the tips and tricks on how to stain furniture without sanding! We also talk about what happens if you decide to skip it for a different perspective.
Supplies Used to Stain Furniture Without Sanding
As an Amazon Associate, I earn from qualifying purchases. I also may earn from other qualifying purchases with other companies or get free product to review and use. All opinions are my own.
Prep Before Staining
First things first, give your piece a good clean with a degreasing cleaner like Krud Kutter. You want to get rid of all the grease, oil, or gunk so that stuff doesn’t stick to the final finish. Wipe it all over and let it dry after. You can get more tips on how to clean furniture before painting in this post.
How To Stain Furniture Without Sanding
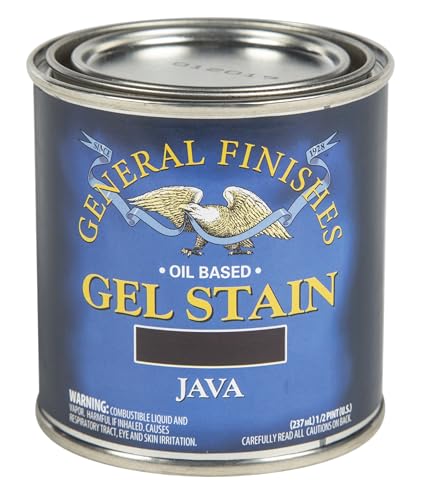
We obviously skip sanding and go straight to this step. But you can’t just use any wood stain; you’ll need a gel stain. It’s thicker and sits on top of the wood surface without needing to soak in.

This also means that it can be applied to sealed surfaces, such as previously painted or stained wood. So, even without sanding down the previous layers of your piece, it will still adhere to the surface, and you can still see the natural wood grain.
How to Apply Gel Stain
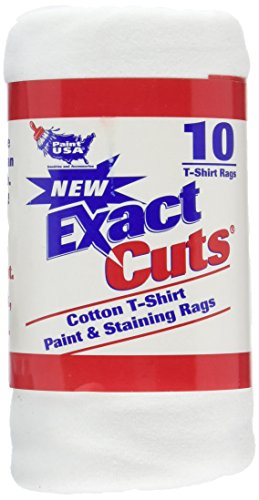
With a brush or a lint free rag, apply a light coat to the surface, following the wood grain. Do this in small sections to make sure it doesn’t dry before you have a chance to wipe it off. Unless you want a dark color, you can apply a thicker coat and leave it.

Otherwise, wipe away the excess within 30 seconds to a minute. Then, you can let this coat dry for 24 hours. After that, you can decide if you want to add another coat for darker results. If you put on the next coat while the first one is still wet, you’ll just end up wiping off the first coat and getting a blotchy, uneven finish.

Would you like to save this?
But the final results will depend on whether your piece has had a clear topcoat or not. If there is a topcoat, the color you pick might not look exactly like you expected. To get it right, you might want to start with a darker color or build up the shade with a few extra coats.
Topcoat Gel Stain
Now it’s time to add a topcoat! You want to protect your newly refinished piece from scratches, dings, and everyday wear and tear. Plus, it makes cleaning and upkeep a whole lot easier. You can use either a water based or an oil based topcoat.

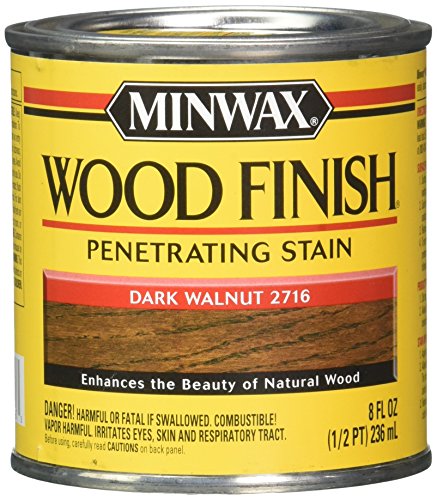
We like using Minwax oil based poly in the spray can because it’s easy to use, dries quickly, and leaves a smooth finish. Just make sure to shake the can well before spraying for 2 minutes. Apply a thin coat, then let it start to dry before applying another coat within 2 hours. You can learn more about the Minwax Polyurethane Spray in this post.
Alternatively, we use this Minwax Wipe On Poly with a lint free rag. It’s a great option for those who don’t want to spray. Simply apply a thick coat with the rag and let it dry.
We also love to use water based Varathane Polyurethane and apply it using a foam sponge wrapped with pantyhose (I know, sounds like a weird trick, but the topcoat goes on so smooth this way)! Whichever method you choose, be sure to follow the product instructions and give it plenty of time to dry.
What happens if you don’t sand before staining?
But there are downsides to not doing this step beforehand. If your piece has scratches or imperfections in its current finish, they’ll still be noticeable after you stain it. The new stain won’t cover them up like it would on a nicely sanded surface.
So, depending on how damaged or worn your piece is, skipping this step could leave you with results that are not as smooth or polished as you’d like.


If your piece has an existing topcoat, leaving it as is can prevent the new stain from properly adhering to the wood. This could result in a lighter or duller color or a blotchy or uneven finish. This also applies to paint – here’s what happens if you don’t sand before painting to learn why and how it can make a difference in your DIY project.
But with all that said, you can still get a beautiful new finish without sanding, especially if you follow this guide using a product like gel stain. It really depends on the type and condition of the wood you’re working with.
Sometimes, sanding is a must for the best results, but other times, you can skip the hassle and still end up with an amazing finish.


How To Stain Furniture Without Sanding
Materials
Instructions
- Start by cleaning your furniture with Krud Kutter to remove grease and grime. This will help the stain adhere evenly and prevent dirt from affecting the final finish.
- Next, apply a gel stain with either a brush or lint free rag, following the wood grain. Wipe off any excess within 30 seconds to a minute for a lighter color, or leave it on for a darker shade. Let dry for 24 hours before deciding if you want another coat.
- Once you get your desired color, protect it with a topcoat like Minwax spray or wipe-on polyurethane to prevent scratches and make cleaning easier. If using the Minwax oil based poly, make sure to shake the can well before spraying for 2 minutes. Apply a thin coat, then let it start to dry before applying another coat within 2 hours.
- And that's it! You now have a beautifully stained piece of furniture without the hassle of sanding.
Recommended Products
As an Amazon Associate and member of other affiliate programs, I earn from qualifying purchases.

More Refinishing Furniture Tips
- How to Stain Over Stain
- How To Change Dark Wood Stain To Light
- How to Stain Furniture White
- How To Stain Furniture For Beginners

Follow us on YouTube to get more tips for painting furniture. Or share your project with us on our Facebook Group and be part of our community. See you there!