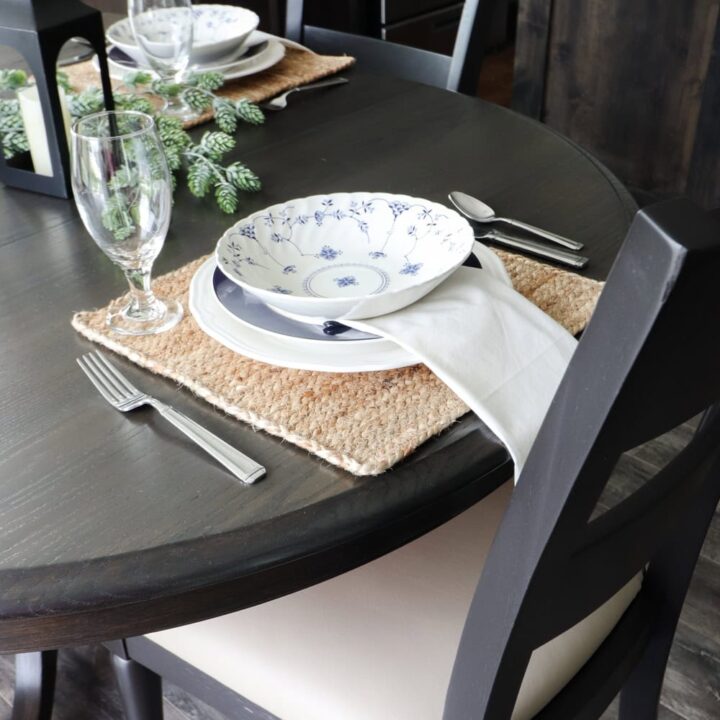
How to Refinish a Table

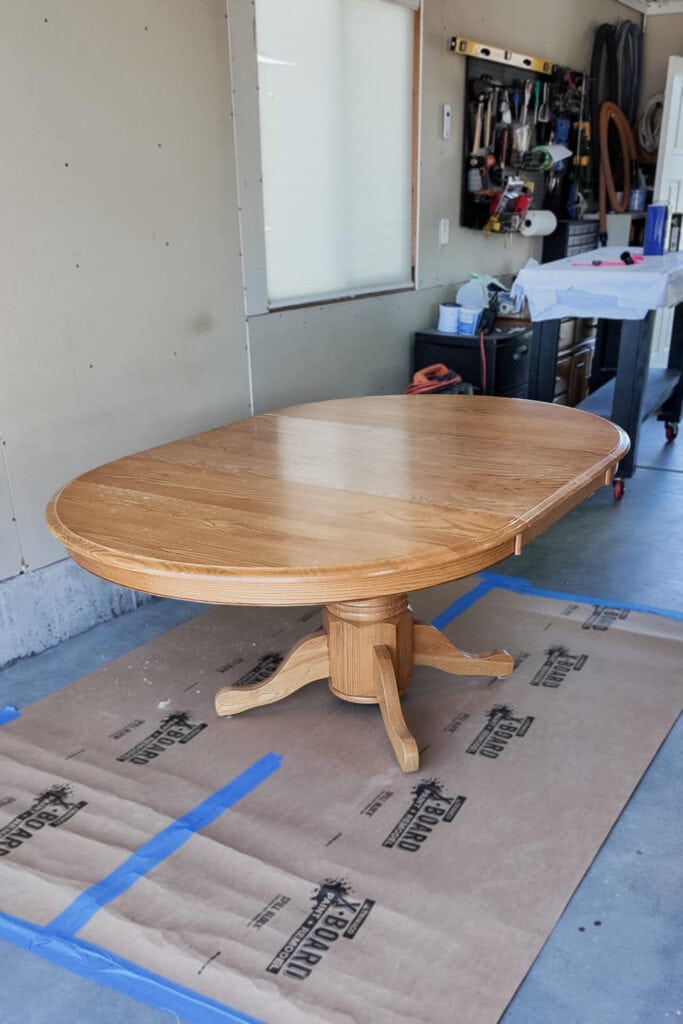
Learning how to refinish a table is an easy way to update an old piece and make it look clean and fresh again. With these refinishing furniture techniques and a few simple steps, you can take a dining piece you already own and give it a finish that fits your style and space.
And you don’t need a big budget to bring a worn table back to life. Follow along to see the process and try it on your own!
Welcome to Furniture Fixer Upper day, where we join 4 of our talented furniture friends and bring you our favorite makeovers from this past year! I’ll link to my friend’s makeovers after our after photos at the bottom of this post! Don’t forget to check out their masterpieces!! Okay, back to our makeover!
Refinishing a table is an easy way to give your home a quick refresh. Even a small change in the finish can make the whole piece feel new again. It’s a simple project, but you can still see a noticeable difference in your space.

Sometimes, older furniture just really needs a fresh start to look its best again. A few basic updates can bring out the natural beauty of the wood and help it fit your style. And this is perfect when you want something easy, rewarding, and budget friendly.
So keep reading to get all the details and refresh the piece you already have at home!
Supplies Used for Refinishing a Table
As an Amazon Associate, I earn from qualifying purchases. I also may earn from other qualifying purchases with other companies or get free product to review and use. All opinions are my own.
- Carbide Scraper or Chemical Stripper (these work really fast when you use them together!)
- Foam Pads (Use code RAY10 to get 10% off your order)
- DeWalt Sander
- Pre Stain Wood Conditioner
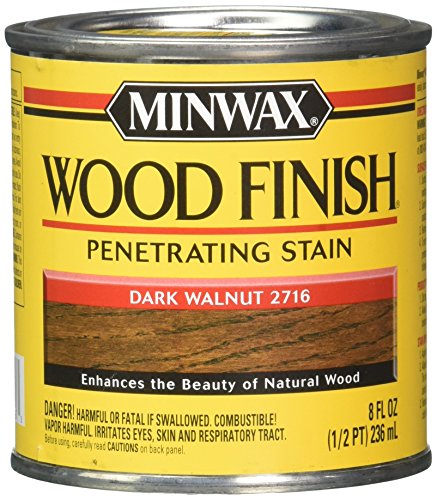
- Stain
- Rag
- Cheap Brush
- Lint Free Rag
- Topcoat
- Sponge
- 400 Grit Sandpaper
Remove Old Finish
First, you need to remove the old finish unless it’s still in great condition. There are a few ways to do this. You can use a carbide scraper, a chemical stripper, or sand the surface. No matter which method you choose, you will still need to lightly sand afterward.
I don’t recommend sanding as your main way to remove the finish. A lot of furniture pieces are made with veneer, which is a very thin layer of wood. If you sand too much and go through it into the MDF, particle board, or lower wood layer, it will show and will not look good when you stain.
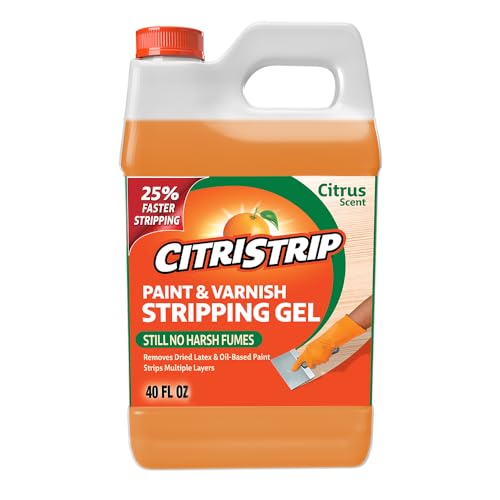
Using a Chemical Stripper
This is a great option for removing paint or old finish without risking damage to the wood. It’s also great when you’re working with larger surfaces or intricate details.
There are a few products we like for this step, including Klean Strip, Citristrip, and Stripwell QCS (Use code SUNLIGHT10 to get 10% off your order of Stripwell QCS!). Each one works a little differently, but they all soften the finish so you can scrape it off more easily. Learn all about these best wood stain removers here.

Just use a cheap chip brush to apply your stripper of choice in an even coat across the surface, making sure everything is fully covered. Give it time to work according to the label instructions. Once the finish bubbles or wrinkles, scrape it off carefully with the grain. You can then repeat the process on any stubborn areas. Check out my detailed guide on how to strip paint from wood furniture here.
Using a Carbide Scraper
A carbide scraper is a good alternative to a chemical stripper when you want something quick and inexpensive. The sharp blade works well on multiple layers of paint, and you do not need any extra products or a big cleanup afterward. But you can also pair using a carbide scraper with a chemical stripper like we did on this project, and it really sped up the process!
To use it, hold it at an angle and push it along the surface, moving slowly so you have full control of the blade. It works best on flat surfaces, but you can use it on some details if you go gently. Here’s how to scrape paint off wood for more tips.

But if a piece has tight grooves or areas you cannot reach well, a chemical stripper may be the safer option.
Sanding Table After Stripping or Scraping
Whichever method you use or if you do a combination of the two, lightly sand your table afterward to remove any remaining residue or leftover spots. This is also to smooth everything out before refinishing.
I would use a 220 grit foam pad to sand. You can use the DeWalt sander, and this foam pad goes onto it, so you don’t sand too aggressively and accidentally sand through the veneer. SurfPrep foam pads (Use code RAY10 to get 10% off your order) also fit on almost any sander, and they’re even gentler and better with curves and details. Learn more about these foam sanding pads for electric sanders here.


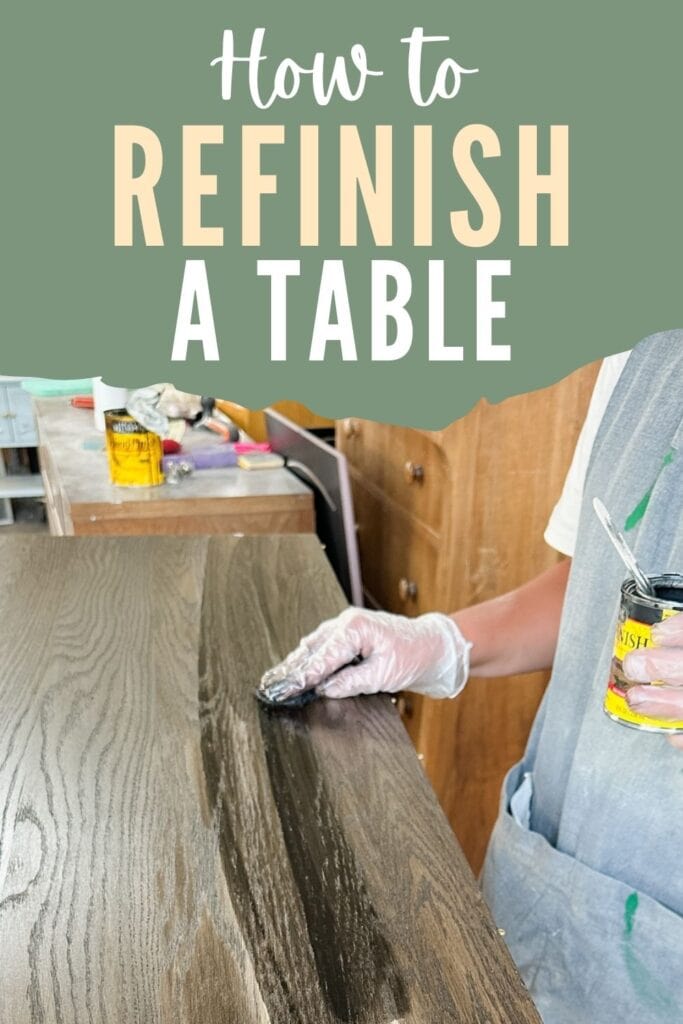
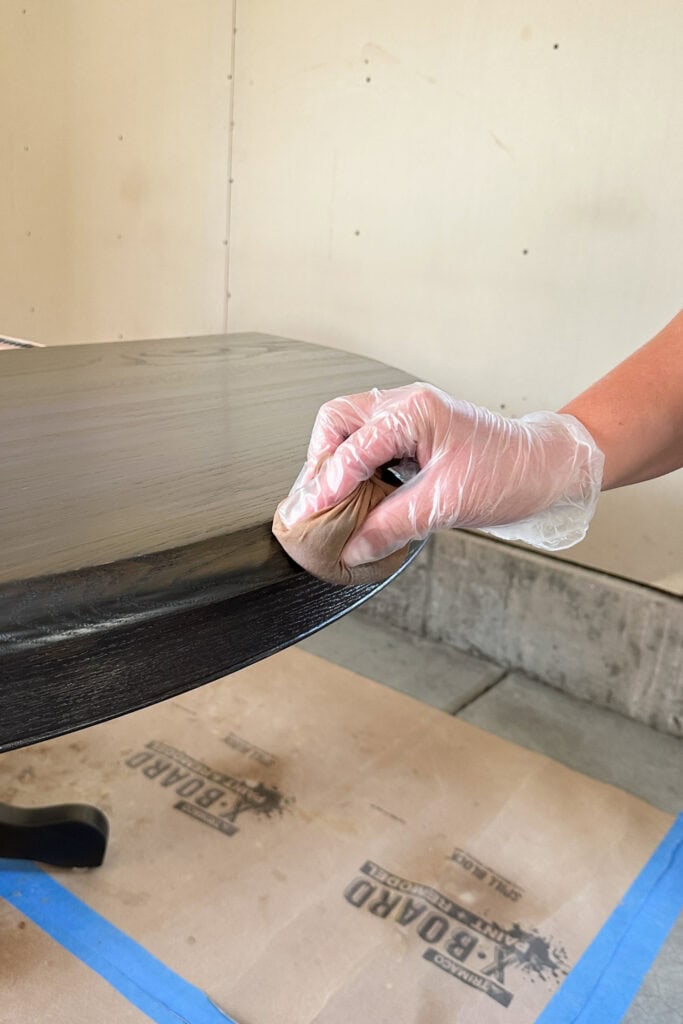
How to Stain A Table
Test the stain first underneath it to make sure you like how it looks when dry. Test using a pre stain wood conditioner versus not using it. The wood conditioner can keep your stain from soaking in as deep, which makes it turn out lighter. It also helps prevent blotchiness. So test it out first, and then apply it.
Would you like to save this?
You can use either oil based or water based stain. Oil based stain has a strong smell and needs to be used outside, but it is easier to work with because it dries slower and gives a rich, even finish. Waterbased stain dries fast and has very little odor, which is great for quick projects, but you do have to work quickly to avoid streaks. Check out your options for the best wood stains for refinishing furniture here.
If your table was already in good condition and didn’t need its finish removed, you can go ahead and use gel stain. Check out my guide on how to stain already stained wood for the steps.
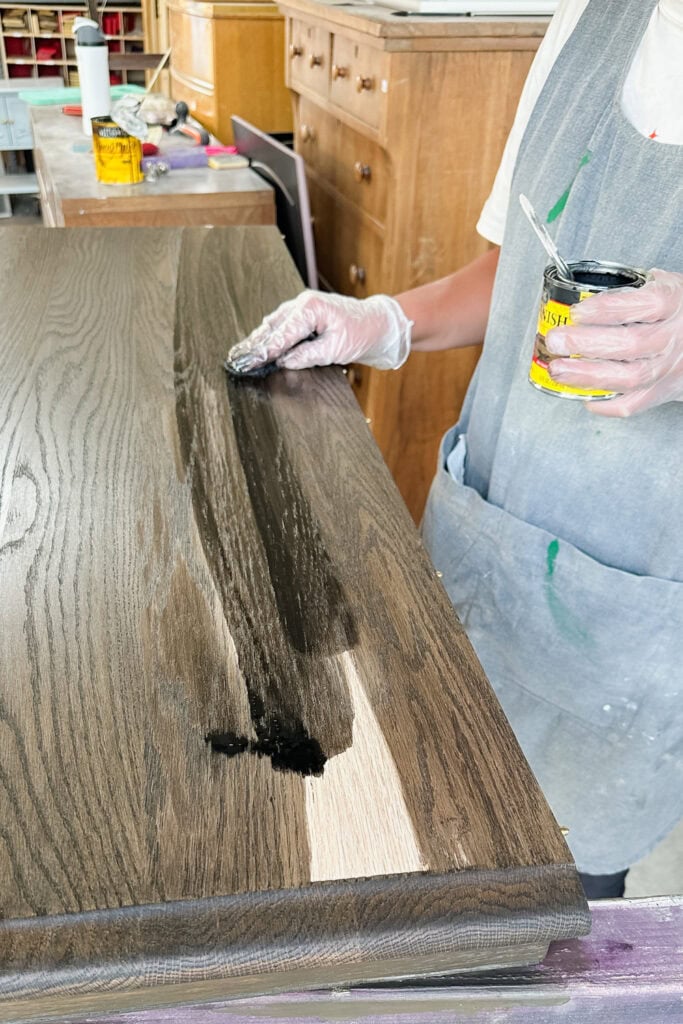
When you’re ready to apply the stain, use a rag or a brush, depending on what feels easiest for you. I have a list of the best brushes for staining wood here. Let it soak in for a bit before wiping off the excess with a lint free rag. Learn more about how to stain wood with a rag here. If you’ve never done this before, here’s how to stain furniture for beginners!
Topcoat Refinished Table
Next, you will need to topcoat. For the highest durability, use an oil based topcoat, though it does have an amber tint, and your stain will have an amber yellow tint because of it. If you want one that’s crystal clear and not yellow, use a waterbased topcoat. See my comparison of polyurethane vs polycrylic for dining table here.
I personally like to spray it on for quicker results, but a sprayed topcoat typically dries less smoothly. That’s why I like applying it by hand with a sponge. It dries smoother, but it does take longer and has a higher chance of streaks. Check out my posts on how to apply polycrylic to painted furniture and how to spray polyurethane to see these methods.
Make sure to apply at least three coats of topcoat. You can do five coats if you want extra durability, since tables get a lot of wear and tear. You want your table to last through all the work you put into it, so it needs to be as durable as possible. Sand between coats very lightly with 400 grit sandpaper or a fine grit foam pad to make your finish even smoother.
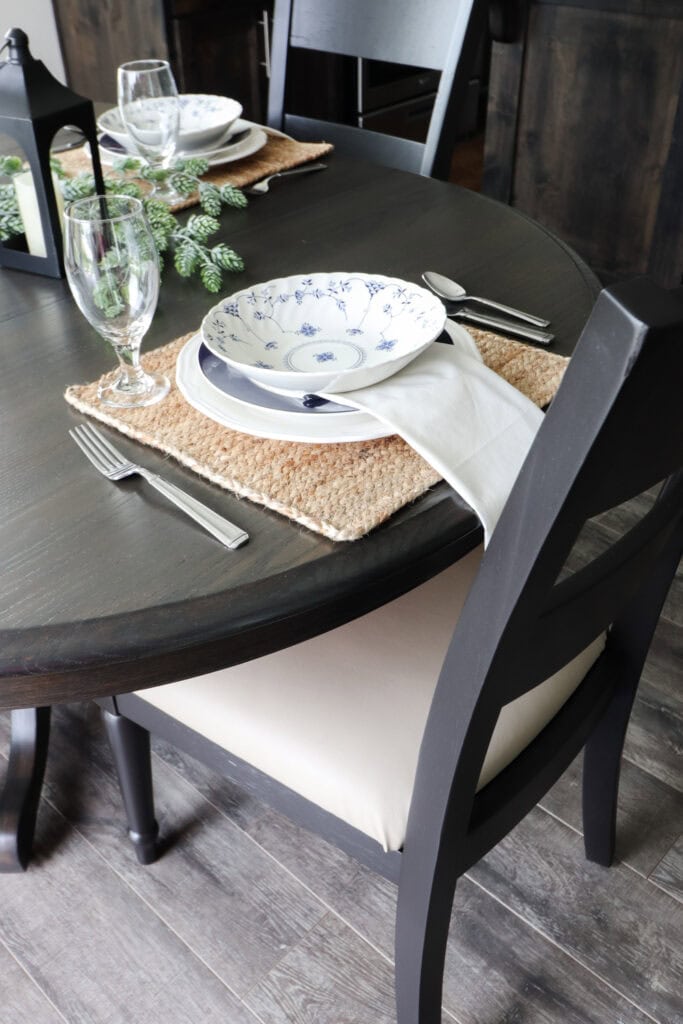
Let your topcoated piece dry for at least 24 hours before very light use, and then be super careful with it for about a month. Topcoat takes about 30 days to completely cure and reach maximum hardness. You can check out our post on how to take orange out of a wood dining table for a full makeover of refinishing a table.

Now it’s time to share my favorite makeovers from each of my Furniture Fixer Upper friends this past year!
Denise took this old dresser that I would have passed by and turned it into a gorgeous piece for a girl’s room!

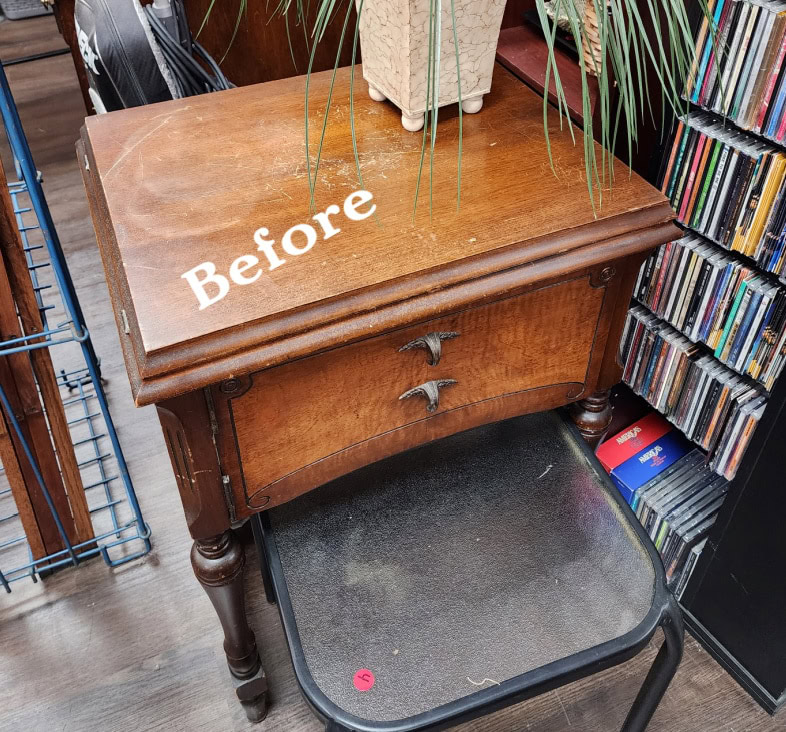
Gail took this outdated sewing desk into something cute and useful! You’ve gotta see how she completely transformed it.
I can’t believe that a simple color change turned this vintage table into something adorable!! The new color is perfect, and I’ve gotta use it on some furniture soon!

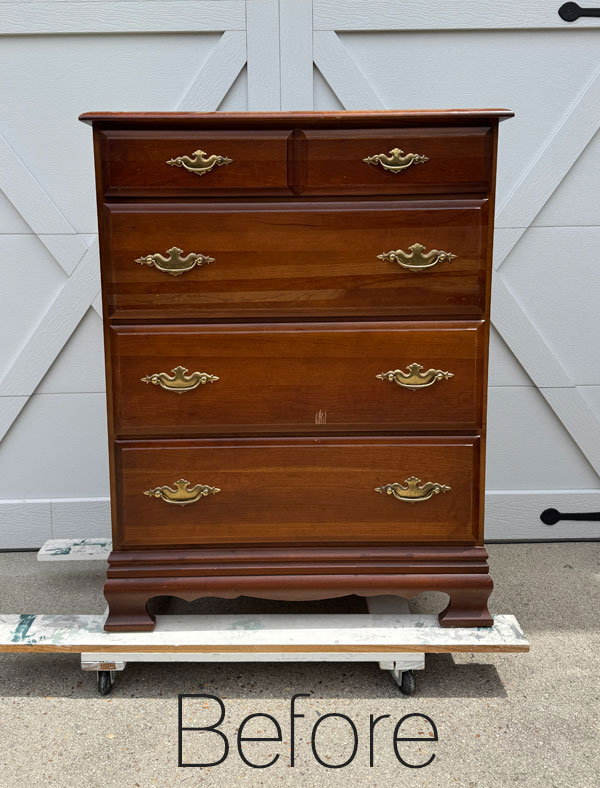
This 1 simple change made this tall dresser look completely new, and it’s one of my favorite ways to update furniture (besides giving it a new paint job).
My Furniture Fixer Upper friends also shared their favorite projects of the year, and it’s always fun to see which ones made the list!! (Click the links below!)
- Whitewashing Painted Furniture from Petticoat Junktion
- Affordable Furniture Makeovers from My Repurposed Life
- Creating A Cinnabar Paint Finish from Salvaged Inspirations
- Antique Mirror and Vintage Dresser Update from Confessions of a Serial DIYer
How to Refinish a Table
Learn how to refinish a table with simple, budget friendly steps to give your dining piece a fresh and updated look.
Materials
Instructions
- Remove the old finish unless it is still in great condition. You can use a carbide scraper or a chemical stripper.
- Lightly sand your table afterward to remove any remaining residue or leftover spots. This also smooths everything out before staining.
- Test the stain first underneath the table to make sure you like how it looks when dry. Test using a pre stain wood conditioner versus not using it.
- Choose either oil based or waterbased stain for your project. Apply the stain with a rag or brush depending on what feels easiest for you. Let it soak in for a bit before wiping off the excess with a lint free rag.
- Topcoat your table after staining to protect the finish. You can spray or use a sponge. Apply at least three coats, or up to five if you want extra durability. Sand between coats very lightly with 400 grit sandpaper or a fine grit foam pad.
- Let your topcoated piece dry for at least 24 hours before very light use. Be super careful with it for about a month because topcoat takes about 30 days to completely cure.
Recommended Products
As an Amazon Associate and member of other affiliate programs, I earn from qualifying purchases.


More Before and After Makeovers
See All >
Click any of these “before” photos below to view the “after” of that makeover.


More Refinishing Furniture Makeovers
- How to Refinish Wood Furniture Without Stripping
- Gel Stain Over White Paint
- This Is What a Damaged Dresser Can Turn Into (Beginner Makeover)
- How To Get A Natural Wood Stain Color
- How to Stain Laminate Furniture
Follow us on YouTube to get more tips for painting furniture. Or share your project with us on our Facebook Group and be part of our community. See you there!
This turned out SO good!! I chose your little blue cabinet because it just spoke to me ha ha! I hope you have a wonderful Christmas, and I look forward to touring together again in the new year!! XOXO
Aww that makes me happy to hear, thank you Christy! 🥰 Me too!! I’m already looking forward to it haha wishing you a wonderful Christmas as well!
The transformation of this table and chairs is unbelievable! I love the new color. Refinishing furniture is my least favorite thing to do, and I generally reserve it for family heirlooms. 🙂
Great roundup Natalie!
gail
Aww that means so much, thank you Gail! 😊
Many thanks!
You’re welcome! Hope this tutorial helped!
Thanks!
You’re welcome! Hope this tutorial helped!
Awesome, thanks!
Aww you’re welcome!