Waverly Clear Wax Review
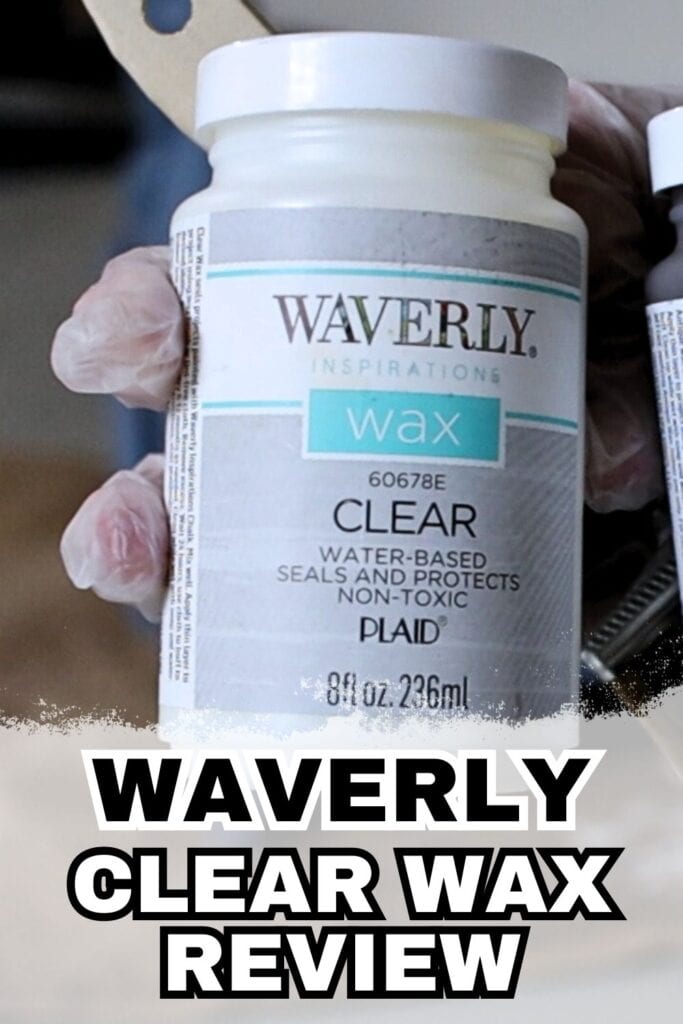
When you’re chalk painting, you’ll need to protect your masterpiece with a durable topcoat. Wax is one option, and Waverly Clear Wax is a popular choice among DIY-ers. In this Waverly Clear Wax review, we’ll dive into the details of this product, from its pros and cons.
With this, we will help you decide if it’s the right choice for your next project.
Chalk paint has taken the DIY world by storm with its easy application and beautiful matte finish. It’s a popular choice for revamping old furniture and giving it a new, trendy look. However, to make sure your newly painted furniture stays in top condition, you’ll need to add a protective layer on top.
And wax, as mentioned above, is one of your available options. We’ll specifically tackle Waverly Clear Wax and its effectiveness in preserving your chalk painted furniture. Let’s dive in!
As an Amazon Associate, I earn from qualifying purchases. I also may earn from other qualifying purchases with other companies or get free product to review and use. All opinions are my own.
Features and Advantages of Waverly Clear Wax
Waverly Clear Wax is a water-based and AP-certified non-toxic sealant that provides a durable, ultra-matte finish for furniture and other projects, especially those painted with Waverly Chalk Paint. Check out our Waverly chalk paint review for more information on Waverly’s paint line.
The thin consistency of Waverly Clear Wax makes it easy to use and apply, even getting into small crevices. If you have intricate pieces of furniture or decor, this wax is a great choice to guarantee full coverage.
Its clear color makes it a versatile option for any color of chalk paint. It won’t alter the shade or tone of your painted surfaces, allowing the true color to shine through. This wax is also an excellent base for Waverly Dark Wax. If you’re looking to add a vintage or aged look to your furniture or decor, this combination will give you the perfect finish.
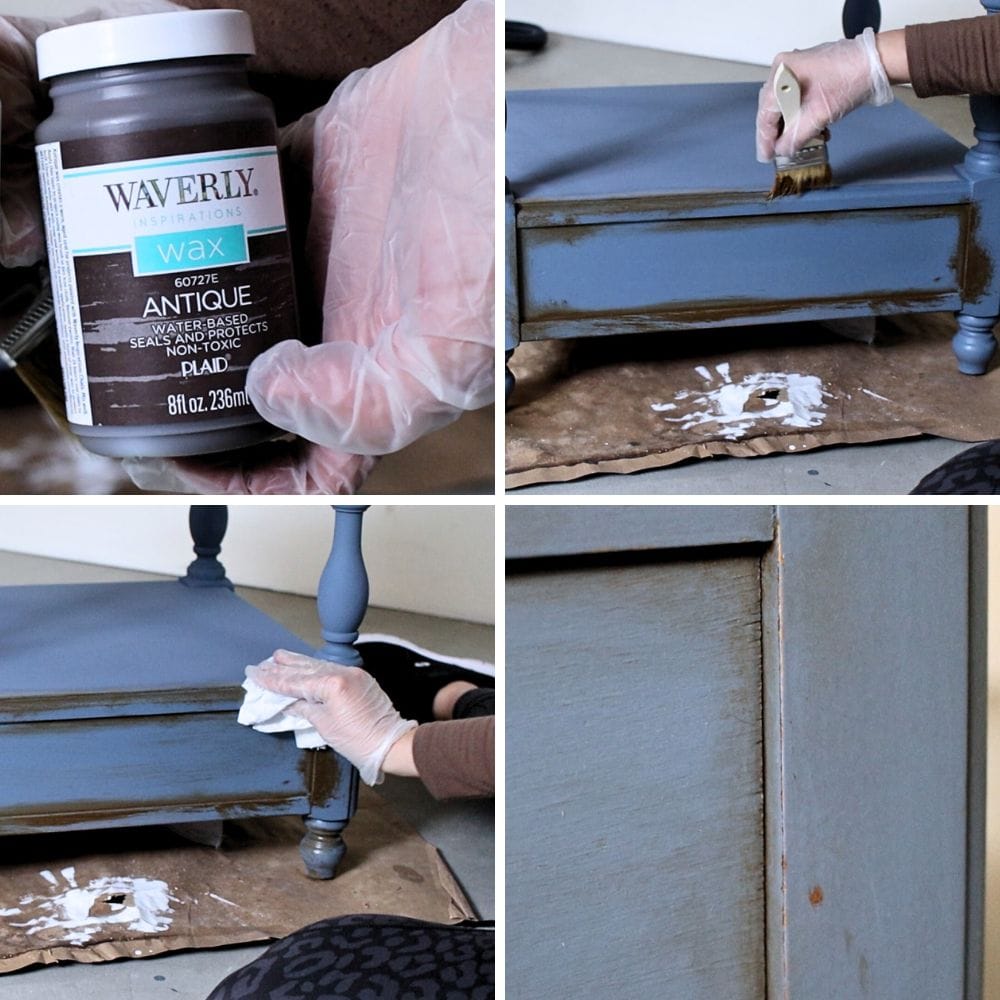
Additionally, Waverly Clear Wax has no strong odor, making it a convenient option to use indoors without needing to open windows or wear a mask. And with its budget-friendly price of less than $8, you won’t have to spend a fortune to protect your chalk painted pieces. You can easily pick it up at your local Walmart, so it’s convenient and easily accessible!
Pros
- Water-based and non-toxic
- Durable, ultra-matte finish
- Thin consistency for easy application
- Clear color that won’t alter the paint shade
- Can be used as a base for Waverly Dark Wax
- No strong odor, safe to use indoors
- Budget-friendly price of less than $8
- Easily accessible at local Walmart
Disadvantages of Waverly Clear Wax
Unfortunately, Waverly Clear Wax is not as durable as other topcoat options, such as water-based polyurethane. While it does provide some protection for your painted surfaces, it may not hold up as well in high-traffic areas or with heavy use. If you’re looking for long-term durability, you may want to consider a different topcoat for painting furniture.
Also, Waverly Clear Wax dries to a matte finish, which some may not prefer. However, this can easily be remedied by buffing the wax out. This will give your furniture a slight sheen and make it smoother to the touch.
One thing to note is that wax in general requires regular reapplication to maintain its protective qualities. This is no exception with Waverly Clear Wax and may be a disadvantage for those looking for a more low-maintenance topcoat option.
So Waverly Clear Wax does have its limitations in terms of durability and finish. However, it still provides a good level of protection and is great for beginners or those just starting to explore painting with chalk paint.
Cons
- Not as durable as other topcoat options
- May not hold up well in high-traffic areas or heavy use
- Requires regular reapplication for maximum protection
- Dries to a matte finish, which may not be preferred by some
How to Use Waverly Clear Wax
If you’ve decided to use Waverly Clear Wax as your topcoat of choice, you may be wondering how to apply it correctly. Let’s run through the steps for using this product so you get the best results!
First things first, make sure your chalk painted surface is fully dry before applying the wax. This will usually take around 24 hours. Next, grab a cheap paint brush or Waverly’s own wax brush and start brushing on the clear wax all over your painted furniture. It’s important to use a thin layer and let it soak into the chalk paint.
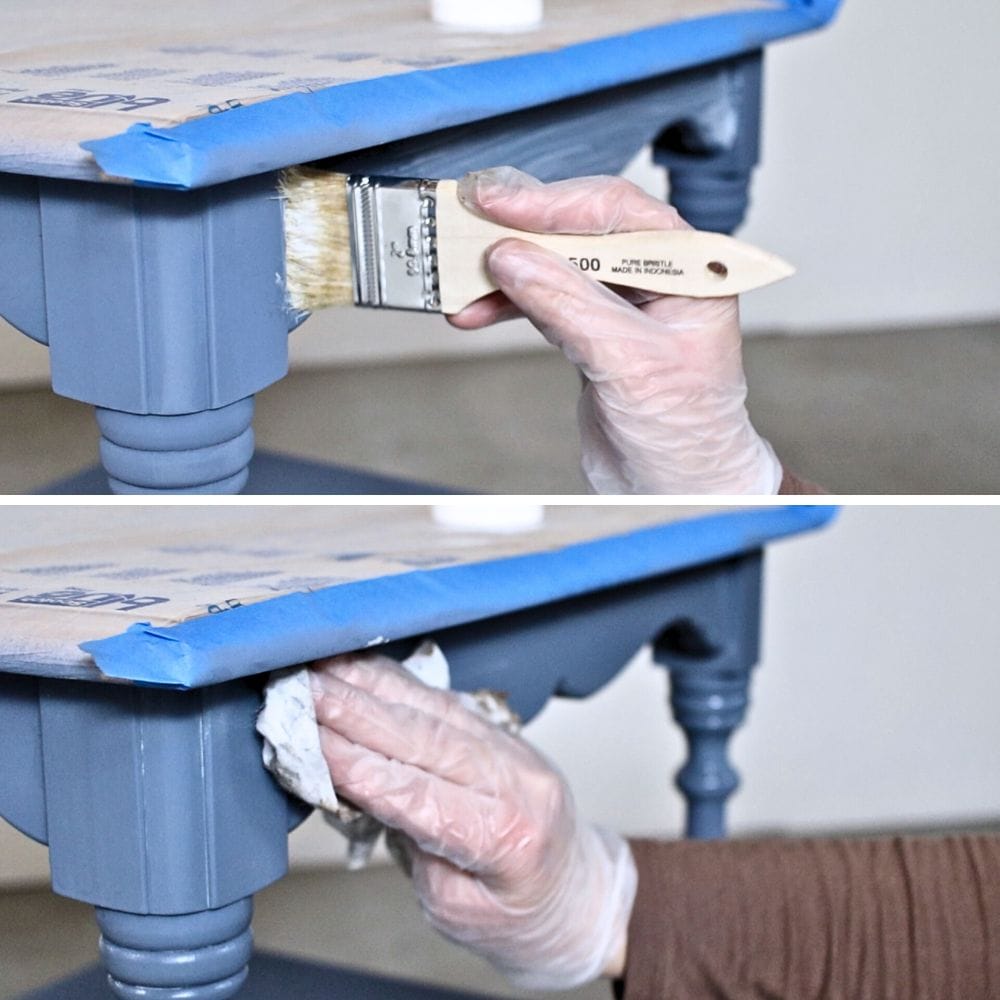
Once you’ve applied the wax, take a lint-free rag and rub it on the surface. This will remove any excess wax and buff it to a matte or satin sheen, depending on your preference. You can also apply multiple coats of wax if desired, just make sure to let each layer dry before adding another.
And that’s it! We have a detailed guide on how to apply Waverly wax over chalk paint here so be sure to check it out for more tips and tricks. Just remember to reapply wax every few months. You will need to do this to maintain the protective qualities of the wax and keep your chalk painted furniture looking its best.
Cleaning and Maintenance after using Waverly Clear Wax
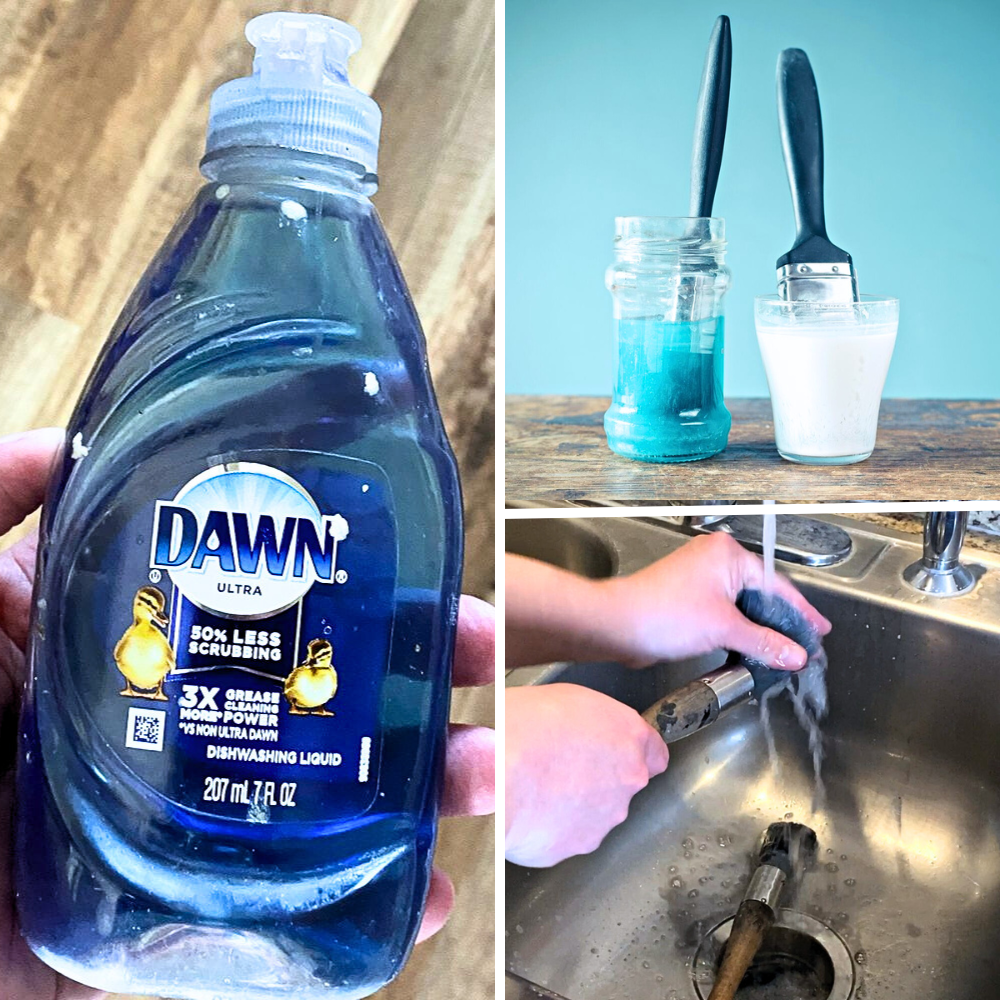
After using Waverly Clear Wax on your furniture, clean your brushes and tools while they are still wet with soap and water. Be sure to work the soap into the bristles of your brush to create a lather, then rinse well. This will help prevent any wax buildup on your tools and make sure they last for future projects.
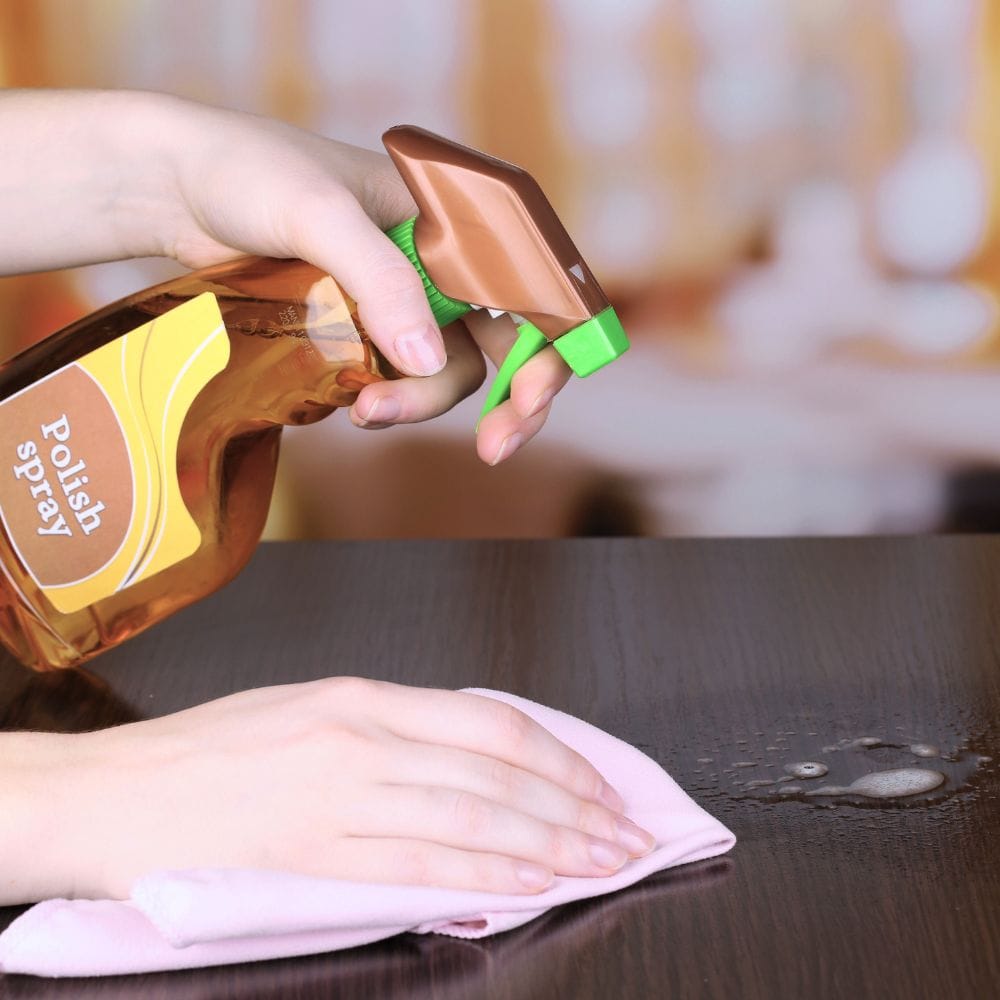
To keep your newly waxed furniture looking its best, clean it regularly with a soft cloth moistened with warm water and mild soap. This will help remove any dust or dirt that may accumulate over time. You can also use consumer furniture polishes for routine cleaning, as they are safe to use on waxed surfaces.
With its affordable price, ease of use, and non-toxic properties, Waverly Clear Wax is a great sealant available even at your local Walmart! While it may not be as durable as other topcoat options, it still provides a good level of protection and is perfect for beginners or those looking for a budget-friendly option.
Don’t forget to reapply regularly and clean your tools properly after each use.
More Furniture Topcoat Tips
Follow us on YouTube to get more tips for painting furniture.
Or share your project with us on our Facebook Group and be part of our community. See you there!
