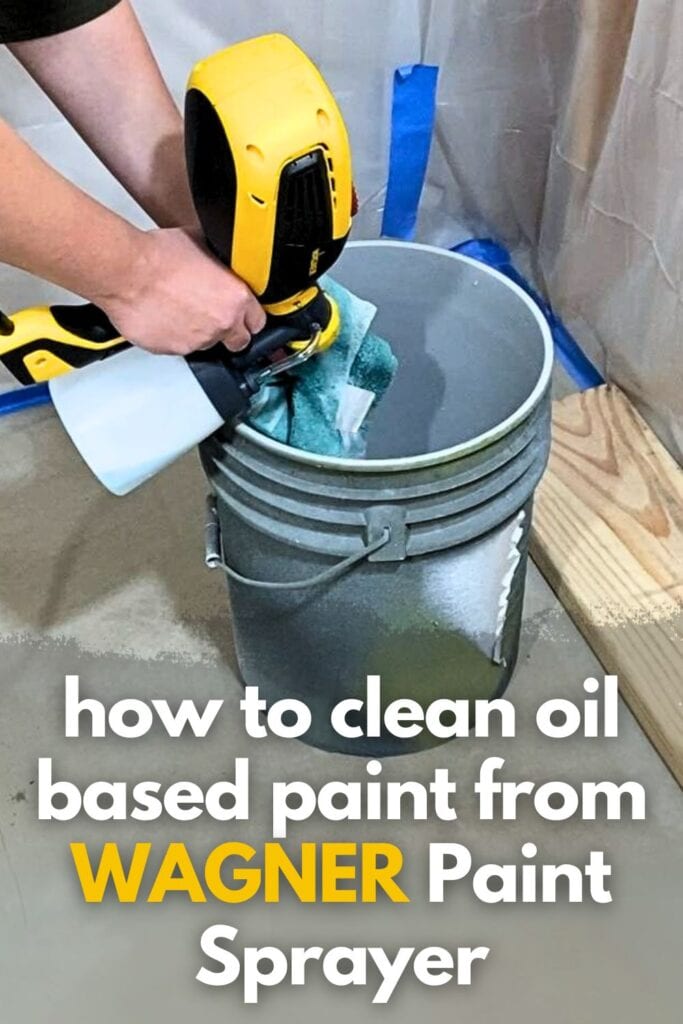
How to Clean Oil Based Paint from Wagner Paint Sprayer
Oil based paint can be a great choice for painting furniture, as it provides a smooth and durable finish. However, cleaning up after using oil based paint, especially when using a paint sprayer on furniture, needs to be done properly. So in this guide, we’ll show you how to clean oil based paint from Wagner paint sprayer.
By following these simple steps, you can make sure that your Wagner sprayer stays in good condition for all your future painting projects.
Oil based paints have been a popular choice for many years due to their smooth finish and durability. Compared to water based paints, they offer better resistance to wear and tear, ideal for areas that receive a lot of use.
Some people may find oil based paint a bit intimidating to work with due to its strong odor and longer drying time. But many DIY-ers still stand by it as their go-to paint for furniture makeovers. But after using this type of paint for furniture, it’s important to know how to clean it up properly so you can maintain the quality and not damage your Wagner paint sprayer.
Let’s dive into the steps on how to clean oil based paint from Wagner paint sprayer.
What to Use to Clean Oil Based Paint in Paint Sprayer
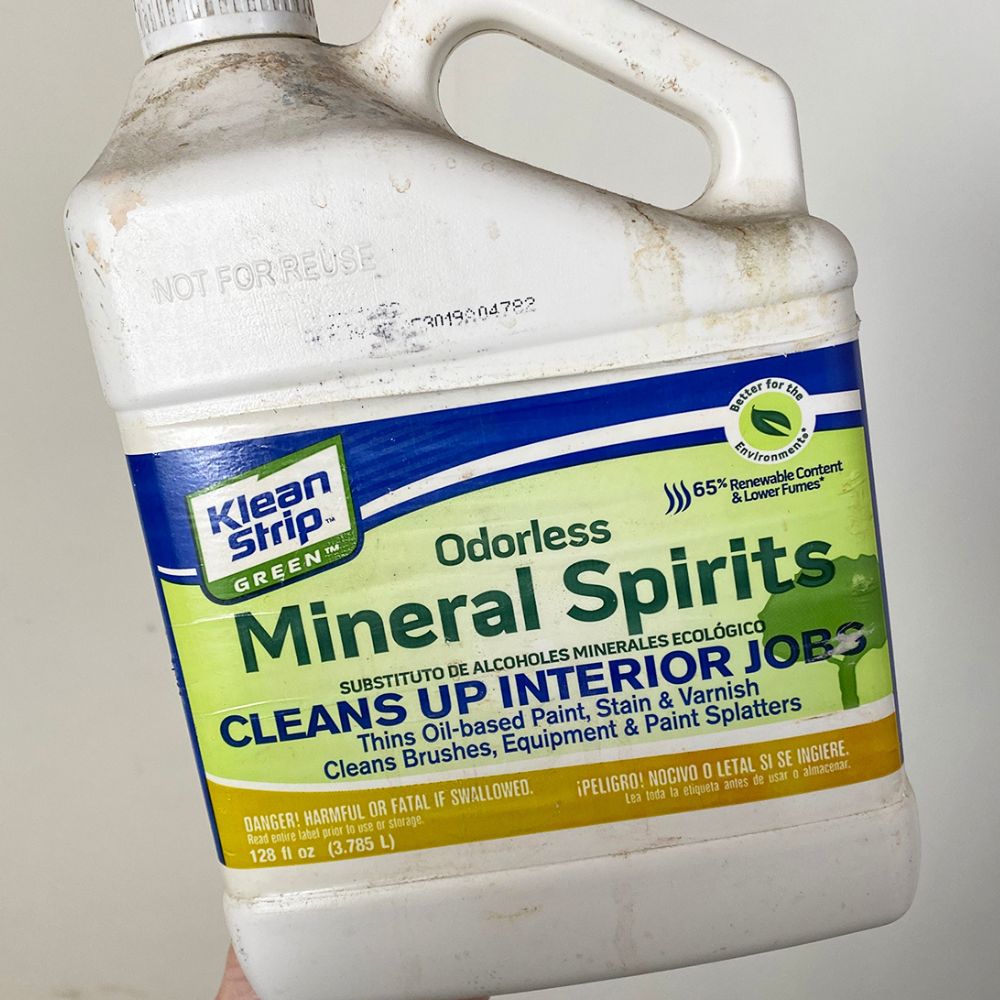
The first thing to know would be what to use for cleaning oil based paint from your Wagner paint sprayer. You may think that soap and water would do the job, but unfortunately that cleaning solution won’t be enough.
What you’ll need is mineral spirits. You can easily find this online, or at any hardware or home improvement store. Aside from mineral spirits, you will also need protective gear such as disposable gloves when handling this solvent.
To clean other paints and materials out of paint sprayers, check out our post on what to use to clean paint sprayer here.
Supplies Used to Clean Oil Based Paint from Wagner Paint Sprayer
As an Amazon Associate, I earn from qualifying purchases. I also may earn from other qualifying purchases with other companies or get free product to review and use. All opinions are my own.
- Wagner Paint Sprayer
- Mineral Spirits
- Disposable Gloves
- Bucket or Rag
- Water
- Small Brush
- Dish Soap (optional)
- Clean, Dry Rag
Unplug Paint Sprayer and Empty Paint Container
Get started by unplugging your Wagner paint sprayer before beginning the cleaning process. It’s always a good idea to make sure you’re safe and avoid any accidents. So don’t forget to unplug it first!
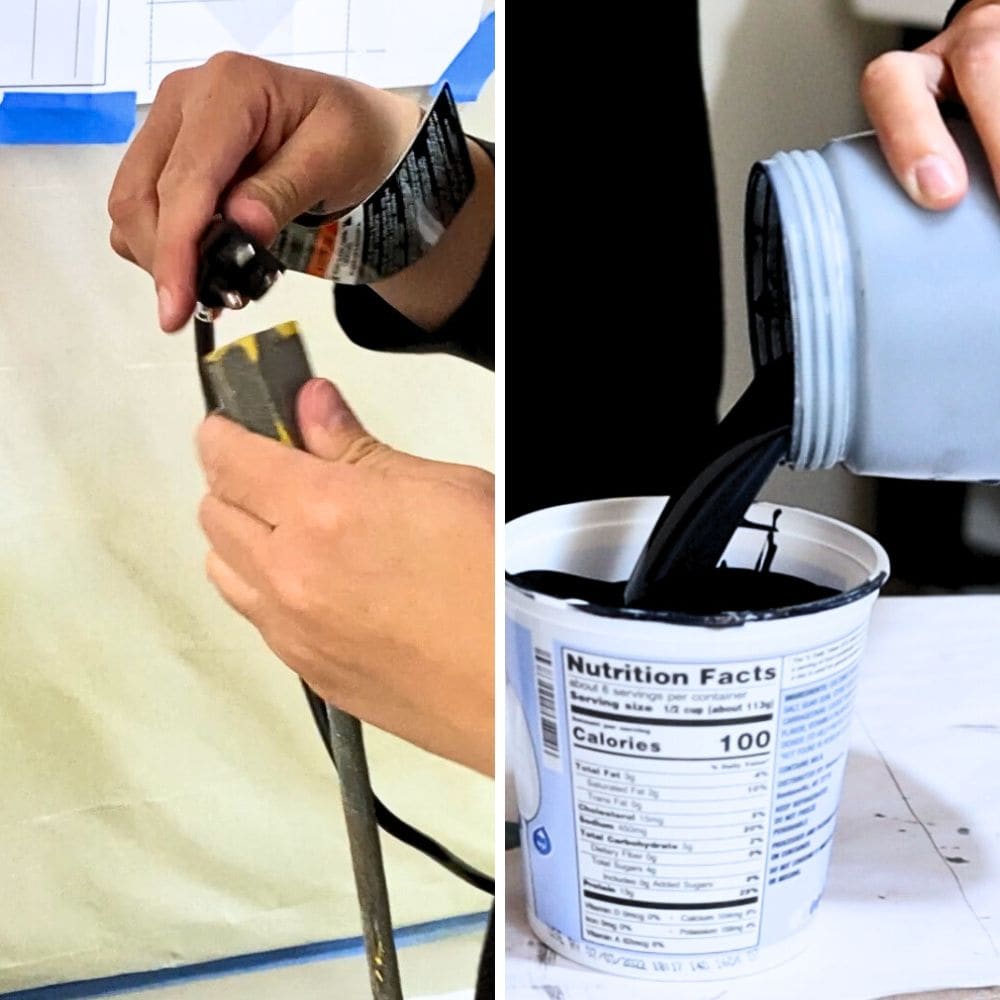
Next, make sure to empty out any remaining paint in the container. If there’s a lot of paint left, you can transfer it back to its original container for future use.
Rinse Paint Sprayer Container
Now that you have emptied out the paint left in the container, it’s time to give it a good rinse. Again, you have to use mineral spirits to clean out the paint sprayer container, along with the suction tube and the white container seal.
Fill up the container with mineral spirits and firmly screw it back onto your Wagner paint sprayer. Plug your paint sprayer back in, and start spraying the cleaning solution through the sprayer for around 20 seconds. This gets rid of any remaining product inside.
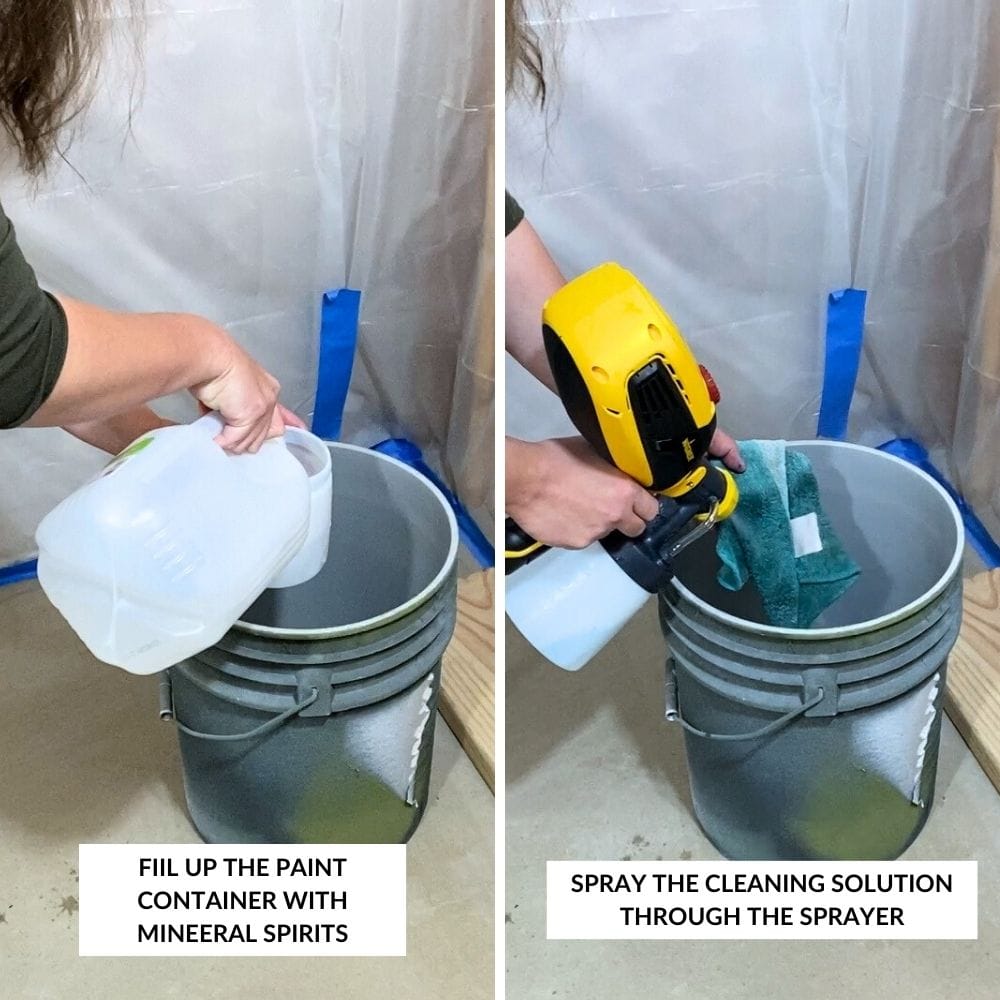
To prevent any spillover, you can spray into a bucket or a rag. This helps keep the spray contained and doesn’t create a mess.
Disassemble and Clean Sprayer Parts
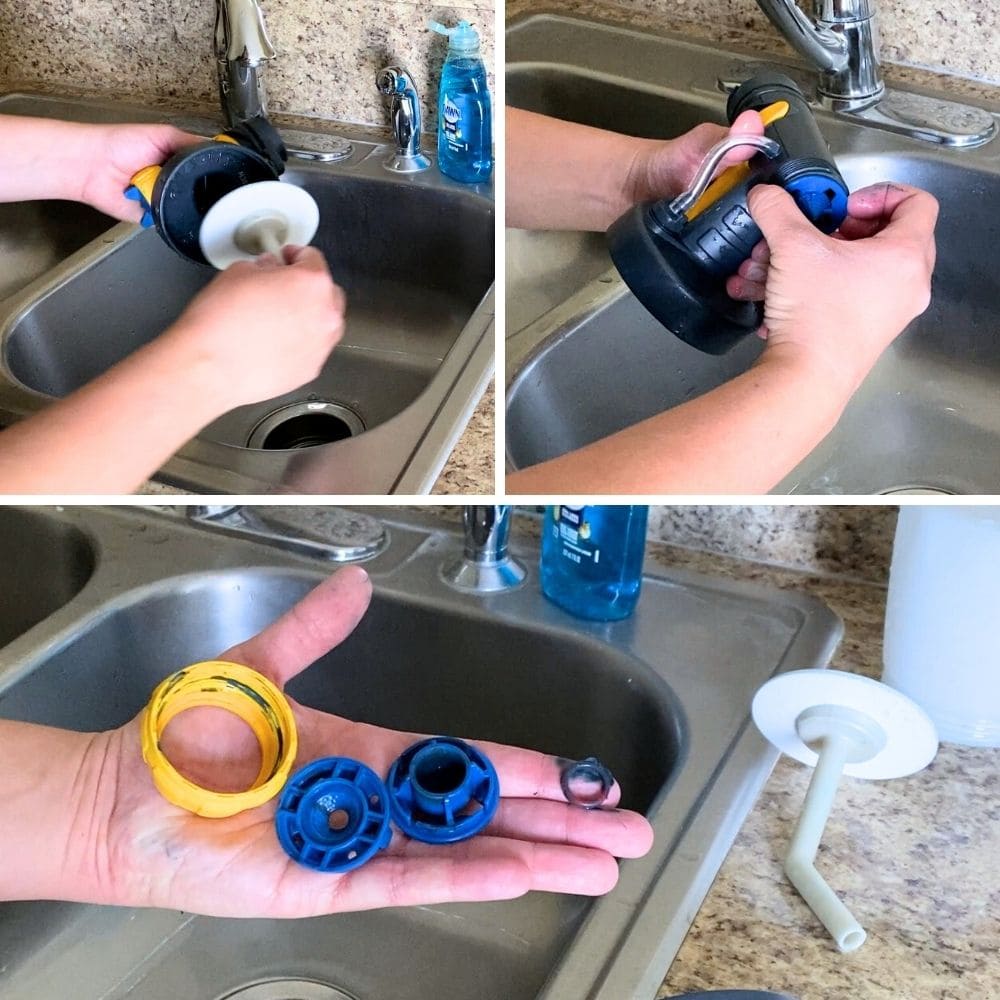
Let’s continue with the cleaning process! Unplug your Wagner sprayer again and this time, disassemble the different removable parts. This will make it easier for you to clean each piece thoroughly.
Unscrew the paint container and discard the used cleaning solution. Then remove the suction tube and container seal from the head of the sprayer.
Would you like to save this?
Next, disassemble the head of the sprayer – its nut, air cap, nozzle, and seal ring. These pieces may have some leftover paint or debris, so make sure to clean them with a brush or rag soaked in mineral spirits. A little brush can also help you get into those hard to reach areas like the nozzle.
Clean the inside and the bottom of the sprayer head as well. This is where the container seal tries to block the paint and it may have paint buildup. Here’s how to clean a Wagner paint sprayer to learn more about how to properly clean your Wagner paint sprayer!
And if you are using a Wagner stain sprayer and don’t know how to clean it, check out this guide on how to clean Wagner stain sprayer!
Rinse Paint Sprayer Parts with Water
Alright, now you’ve cleaned out all the oil based paint from your Wagner sprayer using mineral spirits. But before putting everything back together, I recommend giving the parts a final rinse with water. Add a few drops of dish soap to the water for an extra deep clean.
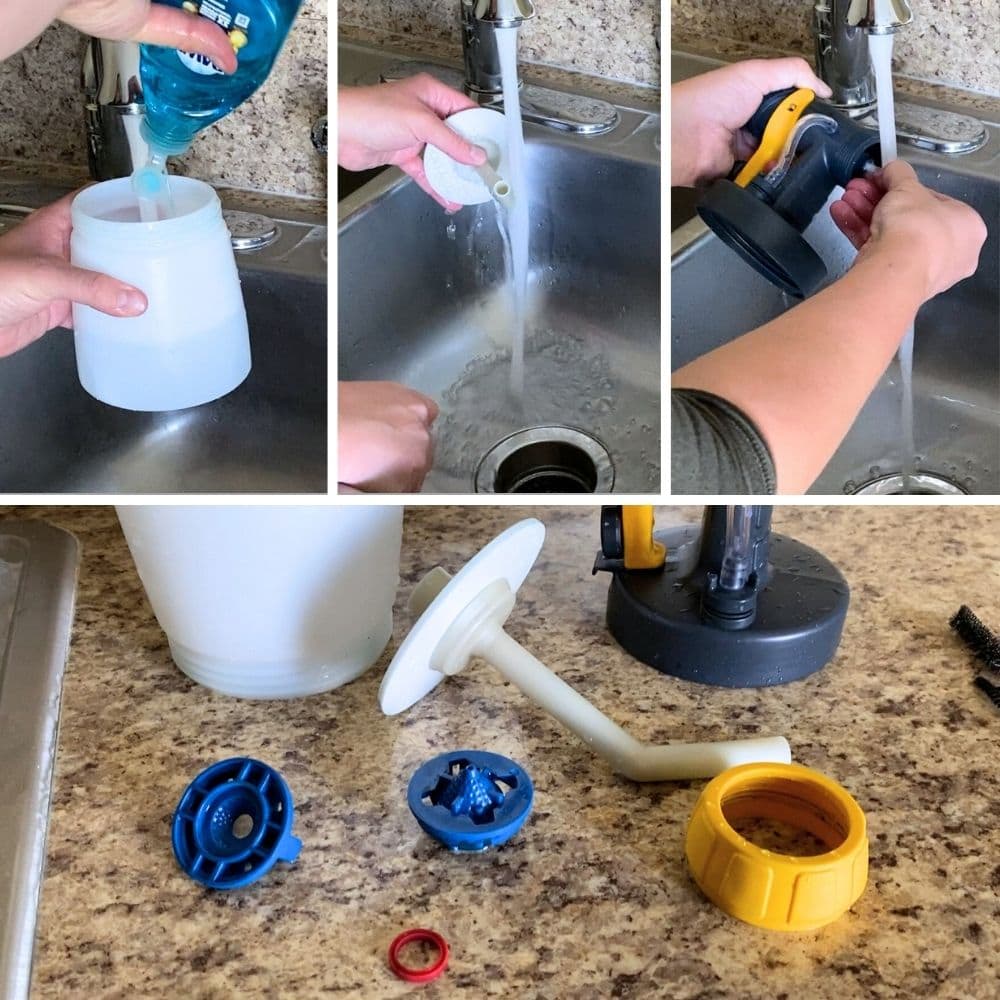
This step is important because it helps remove any leftover residue and guarantees that your sprayer is completely clean for future use.
Reassemble Clean Paint Sprayer
When should you put back all the pieces to your Wagner paint sprayer? As soon as it’s completely dry! You don’t want any water or moisture in the components when you reassemble your spray gun. Otherwise, your sprayer might end up getting a little bit stinky with mold and mildew buildup.
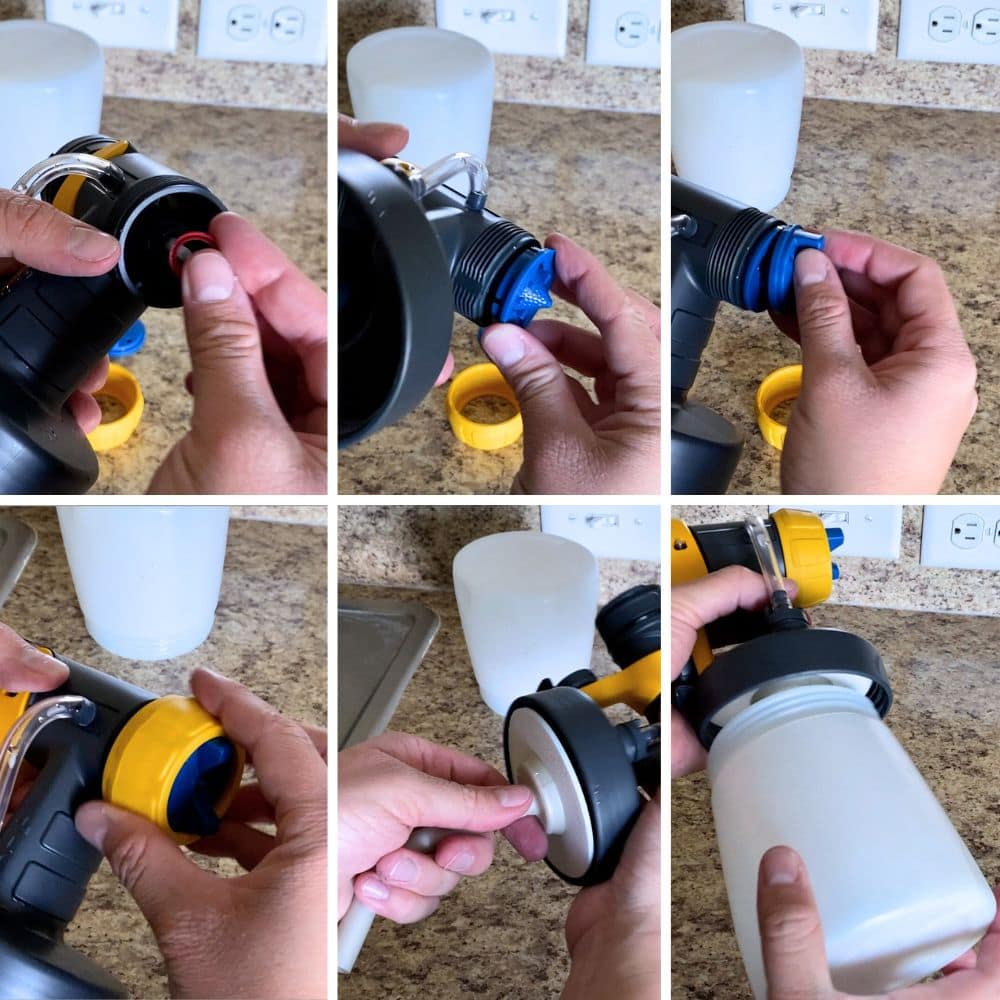
It’s best to let all the parts air dry, but if you’re in a hurry to use your sprayer again, you can wipe them down with a clean, dry rag. Just make sure there is no moisture left before reassembling everything!
And before using your Wagner paint sprayer again, check if the parts have been put back together correctly and securely. I recommend testing it out with some water first to make sure that everything is functioning properly.
How often should you clean your Wagner paint sprayer after using oil based paint?
Whatever paint or material you use in your Wagner paint sprayer, it’s important to clean it after every use. So you should clean it after every project since you don’t want to damage the sprayer, or worse – have chunks of dried paint clogging up your equipment. Here’s how to unclog a paint sprayer for detailed steps of unclogging a paint sprayer if you face this issue.


Cleaning regularly can also help extend the lifespan of your Wagner sprayer. When it comes to oil-based paint, you’ll need to be a bit more careful and really thorough with your cleaning. This kind of paint can be more challenging to clean than others.
So it’s a good idea to make it a habit to clean your Wagner paint sprayer right after you use it. If you’re using the Vonforn paint sprayer, here’s our detailed guide on how to clean Vonforn paint sprayer.
We hope you have learned how to clean oil based paint from Wagner paint sprayers! It’s important to learn what to use and how to properly clean your equipment after using oil based products.
So next time you have a project that requires oil based paint, you’ll be prepared to clean up afterward without any worries.

How to Clean Oil Based Paint from Wagner Paint Sprayer
Here's how to clean oil based paint from Wagner paint sprayer properly so your sprayer stays in good condition for all your future painting projects.
Materials
- Mineral Spirits
- Disposable Gloves
- Water
- Dish Soap (optional)
- Clean, Dry Rag
Tools
- Wagner Paint Sprayer
- Bucket or Rag
- Small Brush
Instructions
- First, unplug your Wagner paint sprayer to guarantee your safety and avoid any accidents. Don't forget to also empty out any remaining paint from the container and transfer it back to its original container.
- Rinse out the paint sprayer container with mineral spirits, then spray the solution through the sprayer for about 20 seconds. This will get rid of any leftover product.
- After disassembling different parts of your Wagner sprayer, clean each one thoroughly with the same cleaning solution (mineral spirits) and a brush or rag. Clean hard to reach areas like the nozzle with a little brush.
- Rinse all the parts with water, adding a few drops of dish soap for an extra deep clean. This step further removes any residue so your sprayer becomes completely clean.
- Make sure all the parts are completely dry before reassembling them back together. You can let them air dry or use a clean, dry rag to wipe them down. Just make sure there is no moisture left.
- Check if the parts have been put back together correctly and securely. Test your Wagner paint sprayer out with some water first to make sure that everything is functioning properly.
Recommended Products
As an Amazon Associate and member of other affiliate programs, I earn from qualifying purchases.


More Paint Sprayer Tips
- Paint Sprayer Reviews
- Can You Use Paint In A Wagner Stain Sprayer
- Why I Use A Paint Sprayer
- Wagner Paint Sprayer Tips
- Best Latex Paint Sprayer
Follow us on YouTube to get more tips for painting furniture. Or share your project with us on our Facebook Group and be part of our community. See you there!