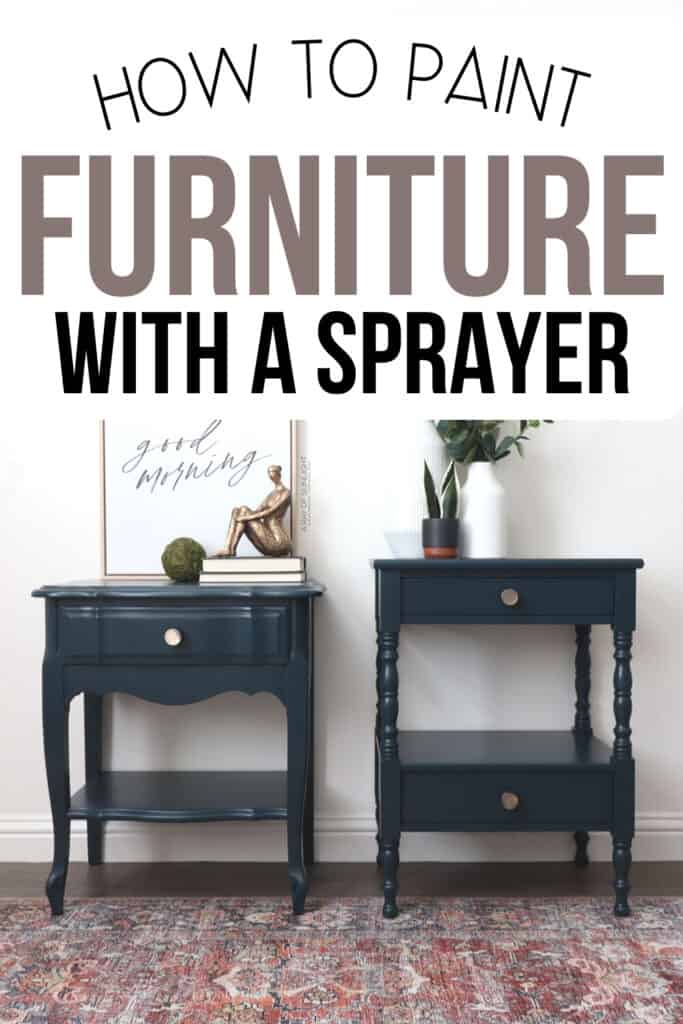
DIY Blue Painted Nightstands

Check out how we transformed these mismatched nightstands from the thrift store using chalk paint and a paint sprayer. You will love these DIY blue painted nightstands! They’re simple yet stylish pieces for your bedroom or living space.
If you’re feeling inspired by these blue painted furniture ideas and want to try them, then keep reading for all the details on how we created this beautiful and unique set! We’ll guide you through the process step by step, making it super easy to follow along.
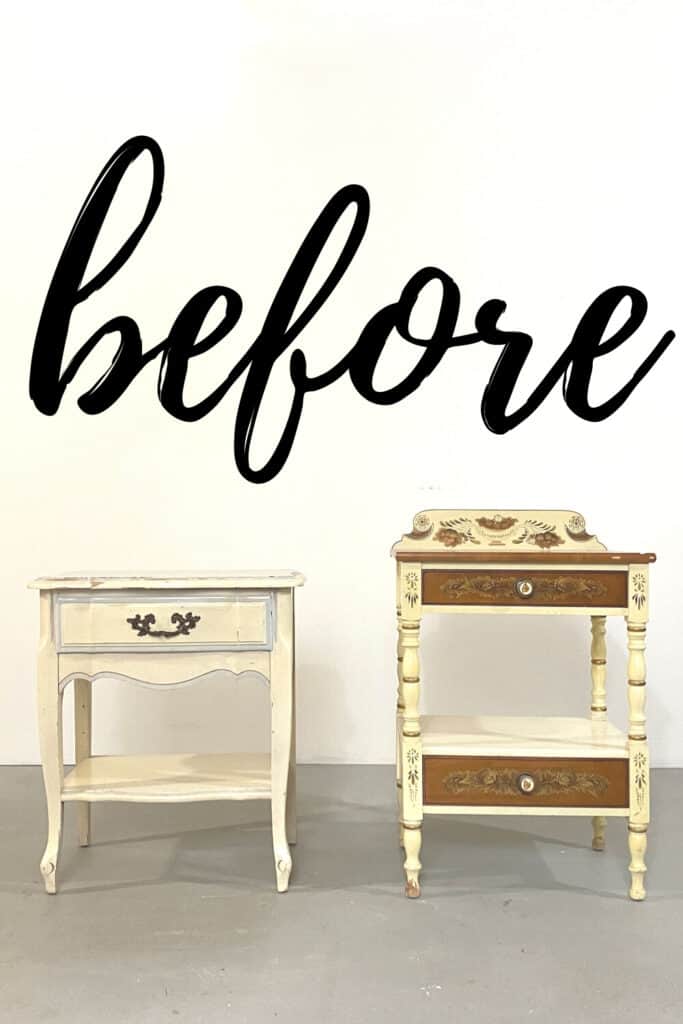
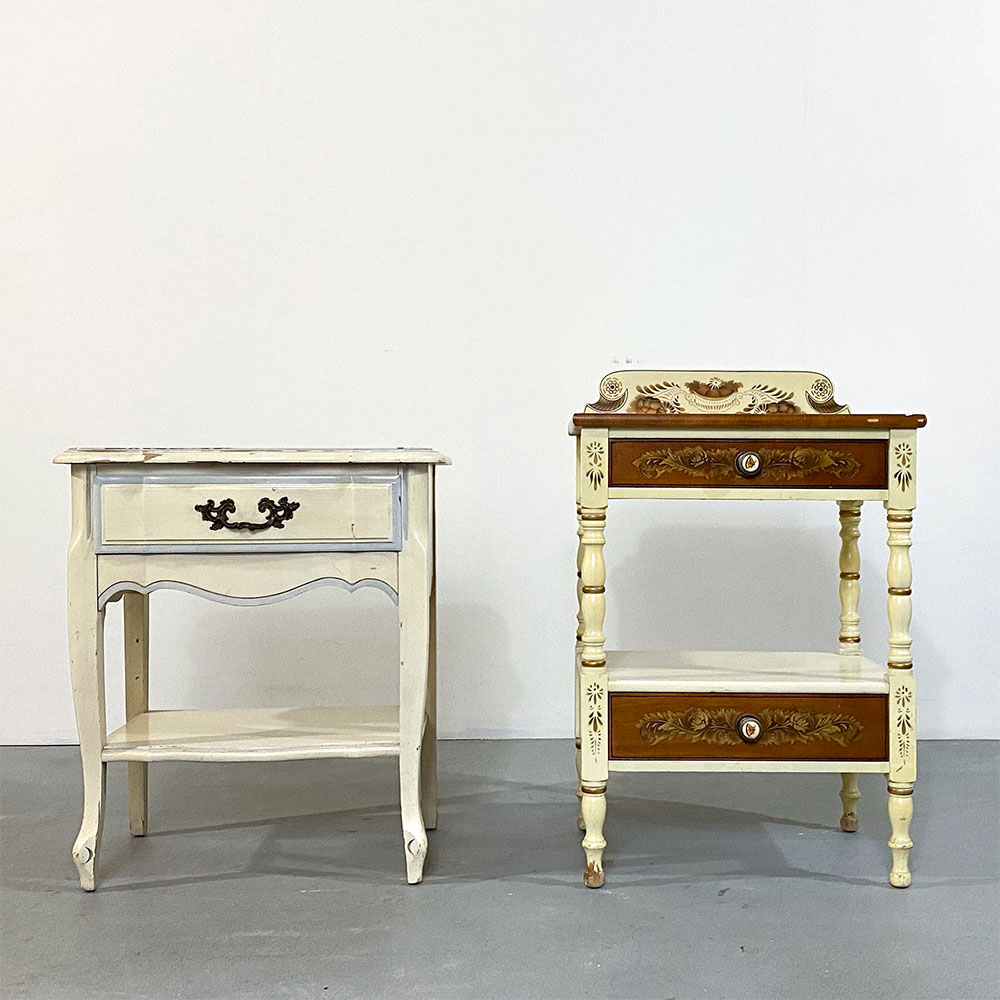
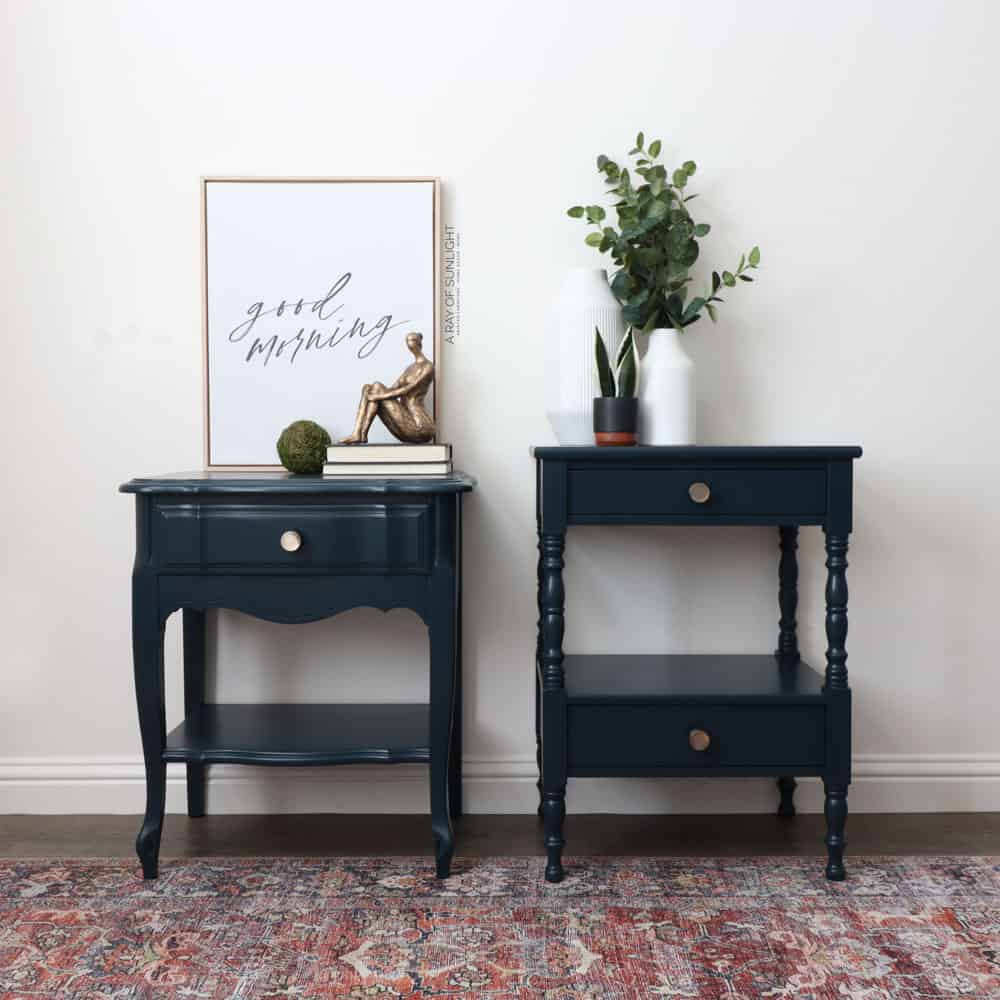
Alright, the nightstands above are the ones I’m working with. I got them both from a trip to the thrift store. They’re about the same size and height but are completely different styles.
In my experience, single nightstands don’t sell well, so I usually skip over them. But a pair of them sells well! Especially if they are taller than 24”. So, my goal is to make them into a mismatched set!

If you only have one piece, no problem! You can still follow these steps to create a beautiful DIY blue painted nightstand that will make a statement in your space. So, let’s get started!

Supplies Used for DIY Blue Painted Nightstands
As an Amazon Associate, I earn from qualifying purchases. I also may earn from other qualifying purchases with other companies or get free product to review and use. All opinions are my own.
- Wagner FLEXiO 3000
- KwikWood to fill in hardware holes
- Krud Kutter Cleaner Degreaser
- Old Rag
- 3×4 Electric Ray SurfPrep Sander / Sandpaper (Use code RAY10 to get 10% off)
- Fine Grit Foam Sponge (Use code RAY10 to get 10% off)
- Wood Filler
- Shop Vac with Hose and Brush Attachment
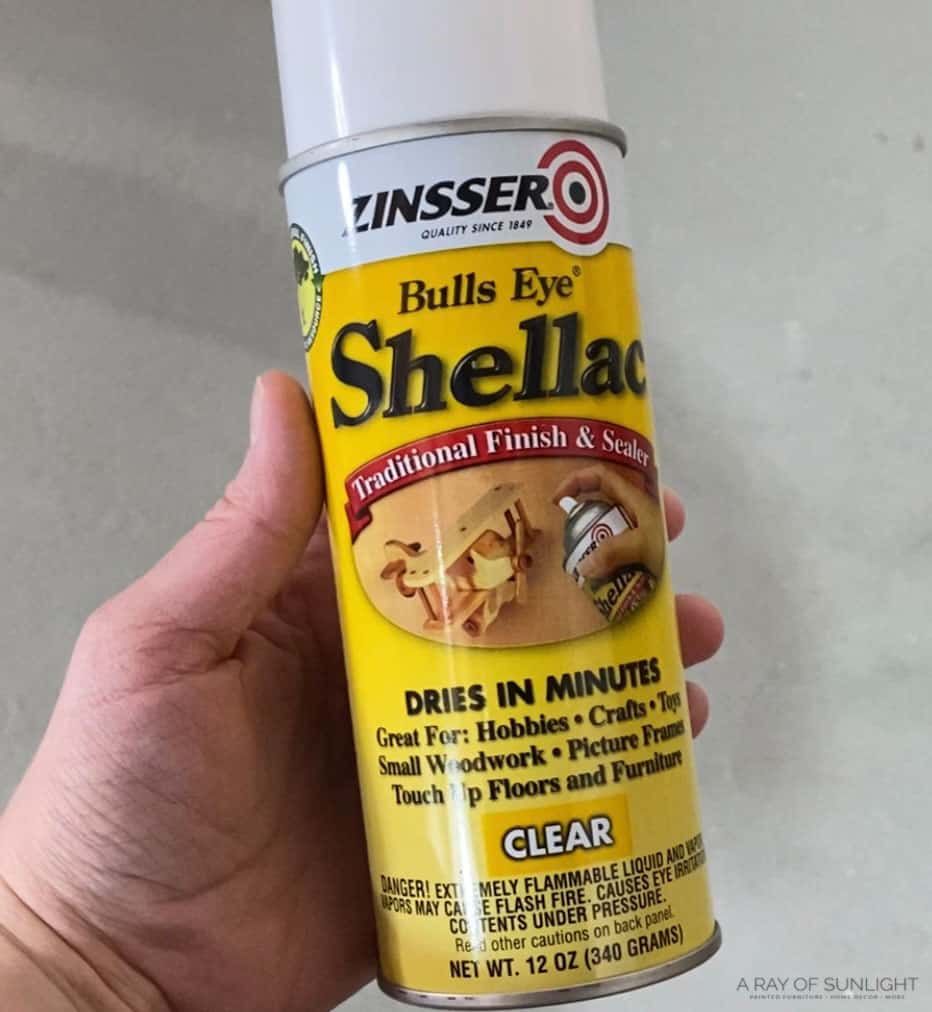
- Clear Shellac, which is my favorite primer
- Respirator
- Country Chic Paint in the colors Peacoat and Fireworks
- Measuring Cup
- Paint Filters
- Varathane Water Based Polyurethane – My Favorite Topcoat
- New Knobs
Check out the must have products for your DIY projects in our best painting furniture supplies post!
Prep Nightstands for New Color
To get started I did what I always do, following this process on how to prepare furniture for painting.
I removed the hardware. And then I filled in the hardware holes on the French provincial nightstand so I could replace the pull with a knob. Discover the best product to use for filling holes when replacing furniture hardware here!
The other just had knobs, so I left the holes alone over there. While I waited for that to dry for an hour, I worked on a few other things.
I removed the backsplash from the colonial style nightstand. It was only attached with 3 screws on the back, so it only took a minute to get it off. I wasn’t a fan of it…it just made the piece look taller and even more different than the French one. Let’s just say that I was glad to see it go.
Cleaning and Scuff Sanding Nightstands
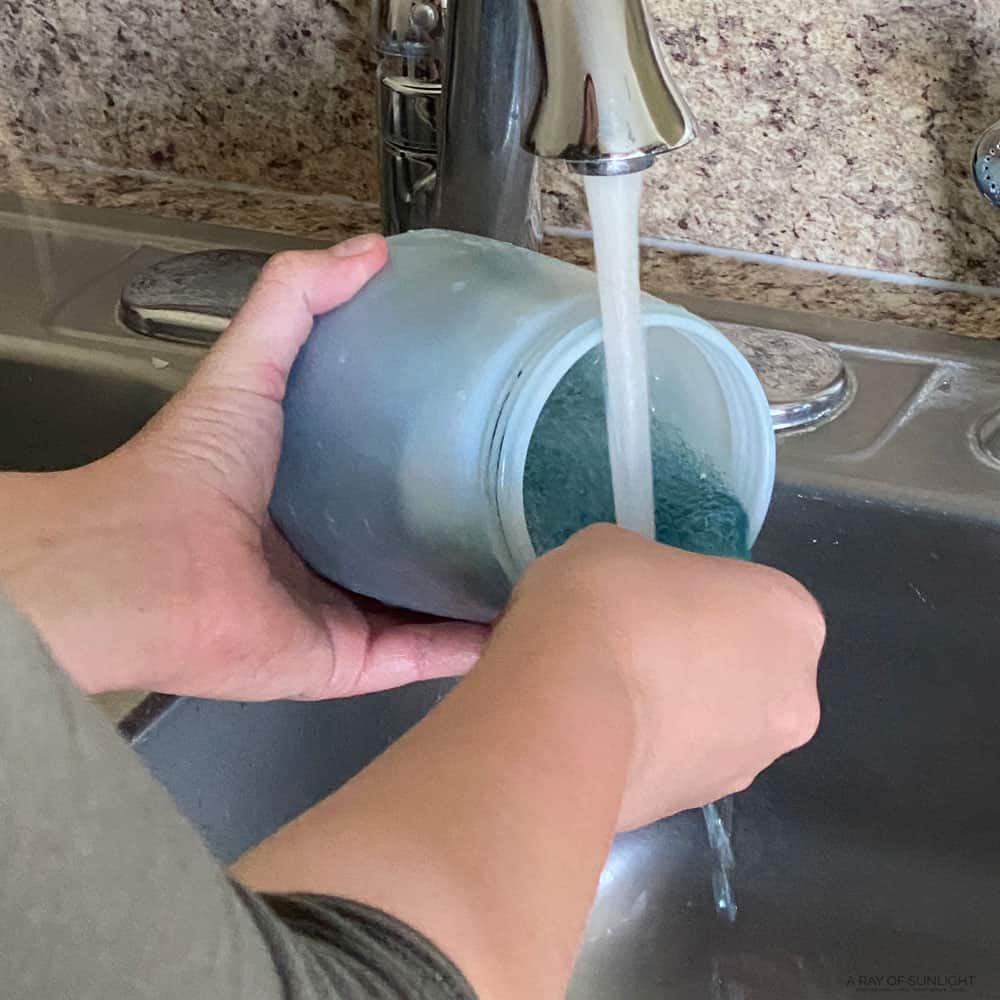
Then I cleaned off the dust and grime on them with some Krud Kutter.
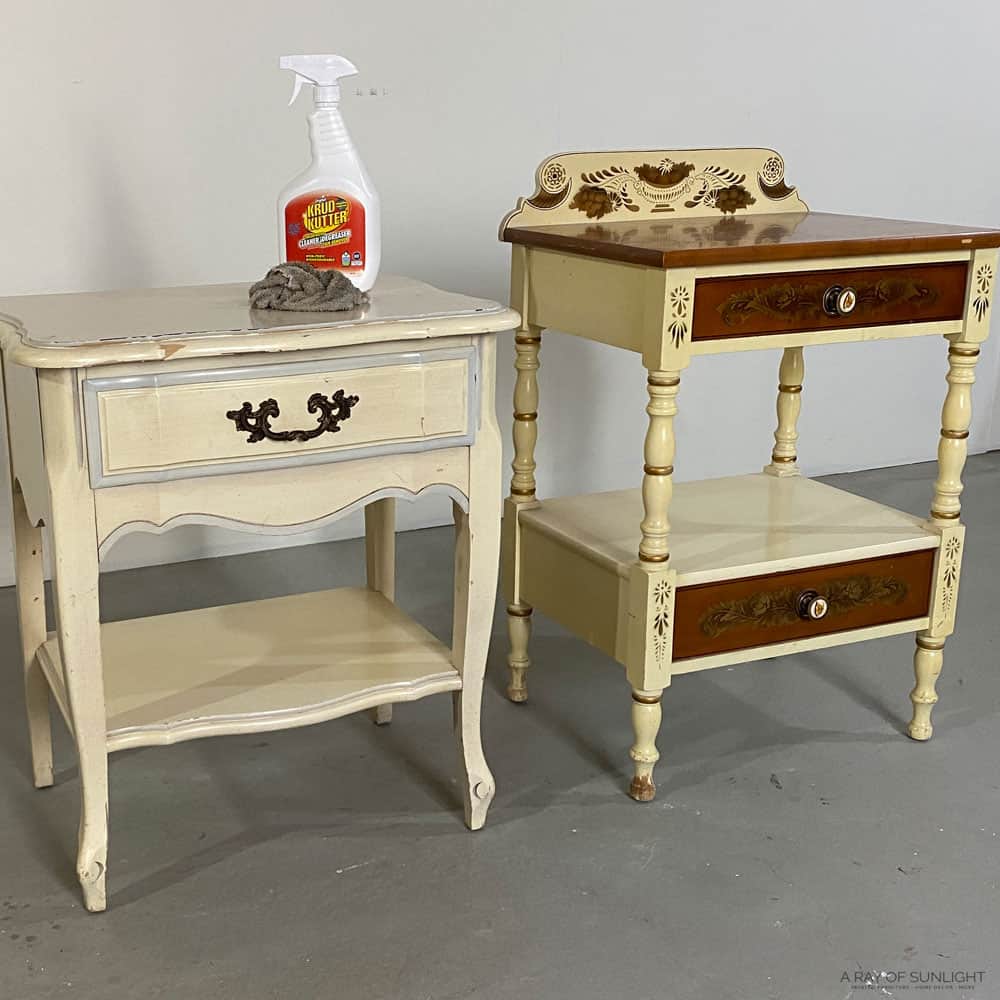
They were a bit dirty, so I ended up wiping them down twice with Krud Kutter and then I used a clean, wet rag to wipe them off one more time. Learn more on how to clean furniture before painting here.
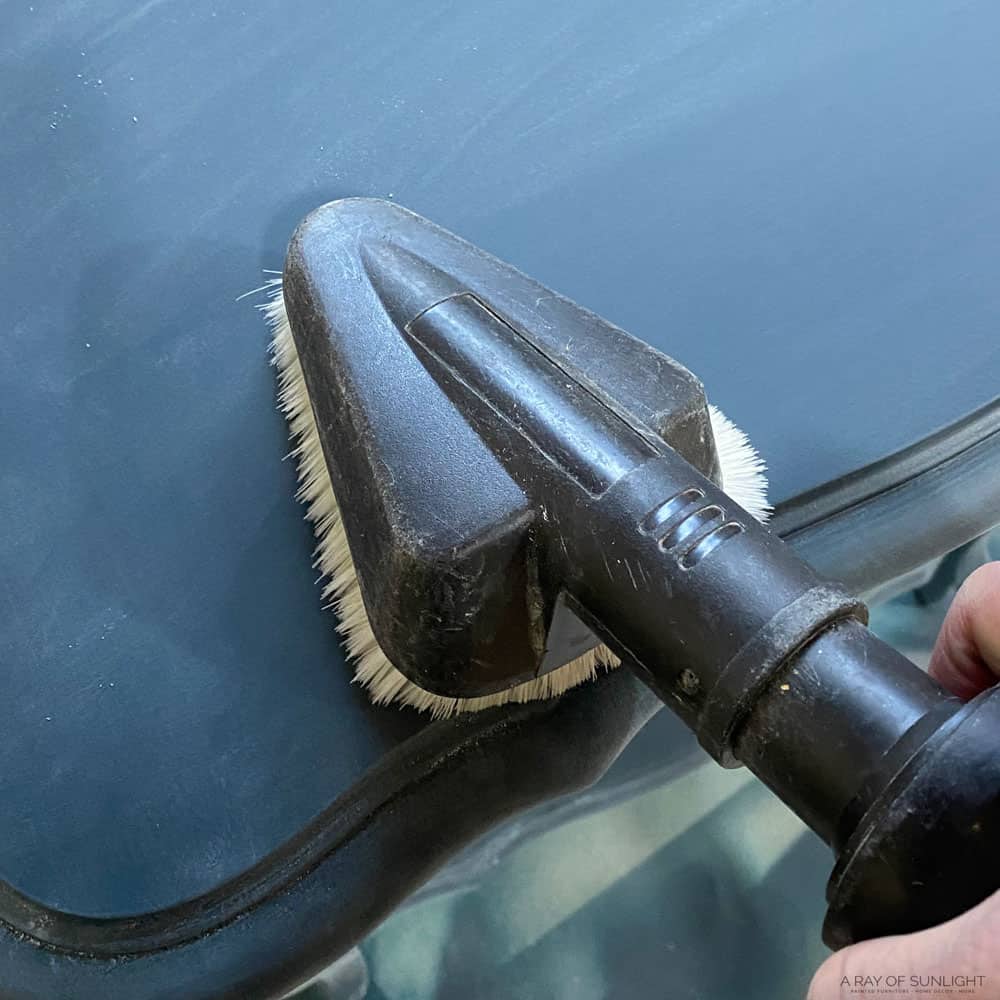
And then I dove into scuff sanding. I used my handy dandy little SurfPrep sander and a medium grit foam sponge to help me sand all the curves, spindles and details without messing them up. Learn more about the importance of sanding before painting furniture here.
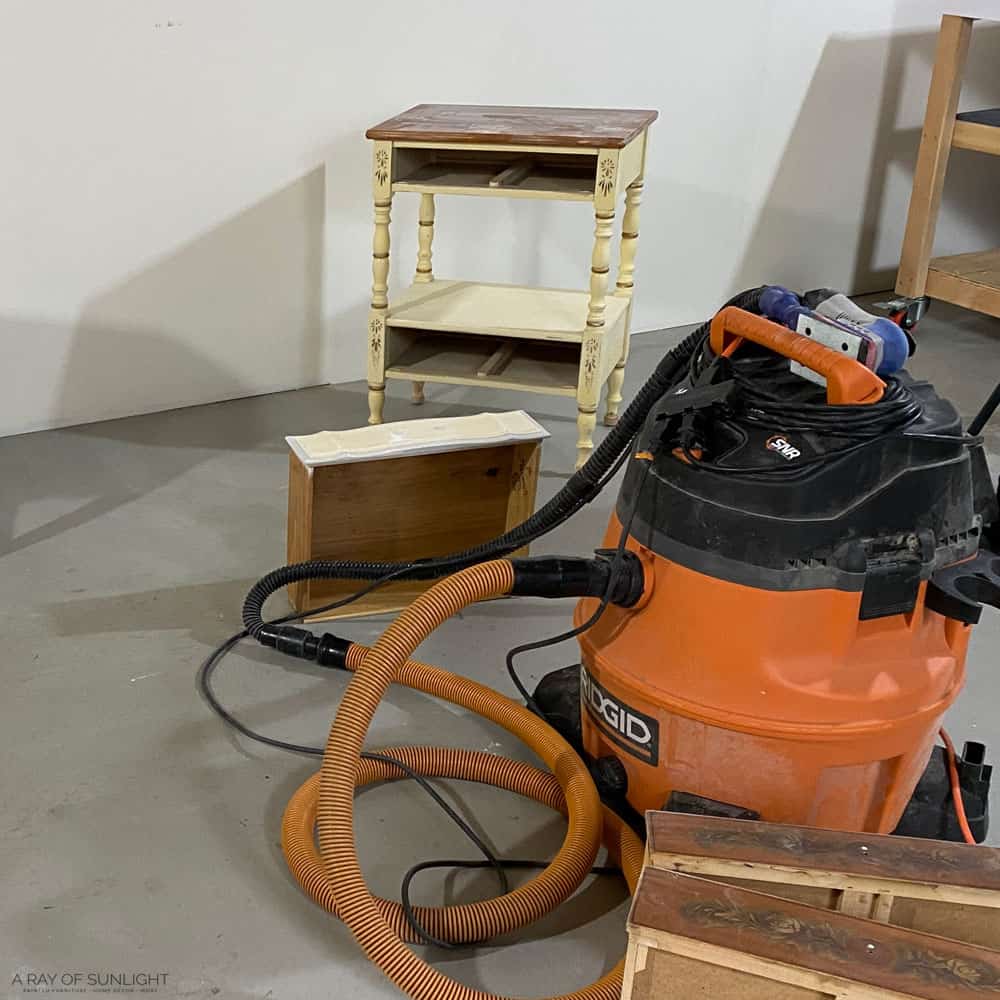
It’s attached to my shop vac, so most of the dust gets sucked up instead of going into the air.
The French nightstand has a laminate top, so I made sure to give it an extra good sanding to help the new coating stick. Here’s more on how to paint laminate furniture, and here’s how to paint laminate furniture without sanding to see the difference.
And then for the rest, I at least sanded enough to just scuff up the old finish to help with adhesion. But I mostly took this time to sand and smooth out everywhere the finish had chipped off or been damaged.
It also gave me the chance to look over each piece really well and I realized that there was a crack on the side of one that needed to be filled in with a little bit of wood filler. You can choose among the best wood fillers for furniture here!
So I filled it in, and let it dry. By the time it was dry, the KwikWood in the hardware holes was dry, so I sanded both of those areas down flush with the surface of the wood. Learn more about how to use KwikWood here.
And then I used my shop vac with the hose and brush attachment to vacuum the dust that was left behind. The sander does a really good job at keeping the dust out of the air, and sucking up most of the dust when it’s hooked up to the shop vac.
(Learn more about what you need to get started with the SurfPrep sander here.)
But it still leaves some dust on the surface. So I quickly went over everything with the shop vacuum. And then I wiped it all down with a tack cloth to finish picking up any leftover dust. If all of the dust isn’t removed, it makes the new finish more rough and bumpy, so I try to remove all of that beforehand.
Priming Nightstands With Clear Shellac
Then I moved them into my paint booth and applied 2 coats of shellac on them. Even though shellac isn’t really marketed as a primer, it’s my favorite thing to use as a primer!
Not only does it prevent bleedthrough, but it helps the new coating stick to laminate or really slick surfaces! And for these two pieces, I needed both! Get more tips on how to stop stains from coming through paint in this post.
I personally always spray the shellac on because it’s so stinking easy to do it! Check out more best primers for painting furniture and how to choose the right one here.
That’s why I love to use a sprayer, too! It just saves so much time. Check out the best HVLP paint sprayers for furniture that I have personally tested here. But, you’re not supposed to put shellac products, or products with a flash point of less than 100 degrees in these Wagner tools.
And honestly, I don’t want to clean shellac out of mine, so I use it in the aerosol cans instead. But here’s how to clean shellac primer out of sprayer properly if you used it with your HVLP gun!
So I sprayed the 2 coats of clear shellac on each piece, letting it dry in between coats. And then I let the shellac dry overnight.
Paint Nightstands Blue
The next day I busted into my new toy, this Wagner FLEXiO 3000 that Wagner sent me.
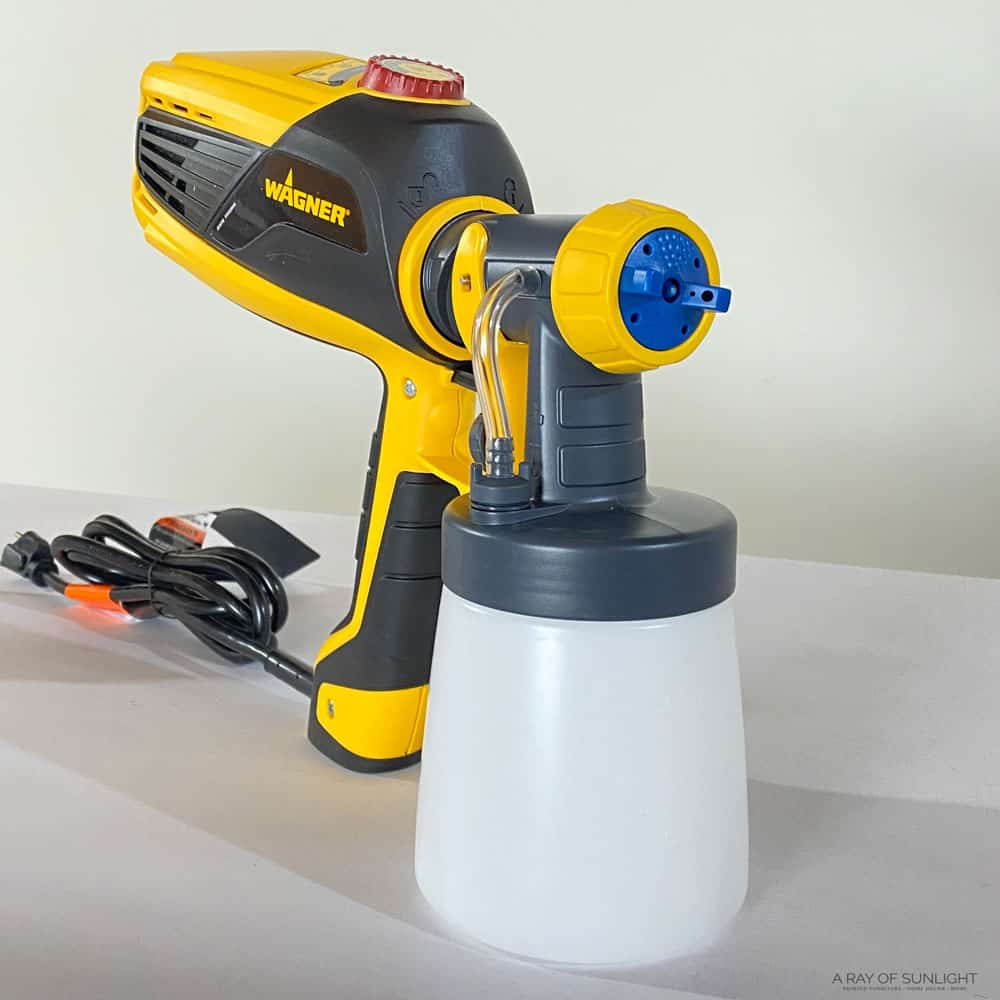
I’ve seen a few other furniture painters use this sprayer, so I really have wanted to test it out and see how it works and how it compares to the other ones I own.
P.S. Check out the comparable HomeRight Super Finish Max paint sprayer here. And see how it compares to other Wagner models in this post on the best Wagner paint sprayers for furniture.
Mixing Chalk Paint
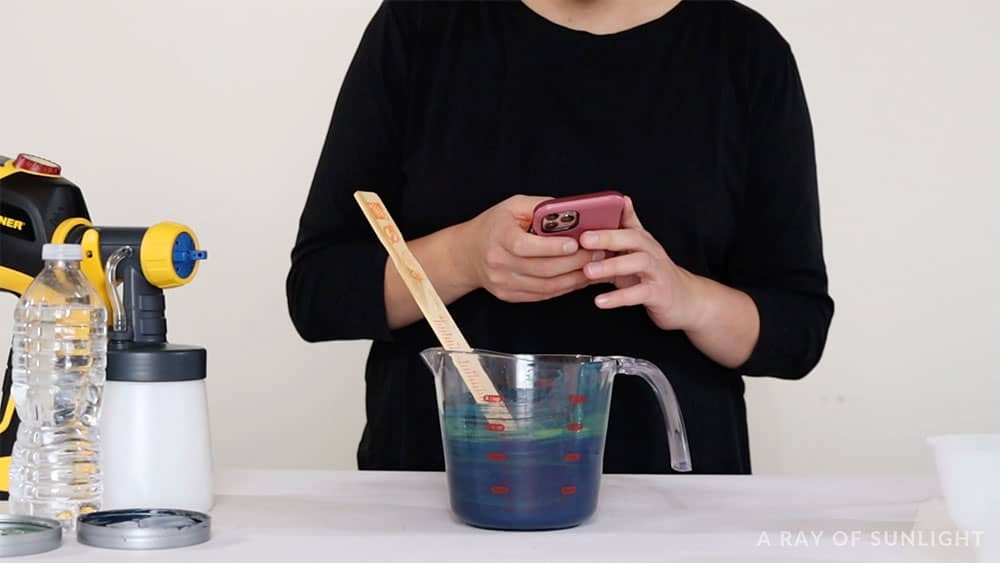
I mixed up a 1 to 1 ratio of two of my favorite colors for this project. This deep blue called Peacoat, and this stunning emerald green called Fireworks.
I poured it into a measuring cup so I could more easily figure out the water to paint ratio that I needed to thin out the new coating. And then I mixed the two colors together really well.
Thinning Chalk Paint
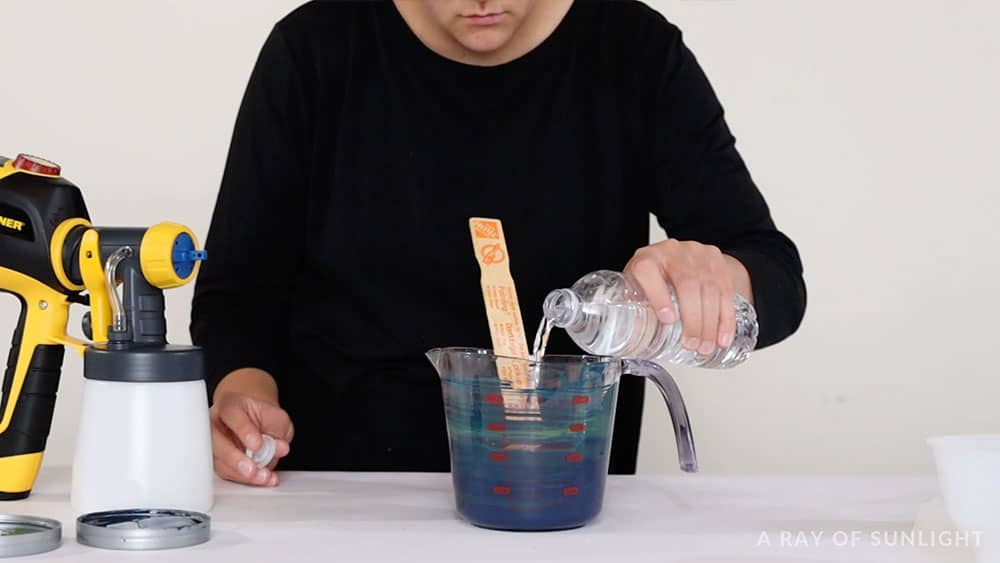
I was a little bit nervous about this part because this was my first time doing this thinning for this sprayer (obviously), but I started out by thinning it out by 10% because that’s the measurement I hear about a lot.
I had 2 cups of paint measured out. So I grabbed my calculator and figured out that 2 cups times 10% was .2 of a cup, which is pretty close to a ¼ of a cup. So I used a little less than a quarter of a cup of water.
And then I mixed everything up really well. But, from my experience from my other Wagner sprayer, the Wagner Double Duty, I felt like it was still a little bit too thick. I had read on Wagner’s website somewhere in a Q&A that really thick coatings might need to be thinned out by 20% instead of just 10%.
And this Country Chic Paint is pretty thick! I also know that it can handle being thinned out a lot more than some other types of paint can. Check out my honest and detailed Country Chic Paint review to learn more about it.
So I decided to add another almost quarter cup of water to the mix to thin it out by a total of 20%.
After the water was completely mixed in, I thought that the consistency looked a lot like it has when I’ve used the viscosity cup that was included with my other Wagner sprayer.
So I decided to give it a try. I poured it in through a mesh filter to make sure that there weren’t any clumps or debris in the mixture that could cause any clogging. Learn more about how to thin paint for Wagner FLEXiO sprayer here.


Testing the Sprayer
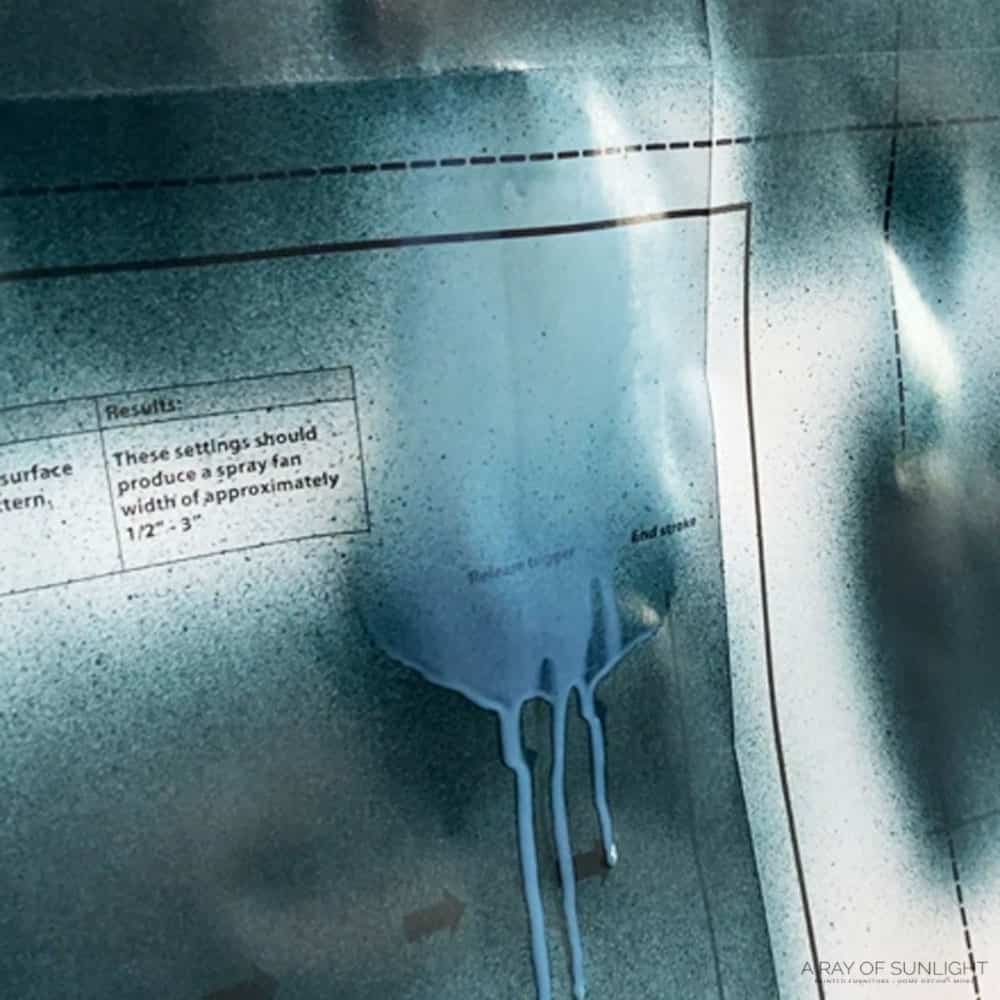
The Wagner package came with a poster that you can use to test out the sprayer and to practice getting used to it. So I taped it to my wall and tested it out!
Would you like to save this?
I set the power setting on the top to 5, made sure the spray pattern was set to horizontal and twisted the material flow knob so less coating came out. And then I plugged in my HVLP gun. I pointed it at the poster and pulled the trigger back just a little bit to get the turbine going. Then I pulled it all the way back and applied it across the poster.
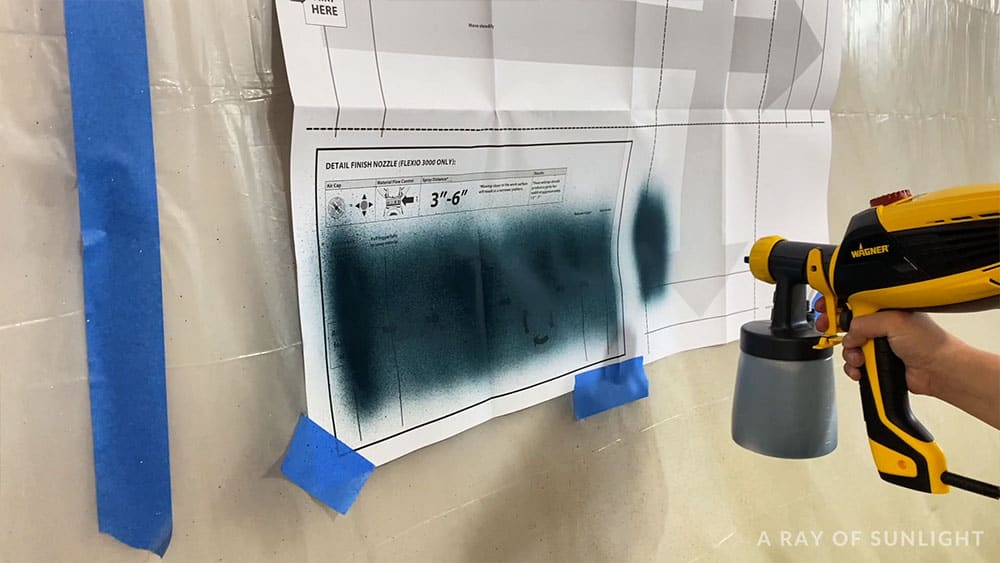
I adjusted the material flow and power settings a few times. I was pretty happy with the thickness of the coating and how it was coming out as a really fine mist, so I moved on to the real thing.
Spray Painting the Nightstands
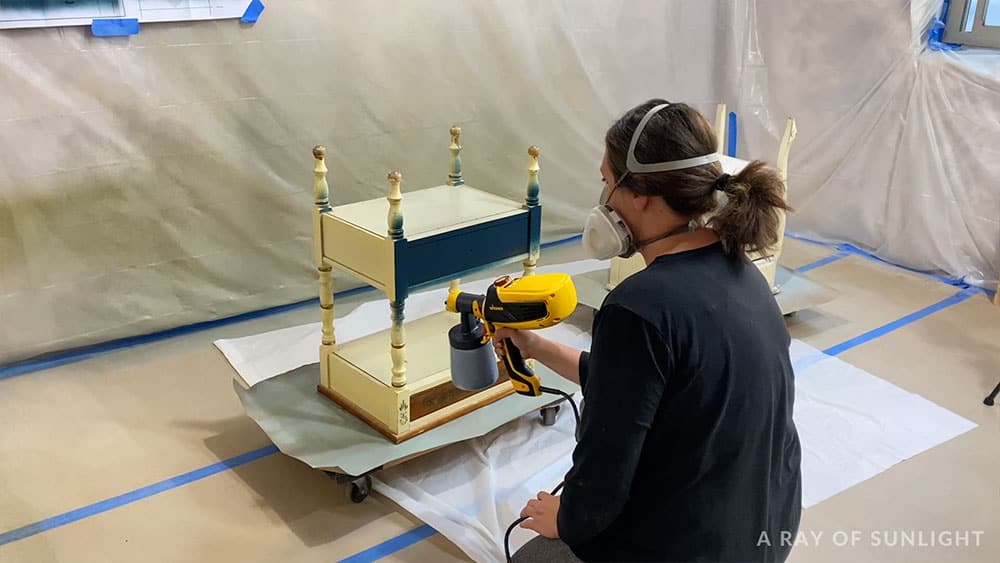
After the first pass, though, I realized that it was coming out way too much for my comfort. So I messed around with the settings some more… And then I realized that I was turning the material flow knob the wrong direction! Haha ooops!
So I unscrewed it a lot, and then I slowly screwed it back in a little bit at a time, testing it after a few twists to see if the coating was coming out enough. After a few more twists, I got it to the setting that I liked and felt comfortable with. Somewhere in the middle… not too much, and not too little.
If too much is coming out, then you get more overspray in the air which wastes product. Too much can also cause it to drip, sag or puddle on the furniture, and then you have to fix it. So I try to error on the side of less of it coming out. Here’s how to fix spray paint drips if they do happen.
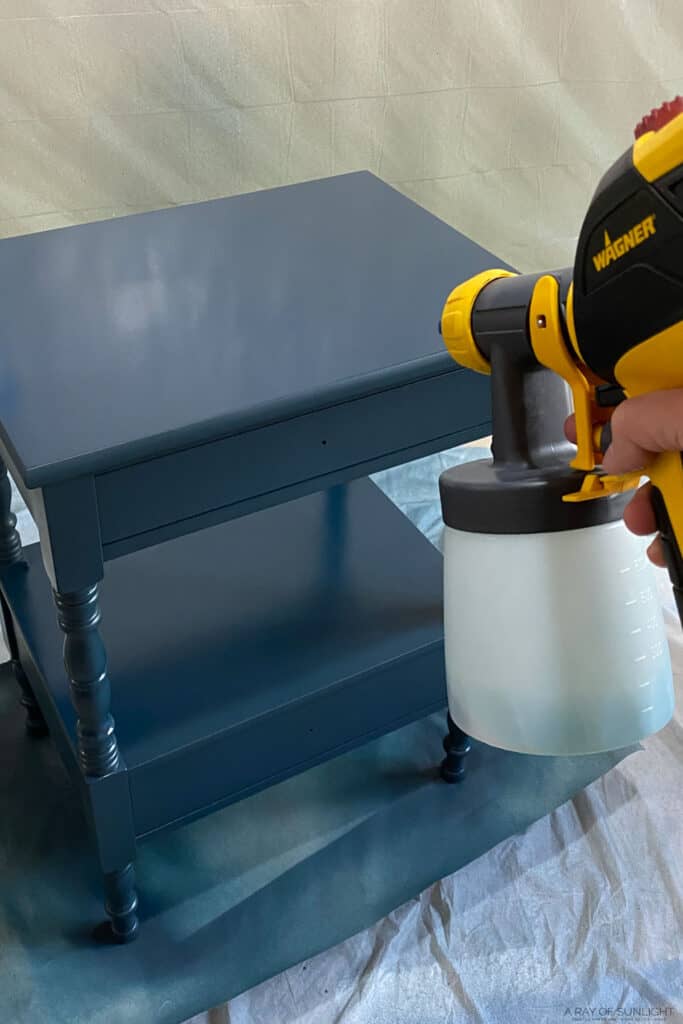
Here’s what they looked like after one coat.
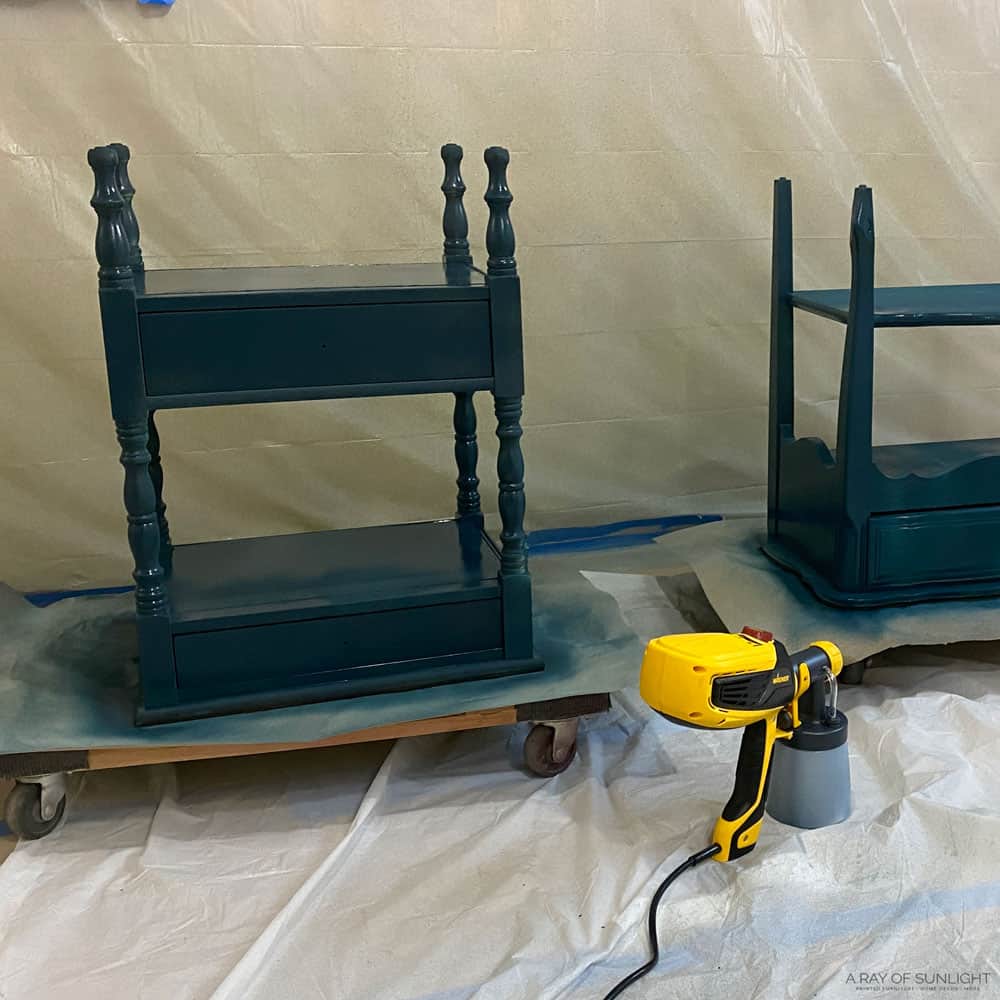
You could still see a little bit of the old finish, but most of it was covered with a thin coat of the new color. So I gave it all a second coat, and let it dry before I flipped them over to give them a coat on the right side.
After the first coat was dry on the right side, I could see outlines of the places where the old finish had chipped in the details on the top.
So I grabbed some 220 grit sandpaper and smoothed those areas out better than I had before. Sometimes, you just don’t see the imperfections until you get some of the new finish on. Then I cleaned up all the dust that I created and applied another coat all over.
Topcoat DIY Blue Painted Nightstands
And then I cleaned out my sprayer (here’s how to clean a Wagner paint sprayer) and started mixing up the poly for my topcoat. Learn more about the best topcoats for painting furniture here!
How To Apply Polyurethane
First, I stirred and stirred and stirred the poly. And then I stirred it some more. Then I added some water to thin out the poly a little and help it look better when it sprays.
I also added a little bit of the blue coating into the poly. And mixed it together really well. This is a trick that I was reminded about from Katie Scott at Salvaged by K Scott. (She is a furniture painting genius!)
Read these tutorials about how to spray polyurethane and how to apply polycrylic to painted furniture to learn more! Learn about the difference between spray polyurethane vs brush on polyurethane here.
So after all that, once again I tested it on the practice poster. And man, am I glad that I did! I would have had a huge drip on my nightstands!
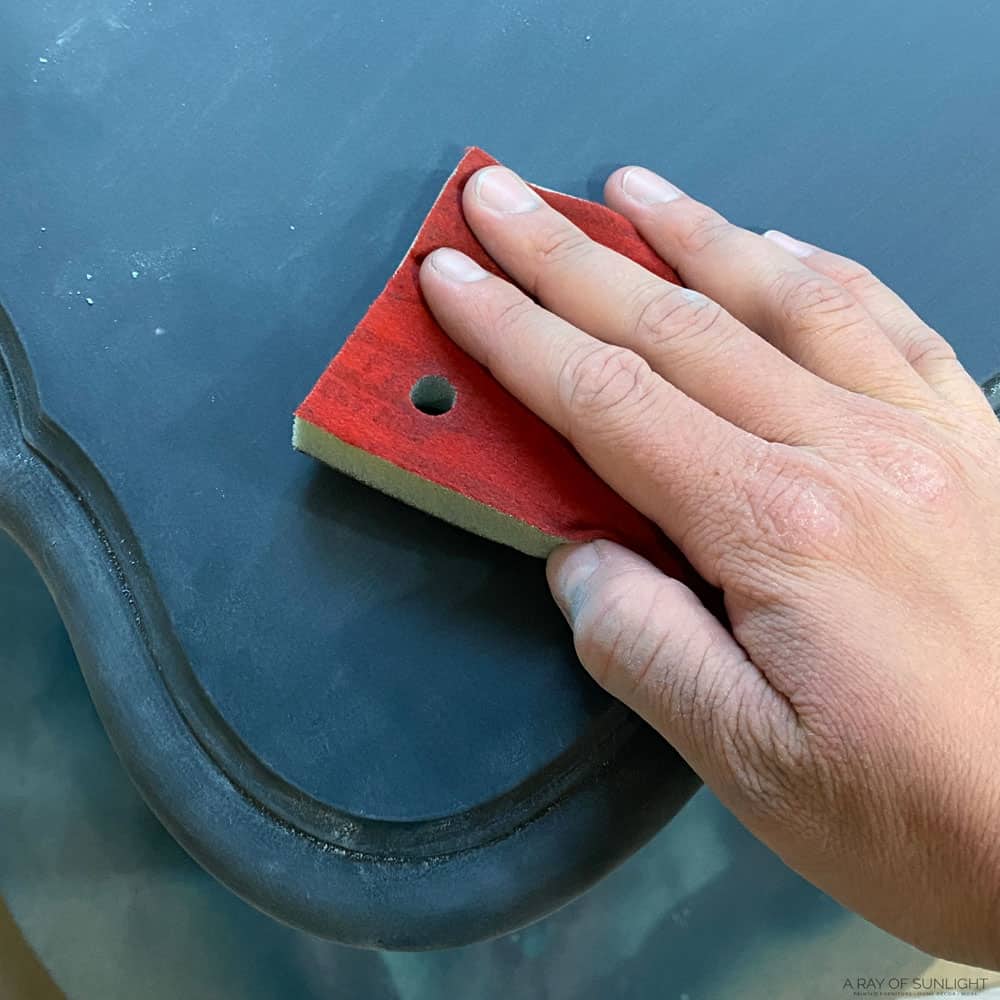
I applied the first coat of poly and let it dry completely for about an hour. Then I grabbed a very fine SurfPrep foam pad and sanded everything down. This was just to smooth the finish out, so it felt really nice and soft.

Then I cleaned all the dust off with my shop vac and tack cloth. And then I added 3 more coats of poly, including one where the pieces were upside down again.
Add New Hardware
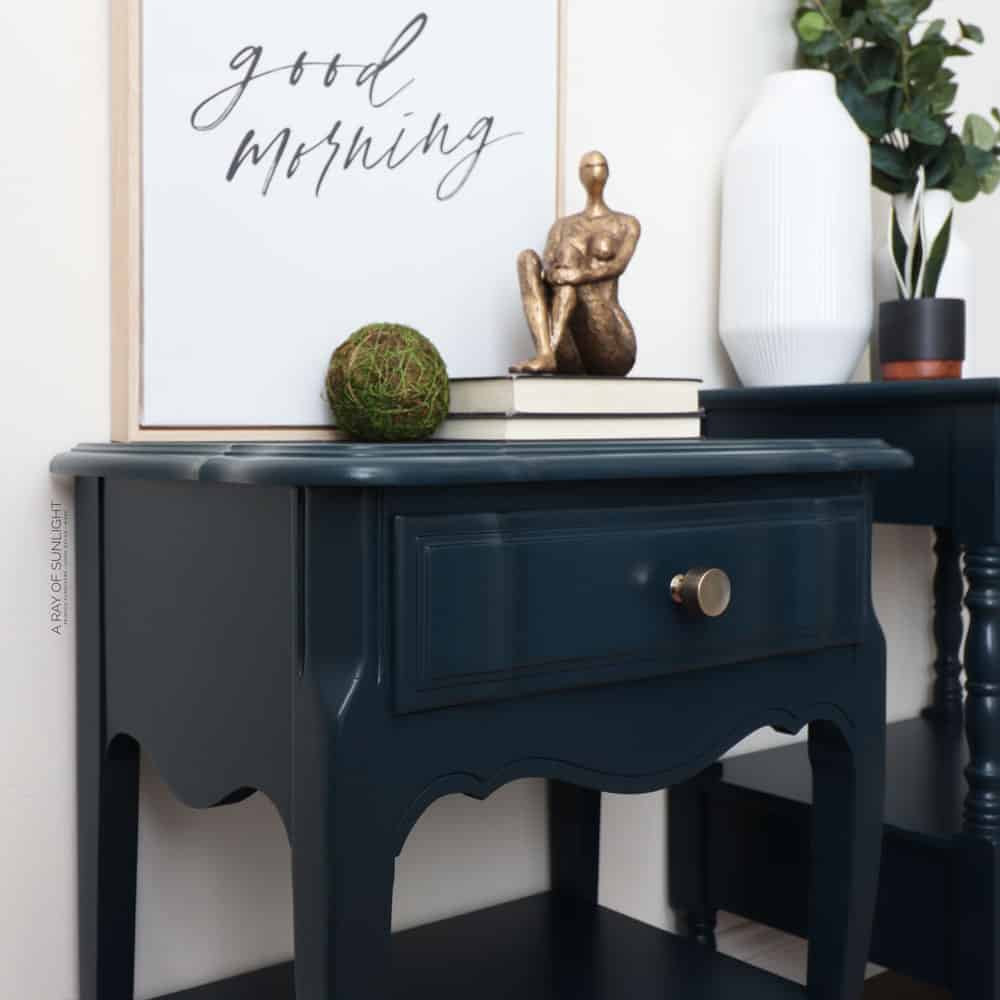
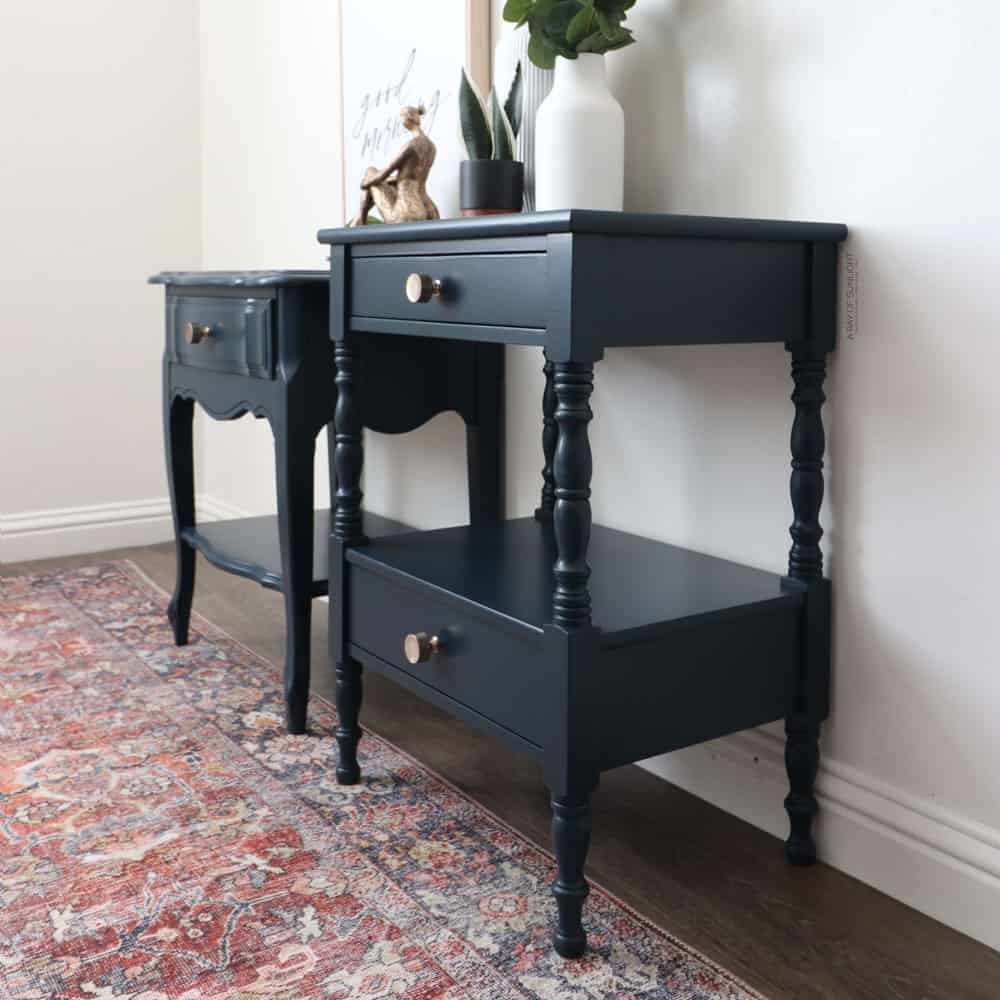
The next day I drilled a new hole for a knob, and added these new knobs onto the blue nightstands. Here’s what they look like now!
More Before and After Makeovers
See All >
Click any of these “before” photos below to view the “after” of that makeover.


You can check out more French painted furniture ideas here, and for more similar makeovers, here are small nightstand ideas and modern nightstand ideas! Here’s another list of DIY nightstand ideas if you need more inspiration.
If you want to transform more pieces in your bedroom, check out these chalk painted bedroom furniture ideas you can easily recreate! Check out more dark blue painted furniture ideas if you like this color.
More About Thinning Paint
Let’s talk for a second about this. Yep, the Detail Finish Nozzle does require that the coating be thinned out a bit, especially if you’re using chalk paint. Honestly though, that’s not surprising to me one little bit.
I have a professional grade expensive sprayer (read my honest review and thoughts on the Fuji Q4 paint sprayer here), and I still thin with that bad boy. (Though I don’t measure it at all!) Even though it can handle thick chalk coating just fine.
Thinning gives it the ability to atomize and create a really nice fine finish. Basically, a finish that doesn’t have a bunch of texture or splatters in it. So even if this HVLP gun didn’t require any thinning with the Detail Finish Nozzle, I still would do it at least a small amount.
It also doesn’t come with a viscosity cup like my other Wagner model does, so I was a little bit worried about getting the coating just right for it. It turned out to be super easy to figure out, though – just measure the paint then add 10 or 20 percent of that amount in water.
How to Make a Nightstand Taller
If you don’t like the height of your current nightstand or if it’s too low for your bed, you can easily make it taller and give it a whole new look! You’ve got plenty of options for legs, from sleek and modern designs to more classic, traditional styles.
You’ll want to measure the current height of your piece and decide how much taller you want it to be. And once you have a desired height in mind, it’s time to start shopping for legs! You should also make sure they can handle the weight of your nightstand and any items on top.
Add a plywood base where you can screw the new legs onto – here’s adding legs to a nightstand for a more detailed guide. This way, you can swap out legs whenever you want, and they can be easy to remove when you need to move things around.
If your piece has existing legs that you just want to freshen up, this post shows you how to refinish wood furniture legs!
This dark shade on our DIY blue painted nightstands looks stunning in any bedroom and adds a touch of elegance to your space. So, if you have a pair of mismatched pieces and want to give them a gorgeous and cohesive update, why not try out this DIY project?


DIY Blue Painted Nightstands
Transform your mismatching furniture with chalk paint. Here are the steps for these DIY blue painted nightstands.
Materials
Tools
Instructions
- Prep the nightstands by removing the hardware and filling in the hardware holes. Clean off the dust and grime that was on the nightstands with some Krud Kutter, and then scuff sand everything.
- For any cracks or damages, fill them in with wood filler and let them dry. After the KwikWood dries, sand those areas down flush with the surface of the wood. Vacuum all the dust from sanding.
- Apply 2 coats of clear shellac on the nightstands to prime them before painting. Let it dry in between coats and let the shellac dry overnight.
- Mix the blue chalk paint and thin it out by 10% with water. Pour it into the sprayer, using a filter to make sure that there aren't any clumps or debris that could clog the paint sprayer. Then spray the nightstands with 2-3 coats of paint.
- Seal the blue painted nightstands with 2-3 coats of waterbased polyurethane.
- Attach new hardware to your nightstands.
Recommended Products
As an Amazon Associate and member of other affiliate programs, I earn from qualifying purchases.


More Painted Nightstand Makeovers
- Repurpose Sewing Machine Tables
- DIY Emerald Green Mismatched Nightstands
- Grey Painted Dressers
- French Blue Dressers
- Painting A Nightstand
Follow us on YouTube to get more tips for painting furniture. Or share your project with us on our Facebook Group and be part of our community. See you there!