How to Get a Smooth Finish With Chalk Paint
Today, we’re sharing our secrets on how to get a smooth finish with chalk paint on your painted furniture. Sometimes, it can be a little difficult to get a smooth finish with chalk paint if you just brush it on.
But with these DIY tips and techniques, recreating these chalk paint furniture ideas will be easy! People will wonder if you bought this piece of furniture, because they’ll be shocked you painted it yourself. Let’s get started!
Alright, so you’re ready to tackle that DIY furniture project, but you’re wondering how to get that perfectly smooth, professional finish using chalk paint. Don’t worry, it’s really not that hard!

A smooth finish really brings out the color and style of your piece. It not only feels great to the touch, but it also gives it a clean, polished vibe. If you also don’t want brush lines or uneven texture on your painted furniture, a few extra little steps will help your piece look high end and professional.
So, let’s go through the steps to get a smooth finish when you chalk paint furniture. Keep reading to learn these steps and secrets!
As an Amazon Associate, I earn from qualifying purchases. I also may earn from other qualifying purchases with other companies or get free product to review and use. All opinions are my own.
Cleaning Your Furniture
First, clean your furniture. Now, this might seem like, “Well, it’s pretty clean already,” but you might be shocked at how much gunk will come off if you clean your furniture with Krud Kutter, a product that removes grease and grime.
Grease, grime, and oils can make it hard for paint, even chalk paint, to stick to furniture. I know a lot of chalk paint brands say you don’t need to prep beforehand, but that’s just not reality. Most furniture does need some prep work to help the paint actually stick. You don’t want to do all that work and then have your paint scratch off and look terrible within a couple of weeks or months.
We want to make sure the surface is clean of oils, grease, and grime. Cleaning also helps remove dirt and things like stickers and tape, or even things you didn’t realize were there because you couldn’t see them. It gives you a chance to go over everything and make sure there’s nothing that’ll keep your paint from being smooth.
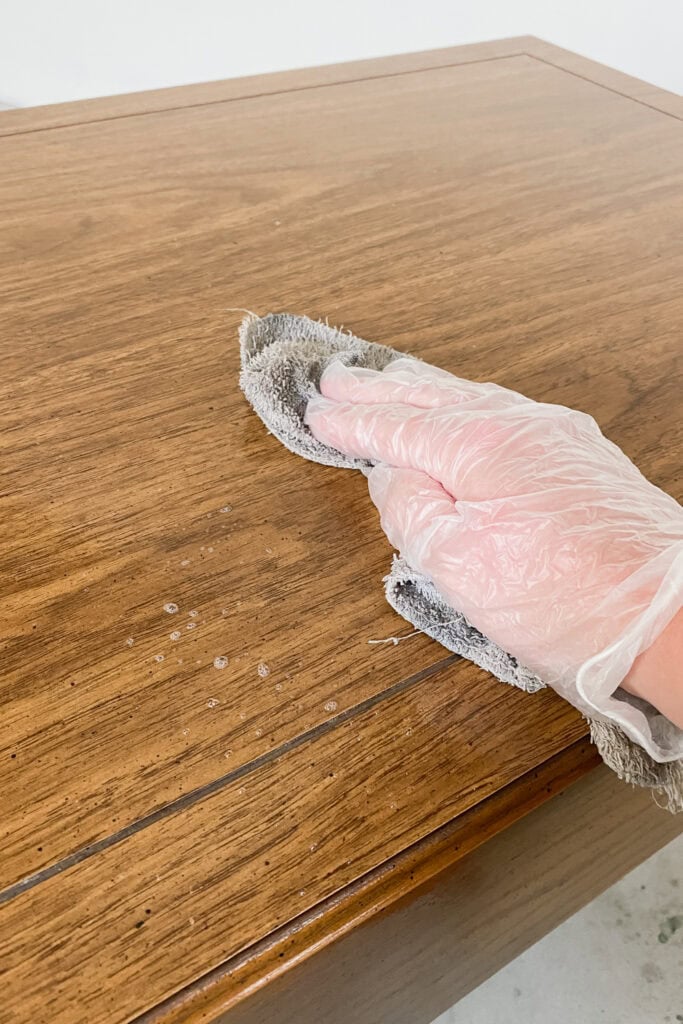
Again, we always use Krud Kutter and a damp rag to clean. Krud Kutter works way better than just wiping with a damp rag of water. It cuts through grease and grime, and you’ll be surprised how much will come off your furniture. Don’t skip the cleaning step! Learn all about how to clean furniture before painting here.
Sanding Rough Areas
The next secret is to sand down any rough places. There might be a little bit of damage or some scratches. You can fill these in with wood filler, or, depending on the surface you’re painting, you might be able to sand the scratches out. Check out my guide on how to repair deep scratches in wood furniture if your piece has them.
Just beware that you don’t want to sand too far, because you might sand through the thin wood veneer. It’s easy to sand through it since it’s just a really thin layer, and if you do that, it can cause more issues that you’ll have to fix. Can veneer be sanded? Get more answers here!

You can fill rough spots with wood filler, then sand those smooth and flush so you don’t see them. I love to use 220 grit sandpaper, with a power sander or by hand. It’s a great step to make sure the surface is nice and smooth before you start painting.
Now, you might be wondering, “Wait a second, I just cleaned. Now I’m going to sand and make it dirty again? Why not sand first and then clean?” Well, if you have oils, grease, or grime on your surface, there’s a possibility that when you sand, you can melt that stuff and push it into the surface, making it harder for your paint to stick.
Sometimes, that can also create more stains you have to deal with. This is where primer comes in to help block those stains from ruining your paint. Learn more about how to stop stains from coming through paint by priming here.
Would you like to save this?
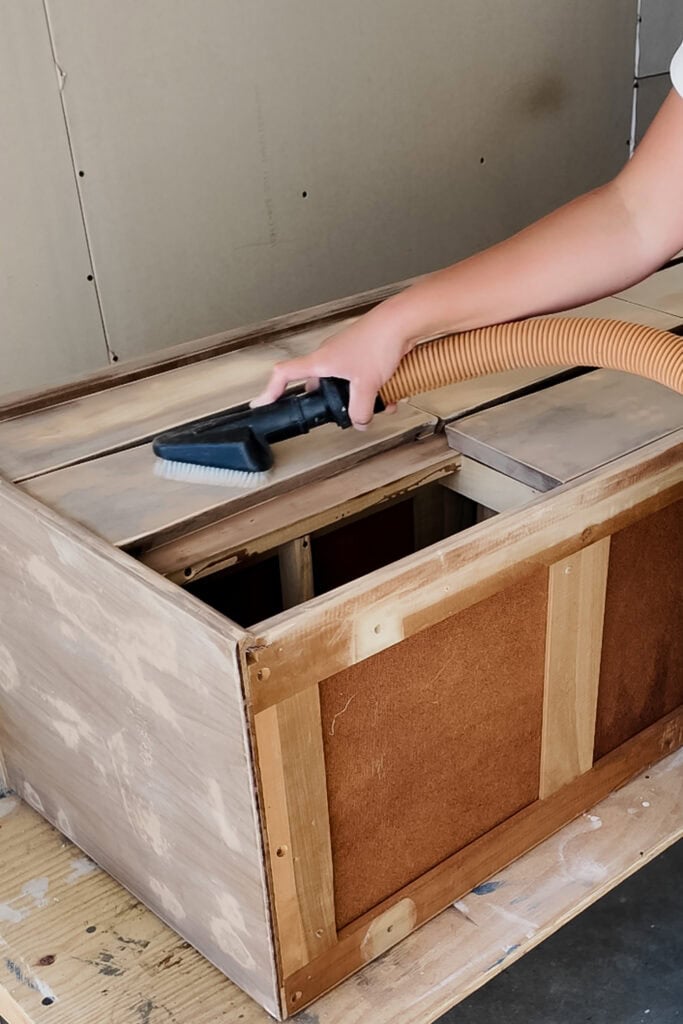
So, it’s always best to clean, then sand, and then yes, you’ll have to wipe off and remove that dust again. I usually use a shop vacuum with a hose attachment that has a brush on it, and then use a tack cloth to pick up the remaining dust. Get more tips on how to clean wood after sanding in this post.

Spraying Chalk Paint
Now you should have a pretty smooth surface, free from scratches, stickers, grease, grime, or random things. At this point, if you just go and apply paint with any old paintbrush, your chalk paint will not be smooth. You’ll have brush marks and ridges everywhere, and it just won’t look like a high end professional finish.

So, there are a couple of things you can do here. If you want the smoothest finish, use a paint sprayer. The VonForn paint sprayer is perfect for beginners and comes with everything you need to get started. Here’s my VonForn paint sprayer review, and check out more of the best paint sprayers for beginners in this post.
Make sure you thin your paint out to get an even smoother finish. If you spray chalk paint thickly without thinning it, you’ll get more texture and bumps. Here’s our guide on how to thin paint for a sprayer.
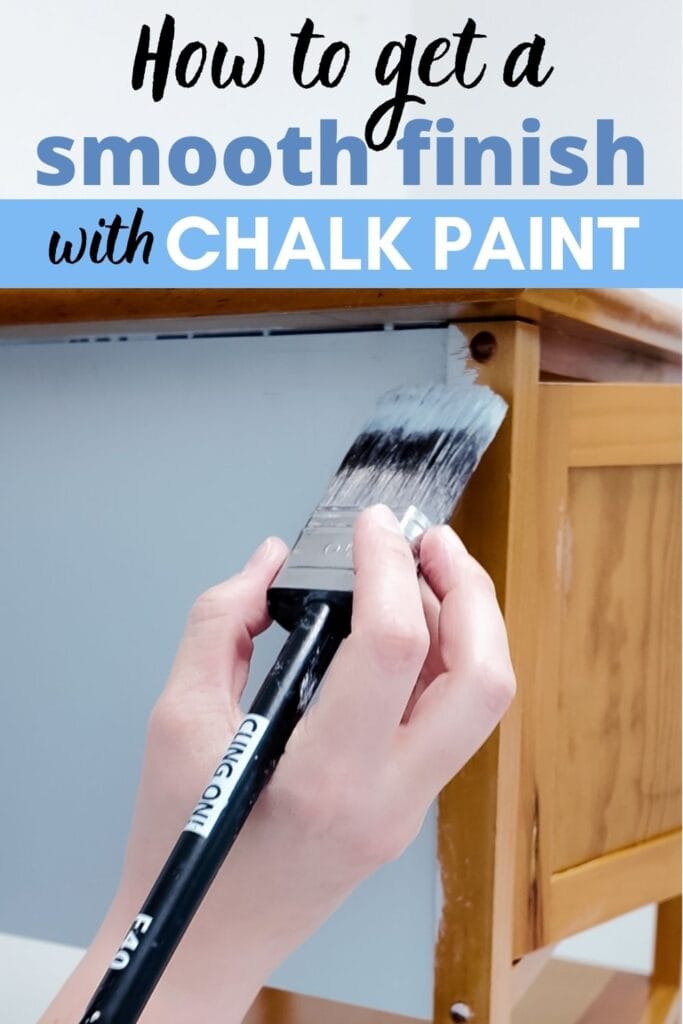
Best Brush for Chalk Paint
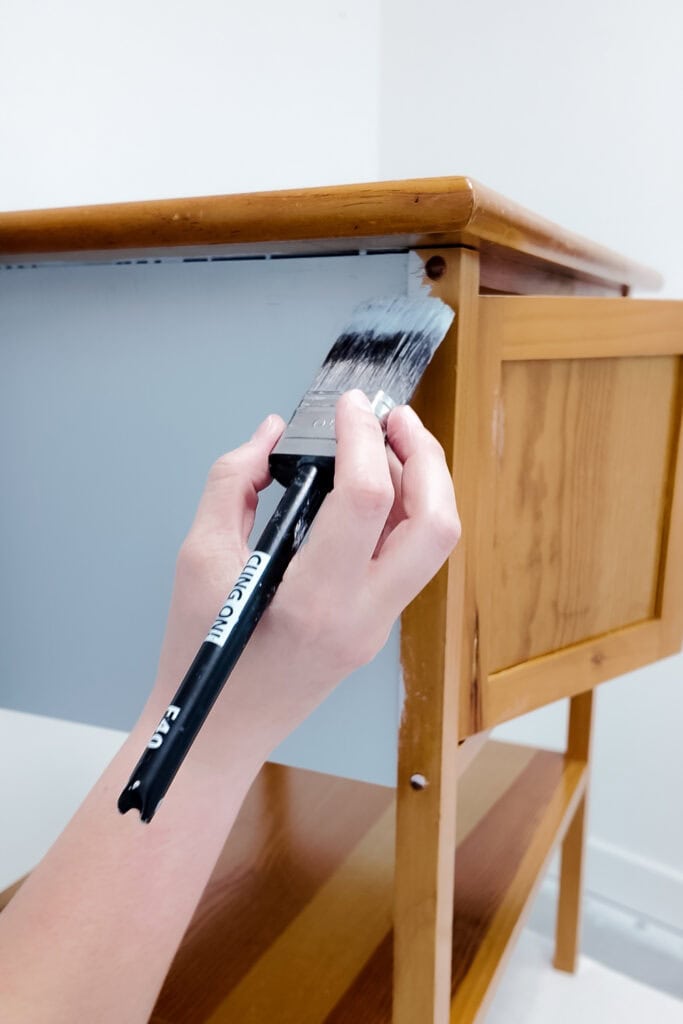
If you’re like, “Yeah, no, I can’t spray,” there are other options. You can use some high end paintbrushes to get as smooth a finish as possible. The Staalmeester and Cling On paintbrushes are fantastic if you want fewer brush marks in your finish. You’ll still have a little bit of brush marks, but not as much as with any old paintbrush.
You can also learn how to fix brush strokes in chalk paint here. And again, thinning out the paint a little helps it take longer to dry, so everything smooths out more.
How to Seal Chalk Paint
As for the topcoat, you also need to spray it on to protect your chalk paint. I like to spray it on to avoid streaks, brush marks, or bubbles. This will also create that smooth finish you’re looking for.
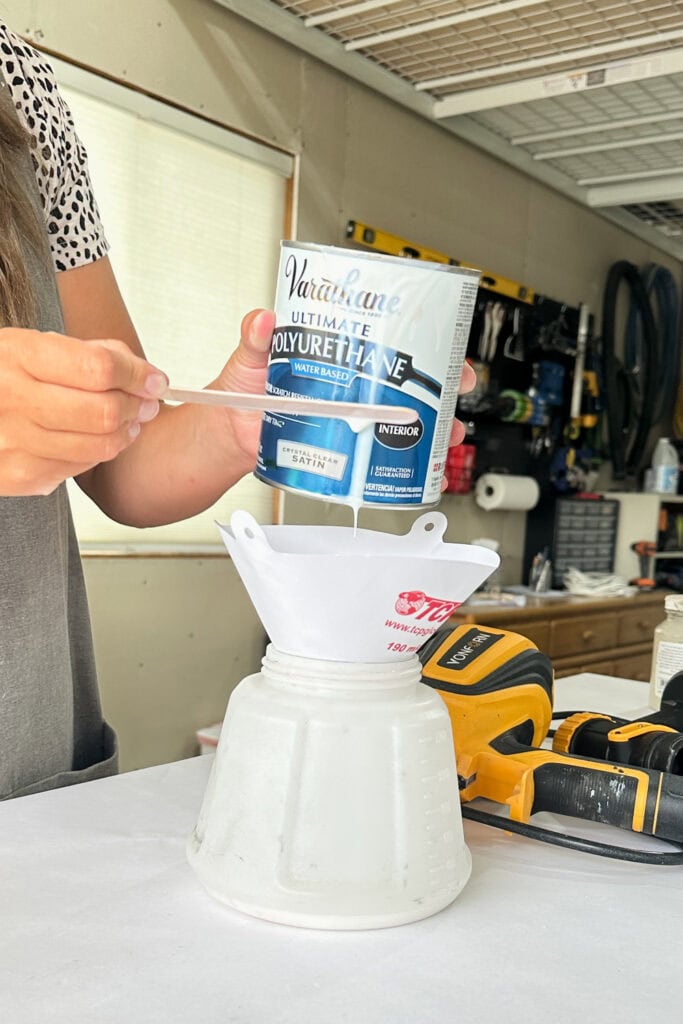
I don’t really recommend wax as a topcoat because it’s not very durable. I like to use waterbased polyurethane or polycrylic. You can learn how to spray polyurethane here. You can also check out our comparison of wax vs polyurethane to learn the pros and cons of each.
If you follow these steps, you’ll get that smooth, brush free finish that’ll make your friends ask, “Wait, you painted this?” So make sure to follow these steps, and you can get the smooth finish you’re looking for.
More Painting Furniture Resources
- How To Chalk Paint Nightstands
- Why Most People’s Furniture Paint Jobs Fail (and How to Fix It)
- Common Chalk Painting Mistakes To Avoid
- How to Paint Wood Nightstands
- Layering Chalk Paint
Follow us on YouTube to get more tips for painting furniture. Or share your project with us on our Facebook Group and be part of our community. See you there!