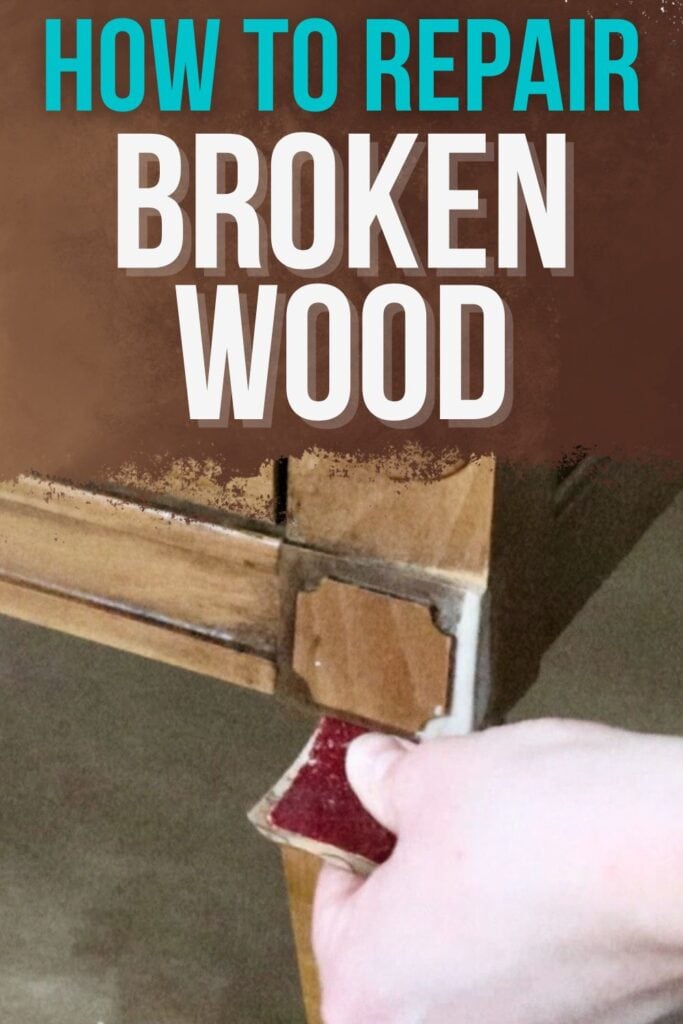
How To Repair Broken Wood
Wood is a durable and versatile material that has been used for centuries in furniture. However, even the strongest pieces of wood can break or crack over time. If you have a piece of furniture that is showing such damage, you can learn how to repair broken wood in this tutorial!
Whether you have a cherished family heirloom or just a piece of furniture that needs some TLC, repairing old furniture is possible and can save you money from having to buy a new piece.
As much as we love our furniture, it’s inevitable that over time, it may start to show signs of wear and tear.

One common issue is broken wood, which can happen due to a variety of factors such as age, misuse, or even accidents. Thankfully, there are ways to fix this problem and save your furniture.
First, let’s cover the basics. Broken wood can present itself in different ways – it could be a small crack or chip, or even a larger piece that has completely snapped off.
No matter the size of the damage, repairing broken wood is similar and requires some simple techniques to get the job done.
When it comes to fixing broken wood, the most important thing to remember is to be patient and take your time.
Rushing through the process may lead to a subpar repair job that won’t last.
And if it’s an heirloom piece or something with sentimental value, you want to make sure it’s properly fixed for generations to come.
Supplies Used to Repair Broken Wood
As an Amazon Associate, I earn from qualifying purchases. I also may earn from other qualifying purchases with other companies or get free product to review and use. All opinions are my own.
- Wood Glue
- Clamps
- Bondo or Kwikwood (for larger broken areas)
- Wood Filler (for small cracks or chips)
- Putty Knife
- Sandpaper
- Tack Cloth
- Wood Stain
- Old English
- Topcoat
Assess Broken Wood Furniture
Before you start any repair work, it’s important to assess the damage and determine what type of repair is needed.
If it’s a small crack or chip, wood filler will suffice, but for more extensive damage like missing pieces or large cracks, you may need something stronger like Bondo or Kwikwood filler. These fillers are designed to rebuild and fill in missing or damaged parts of wood.
For a detailed guide in fixing cracks in wood, here’s how to fix cracks in wood before painting. If you see any nicks on the furniture and don’t know how to fix it, here’s how to fix nicks in wood furniture! For any chips, here’s how to repair chipped paint on wood for a detailed process on how to fix it.
It’s also important to clean the area of damage before proceeding. This will guarantee that the glue or filler properly adheres to the surface without any dirt or debris getting in the way. Here’s our post on how to clean furniture before painting to guide you.
Gluing and Clamping Broken Wood
It’s time to start putting the pieces back together. Gluing and clamping are two key steps in repairing broken wood.
Apply a generous amount of wood glue to both surfaces that need to be joined and then gently but firmly press them together. Make sure to align the pieces as accurately as possible.
Check out the best glue for repairing wood furniture here.
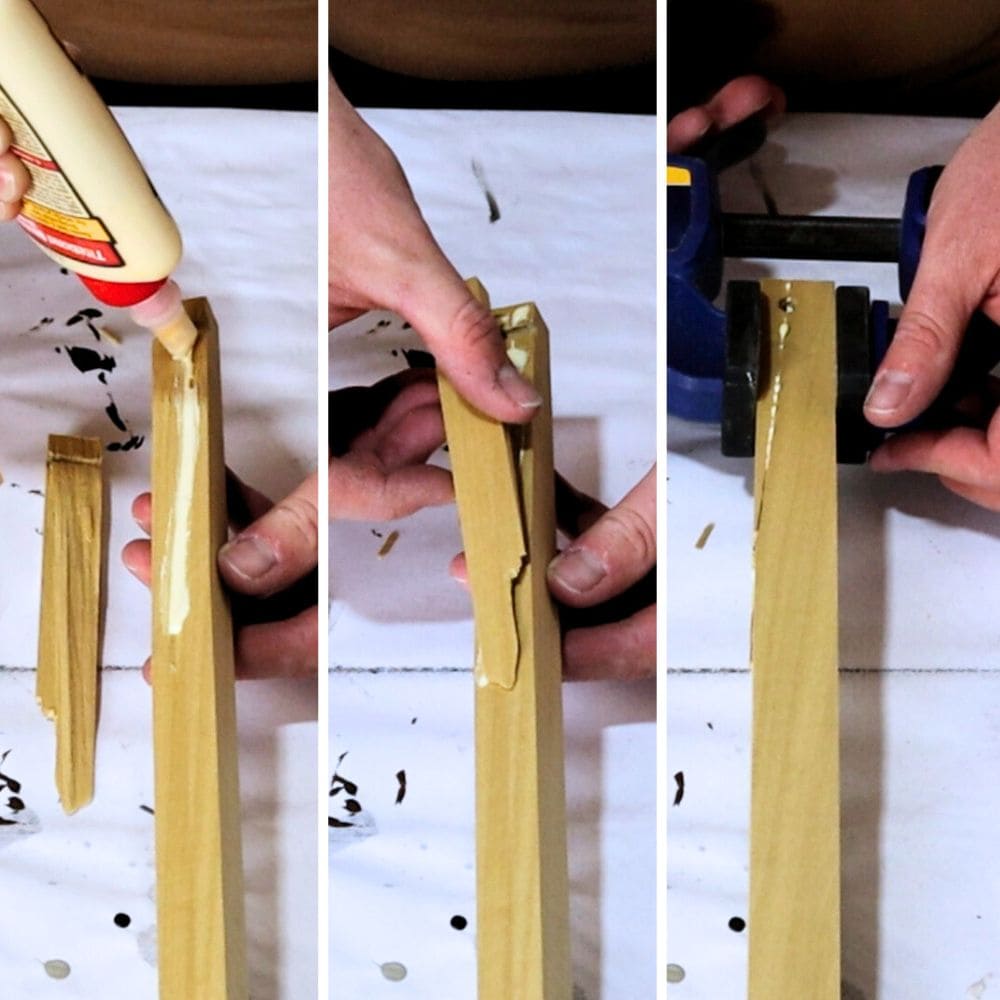
Once the pieces are joined, use clamps to hold them together until the glue dries completely. It’s best to leave it for about 48 hours, so patience is key.
The clamps help to make sure that the pieces stay in place and create a strong bond between the broken parts.
Remove the clamps once the glue is dry. Be careful not to apply too much force as it could potentially break the newly repaired wood.
Would you like to save this?
This method works best for small pieces that have broken off, but it can also be used for larger cracks with some additional steps. For any leg damage, check out this guide on how to fix a broken table leg.
Filling Any Cracks or Gaps
For larger broken areas, you may need to use a stronger filler like Bondo or Kwikwood. These fillers come in a putty-like consistency and are specially designed for repairing damaged furniture.
They can be easily shaped and molded according to the size and shape of the damage.
Bondo has a base and a hardener that need to be mixed together before use. For Kwikwood, get a roll and cut off the amount needed.
These 2 harden quickly, so you have to be quick with applying them and shaping them.
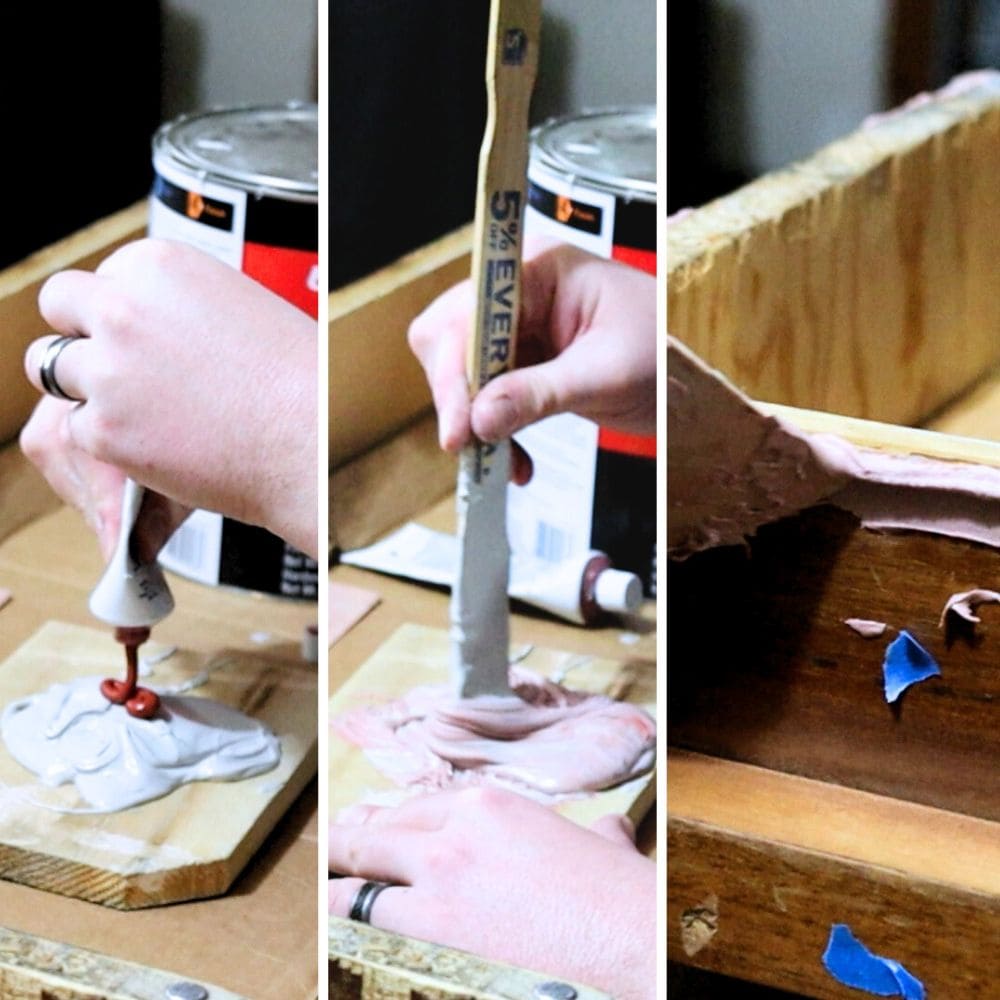
Apply your filler of choice to the broken area, making sure to fill in any gaps or holes completely. Smooth out the surface with a putty knife and wait for it to dry.
You can check out our posts on how to use Bondo wood filler and how to use KwikWood for more detailed tips and tricks.
For smaller cracks and gaps, regular wood filler will work just fine. These fillers come in different colors and can be easily matched to your wood’s color.
Here are the best wood fillers for furniture you can choose from. We also have our list of the best wood repair putty that we personally tried on some of our repairs!


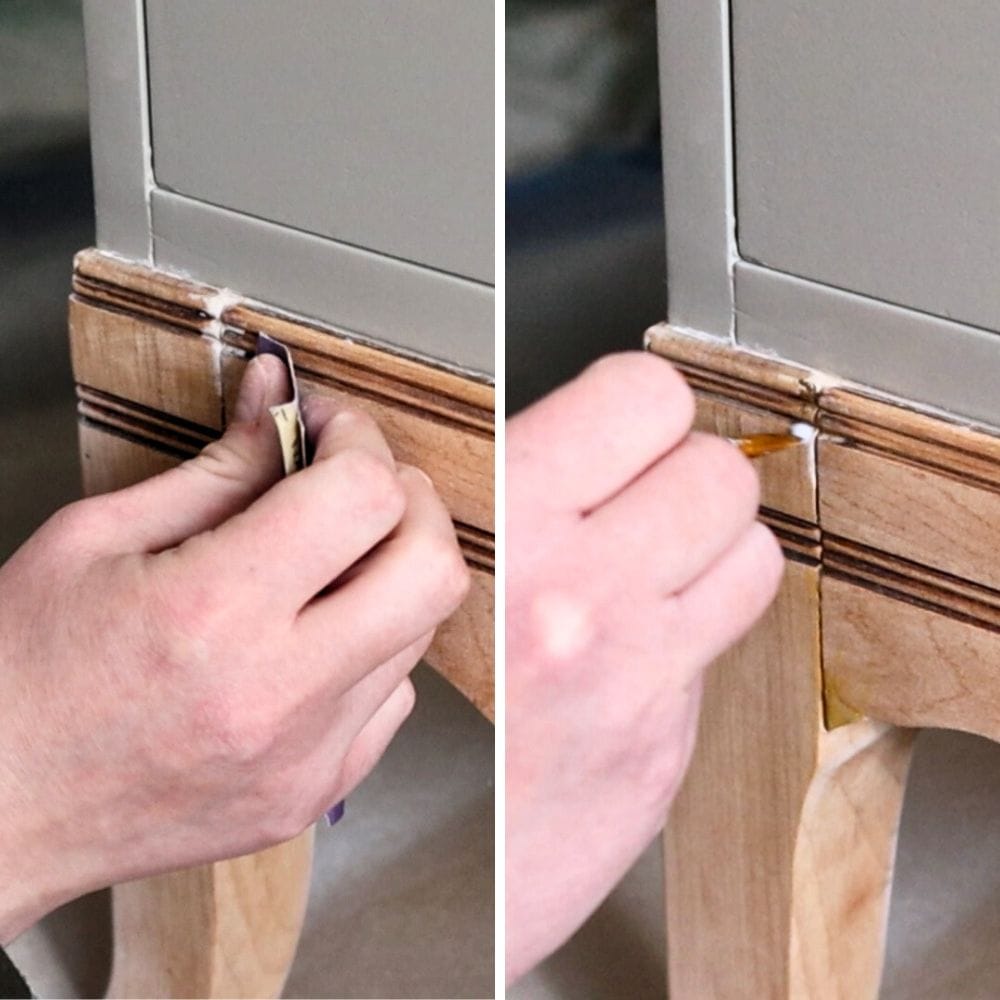
Sanding and Staining for a Seamless Repair
Now that the glue and filler have dried, it’s time to make sure the repair work blends in seamlessly with the rest of your furniture. This is where sanding and staining come into play.
Use a fine-grit sandpaper to smooth out any rough edges or bumps left by the glue or filler. It’s important to sand gently and evenly to avoid over-sanding or creating uneven surfaces. Wipe away dust from sanding with a tack cloth.
Staining is the final step to complete your repair job. Choosing the right stain color can be tricky, but if you have leftover stain from when the furniture was originally finished, it would be best to use that.
Otherwise, use a wood stain repair kit and choose the shades that best match your furniture. Start with the lighter colors and gradually build up to the darker ones until the stain matches perfectly. Check out this major patio table makeover where we used this wood stain repair kit.
To blend in the repair job even further, you can also use Old English. Learn more about how to blend repaired wood with your furniture in this wood stain repair tutorial. And here’s what does Old English do to wood for more about this product.
Check out this post for more methods on wood surface repair.
Once you have applied the stain, let it dry completely before applying a topcoat for furniture like polyurethane or wax. This will not only enhance the color of the stain but also protect your furniture and give it a beautiful finish.
And just like that, you have successfully repaired your broken wood furniture and restored it to its former glory! With the right supplies and techniques, broken wood is no match for your DIY skills. Keep these tips in mind and fear not when it comes to fixing any future furniture mishaps.
If you’re wondering, “Can you really fix a broken dresser?” – get answers here!

How To Repair Broken Wood
Learn how to repair broken wood in this tutorial and get your furniture looking like new!
Materials
Tools
Instructions
- Assess the damage and determine what type of repair is needed. If it's a small crack or chip, wood filler will suffice, but for more extensive damage like missing pieces or large cracks, you may need something stronger like Bondo or Kwikwood filler.
- Clean the area of damage before proceeding to make sure that the glue or filler properly adheres to the surface without any dirt or debris getting in the way.
- Apply wood glue to both surfaces that need to be joined and press them together, making sure to align the pieces accurately. Use clamps to hold the pieces in place until the glue dries completely, usually within 48 hours.
- For larger cracks or gaps, use a stronger filler like Bondo or Kwikwood. Mix the filler according to the instructions and apply it to the damaged area, smoothing it out with a putty knife.
- Once the glue and filler have dried, use sandpaper to smooth out any rough edges or bumps. Wipe away dust with a tack cloth before staining.
- Choose a stain color that matches your furniture and apply it evenly, starting with lighter colors and building up to darker ones. Use Old English to blend in the repair job even further.
- Let the stain dry completely before applying a topcoat for added protection and a finished look.
Recommended Products
As an Amazon Associate and member of other affiliate programs, I earn from qualifying purchases.


More Furniture Repair Tips
- How To Repair Cracks In Antique Wood Furniture
- How To Fix Chipped Wood Furniture
- How To Repair Chipped Wood Furniture
- How To Repair Damaged Particle Board Furniture
- How To Repair Veneer Edging

Follow us on YouTube to get more tips for painting furniture. Or share your project with us on our Facebook Group and be part of our community. See you there!