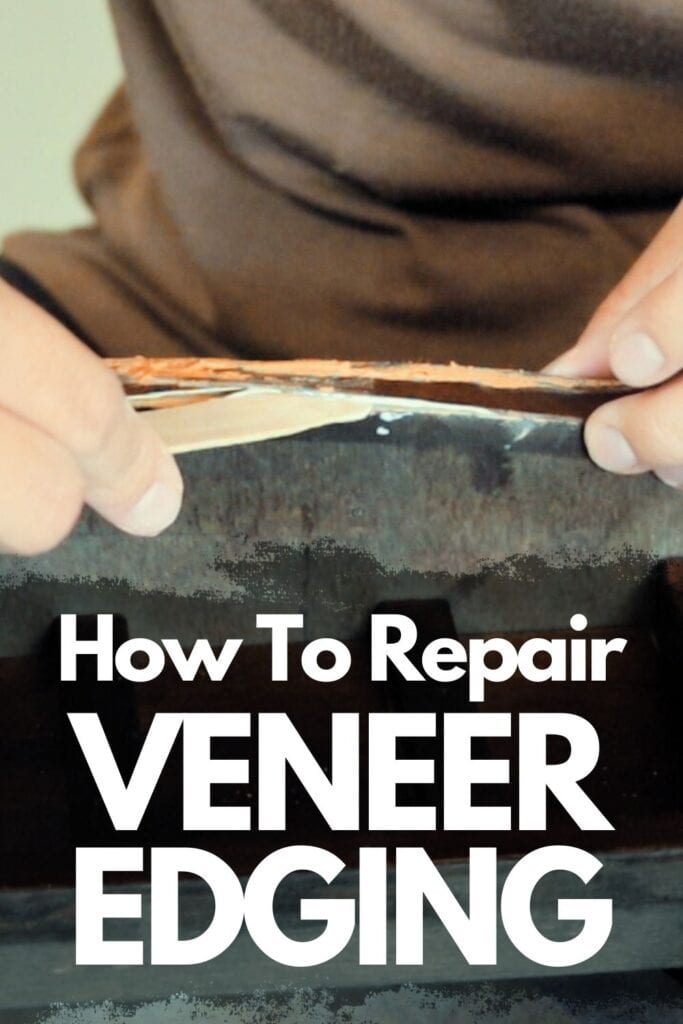
How To Repair Veneer Edging
If you have ever come across a piece of furniture with damaged veneer edging, you know how frustrating and unsightly it can be. However, with a little bit of know-how and some patience, you can easily repair veneer edging on your own. In this guide, we will show you how to repair veneer edging and bring new life to your beloved furniture pieces.
So let’s get started on repairing old furniture by fixing its veneer edging!
Veneer edging is a thin layer of decorative wood that is often used to give furniture a polished and elegant finish.

However, due to wear and tear or improper handling, this delicate edging can chip or peel off, leaving your furniture looking worn out and damaged.
But don’t worry, repairing veneer edging is not as difficult as it may seem. In fact, it is a simple and cost-effective solution that can save your furniture. You can definitely tackle this DIY project on your own!
The process for repairing veneer edging is similar to repairing veneer itself.
Supplies Used for Repairing Veneer Edging
As an Amazon Associate, I earn from qualifying purchases. I also may earn from other qualifying purchases with other companies or get free product to review and use. All opinions are my own.
- Towel
- Warm Water
- Hot Iron
- Metal Scraper
- Sandpaper
- Utility Knife
- Veneer Edging
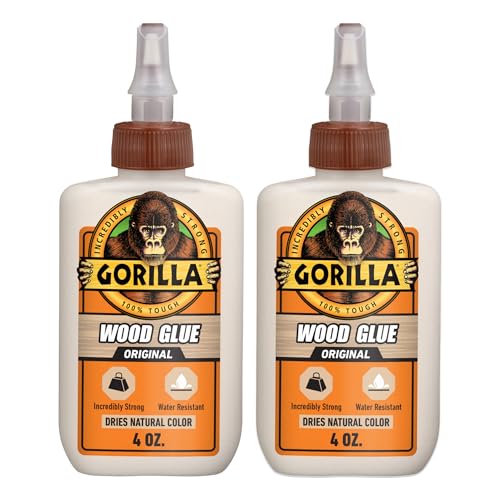
- Glue
How to Remove Damaged Veneer Edging
To start repairing veneer edging, you have to start by removing the damaged veneer edging.
The process of removing damaged veneer edging is a bit delicate, but with the right tools and techniques, it can be done smoothly and efficiently.
Be sure to protect any unaffected veneer from getting wet or damaged during this process.
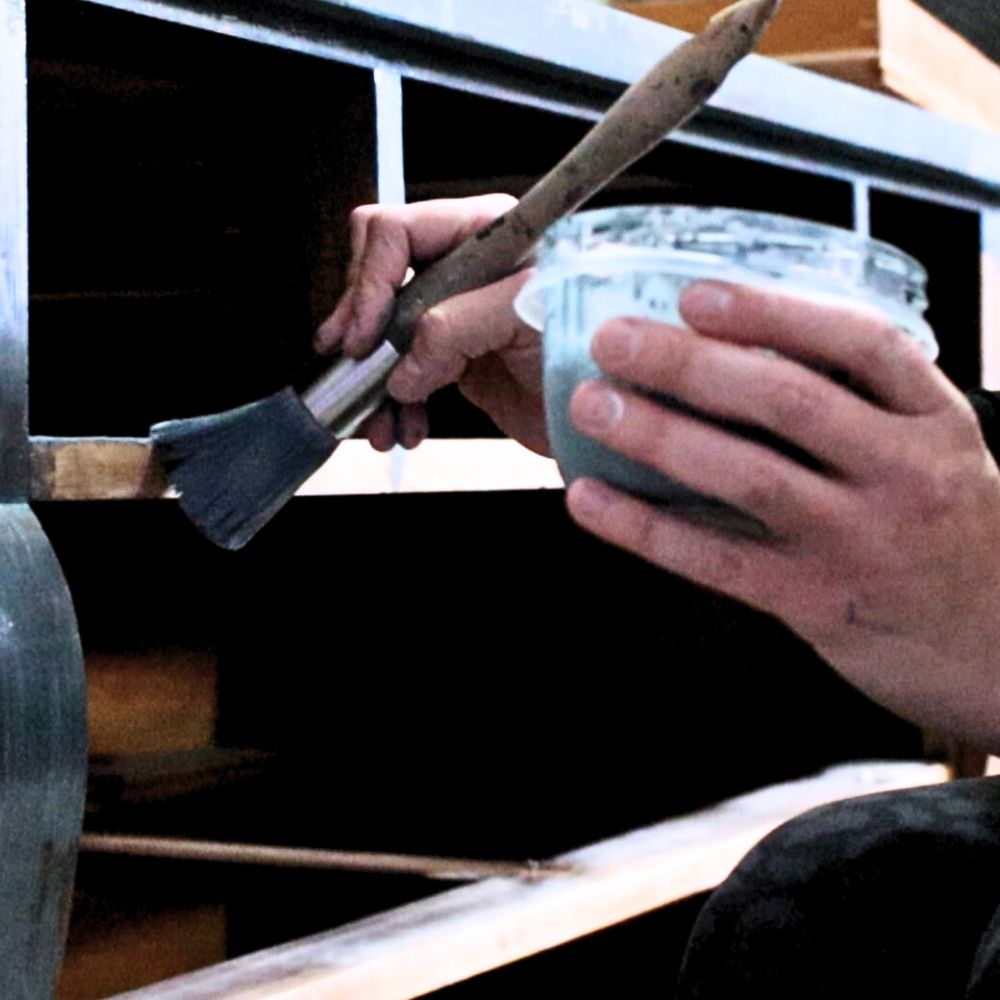
First, start by moistening the veneer edging with a towel soaked in warm water. This will soften the glue that holds the veneer onto the wood and make it easier to remove.
Let the warm towel sit on the veneer for about 2 hours to fully moisten it.
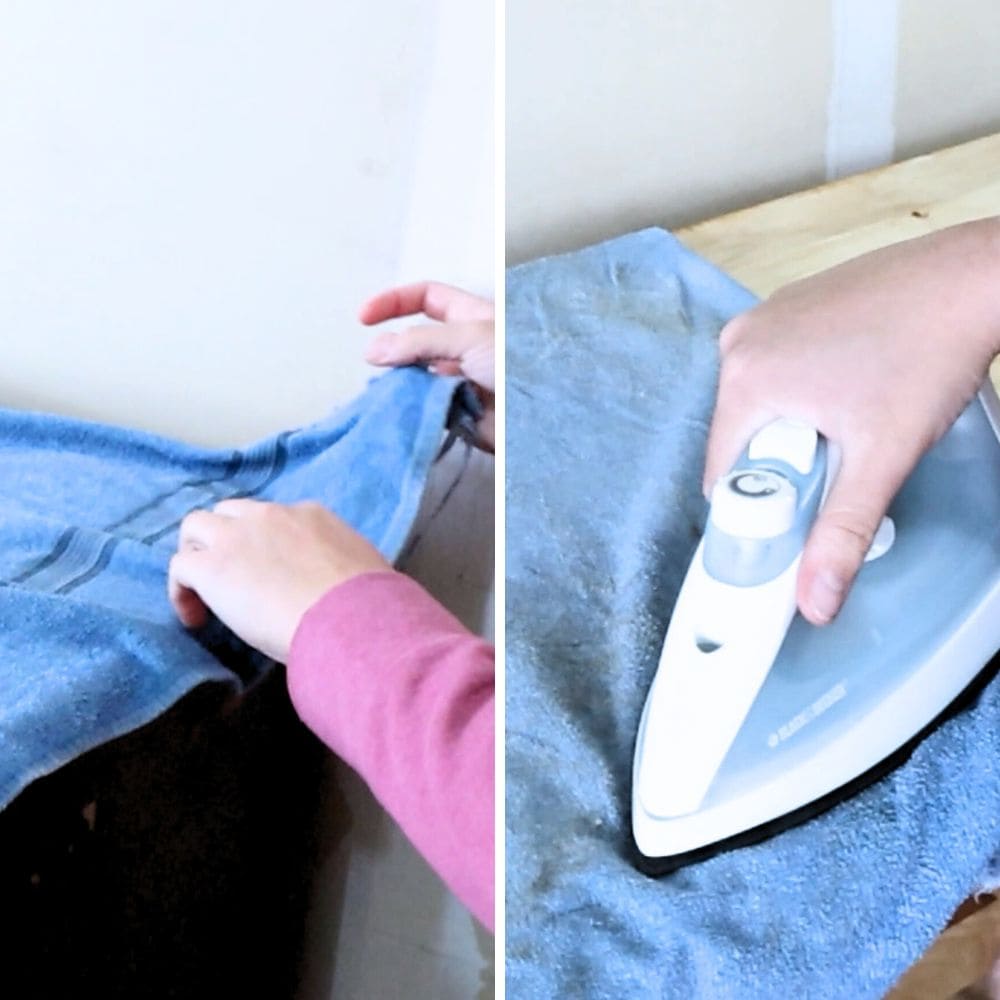
Next, heat up an iron to its highest setting and place it on the damp towel for 20-30 seconds. This will further soften the glue and dry out the veneer, making it easier to lift off.
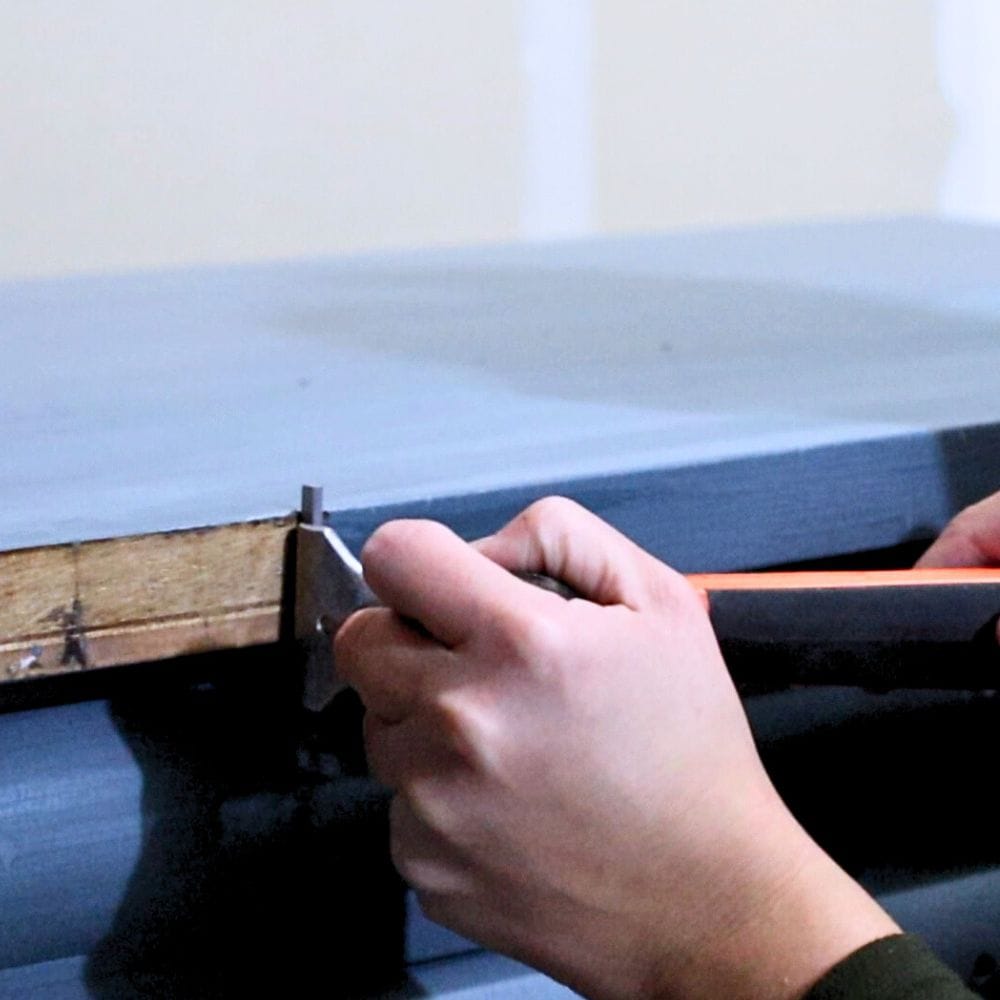
Use a metal scraper to gently lift the veneer off the wood. Be careful not to damage the wood underneath.
Here’s the insanely easy way to remove veneer to learn more ways to remove veneer and some tips and tricks!
How to Repair and Apply New Veneer Edging
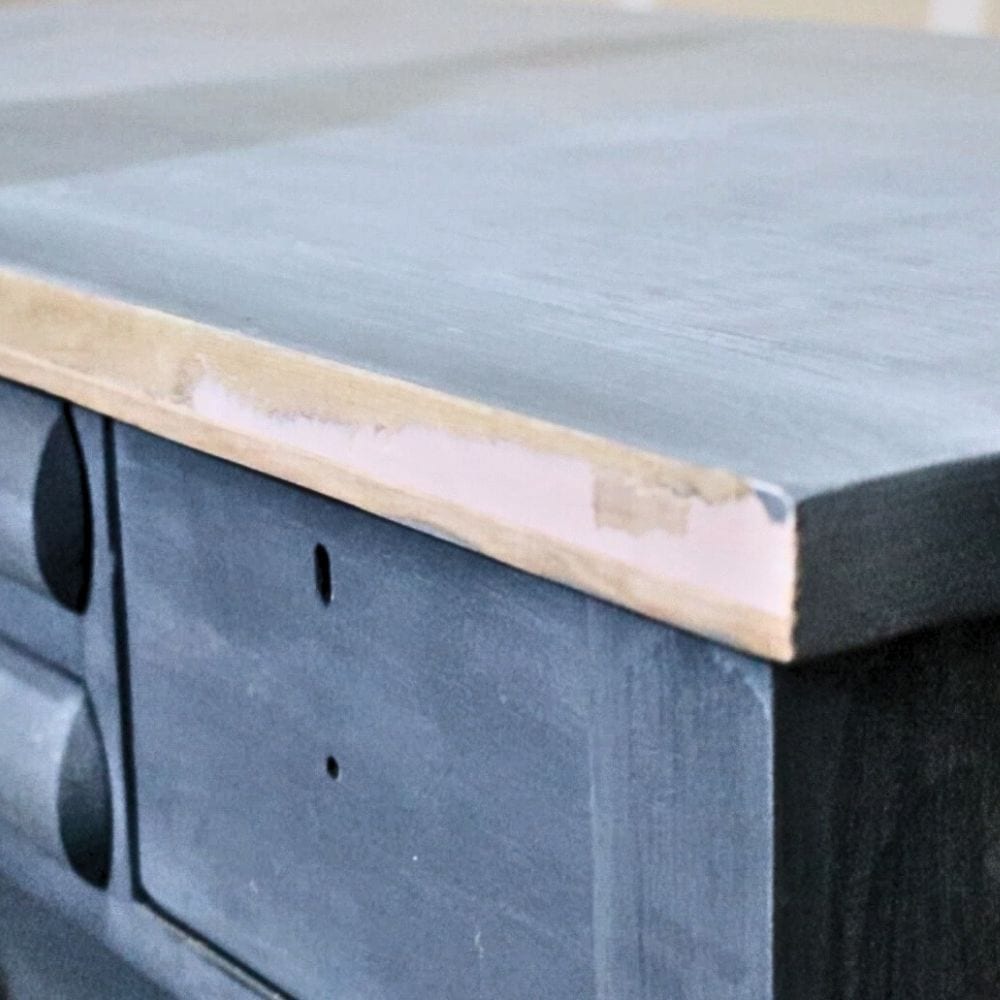
After removing the damaged veneer edging, it’s time to repair and apply the new one. The first step is to clean off any remaining glue on the wood surface.
Aside from the metal scraper, you can also use sandpaper and sand the surface until it is smooth and free from any residue. This will help the new veneer edging adhere better to the surface.
Next, measure the length of your furniture’s edge and cut a piece of veneer edging that matches the measurement.
Cut the veneer to a slightly longer length to make sure it covers the entire edge. Use a sharp utility knife to cut the veneer.
Lay the new veneer edging on top of the furniture’s edge and make sure it fits perfectly. If necessary, trim any excess edges with the utility knife.
Once you’re satisfied with how it looks, glue the veneer onto the edge using wood glue and a hot iron.

Start by placing the iron on one end and slowly move it along the edge, pressing down firmly. You can use a roller or flat object to apply pressure evenly over the edge to secure it in place.
Would you like to save this?
Let the glue dry completely then use sandpaper to smooth out any rough edges and create a seamless finish.
Can I stain or paint the new veneer edging?
Yes, you can then stain or paint the new veneer edging to match the rest of your furniture for a cohesive look.
Make sure the repaired veneer is dry and sanded smooth before proceeding with staining or painting. Learn about the basics of painting veneer furniture here.
When choosing a stain or paint, opt for one that closely matches the color of your existing furniture. You can also mix different shades to get the perfect match. Apply multiple coats if necessary until you get the desired color.
Here’s our list of the best wood stains for refinishing furniture to help you choose the right stain for your next project! Not sure if you can sand or stain veneer, check out this blog post on can you sand veneer and stain it?
Lastly, seal it with a topcoat for added protection and shine.
Can I repair veneer edging without removing it from the furniture?
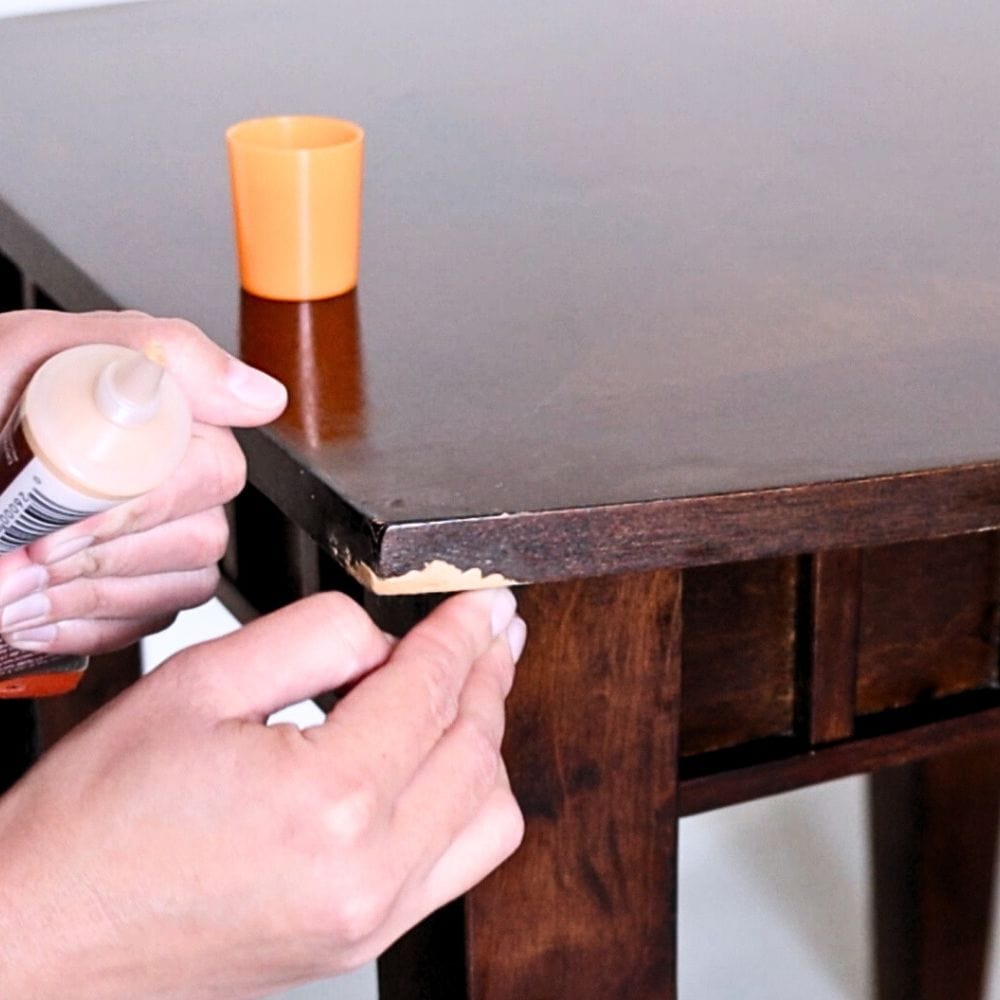
Yes, it is possible to repair veneer edging without removing it from the furniture. This method works best for minor chips or cracks in the veneer.
To fix chipped veneer edging, apply wood filler to the area. Once the filler is dry, sand it down until it is smooth and level with the rest of the veneer.
You can then use a stain wood repair kit to color match the repaired area. Here’s our wood stain repair post to learn more about the step by step process of staining repaired wood!
This method is quick and easy, but may not provide as seamless of a finish compared to replacing the entire veneer edging.
Again, this method should only be used for small chips or cracks. If the damage is extensive, it is recommended to replace the entire veneer edging for a more durable and long-lasting repair.
Our post on how to repair chipped veneer furniture details this method, along with staining, in more depth.
How long will the repaired veneer edging last?
If done correctly, the repaired veneer edging should last just as long as the original veneer. However, the longevity of the repair also depends on how often the furniture is used and handled.
If the furniture is frequently moved or used, there is a higher chance of the repaired veneer edging becoming damaged again.

Additionally, environmental factors such as humidity and temperature can also affect the durability of the repair.
Properly securing and sealing the new edging can also play a role in how long it will last. Using quality glue and applying multiple coats of topcoat can guarantee a longer-lasting repair.
It is also important to regularly maintain the furniture and check for any signs of wear or damage on the repaired veneer edging. With proper care, the repair should last for years to come.
If you see some damaged veneer edging on your furniture, don’t think that it’s the end of its life. With these simple steps, you can easily repair veneer edging and restore your furniture’s beauty and functionality.
Remember to always take your time, be patient, and work carefully to get the best results.

How To Repair Veneer Edging
We will show you how to repair veneer edging that can be frustrating and unsightly if not fixed.
Materials
- Towel
- Warm Water
- Sandpaper
- Veneer Edging
- Glue
Tools
- Hot Iron
- Metal Scraper
- Utility Knife
Instructions
- Prepare the damaged veneer edging by moistening it with a warm towel. Let it sit for 2 hours before using an iron to further soften the glue.
- Remove the damaged veneer edging using a metal scraper, being careful not to damage the wood underneath. Clean off any remaining glue by sanding the surface.
- Measure and cut a new piece of veneer edging to match the length of your furniture's edge. Use a sharp utility knife for precise cutting.
- Place the new veneer edging on top of the edge and trim any excess edges if necessary. Glue it onto the edge using glue and a hot iron, applying pressure evenly with a roller or flat object.
- Let the glue dry completely before sanding out any rough edges and staining or painting the new veneer edging to match your furniture.
Recommended Products
As an Amazon Associate and member of other affiliate programs, I earn from qualifying purchases.


More Furniture Repair Tips
- How To Fix Veneer That Is Lifting
- How To Repair Bubbled Veneer
- How To Repair Broken Wood
- Wood Veneer Problems
- How To Repair Chipped Paint On Wood

Follow us on YouTube to get more tips for painting furniture. Or share your project with us on our Facebook Group and be part of our community. See you there!