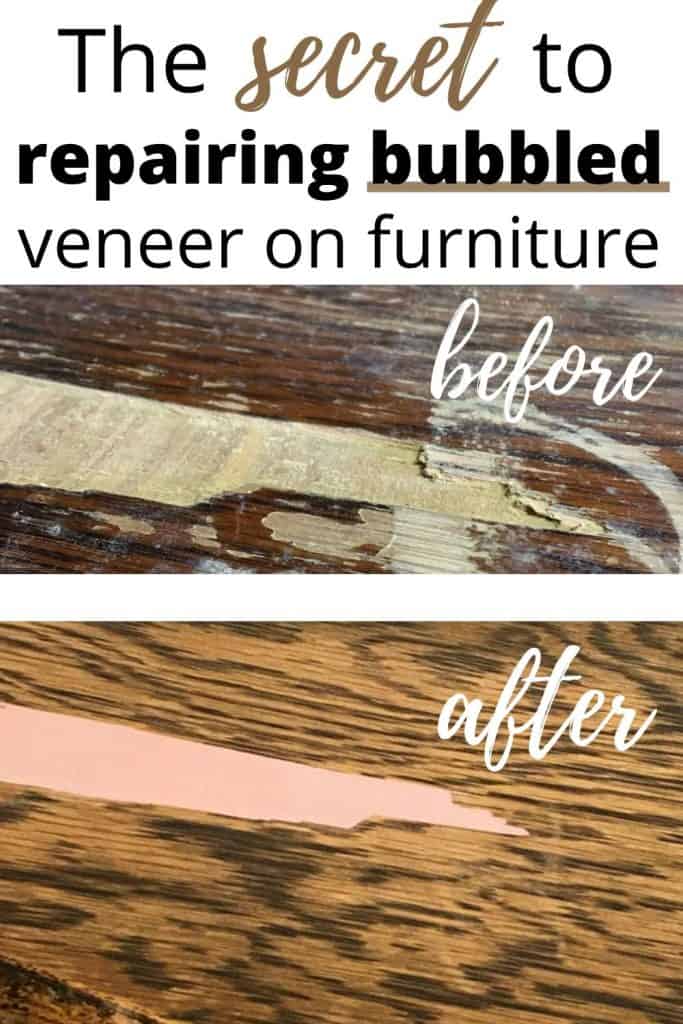
How to Repair Bubbled Veneer


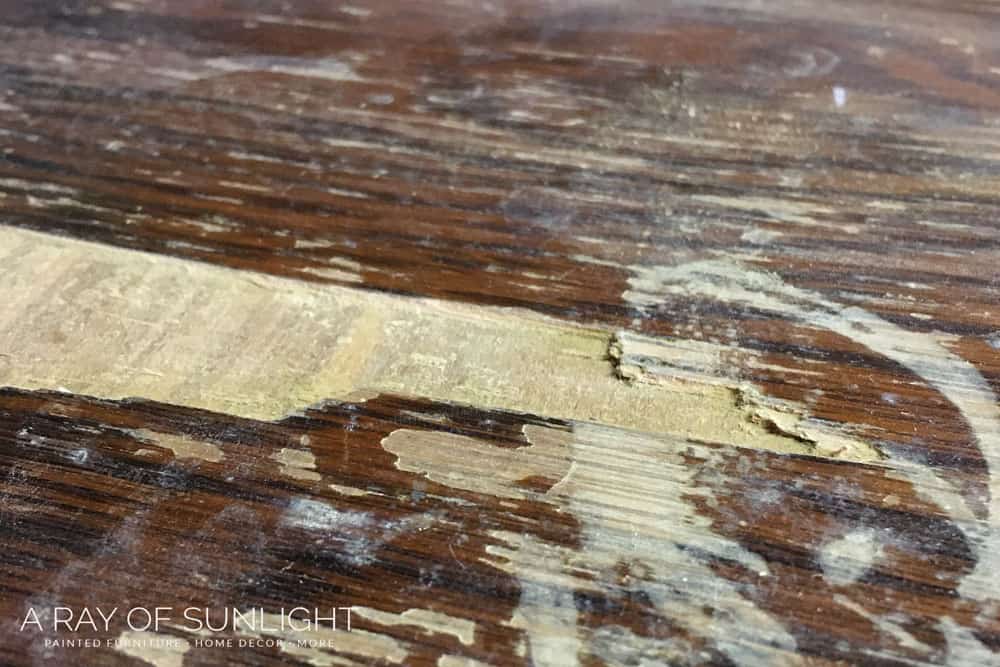
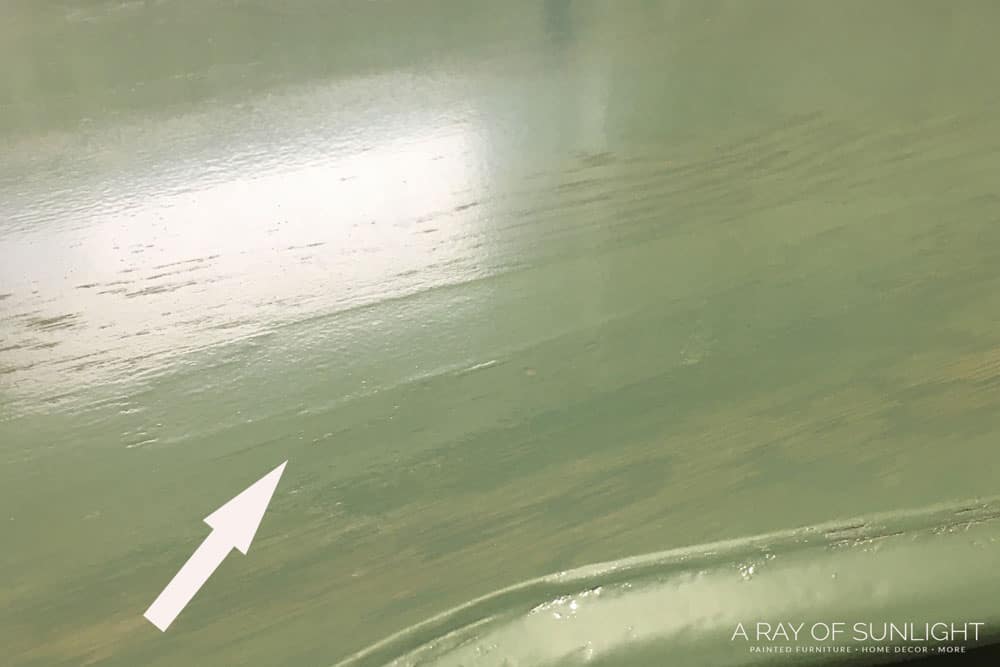
Old veneer furniture is notorious for having damaged veneer. This dresser top had water damage, resulting in lifting veneer. If you have this problem, here’s how to repair bubbled veneer!
Repairing old furniture is not only practical, but it can also be a fun and satisfying DIY project. It allows you to give new life to your cherished furniture pieces and can save you money in the long run. You don’t have to get rid of that bubbled veneer furniture just yet!
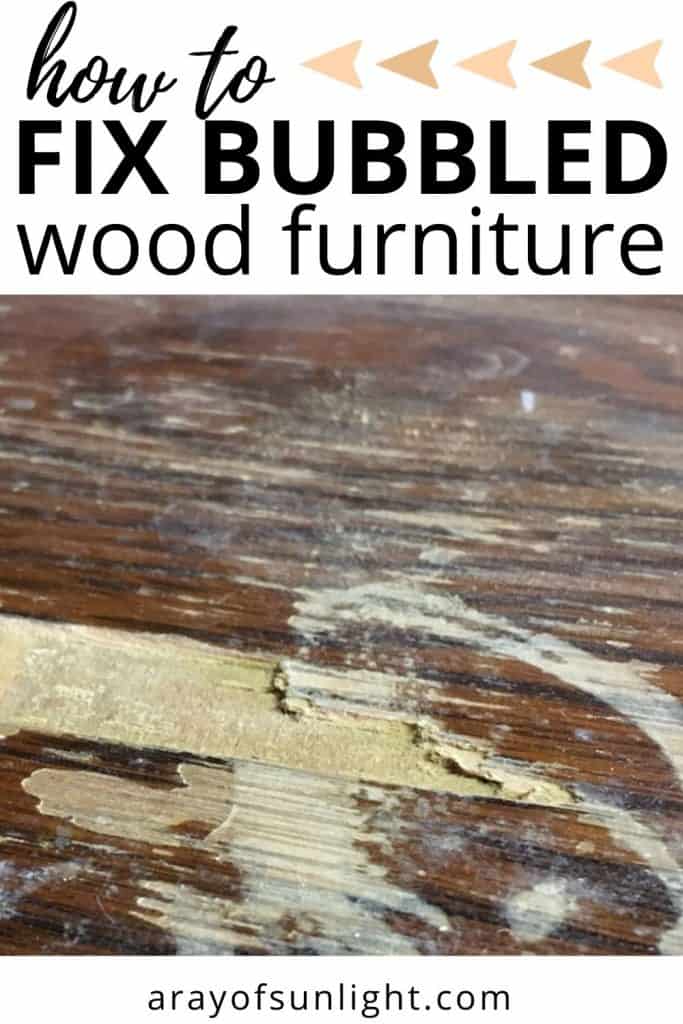
Bubbled veneer. When the wood veneer has lifted up in the middle of the table top, dresser top, or honestly, any big piece of wood that has veneer on it.

It’s a common problem with older furniture or pieces that have been exposed to moisture. Sometimes the veneer is only bubbled in one spot, but other times the veneer is bubbled all over!
Today I’m sharing how to repair bubbled veneer without removing all of the veneer around it. So don’t worry if your furniture has these few imperfections, we can still fix it!
Here’s how you can repair bubbled veneer on your furniture.
Supplies Used to Repair Bubbled Veneer
As an Amazon Associate, I earn from qualifying purchases. I also may earn from other qualifying purchases with other companies or get free product to review and use. All opinions are my own.
- Bondo
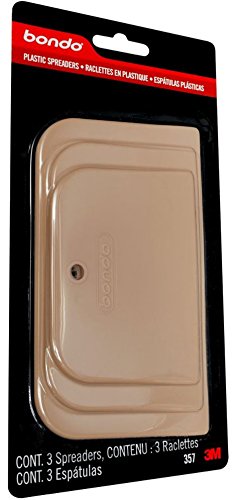
- Bondo Spreader
- Sandpaper (These sanding discs are the BEST!)
- Power Sander
- Utility Knife
- Clear Shellac or Primer
Repair Bubbled Veneer
Cut into the bubbled veneer with the utility knife, just enough to be able to lift it up. Then break off and remove the bubbled up veneer. *See below for an extra tip.
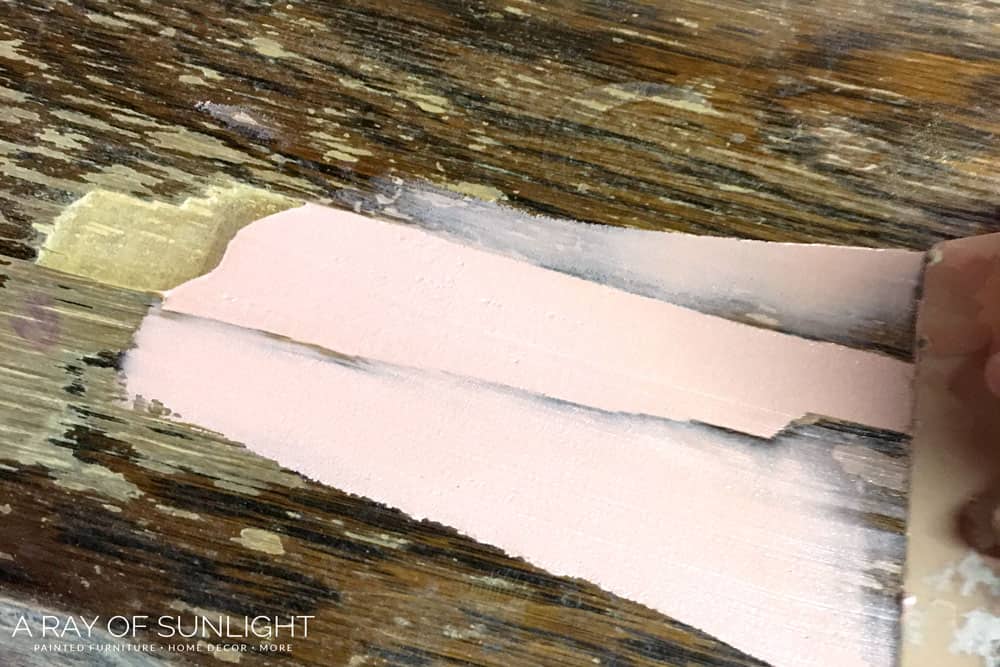
Mix up a small amount of Bondo and use the spreader or putty knife to fill in the hole. I like to overfill the hole a little bit so I can sand it down flush with the other veneer.
Let the Bondo dry for about 30 minutes. Using a power sander, sand the Bondo flush with the veneer. Do another round of filling in and sanding Bondo, even if it feels flush and smooth. This will help you get the most seamless look and feel.
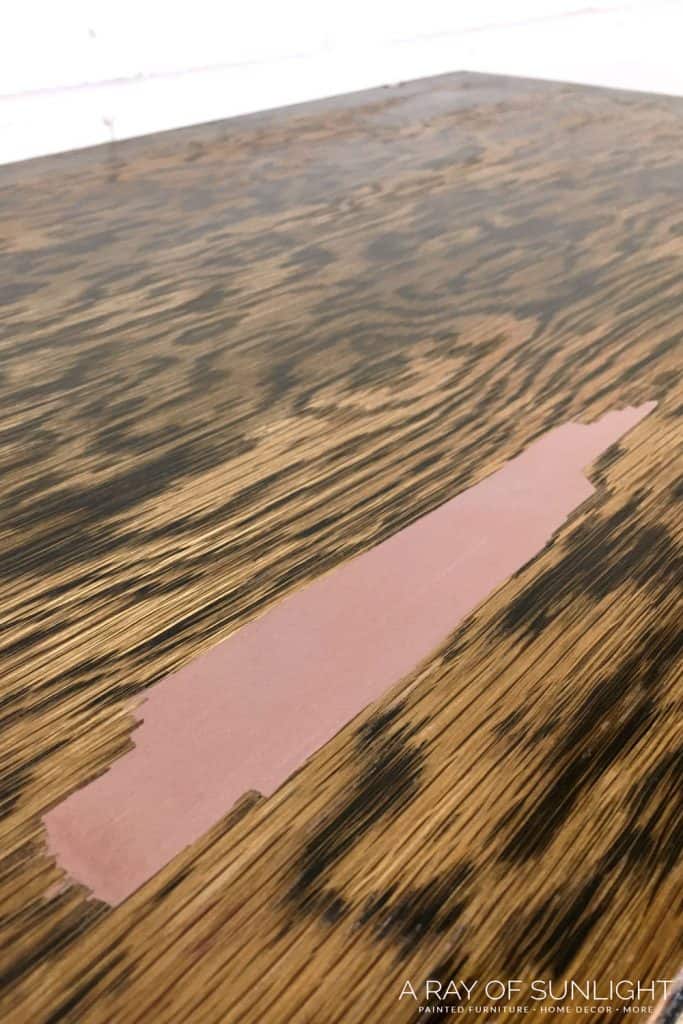
Use the utility knife to make grain marks in the Bondo. If you’re working with oak that has a lot of wood grain, make sure to put a lot of grain marks in the Bondo. *See below for an extra tip.
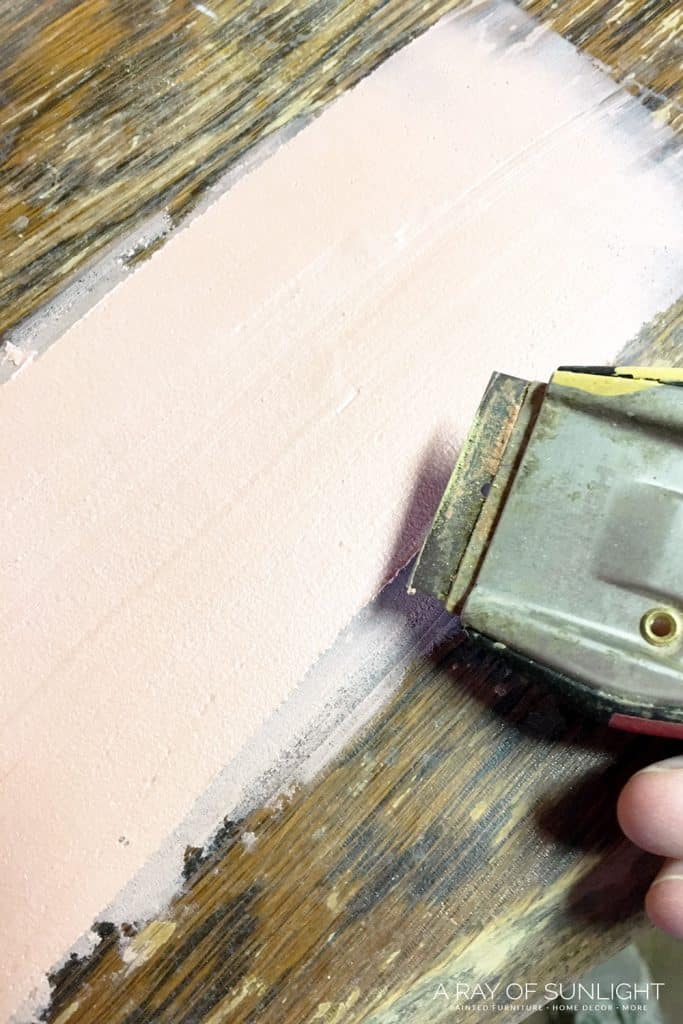
Last but not least, seal the Bondo and wood veneer with clear shellac or primer for the best looking paint finish.
Learn more on how to repair water damaged wood here.
Can I cut the Bubbled Veneer out instead of breaking it off?
I prefer to break it off instead of cutting a rectangle shape around the bubbled veneer.
If the edges of the veneer don’t get filled completely smooth and seamless, it will look a lot more natural for the veneer edge to be jagged instead of straight.
When is the best time to add grain marks in the Bondo?
You can make the grain marks before or after you sand the last application of Bondo. I’ve even made grain marks in the Bondo a few months after applying the Bondo. Just be sure to give it a light sanding after to remove any Bondo that has raised up a bit.
What if I can see the outline after I paint it?
After the paint is dry, repeat steps 2-3 and then make new grain marks and seal it for paint.
Can you Stain Bondo?
Bondo will not take stain like wood does. Actually no wood filler actually takes stain like wood does. Check out this wood stain repair tutorial to learn more.
Get Our Secrets!
Grab this super convenient How to Repair Furniture Ebook with all of our secrets on how to repair furniture for only $14.
You can print it out and have instant access whenever you come across damaged furniture, and know exactly how to fix it!
Click on the picture of the book to purchase!

If you want to make Bondo blend in with wood, it is best to use this Bondo wood filler. It mixes up just like regular Bondo, but it looks more like wood filler.
When the Bondo is set and dry, you can use different shades of gel stain to hide the repair. Check out this post on repairing chipped veneer furniture to learn how to stain Bondo wood filler!
Check out my in-depth Bondo Wood Filler review to learn more about the features and pros and cons of this wood filler.
Can I use All-Purpose Bondo instead of the Autobody kind?
Yep! You can use the autobody Bondo, all-purpose Bondo or wood filler Bondo (linked above). They are all very similar.
Would you like to save this?
The only problem I have had with the all purpose kind is that the hardener is clear, so you can’t tell if you’ve mixed enough hardener into it. And if there isn’t enough harder in it, it will take a long long time to dry.
This pink autobody kind is easy to see because the hardener is red. Once mixed, the Bondo should be about the same color as the spreader.
How long does Bondo last once it’s mixed?
Bondo starts to harden about 3 – 4 min after you mix the hardener into it. So, only mix small batches, and work fast!
Where to Buy Bondo
Bondo is available at a lot of hardware stores and comes in the quart of gallon size. Here is a link to Bondo on Home Depot.
Please consider ordering it online for store pickup, to help out this little website of mine.
You can also find it here on Amazon. This little kit comes with the Bondo that I prefer to use, the hardener and the spreader!
Here’s a quick little video on how to use Bondo if you’ve never used it before.
Remove Loose or Damaged Veneer (Optional)
If your veneer is loose or pretty damaged, you might want to remove all of it instead. Here is our video and tutorial on the insanely easy way to remove veneer.
Or if your furniture is extremely damaged, check out how to repair damaged furniture here. But if your veneer is lightly lifting or chipping off, here’s how to fix veneer that is lifting.
Want to know if you can sand then stain veneer? Check out our post on can you sand veneer and stain it? to find out!
Hope that helps!!
How do I prevent bubbled veneer in the future?
First and foremost, make sure that your furniture is not exposed to extreme temperatures or moisture. Do not set wet items on your furniture, and always use coasters under your drinks.
These can cause the wood to expand or contract, leading to bubbled veneer.
Avoid setting plants on your furniture as well, the moisture from watering your plants can make the veneer bubble up.
Another way to prevent bubbled veneer is to follow the steps in this tutorial for fixing veneer on furniture. If you’re able to repair bubbled veneer well, you can avoid dealing with it down the road.
Regularly checking the condition of your furniture and addressing any issues promptly can also help prevent bubbled veneer.
If you notice any lifting or damage to the veneer, immediately fix it before it gets worse.


Can bubbled veneer lead to more serious damage if not fixed?
Bubbled veneer may seem like a small issue, but if left untreated, it can lead to more serious damage.
The bubbling is a sign that the veneer is not securely attached to the wood underneath, making it vulnerable to further damage.
Over time, the bubbling can worsen and cause the veneer to completely detach from the furniture.
This can create unsightly gaps and expose the inner layers of the furniture, again, making it more susceptible to damage from moisture and temperature changes.
So it is important to address bubbled veneer as soon as it is noticed to prevent more serious damage. This will not only maintain the aesthetic of your furniture, but also prolong its lifespan.
Plus, addressing small issues like bubbled veneer can save you from having to deal with larger and costlier repairs in the future.

How to Repair Bubbled Veneer
Old veneer furniture is notorious for having damaged veneer. If you have this problem, here’s how to repair bubbled veneer!
Materials
Tools
Instructions
- Cut into the bubbled veneer with the utility knife, just enough to be able to lift it up. Then break off and remove the bubbled up veneer. *See below for an extra tip.
- Mix up a small amount of Bondo and use the spreader or putty knife to fill in the hole. I like to overfill the hole a little bit so I can sand it down flush with the other veneer.
- Let the Bondo dry for about 30 minutes. Using a power sander, sand the Bondo flush with the veneer.
- Repeat steps 2-3, even if it feel flush and smooth. This will help you get the most seamless look and feel.
- Use the utility knife to make grain marks in the Bondo. If you're working with oak that has a lot of wood grain, make sure to put a lot of grain marks in the Bondo. *See below for an extra tip.
- Last but not least, seal the Bondo and wood veneer with clear shellac or primer for the best looking paint finish.
Recommended Products
As an Amazon Associate and member of other affiliate programs, I earn from qualifying purchases.


More Repairing Damaged Furniture Resources
- How to Repair Broken Trim on Furniture
- How to Fix Old Dresser Drawers that Stick
- How to Fix a Chipped Wood Corner
- How To Fix A Missing Chunk Of Wood
- Cane Furniture Repair

Follow us on YouTube to get more tips for painting furniture. Or share your project with us on our Facebook Group and be part of our community. See you there!