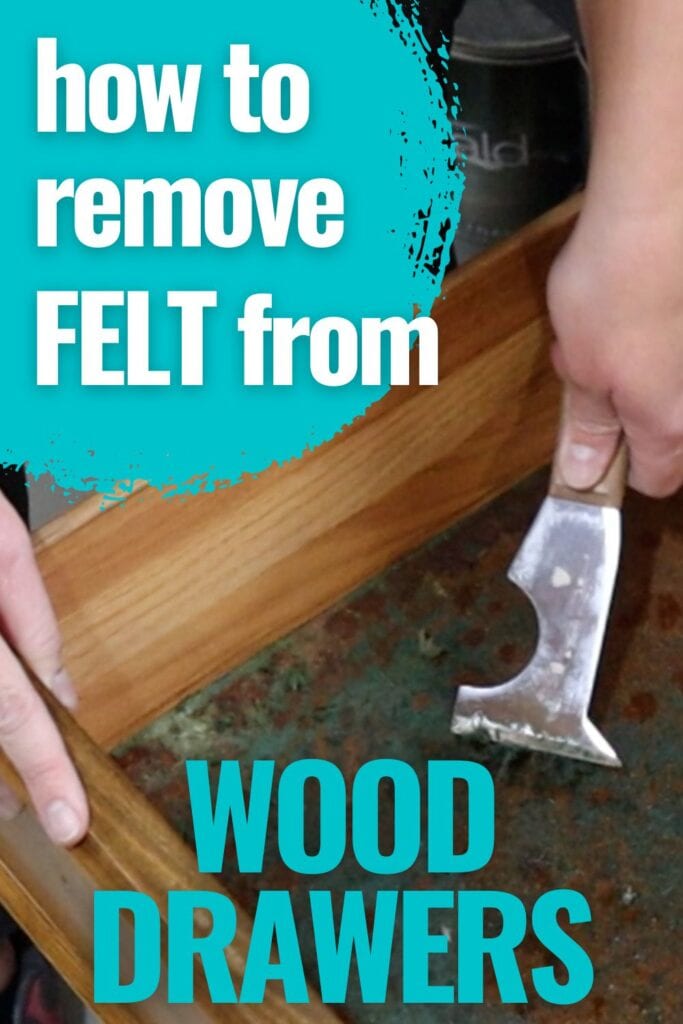
How to Remove Felt From Wood Drawers
If you’ve ever wrestled with old drawers or found yourself grossed out by the aging felt lining in your antique wooden drawers, then you’re in the right place. We’re sharing the easy process for how to remove felt from wood drawers today, for our blog post series on how to fix dresser drawers that stick.
We will walk you through the steps of removing that unappealing felt, whether your drawer is made of solid wood or particle board. Also, we will provide helpful insights on drawer bottom replacement and fixing techniques you may need. So, stay tuned, and let’s get those drawers looking clean inside!
Say goodbye to dirty and smelly felt linings! Our post today is designed to help you breathe new life into your beloved antique furniture.

You know those drawers with the aged felt lining that has certainly seen better days? Well, we’re going to tackle them head-on!
Whether your drawers are crafted from solid wood or particle board, we’ve got you covered, and both process are very simple to tackle! So, roll up those sleeves, and let’s dive in!
Supplies for Removing Felt From Drawers
As an Amazon Associate, I earn from qualifying purchases. I also may earn from other qualifying purchases with other companies or get free product to review and use. All opinions are my own.
- Hot Water (for solid wood drawers)
- Scraper
- Old Damp Rag
- Garbage Bin or Bowl (for the residue)
- Power Sander (for particle board or MDF drawers)
- Coarse (80 grit) Sandpaper
- Respirator Mask
- Vacuum
How to Tell What A Drawer Bottom Is Made Of
Felt is often found in old wooden drawers, serving as a liner for things like jewelry or silverware. But in antique or vintage furniture, that old felt can feel pretty gross. Good news though, getting rid of it is a pretty simple task.
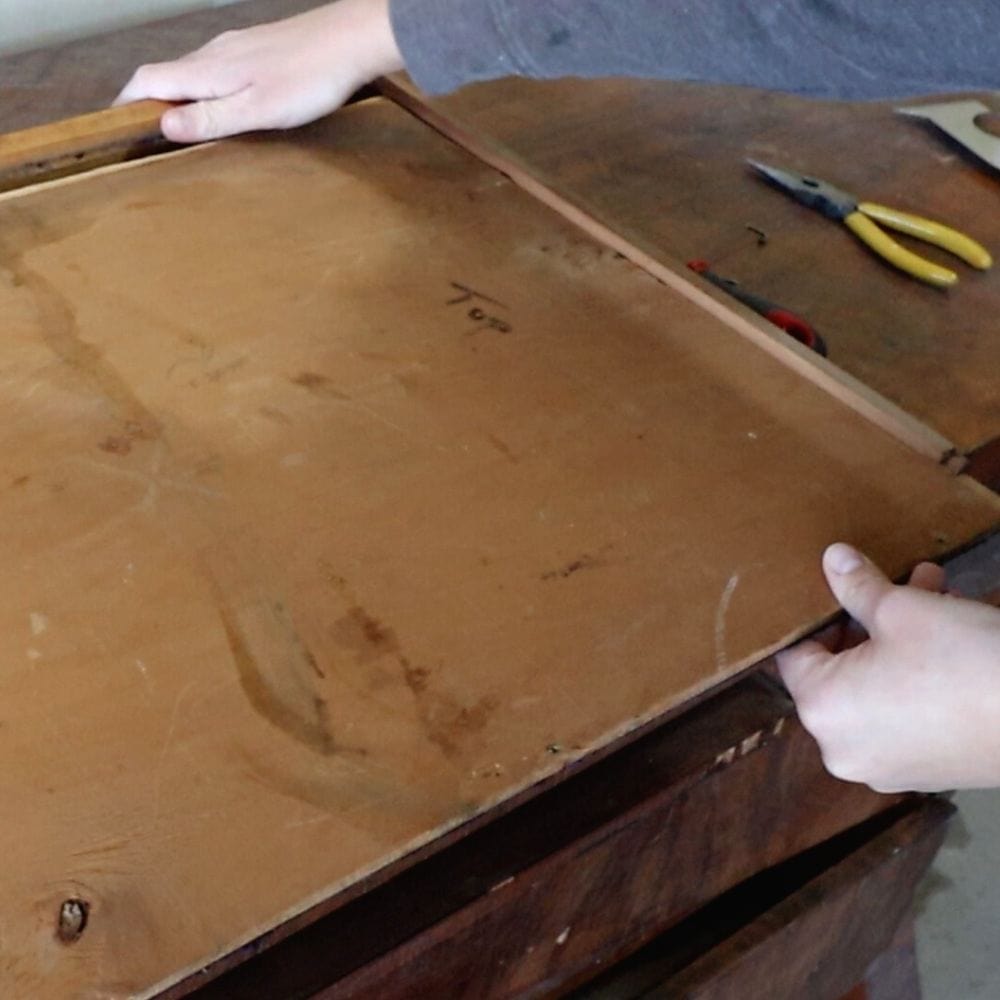
You might think the best way is to take the whole drawer out and rip off the felt. But there’s an easier way. Just flip the drawer over and check out the material on the bottom. If it’s solid wood, this method will work.
If you don’t see any wood grain and just see speckles, it’s probably M.D.F. or particle board, and this first method won’t be recommended. Keep scrolling for what I do if I have a drawer bottom made of particle board.
Remove Felt From a Wood Drawer Bottom
If the drawer is solid wood, pour some hot tap water into it. Please be careful to not burn yourself! Be sure not to fill it deep – you just want enough water to thoroughly soak the felt. Let the water sit there, saturating the felt for about 15-20 minutes.
This method requires a 100% real wood drawer, as leaving water in it for 15-20 minutes could severely damage an MDF or particle board drawer. The hot water will soften both the glue holding the felt in place and the felt itself.
After about 15 to 20 minutes, use a scraper to easily remove the glue and felt. Scoop the residue into a bowl or garbage bin, then wipe the drawer clean with an old damp rag, removing all remnants. Let the drawer dry fully while laying it flat to prevent any warping.
How to Remove Felt From a Particle Board Drawer Bottom
If your drawer is made of particle board or MDF, the approach changes slightly. You can either take the drawer apart and/or use a power sander to sand off the felt.
If it’s easy to remove the drawer bottom without taking everything apart, the easiest option to fully remove the felt and then sand the felt off to remove it all. Sometimes you can remove a couple of nails from the back, and bottom part of the drawer to let the drawer bottom free.
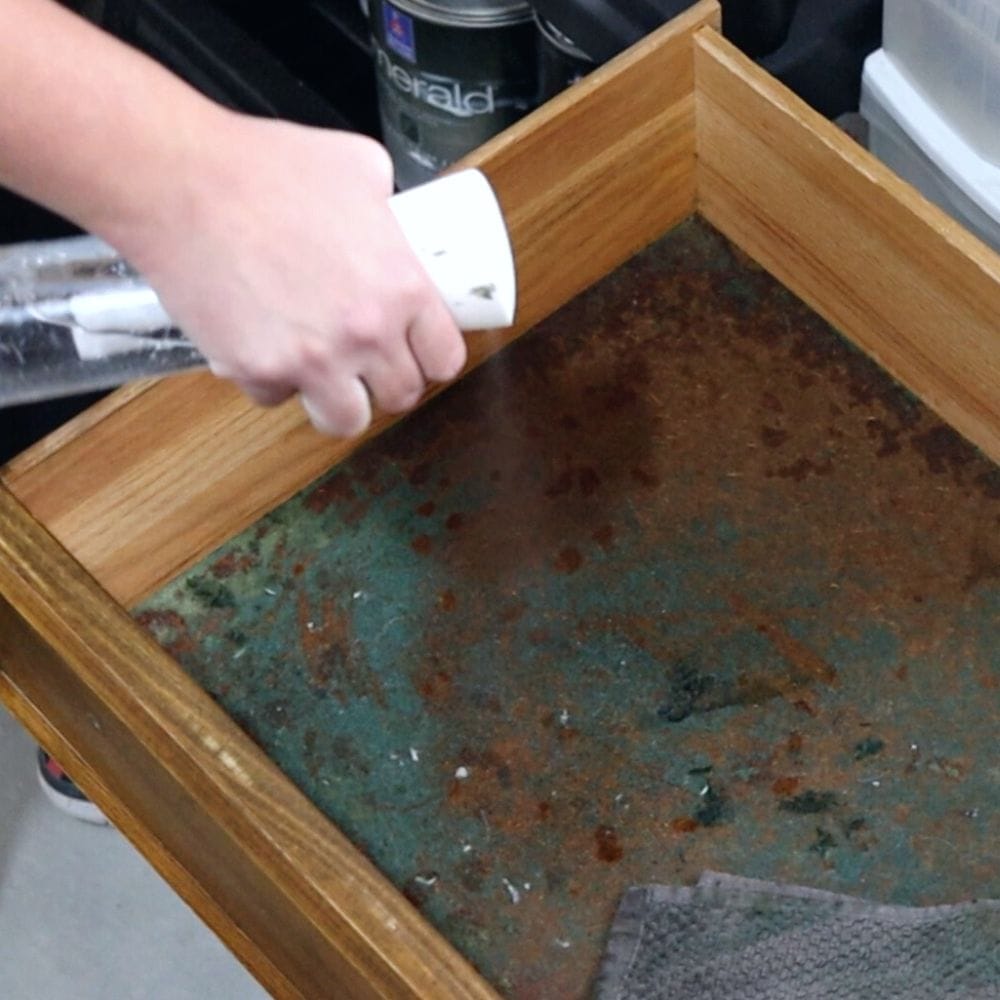
One method is spraying a little bit of warm water on the felt and using a razor blade and a rag to remove the felt. This is kind of sketchy, so be careful here! Also, don’t saturate the particle board! Then use a damp rag to scrub off the excess felt.
Particle board furniture is prone to damage, especially from water and heavy weight. If your particle board is damaged, learn how to repair damaged particle board furniture here.
Otherwise, you can resort to sanding the felt off. Use a power sander and coarse (80 grit) sandpaper, sand down the felt, and glue until you reach the particle board or MDF surface. If choosing to sand, wear a respirator to avoid inhaling the particles as well.
When the felt is sanded off, you can vacuum up the dust and line the drawer bottom with something else.


Drawer Bottom Replacement
Sometimes, the drawer bottom is damaged or broken in some way, you may need to just replace the bottom with a new piece of wood. If so, here is our post on dresser drawer bottom replacement to help guide you through the process.
Would you like to save this?
If there is some small damage to the drawer bottom though, you may just be able to fix it without replacing the drawer bottom. Here is our post on how to fix dresser drawers bottom to walk you through the process.
How to Update Furniture Drawers
After cleaning out your drawers and possibly replacing the bottom, you might be wondering what to do next. Well, let’s talk about some fun ways to restore the charm of your vintage drawers.
A Fresh Coat of Paint
In many cases, a fresh coat of paint is all it takes to transform old, tired-looking drawers into something fresh and vibrant.
You can choose a color that coordinates with your room decor or go for a bold, contrasting hue to make a statement. For more information on how to paint furniture, visit our painting furniture tutorial hub!
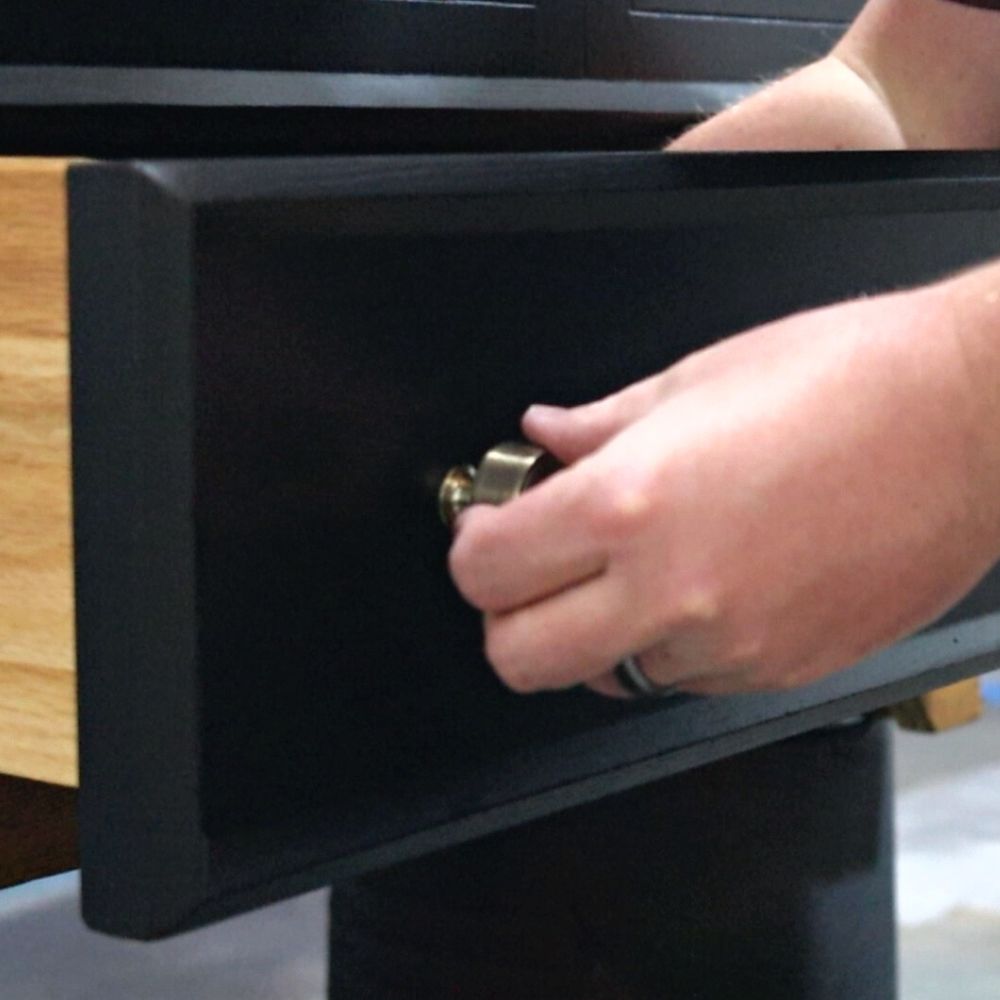
Add New Hardware
Another simple way to give your drawers a fresh, new look is by replacing the old hardware with new, modern handles or knobs. There are so many styles and designs to choose from, ranging from vintage chic to sleek and contemporary.
If you want to replace your old hardware with a new size of hardware, here is how to change hardware on a dresser to walk you through the process.
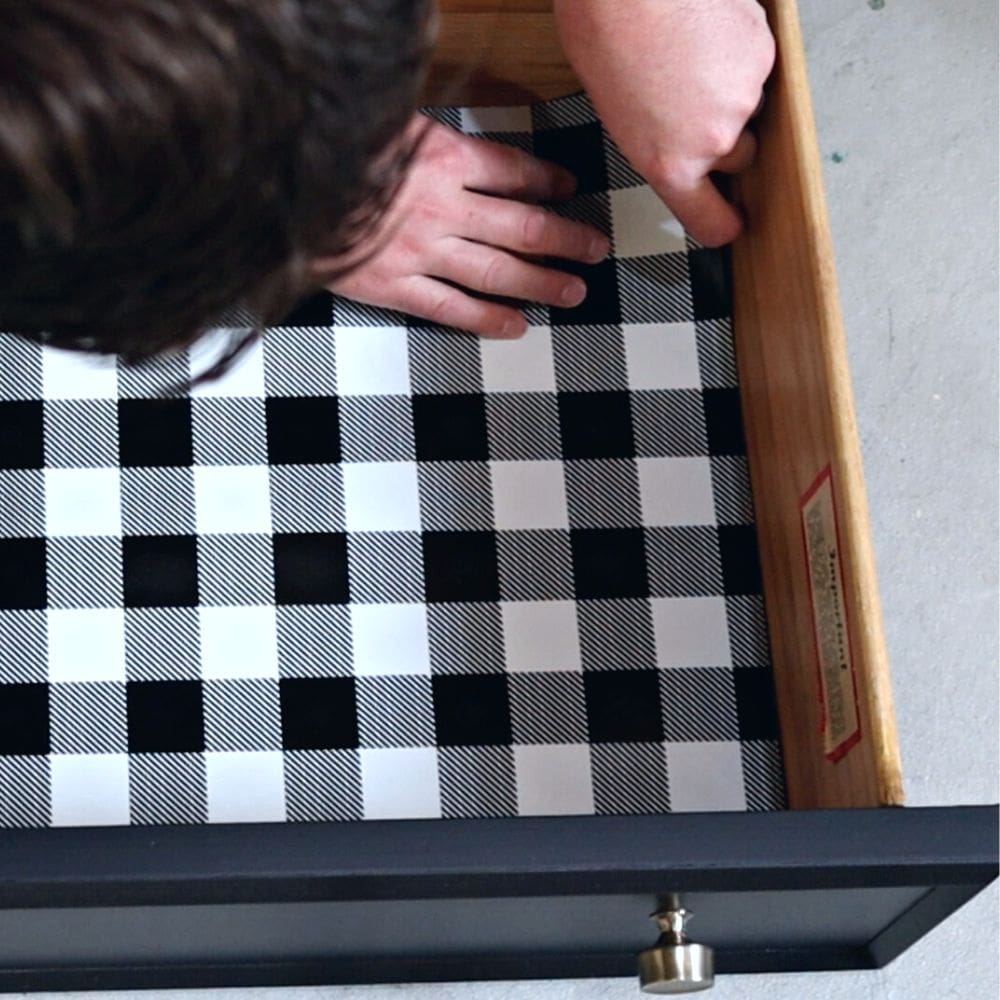
Decorative Drawer Liners
While you’ve just removed the felt, you might want to consider a new liner for your drawer that’s both practical and decorative. Drawer liners can hide ugly drawer bottoms and protect the wood from scratches or spills.
Plus, they add a fun pop of color and pattern to your drawers. Check out our list of dresser drawer liner ideas, and our post on the best material to line dresser drawers, along with how to line the drawers.
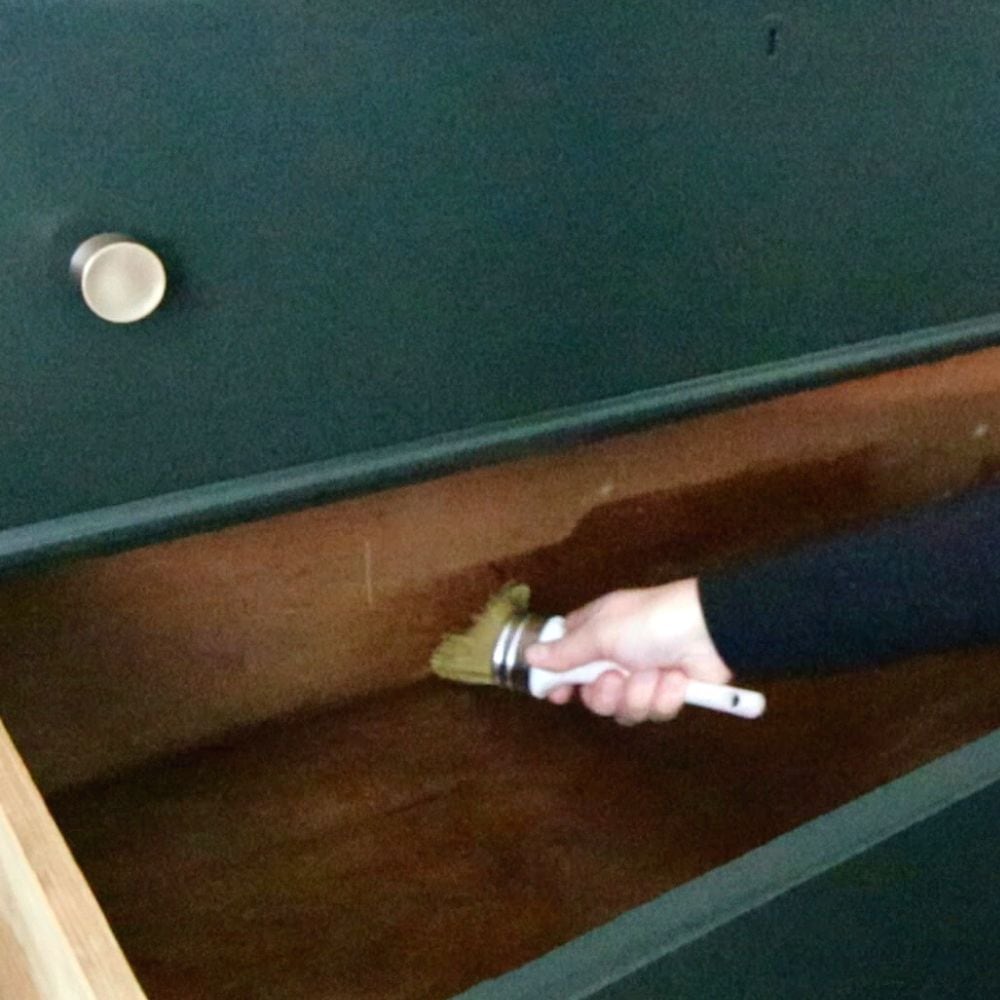
Refinishing the Wood
If you love the natural beauty of wood and your drawers are made of high-quality timber, consider refinishing the wood. Sand down the old finish, then apply a new stain and topcoat.
This can bring out the wood’s natural grain and warm tones, giving your drawers a beautiful, rustic look. For more information on refinishing wood, visit our post with all things related to refinishing furniture!
We hope these tips inspire you to take your drawer restoration project to the next level. Remember, with a little creativity and elbow grease, you can breathe new life into your old furniture.

How to Remove Felt From Wood Drawers
Sick of felt lined drawers? Here is the simple process for how to remove felt from wood drawers so you don't have to have nasty old felt in your drawers anymore!
Materials
- Hot water (for solid wood drawers)
- Old Damp Rag
- Coarse (80 grit) sandpaper
Tools
- Scraper
- Garbage Bin or Bowl (for the residue)
- Power Sander (for particle board or MDF drawers)
- Respirator Mask
- Vacuum
Instructions
- Figure out what your drawer is made of. If it's solid wood, then you're good to go with the next steps.
- Pour some hot tap water into the drawer, but be careful not to burn yourself. Don't fill it up too much - just get the felt wet.
- Let the water soak into the felt for about 15-20 minutes.
- Once it's soaked enough, use a scraper to get rid of the glue and felt.
- Collect the residue and toss it in a bowl or trash bin.
- Grab an old damp rag and wipe the drawer clean, making sure to get rid of any leftovers.
- Leave the drawer to dry completely while keeping it flat, so it doesn't warp.
- You may need to lightly sand the wood once dry to remove any remaining residue.
Recommended Products
As an Amazon Associate and member of other affiliate programs, I earn from qualifying purchases.


more dresser drawer repair tips
- Old Dresser Drawers Won’t Slide
- Old Dresser Drawers Hard To Open
- How To Fix Old Dresser Drawers From Falling Out

Follow us on YouTube to get more tips for painting furniture. Or share your project with us on our Facebook Group and be part of our community. See you there!