How to Fix Dresser Drawers Bottom
If your dresser drawer bottom has a hole in it, or it’s wearing thin, here is how to fix dresser drawers bottom before it gets any worse! You’ll be surprised at how simple the fixes are!
We know there’s nothing quite like the irritation that comes when your dresser drawers don’t work. But don’t worry! We’ve put together many posts on how to repair dresser drawers that stick to help you with any of your drawer problems. Let’s dive in and get those drawers sliding smoothly again in no time.
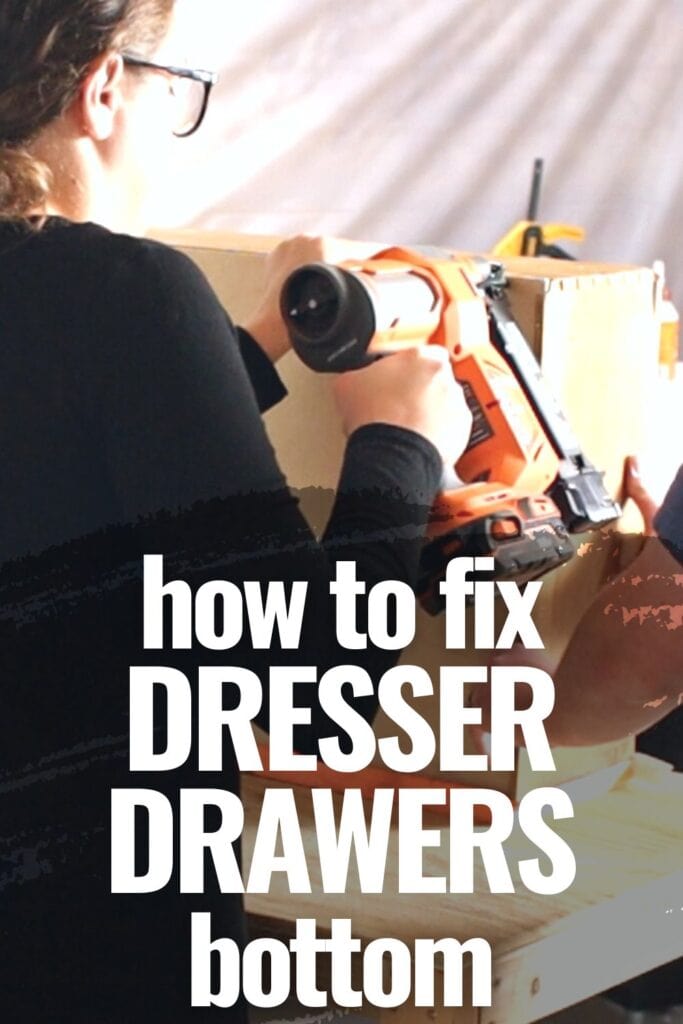
We’ve all experienced the frustration of a dresser drawer that sticks, grates, or just plain won’t move. Perhaps the bottom of your drawers have worn out over time, rubbed thin by the relentless metal stoppers underneath, or something similar.
Don’t worry. We’re here to guide you through the process of fixing these issues step by step, whether that means a simple repair or a full-on replacement. We’ll show you how to breathe new life into your old dresser, making it as good as new.
After all, every piece of furniture deserves a second chance!
Supplies for Fixing a Dresser Drawer Bottom
As an Amazon Associate, I earn from qualifying purchases. I also may earn from other qualifying purchases with other companies or get free product to review and use. All opinions are my own.
- Bondo Wood Filler
- Bondo Spreader
- Stir Stick
- Respirator
- Power Sander
- Sanding Discs (anywhere from 120-220 grit)
- A thin piece of scrap wood (larger than the hole, if any)
- Short nails or Screws
Sometimes the bottom of dresser drawers get worn out because there are little metal drawer stoppers or something underneath the drawer that rubs against the drawer bottom. Over time, those metal pieces rub the bottom of the drawer and can make holes in the drawer bottoms.
Replacing a Drawer Bottom
There are a couple of ways to fix this. First, if it is bad enough it just needs to be replaced. So head over to our blog post on dresser drawer bottom replacement to learn how to step by step replace the bottom of these old dresser drawers.
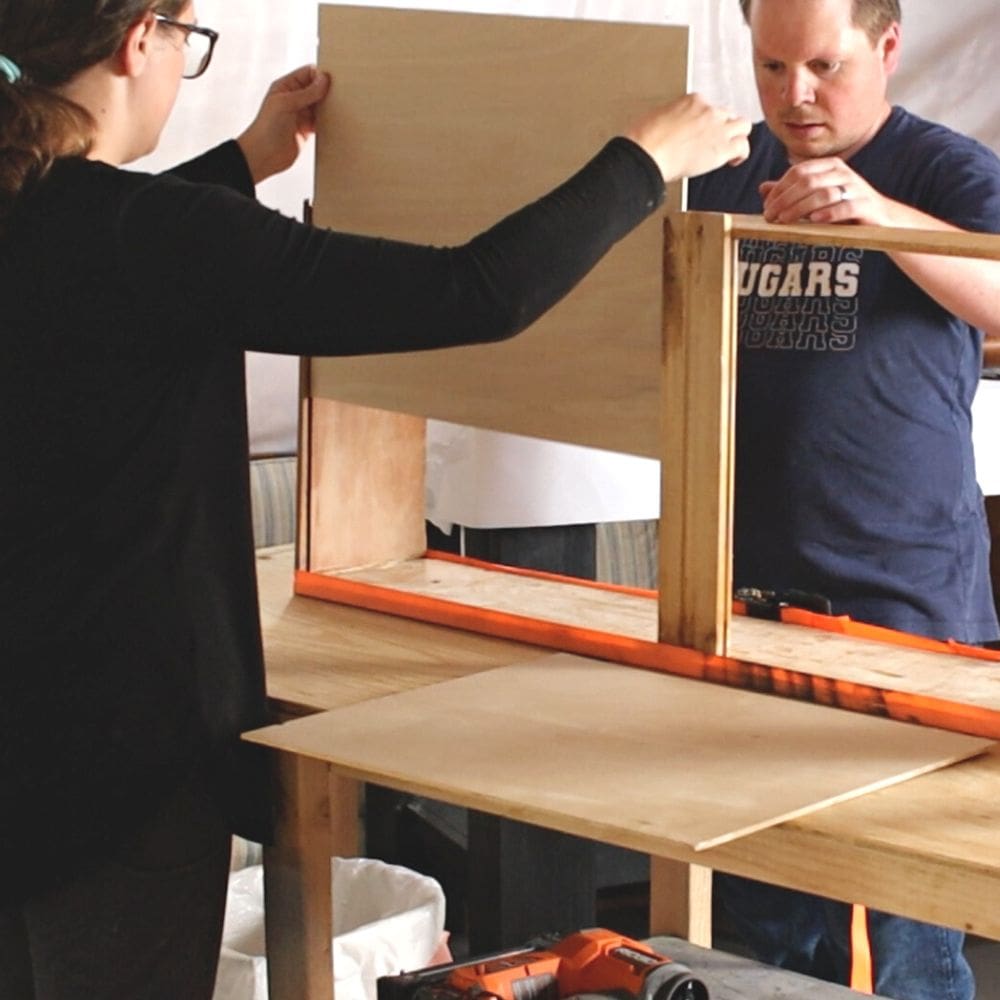
Basically, you will need to take the drawer apart, cut a new piece of wood the same size as the old drawer bottom, and then reassemble the drawer.
Preventing the Drawer Bottom From Breaking Again
Now that we’ve covered the wear and tear of dresser drawers and how to replace a worn-out drawer bottom, it’s time to look at preventative measures. These are strategies to make sure that your drawer bottom doesn’t meet the same fate again.
Remember, the key to a long-lasting dresser drawer lies in avoiding common mistakes like overloading the drawer and neglecting the drawer stops. Let’s dive into the details!
Fix the Drawer Stop
You might need to fix that metal drawer stopper, if there is something like that that is digging into your drawer bottom. It might just mean that you need to pound that metal piece into the wood a little bit more so then it doesn’t stick out as much.
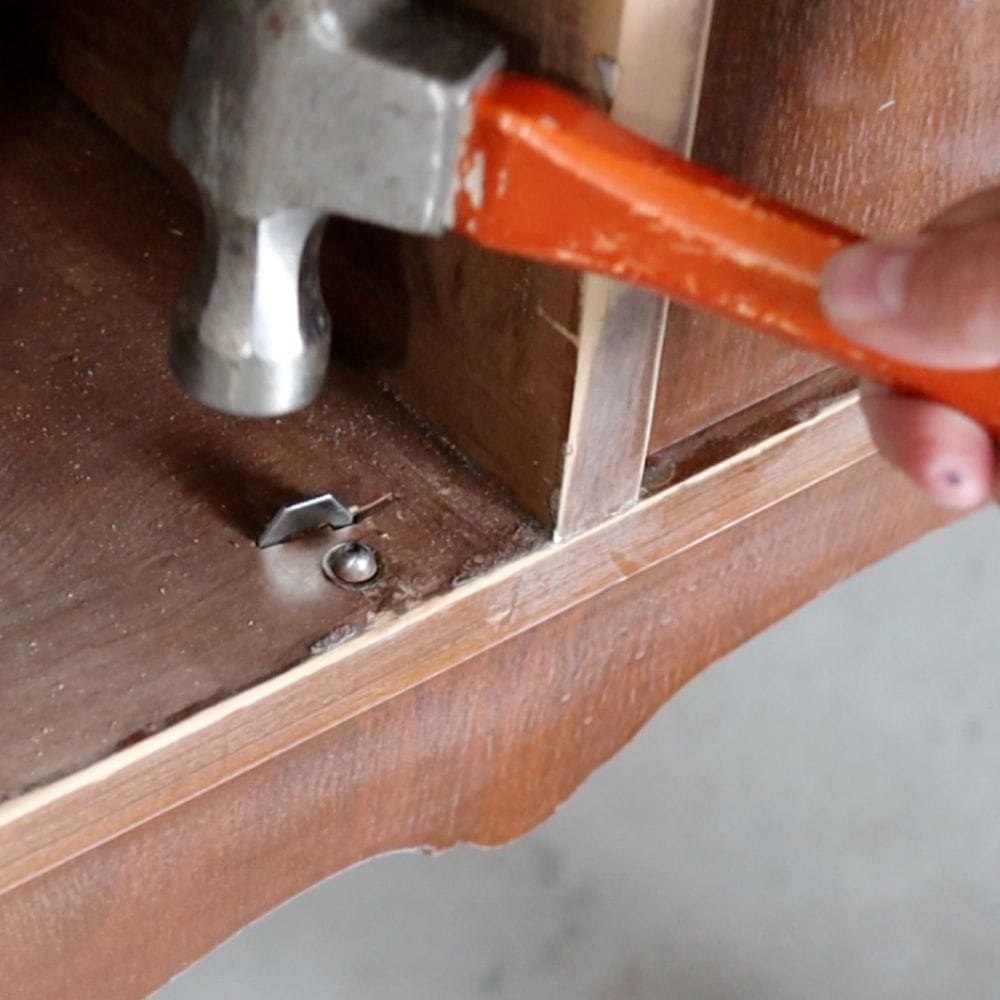
You can also remove the drawer stop but understand that the drawers will not stay in the right position if you remove them. If you do remove them, replace them with a small piece of wood that can stop the drawer.
Don’t Overload Your Drawer
Or, you might also need to know that you can’t put so much stuff in that drawer so then it doesn’t hit the metal piece. If there is too much weight in the drawer, the drawer bottom might not be able to hold it without rubbing something below it.
Add a Brace to the Drawer Bottom
Another way that you can prevent this from happening is to possibly add some braces underneath the wood drawer going from the front to the back of the drawer and glue that onto the drawer bottom. So then the drawer bottom, that thin wood, doesn’t sag as much.
View our blog post on how to fix sagging dresser drawers for more information on how to fix your dresser drawers that are sagging.
Repairing Drawer Bottoms
If you see that there are some gouges and lines and it looks like it’s almost going to go through that drawer bottom, but it hasn’t gone through all of the way yet.
You can fill in that repair with a very heavy duty sturdy wood filler like Bondo Wood Filler that will prevent your that metal piece from digging any further into the wood. Check out our honest Bondo wood filler review to compare the difference from other wood filler.
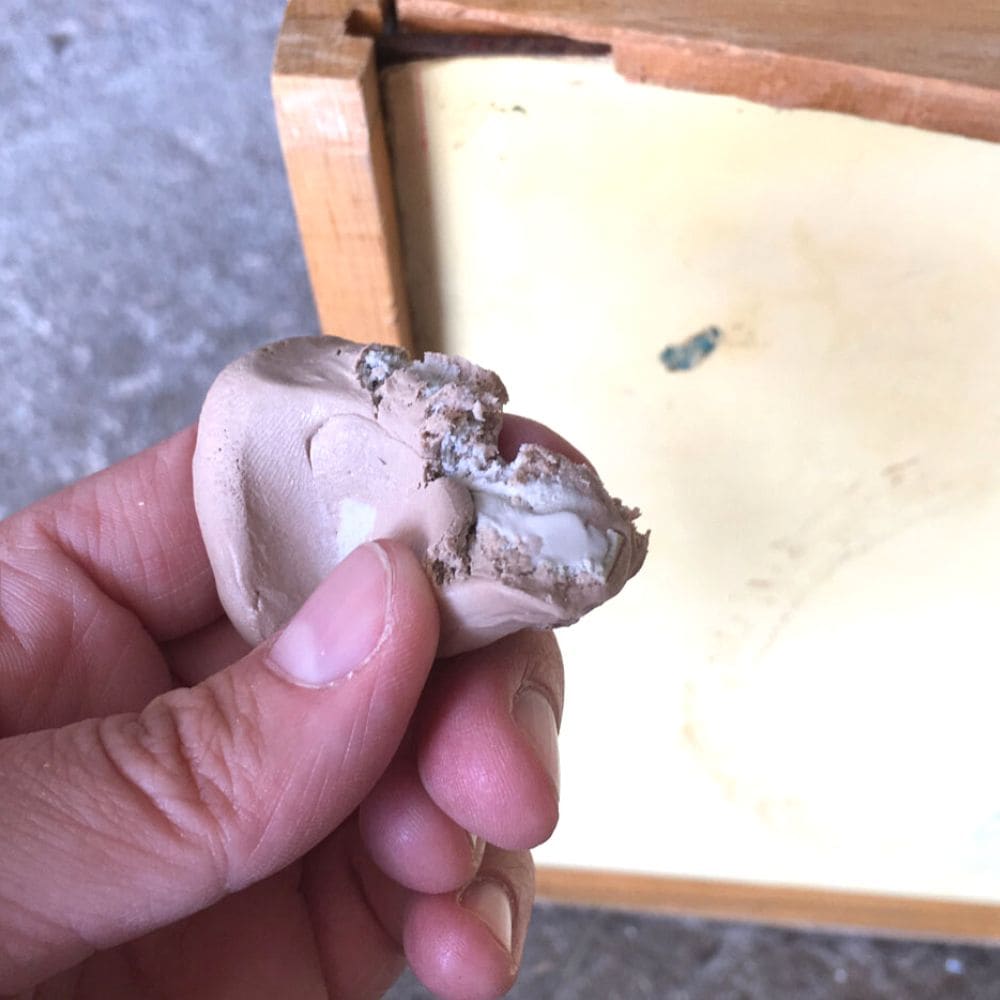
So how do you fill in these gouges if it isn’t all the way through the wood yet? It’s really easy. You’ll mix up some Bondo, the best filler for this is Bondo wood filler. So you’ll mix that up and then spread it over that area where it is gouged.
Let the Bondo dry. It usually dries within an hour.
After that you can sand the Bondo smooth with your power sander and sanding discs, so then it is completely flush with the wood around it and it looks nice if you really want to. I’m sure you can paint it or stain it or whatever you want.
Here’s everything you need to know about Bondo wood repair for your furniture.
But honestly, this is the bottom of a drawer. So I personally would just leave it like that.
Repairing Drawer Bottom Hole
Now if your drawer bottom has a hole in it already, you can still repair that hole without replacing the whole bottom if you want to. You need to grab a thin piece of scrap wood that is larger than the hole.
It cannot be thick enough that it will mess with anything that sits under the drawer when it is used.
You’re gonna need to nail or screw a piece of wood into the underside of the drawer bottom so then it stays level and flush with the drawer bottom. Make sure your nails or screws are short enough that they do not go through the drawer bottom and poke up into the drawer.
Now flip your dresser drawer over so that you’re looking inside of the drawer. Then you can fill in the hole with Bondo, let it dry, and then sand the Bondo smooth.
You may be able to remove the piece of wood underneath the drawer depending on the size of the hole. If it is small, the repair should last a while. If it is large, I would leave the piece of wood under the Bondo to help support it.
Here’s a comparison of Bondo vs other wood fillers in filling holes when replacing cabinet or furniture hardware!
If you want to cover up this repair so you don’t see it every time you open your drawer, here is our post on the best material to line dresser drawers, including a section on how to line dresser drawers.
When it’s time to replace or update your lined drawers, here’s how to remove felt from wood drawers.
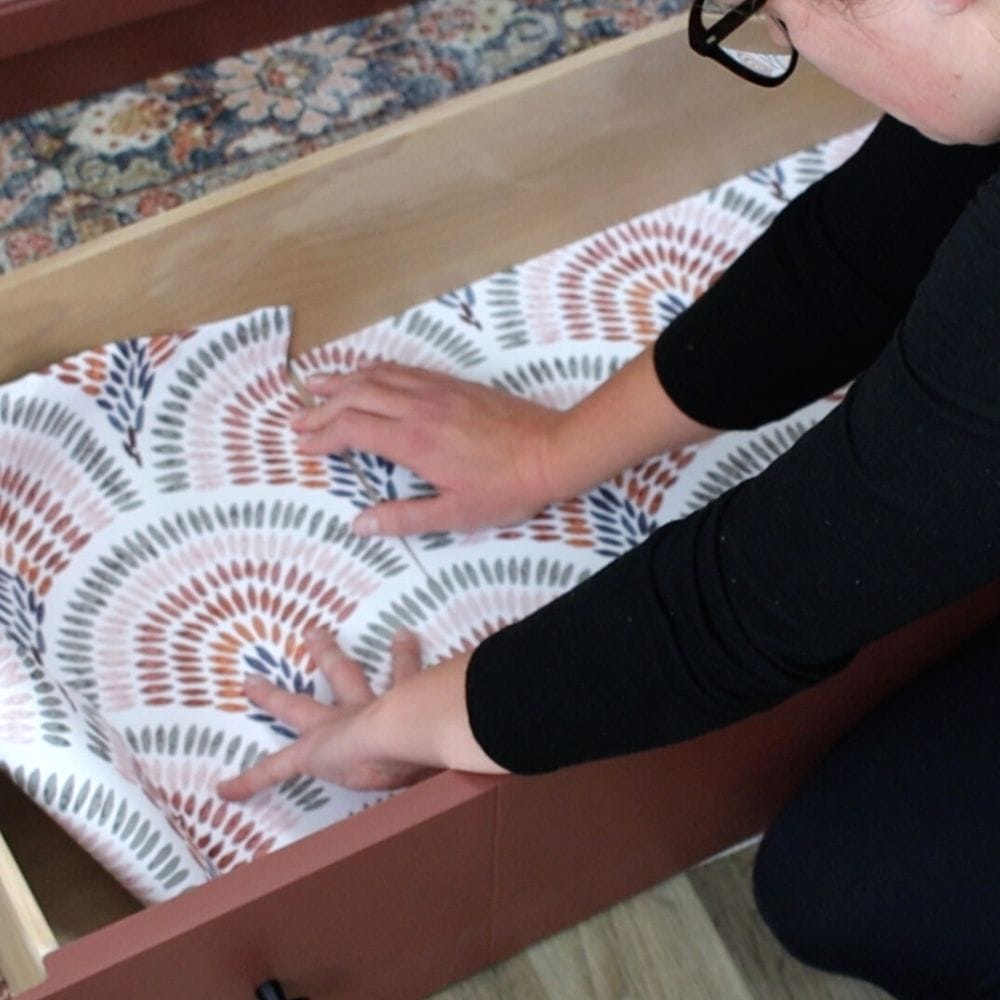
Even the most worn-out dresser drawer can have a comeback story! Whether replacing a broken bottom or simply preventing future wear, these fixes can give your old dresser a new lease on life.
Remember, giving your furniture a little care and maintenance can go a long way in keeping it around for a while. So don’t hesitate to get your hands dirty and show some love to your cherished dresser!
more dresser makeover Ideas
Follow us on YouTube to get more tips for painting furniture.
Or share your project with us on our Facebook Group and be part of our community. See you there!



I have been following you on Facebook for about 2 weeks now. You (and your husband) are very talented and inspiring. I haven’t taken the plunge on a piece of furniture, but I haven’t had opportunities to look.
I’ll continue to follow, and I’ll keep in touch.