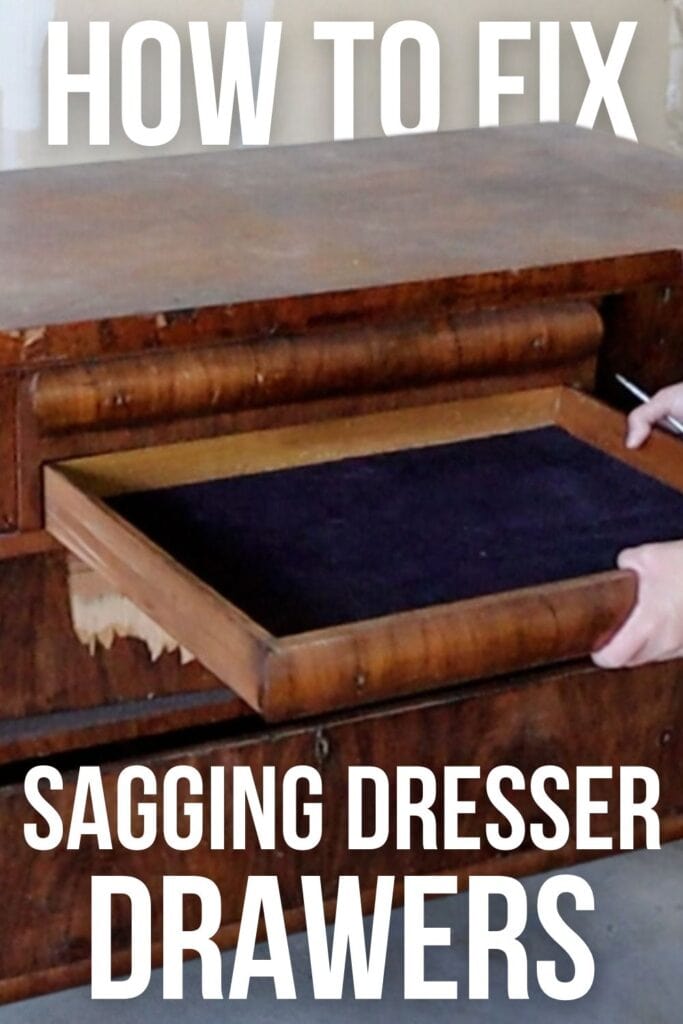
How to Fix Sagging Dresser Drawers
Are you dealing with sagging dresser drawers that just won’t stay in place? Or, maybe your old dresser drawers are sticking and refusing to open or close properly. If that’s the case, we have some useful tips on how to fix sagging dresser drawers and how to fix old dresser drawers that stick so they’ll work like new.
If you need to make repairs to an older unit or just want to find a way to keep them from getting too wobbly over time, there are some simple solutions that can help.
Dresser drawers can start to sag and become difficult to open or close due to wear over time. This is especially true of older dressers that don’t have properly aligned frames or support under the drawers.

In many cases, the weight of clothing, linens, and other items stored in the drawers will cause them to gradually shift out of alignment. The result is a drawer that sticks, won’t close properly, and looks unsightly.
But one of the best parts about tackling problems like sagging dresser drawers is that you can do it yourself and save yourself time and money.
Taking a few minutes to address this issue will keep your furniture looking great, make it easier to access your items, and help make sure that everything stays where it should. Plus, you’ll get the satisfaction of completing a DIY project!
As an Amazon Associate, I earn from qualifying purchases. I also may earn from other qualifying purchases with other companies or get free product to review and use. All opinions are my own.
How to Repair Sagging Drawers
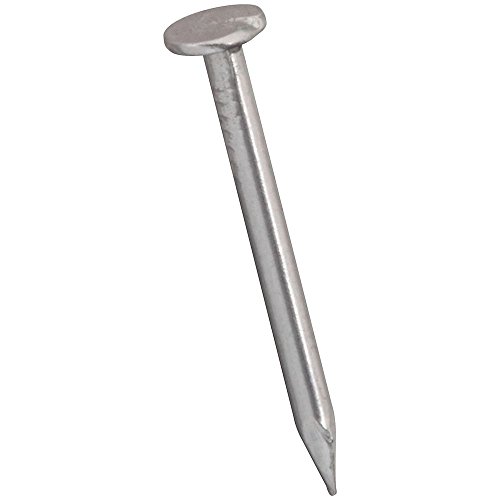
One quick fix on really old dresser drawers is to look at the under the drawer and at the back of the drawer. Many of these drawers only have small nails holding the drawer bottom to the backside of the drawer.
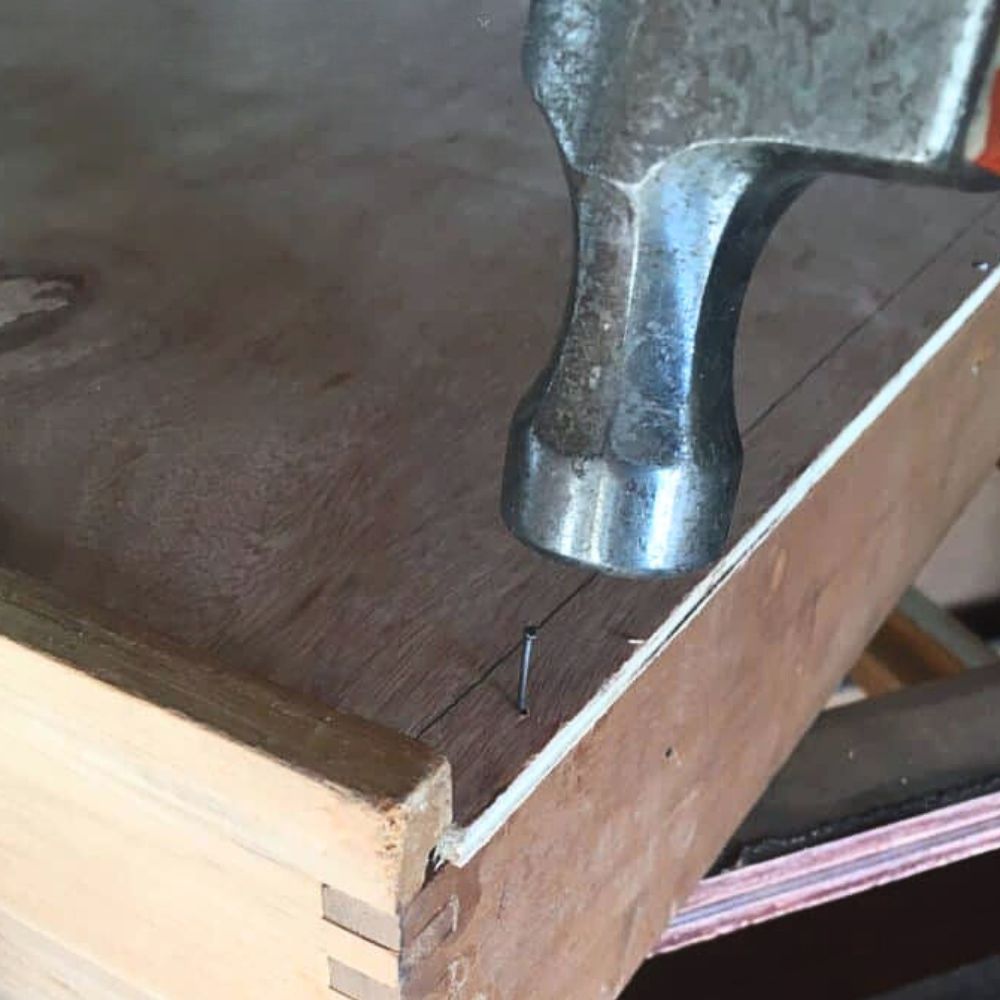
Inspect this area to make sure the nails are in place, and add some new nails if they are missing.
** Use nails that are 3/4″ long with a larger round head to keep the nails from going all the way through the wood.
How to Keep the Drawer Bottom from Falling Out

On the sides of the drawers, there are notches where the drawer bottom sits. But sometimes the bottom of the drawer was only cut barely bigger than the drawer itself. You can cut a new drawer bottom that is a little bit larger. And/or you can add support to the bottom of the drawers.
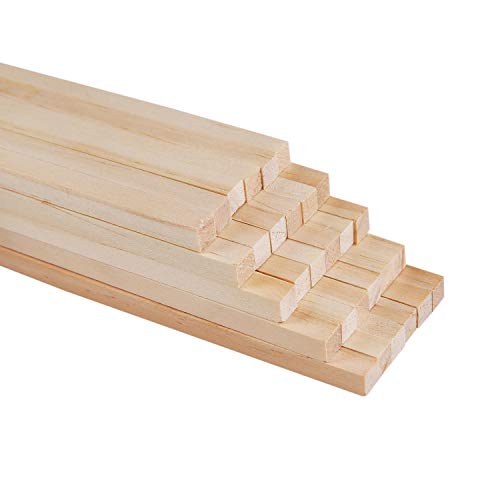
Choose a square dowel that is smaller than the space between the drawer bottom and the bottom of the side of the drawer. A 1/4″ square dowel should do the trick.
- Cut the dowel into 2-3″ long pieces.
- Make sure the drawer bottom is in its correct place. Then turn your drawer upside down.
- Glue the dowel pieces along the edge of the drawer and to the bottom of the drawer. Six pieces per drawer is typical.
- Make sure the glue dries to both the side and the bottom of the drawer before turning the drawer back over.
The dowels will keep the bottom from moving around, but it will also help give support to the drawer bottom so it doesn’t come out of the notch on the side of the drawer. This post on support for sagging drawers is another good idea.
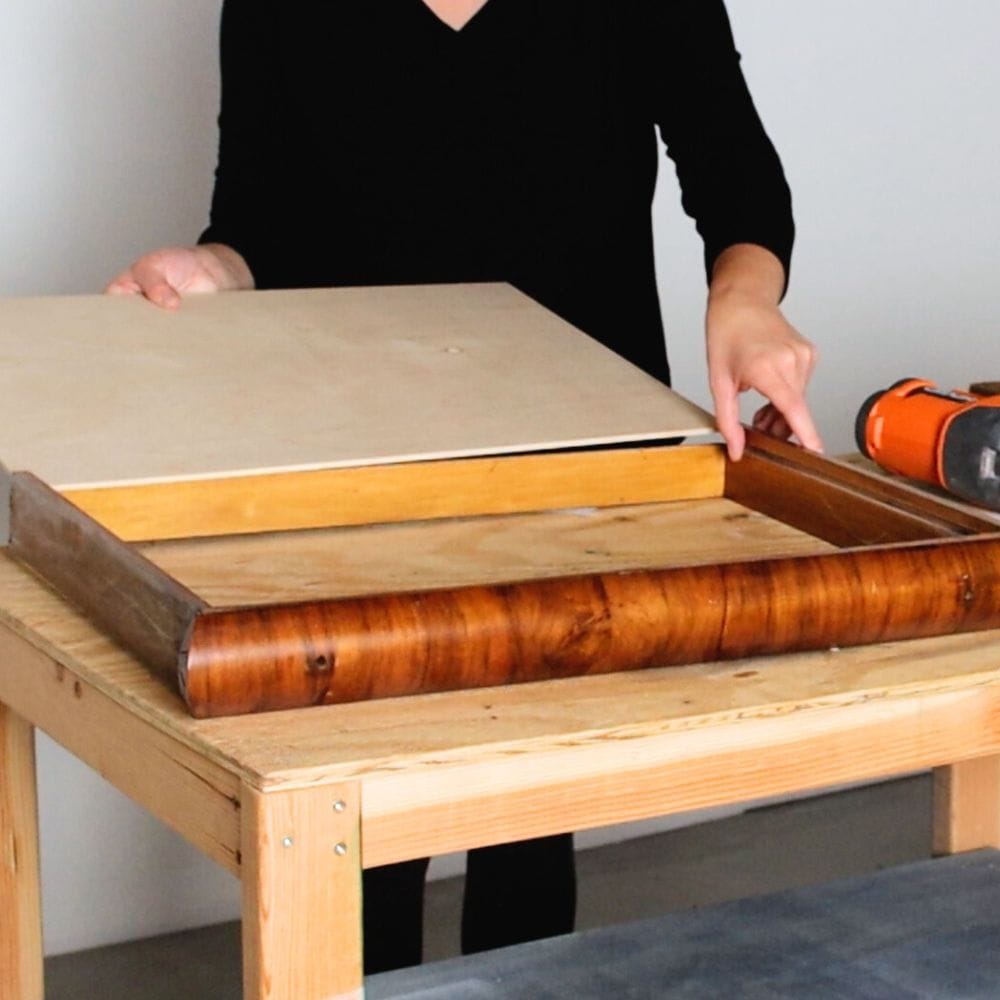
Drawer Bottom Replacement
If the wood is broken or if it still falls out after these fixes, you may need to just replace the drawer bottom with new wood. Visit our dresser drawer bottom replacement blog post for step by step information on how to replace your drawer bottom.
More Dresser Drawer Repairs
Sometimes, it’s not just a sagging issue. You might notice that your precious drawer is stuck and just refuses to open smoothly! It can be pretty frustrating but don’t worry, it can be fixed easily, especially with our tutorial on fixing old dresser drawers hard to open.
First, try rubbing a candle, bar of soap, or old wax along the tracks to lubricate them. This can really help reduce the friction between the drawer and its track, making it slide more smoothly.
Would you like to save this?
Next, give the tracks and slides a good check for any debris or gunk that might be blocking the way. A quick clean can often do the trick.
If you see that the tracks and slides are visibly worn out or broken, you can learn how to fix broken dresser drawer tracks here. You can also consider replacing them completely. You can usually find replacements at hardware stores without breaking the bank.
If the edges of the drawer seem to be causing the issue, a little sanding can go a long way. Just smooth out any rough spots and your drawer will open and close with ease.
Remember, patience is key when dealing with old furniture. Accidents might happen, but don’t lose hope. It’s all part of the learning process. Who knows, you might even discover a new hobby along the way!
Painting Your Dresser
After you’ve successfully fixed your dresser drawers, why not take it one step further and give it a fresh coat of paint? Repainting or refinishing your dresser can make it look brand new and is a great idea if you want to spruce up the piece.
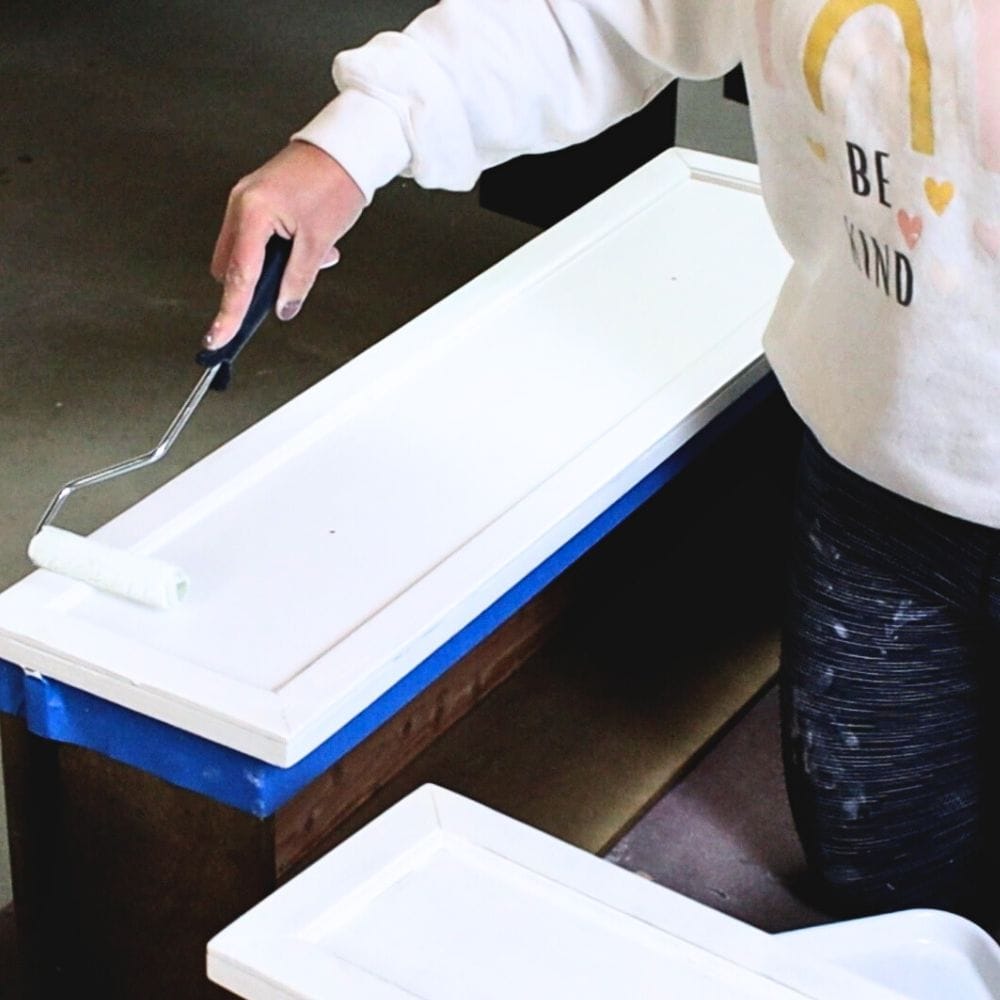
Plus, if you choose a color that complements your room decor, it can become a real focal point of the space!
For guidance on how to get started with painting, check out our painting furniture post which covers everything you need to know before you get started. If you want to refinish your dresser with a nice stain instead, here is a step by step tutorial all about refinishing furniture.
How can I prevent my dresser drawers from sagging?
Now that you’ve successfully fixed your sagging dresser drawers, you may be thinking how you can prevent this issue from happening again in the future. Well, there are a few simple steps you can take for this.
First, make sure you distribute the weight evenly in your drawers. Overloading one side of the drawer can cause it to sag over time. Consider using dividers or organizers inside the drawer to help distribute the weight evenly.
Of course, don’t overload the drawer with heavy items in the first place. If it feels too heavy to open or close, then it’s probably best to redistribute and place the items in different drawers.
Next, regularly check and tighten any screws or nails on the drawer, especially if you notice it starting to feel loose. When these are loose, the drawer can start to sag and become difficult to open and close.
If you’re still experiencing sagging drawers, it might be time to completely replace the drawer bottom with a sturdier material. Consider using a hardwood like oak or maple for a more durable and long lasting solution.
Repairing a sagging dresser drawer doesn’t have to be a daunting or overwhelming task. With the simple steps outlined in this guide, you’ll be able to restore your sagging drawer, keep it running smoothly, and prevent future sticking or sagging.
Not only that, but you can even go one step further by painting and refinishing the dresser for an extra touch of style. So don’t let your sagging dresser drawer stop you from enjoying your piece!
More Dresser Drawer Repair Tips
- How To Fix Old Dresser Drawers From Falling Out
- How to Remove Felt from Wood Drawers
- How to Fix a Dresser Drawer Side
- How to Fix Dresser Drawers Bottom
- Old Dresser Drawers Won’t Slide

Follow us on YouTube to get more tips for painting furniture. Or share your project with us on our Facebook Group and be part of our community. See you there!