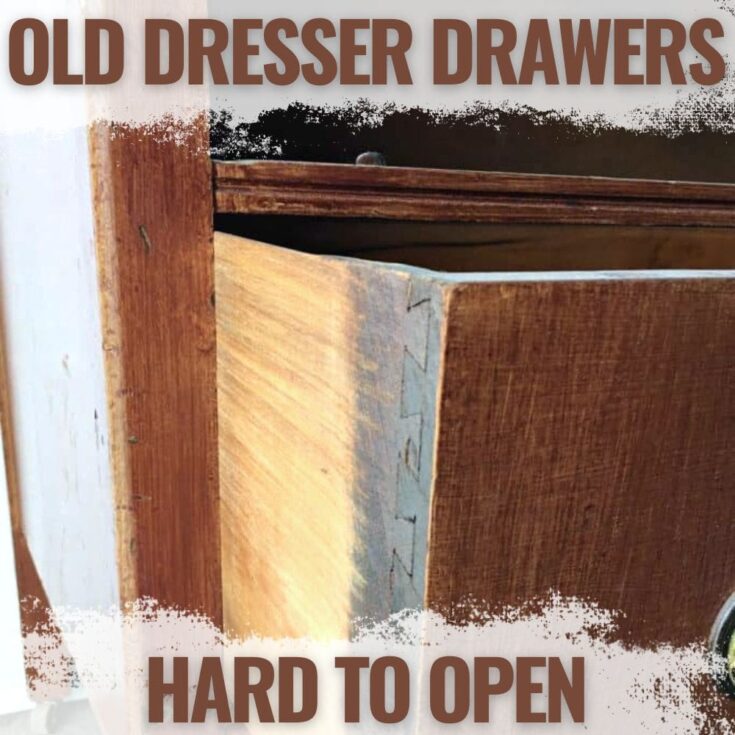
Old Dresser Drawers Hard to Open
Are your old dresser drawers hard to open? It can be a real challenge when the drawers are stuck, making it difficult to access what’s inside. But fixing old dresser drawers that stick isn’t as hard as you think! Here’s how to open those stubborn drawers and keep them from sticking in the future.
You might hear the wood scraping against the frame as you pull it out. Or maybe, it’s just stuck due to age-related wear and tear – no matter how hard you tug. These issues are common with old furniture, so don’t sweat it, we can help!
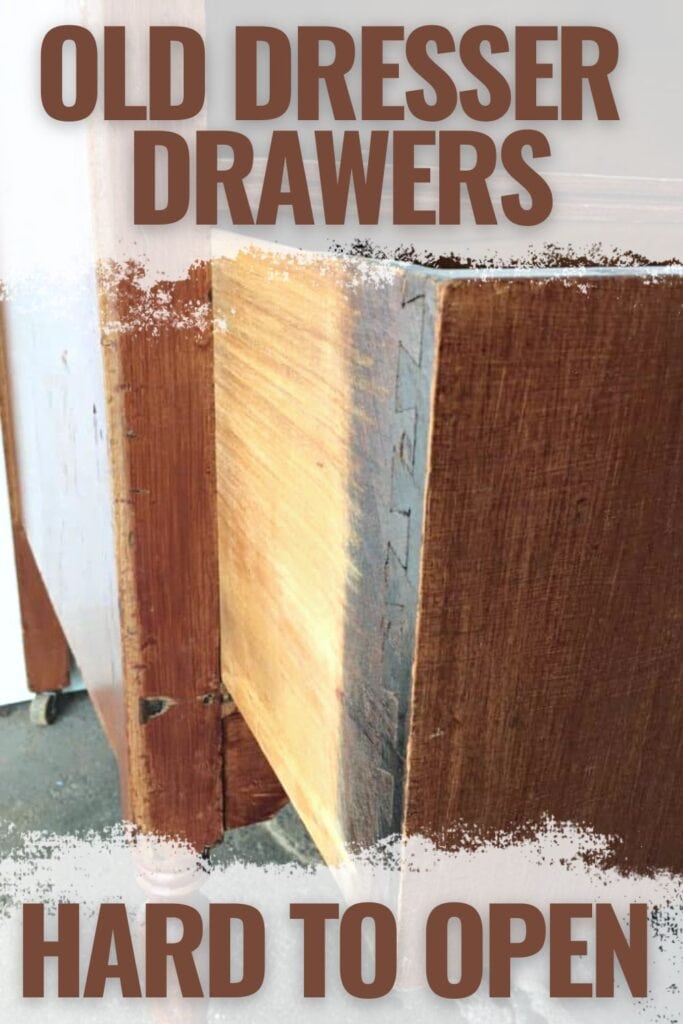
Maybe it’s a dresser that’s been in your family for generations and you don’t want to give up on them yet. Or maybe you recently bought a vintage piece that looks great but needs some work.
Over time, as the wood in old dressers is exposed to varying temperature and humidity levels, it has a tendency to swell and shrink. So it’s pretty common for the drawers to get a bit sticky and harder to pull, especially in areas with high humidity.
No matter the reason, it is frustrating not being able to open (and close) the drawers whenever you need. Anyhow, solving the problem can actually be as easy as sanding the sides of drawers.
Supplies to fix old dresser drawers hard to open
As an Amazon Associate, I earn from qualifying purchases. I also may earn from other qualifying purchases with other companies or get free product to review and use. All opinions are my own.
Sand the Sides of the Drawers
If you live in a humid area, there is a very high chance that the wood in your drawers or dresser has swelled.
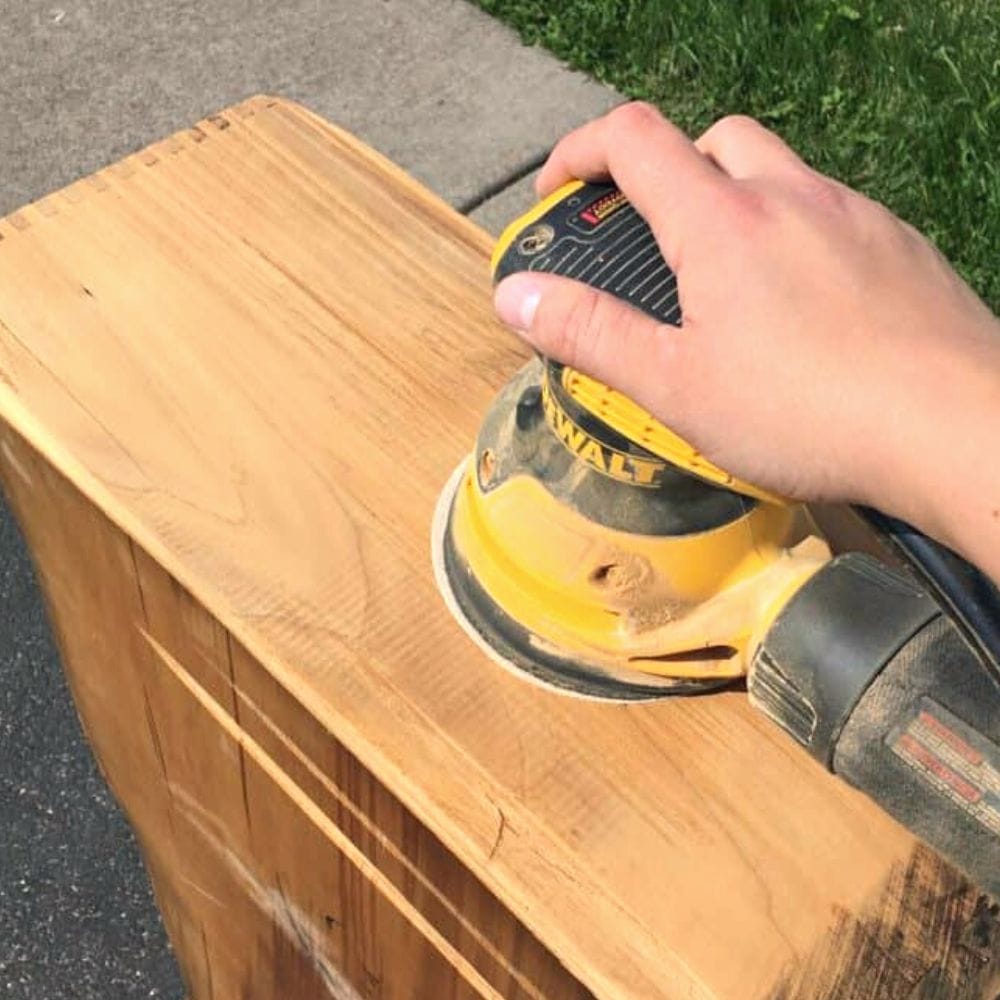
In this case, sanding the sides of the drawers down can make a huge difference in getting old drawers to easily slide in and out. Read this post to learn about the best sanders for furniture.
Before sanding the drawers, make sure your dresser has been in a climate-controlled environment so the wood is acting normally. If it has been in the garage for a while, bring it inside for a few weeks to see if the wood contracts at all.
If you need to sand the sides of your drawers down, you will notice that there isn’t any gap between the side of the drawers and the side of the dresser. There should be a small gap (about the thickness of a penny) so the drawers can move freely.
Here’s our guide on fixing old dresser drawers won’t slide to learn the step by step process to get those drawers sliding smoothly again in no time.
Remove the sticky drawers… I know this may be hard, but you need to get them out before you can fix them.
Then grab your power sander. I like to use 60 grit sandpaper at first, and then move up through the different grits, like 100 grit, then 150 grit, and finally to 220 grit sandpaper when most of the wood has been sanded down.
60 grit sandpaper will quickly remove wood, while 220 grit sandpaper will smooth the wood down. Learn more about sandpaper for furniture painting here.
**When sanding, make sure to take note of certain areas that need attention, and other areas that don’t need any attention. Only sand in the areas that are tight.
It’s also best to only sand a little bit, and then check your progress so you don’t sand too much off.
But, if your drawer sides are breaking off, here’s a guide on how to fix a dresser drawer side.
Sand Drawer Fronts to Fit
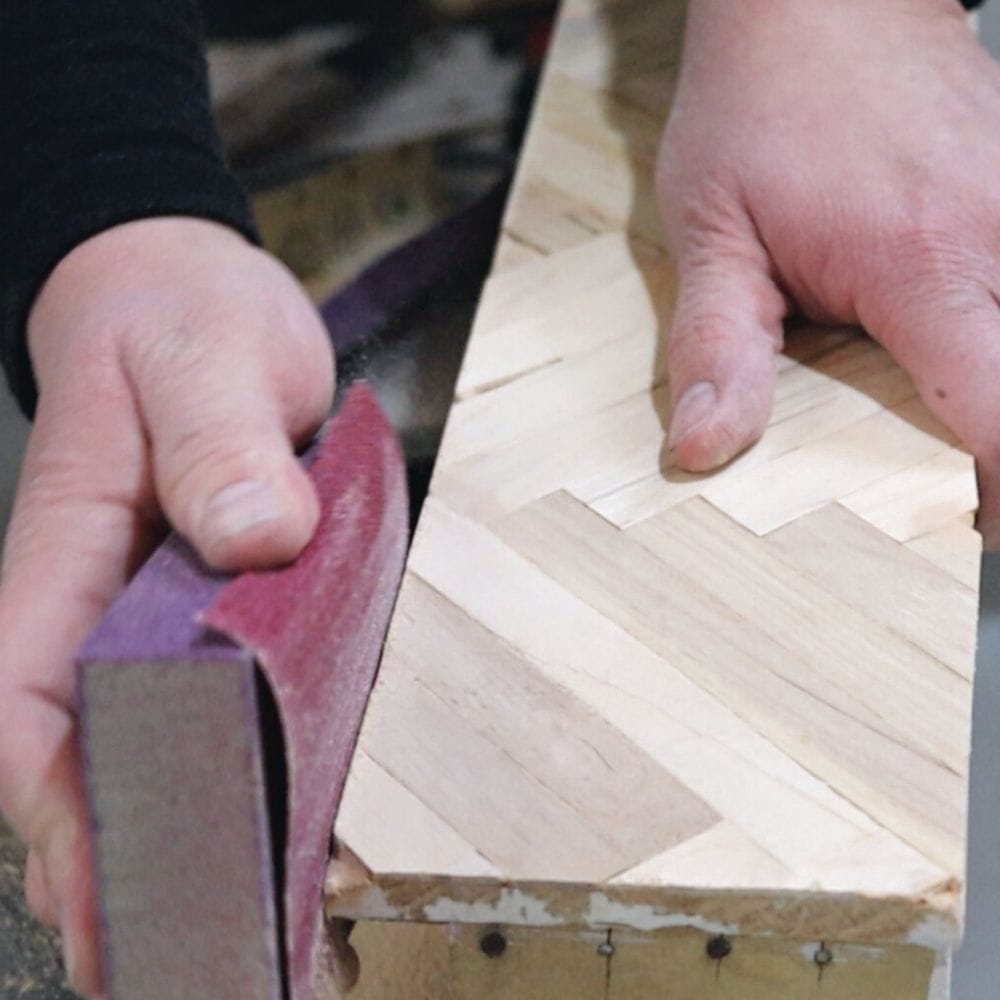
This also applies to inset drawer fronts as well. If they are too big for the opening, you can sand them down to better fit into the opening.
Before sanding the drawer fronts, you need to make sure the drawers are all in the correct spot, as some dressers are very particular about which drawer goes into which spot.
You’ll also want to make sure the dresser frame isn’t sagging or falling, making the drawer front too big for the opening. If that is the case, you’ll need to repair the frame of the dresser first.
Here’s our post on how to fix sagging dresser drawers for more information on how to fix your dresser drawers that are sagging.
Lubricate the Wood
Once you’ve sanded the sides and fronts of the drawers, the next step is to give the wood a little love. This will make sliding the drawers in and out of your dresser a breeze! There are a few ways to do this – you can grab a bar of soap or even a wax candle, or furniture wax.
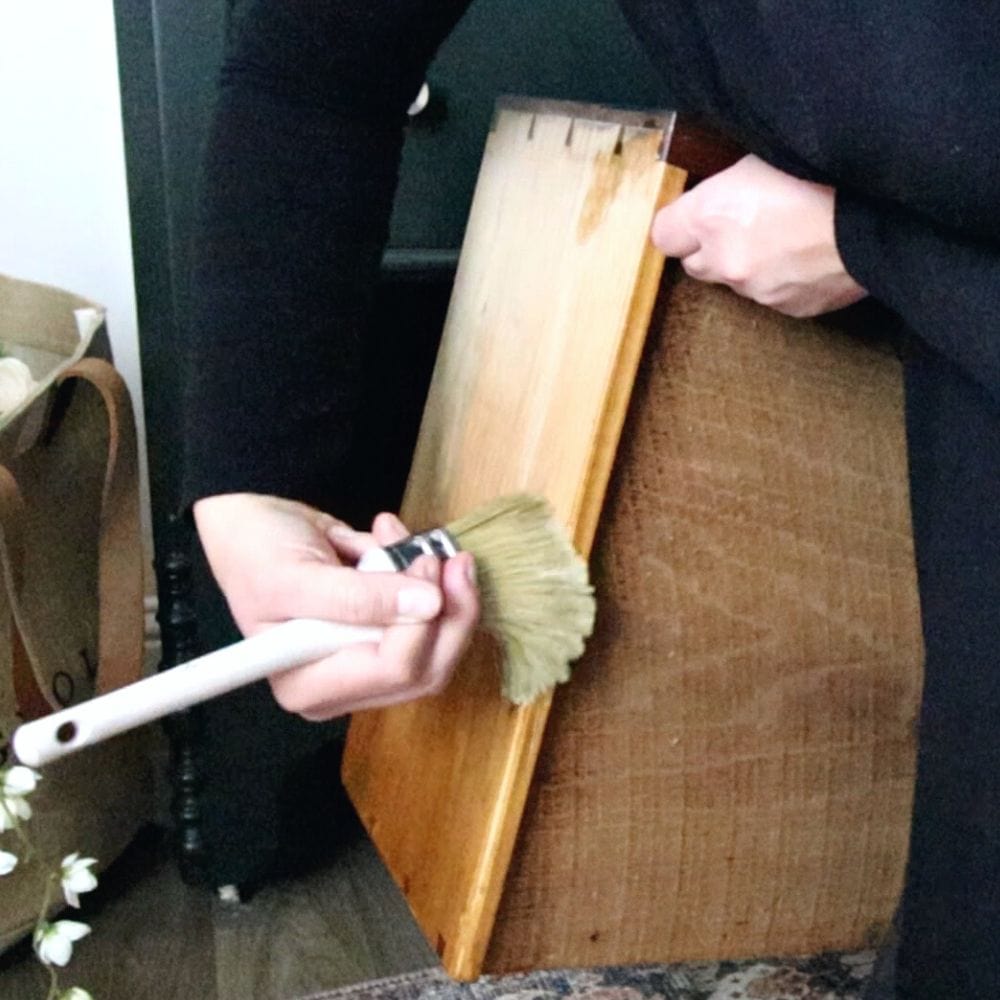
Just rub your chosen material along the sanded sides of the drawers, and the wooden tracks and runners, and watch the magic happen as your drawers glide effortlessly after you put them back in your dresser!
Addressing the Runners
One thing many people overlook when it comes to keeping drawers in good shape is taking care of the runners. These are the horizontal pieces of wood that the drawers slide on.
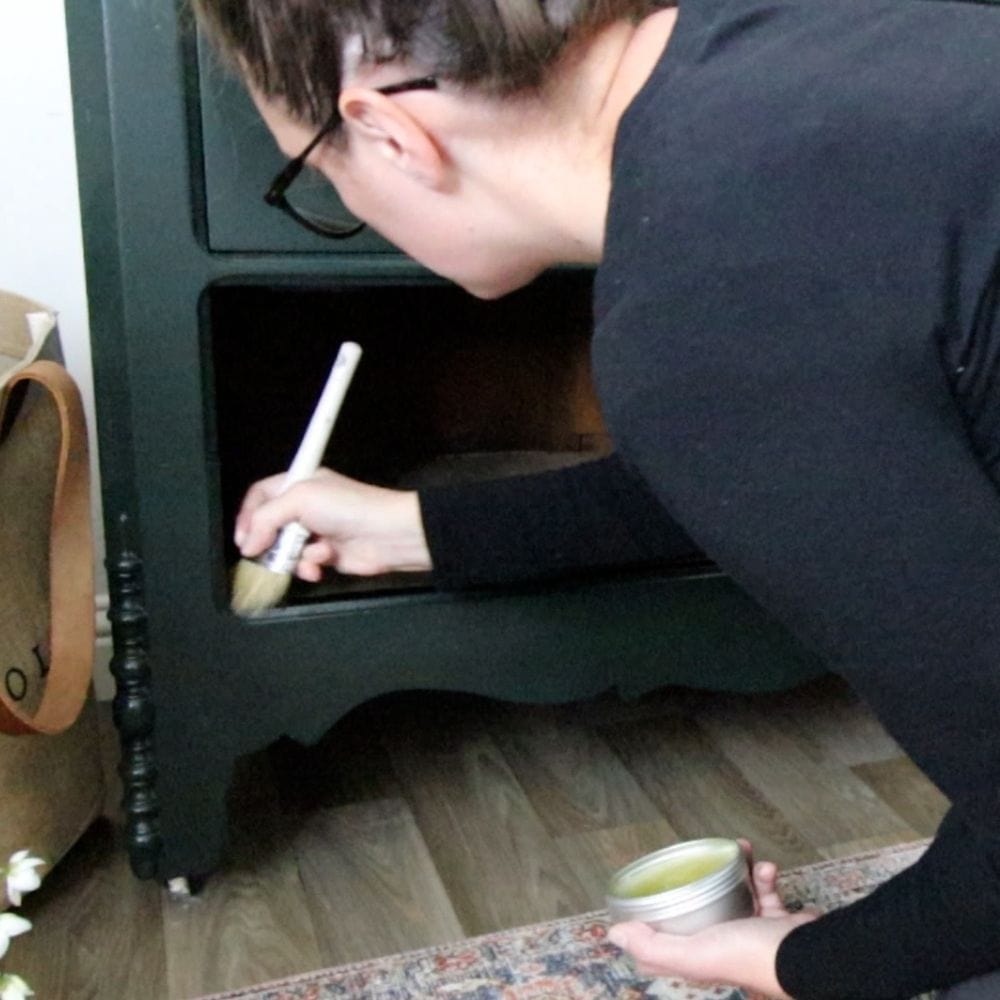
Make sure to check them for any signs of wear and tear or rough edges that might be causing your drawers to stick. If needed, sand them down and give them a good lubrication. Doing this can really improve how smoothly your drawers slide in and out.
If you’re looking for detailed steps on how to handle your runners, here’s our post on how to repair worn drawer runners.
Cleaning Your Drawers
Cleaning your drawers may not seem directly related to their smooth operation, but it can actually make a big difference. Over time, dirt and debris can accumulate, causing your drawers to stick or move less freely.
So, take everything out of your drawers and give them a good cleaning. And hey, while you’re at it, it’s the perfect chance to tidy up and organize your stuff!
Taking care of old dresser drawers is key to keeping them in good condition. Regularly sand its sides, lubricate, check the runners, and clean the drawers – by following these steps, you not only improve the performance of your dresser drawers but also spruce up their appearance.
Now you can open them smoothly and get to your stuff without any hassle!
more Fixing furniture drawer tips
- Dresser Drawer Bottom Replacement
- How to Remove Felt from Wood Drawers
- How to Fix Dresser Drawers Bottom
Follow us on YouTube to get more tips for painting furniture.
Or share your project with us on our Facebook Group and be part of our community. See you there!

