SurfPrep Sander – What happened when we put it to the test?
Before you buy it, is the SurfPrep 3″ x 4″ Electric Ray Sander worth it?? I put this SurfPrep sander to the test, and I’m sharing my review with you!
Dig more into the SurfPrep Sander here!
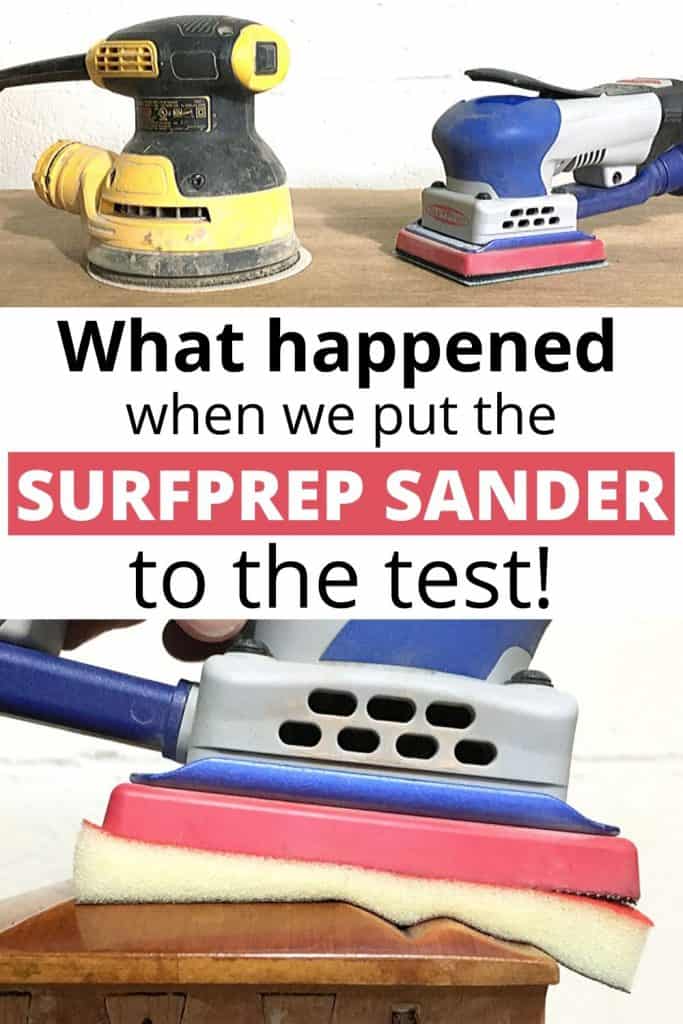
I’m not going to lie, I have a new favorite tool in my toolbox, and I can’t wait to shout it out to the world! But, the question is, is the SurfPrep Sander right for YOU??
If you’re following me on Instagram, you probably saw my thorough review of the Surfprep Electric Sander in my stories. If not, I saved the videos in my IG story highlights here.
But I wanted to share more about the tests I have put it through. So here it goes!
As an Amazon Associate, I earn from qualifying purchases. I also may earn from other qualifying purchases with other companies or get free product to review and use. All opinions are my own.
This post is all about the SurfPrep Sanding System with the 3″ x 4″ Electric Ray Sander.
I purchased the vacuum compatible sanding system found here. Check out our SurfPrep Vacuum POV-8 review here to learn all about it.
I also bought some extras that I share with you in this post about what you need to get started with a SurfPrep sander.
This sander first caught my eye because of the thick foam pads that make it easy to sand curved surfaces and details on furniture. Like this!
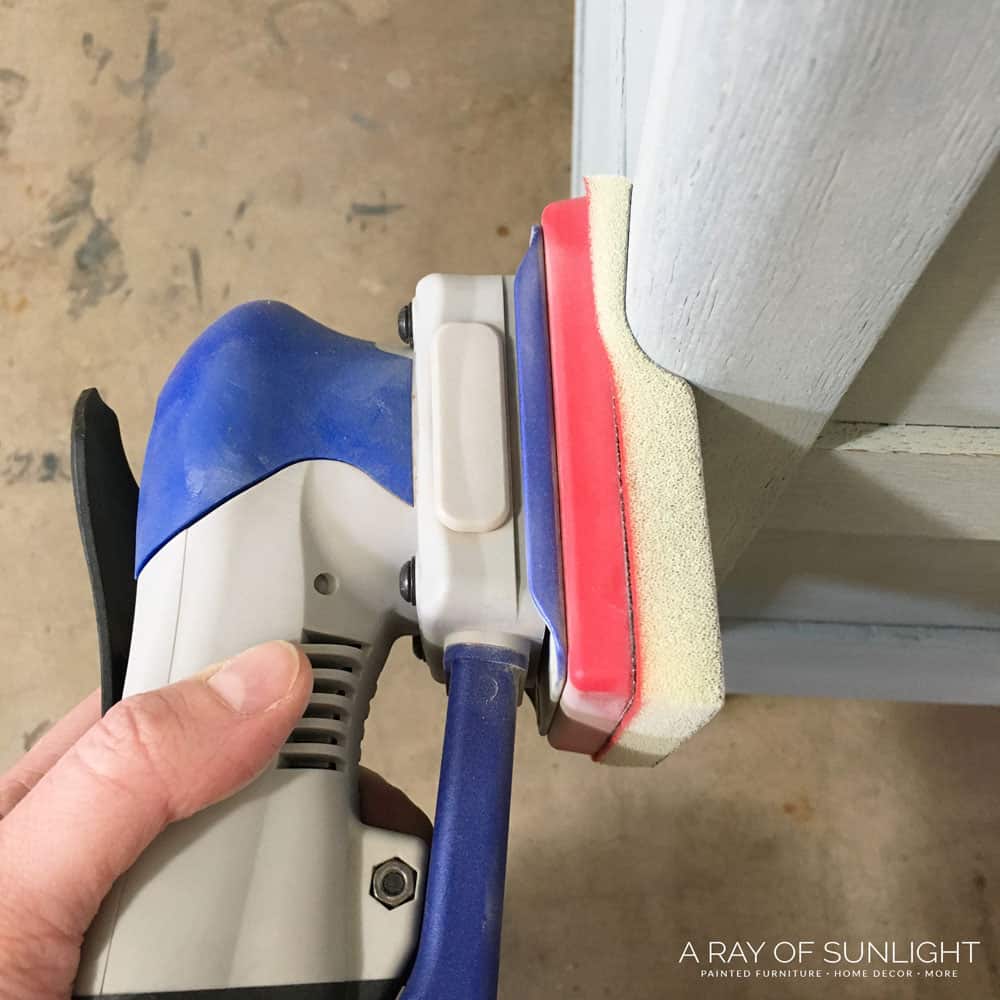
I loved that it was a small rectangle, making it easy to get into corners (compared to my orbital sander).
So after I heard multiple rave reviews of the SurfPrep electric sander, I decided to take the plunge and test it out for myself.
Before I Bought the SurfPrep
Now, if you’re new here, I paint old furniture and sell it. I am allllll about doing the job right and not just slapping paint onto furniture.
Actually, my job has very little to do with actually painting, and a lot to do with what happens before, between, and after paint.
I scuff sand each piece of furniture with 220 grit sandpaper to remove the sheen from the old finish.
Because of the details on each piece of furniture, I usually have to scuff sand it by hand, because no power sander could safely scuff up the finish without removing too much and damaging the details on the furniture.
Learn more about sanding before painting furniture here.
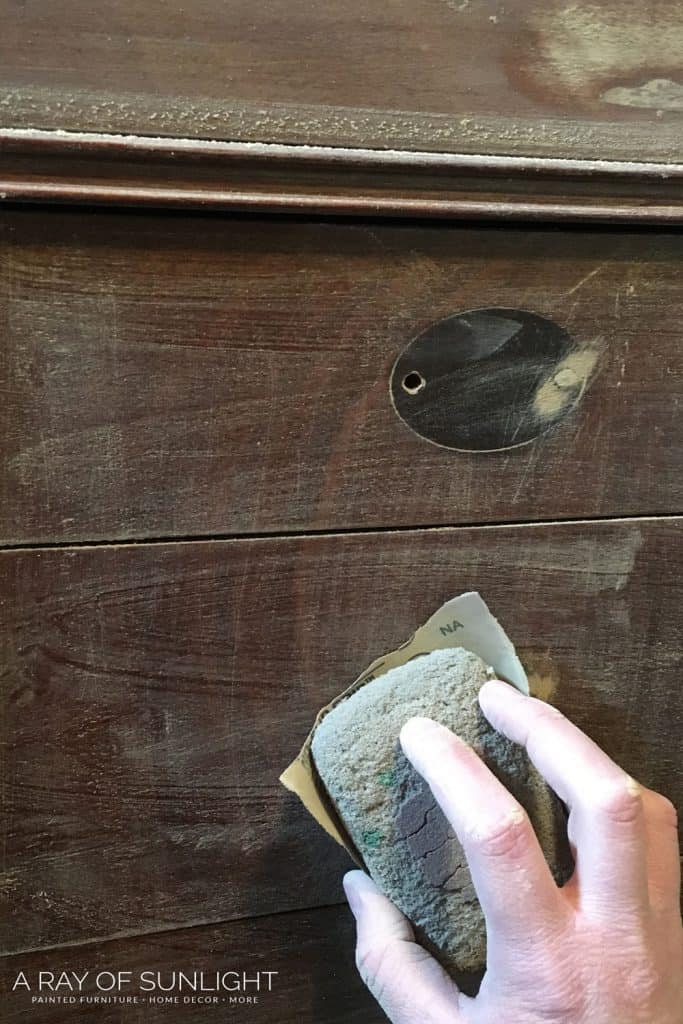
Not to mention that any damage (large scratches, broken corners, chipped wood, etc) has to be fixed before paint. Repairing old furniture or damage usually involves sanding the filler down until it is smooth with the rest of the wood.
Then there is a coat or two of primer, a couple of coats of paint, and/or a few coats of topcoat. They all need to be sanded in between each coat for the most smooth, durable finish possible.
Can you see the pattern here? From start to finish, I spend the most time sanding furniture. I should really be called a furniture sander instead of a furniture painter!
And remember, almost all of those times, I have to sand by hand. Talk about time consuming!
So I was very intrigued by the idea of using a power sander, hooked up to my existing shop vacuum, to save time each time I had to sand. And then I bought the SurfPrep sander.
Here’s what I found out.
The SurfPrep Electric Ray Sander
I am in love. The End. Bye!
Just kidding. I found that I don’t put off sanding anymore. I can zip right through the prep process, and I don’t get everything around me dirty with dust along the way.
On this buffet, I decided to time how long it took me to scuff sand half of it, and how long it took me to sand the other half with the SurfPrep sander and a 5mm” foam pad.
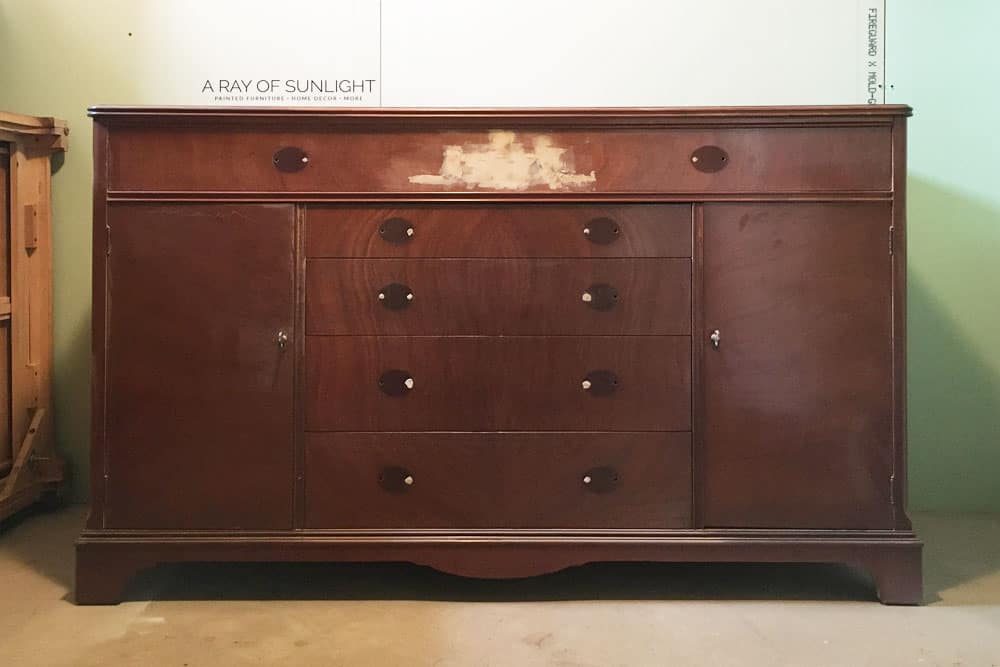
I thoroughly scuff-sanded the outside of the buffet.
Remember, I’m still new to the SurfPrep Sander, but I’ve been sanding by hand for 5 years now. So I know the fastest way to sand by hand, but I’m not as familiar with the SurfPrep yet.
Which means that I haven’t learned how to be the most efficient with the SurfPrep… yet. I know I’ll get there soon though!
I used my favorite 220 grit sandpaper for hand sanding and this 5mm foam pad in medium grit for the SurfPrep sander.
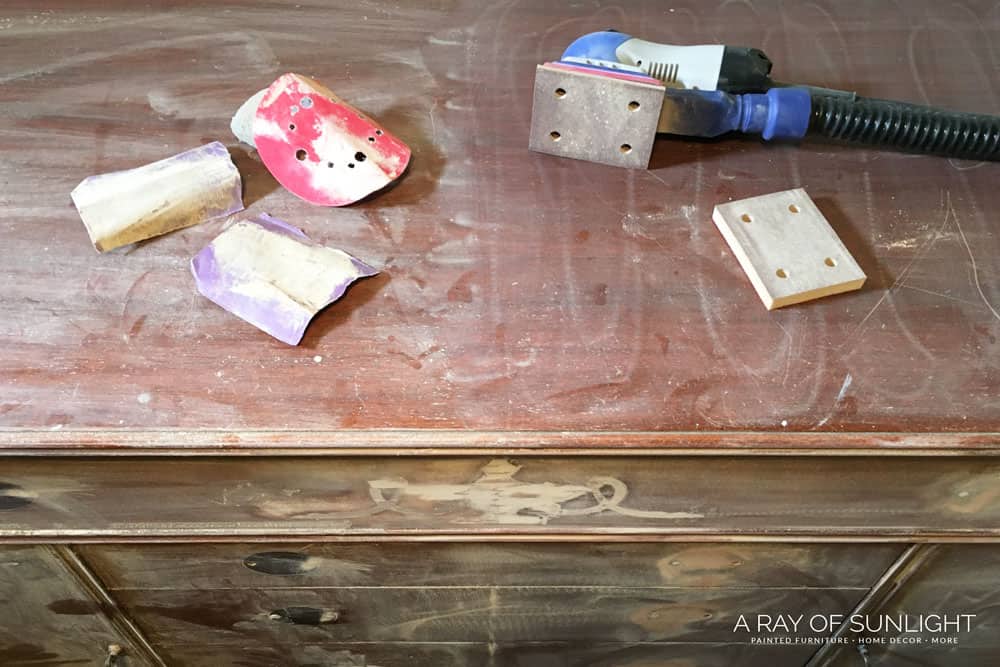
It took me 8 minutes and 34 seconds to sand by hand, and 5 minutes and 3 seconds to sand with the SurfPrep.
Multiply each of those numbers by 2 to see how long it would take to sand the entire buffet, and you get 17 minutes and 8 seconds to hand sand, and 10 minutes and 6 seconds to sand with SurfPrep!
That’s a savings of 7 minutes every time I sand a piece. Now, multiply that for at the very least, 3 times of sanding just this one piece.
That means that on this piece alone, I would save at least 21 minutes when I use the SurfPrep! When you’re crunched for time, or are putting out a lot of pieces each year, the savings really add up!
21 minutes per piece x 100 pieces is 35 hours of work saved. The biggest benefit is for those who are super busy and never have enough time in each day.
Sanding to Bare Wood
The first day I used this sander I did a little test to see how well it stripped an old stained finish compared to my Dewalt orbital sander. The test was done on a flat surface with no details at all.
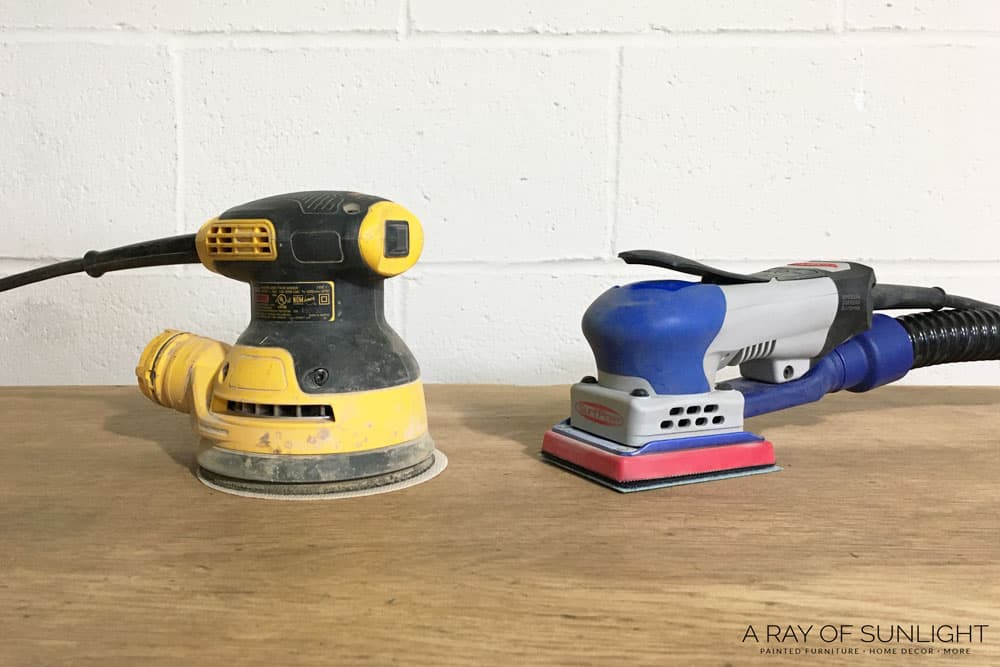
The Dewalt sander had this 100 grit sanding disc on it, while the SurfPrep had a pad saver and an 80 grit film sheet on it. (So the SurfPrep had the advantage as far as sandpaper goes.)
The honest truth? The Dewalt Orbital Sander removed the finish faster than the SurfPrep. By 48 seconds for an area that was about 12″ wide x 20″ deep.
But, in full disclosure, it was my very first day using the SurfPrep, and so I wasn’t as familiar with it as I am with the Dewalt. But you can see for yourself in my Instagram Story highlights here!
I’m sure I could have been faster with the SurfPrep, but not enough that it would have really saved time compared to the Dewalt.
Swirl Marks after Sanding
One downside of the orbital sander is the little sanding swirl marks that it leaves behind. If you’ve used an orbital sander, I’m sure you know what I’m talking about. If not, click the link below to see.
Professional woodworkers say that if you start with a low grit like 80 grit, and then you slowly work your way up through the different grits to 220 grit, then you won’t end up with as many swirl marks.
They also advise to not push down on the sander, just let it glide over the wood, and to move slow. Here is a great article on mastering the orbit sander and how to eliminate swirl marks with an orbital sander.
I’ve definitely used those tricks, but always worry about getting the swirl marks, so I go back over by hand to make sure I don’t get any of them in my stained wood.
After I tested the Dewalt and SurfPrep on this dresser top I finished it off with just the SurfPrep, moving slowly up the grit ladder from 80 grit to 220 grit
I had absolutely no sanding swirls in the stained finish!
So while the orbital sander was faster at initially removing the old finish and getting it down to bare wood, the SurfPrep left me with no sanding swirls. That to me is worth a little bit of time.
So, Is the SurfPrep Sander Worth it?
Well, that depends. Only you can really answer if it’s worth it!
How often do you sand? Are you sanding every single day? Or multiple times each project? And you do a lot of projects?
Yeah, I would say that it’s going to be worth it!
Are you just a hobby woodworker or painter? Do you mostly only sand flat areas, or sand flat surfaces down to bare wood?
Then I probably wouldn’t get a SurfPrep sander. Unless you just like to have the best of the best. Haha, you know who you are!
Where to Buy SurfPrep Sander
You can purchase the 3″ x 4″ Electric Ray Sanding System and vacuum accessories on SurfPrep’s website.
If you are still on the fence about purchasing your own SurfPrep Sander, check out
- my completely honest SurfPrep Sander review here
- or check out this budget friendly SurfPrep sander alternative.
We also go into detail about the many features and benefits of the SurfPrep Electric Ray 3×4″ Sander here.
Check out this video I made about my SurfPrep Sander.
More Sander Resources
- Best Sanders for Furniture
- SurfPrep VS Festool Sander Reviews
- Honest SurfPrep 5″ Orbital Sander Review
- Foam Sanding Pads for Electric Sanders
- Festool RTS 400 REQ Sander Review
Follow us on YouTube to get more tips for painting furniture.
Or share your project with us on our Facebook Group and be part of our community. See you there!

Hey there. I have seen alot of the furniture artists using the Surf Prep and I looked into it because it does look alot easier to use. I guess if you do this as a profession it would be well worth it, but I dont. I sell furniture in a booth so I dont think I need to spend this much money yet. It does look like stripping a piece would be so much easier. Enjoy!