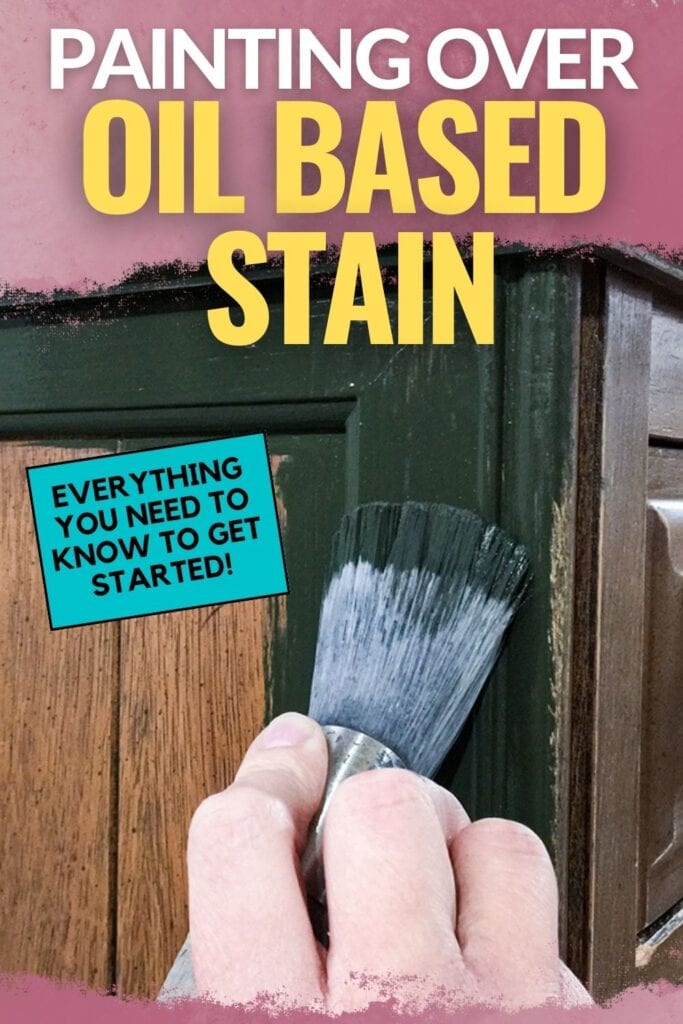
Painting Over Oil Based Stain
It might seem like painting over oil based stain is a daunting task, but it doesn’t have to be! With the right preparation and products, you can paint over an oil based stain with ease and confidence.
In this blog post, we will discuss the challenges and benefits of painting over oil-based stain, how to properly prepare the stained surface for painting, why primer is your friend, choosing the right paint for your project, and how to finish the project. So if you are refinishing furniture or just giving something new life with a fresh coat of paint – read on!
Painting over oil based stain can be a great way to give furniture or other items new life. It is possible to get professional results with the right preparation and products, allowing you to refresh your home without having to buy something new.

However, it does come with some specific steps such as having to wait a certain amount of time for fresh oil based stain to dry before painting or prepping stained surfaces that have a clear topcoat on them before painting.
But if done correctly, this process can create beautiful results and save time and money in comparison to buying something new or hiring someone else for the job. So keep reading to learn how to successfully paint over oil based stain!
supplies for painting over oil based stain
As an Amazon Associate, I earn from qualifying purchases. I also may earn from other qualifying purchases with other companies or get free product to review and use. All opinions are my own.
- 220 Grit Sandpaper
- BIN Shellac Primer Spray Can
- Waterbased or Oil based Paint
- Paintbrush or Sprayer
- Waterbased Polyurethane for the top coat
Prepping the Stained Surface
Properly prepping the stained surface before painting is very important in order to get professional, long lasting results.
For freshly stained surfaces with oil based stain, you must wait at least 48 hours for the stain to completely dry before beginning any painting tasks. Oil based stain takes a long time to dry, and we want to make sure it is completely dry before moving on.
If there is an existing clear topcoat on older stained surfaces, they will need to be cleaned and lightly sanded with 220 grit sandpaper before moving to the next step.
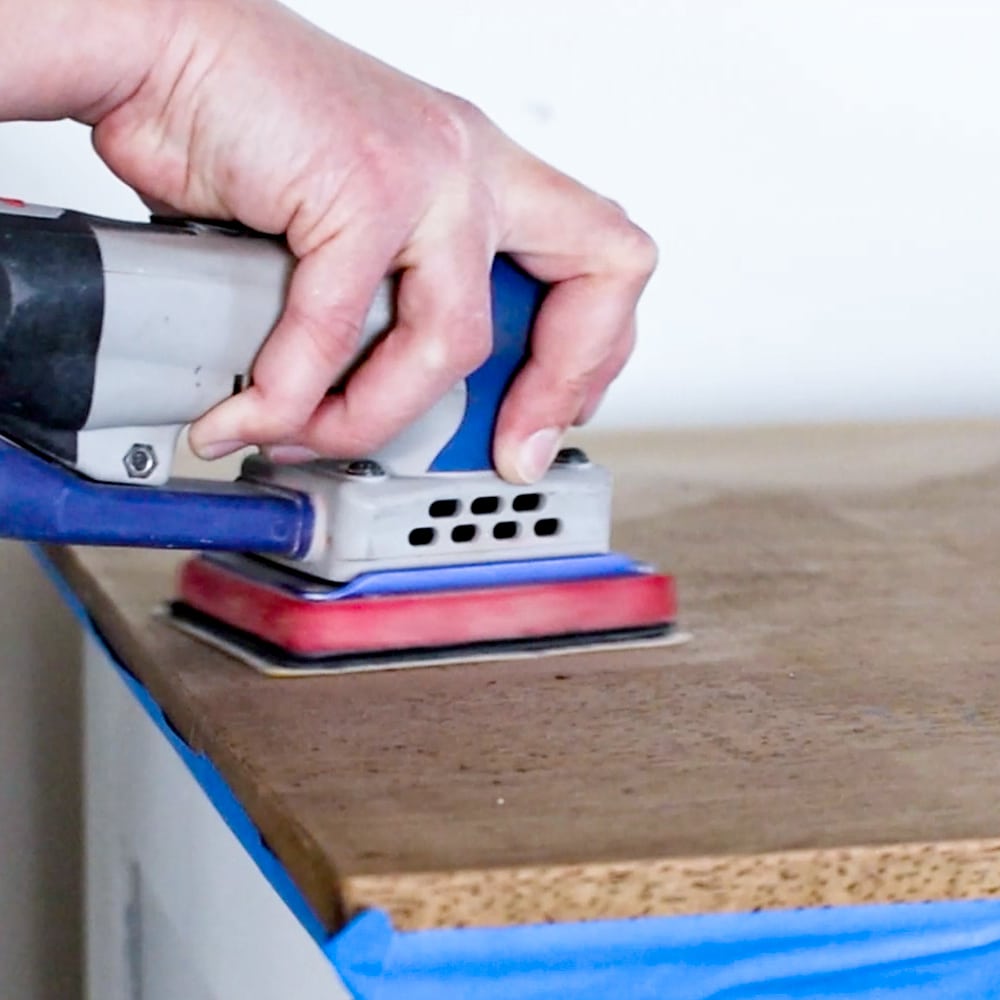
This will make sure that the paint adheres properly and lasts longer. Here’s how to clean before painting, and here’s exactly how to and why sanding before painting furniture is necessary.
Priming the Surface
Next step is priming. Priming the surface before painting over oil based stain is also very important when painting wood. The right primer helps stop bleedthrough stains coming through the paint from the wood tannins or the stain and provides an even base for your paint. It also helps you use less paint if you use a primer that is similar in color to the paint that you use.
Here’s how to stop stains from coming through paint, plus check out your options for the best primers to stop tannin bleed and best knot blocking primer to save you from paint bleeding issues.
But there are many different types of primer. Actually, many paints have a built in primer. But that isn’t the same type of primer that we are talking about here.
BIN shellac primer is a great choice for this task as it has excellent adhesion properties, it is the best at blocking bleed through stains and it can be tinted a deeper color for dark paint colors. It also dries quickly and can be used on top of and below oil based and water based products.
If you want to use a different primer, here’s our list of the best primers for painting furniture where we recommend primers based on type of furniture and purpose.
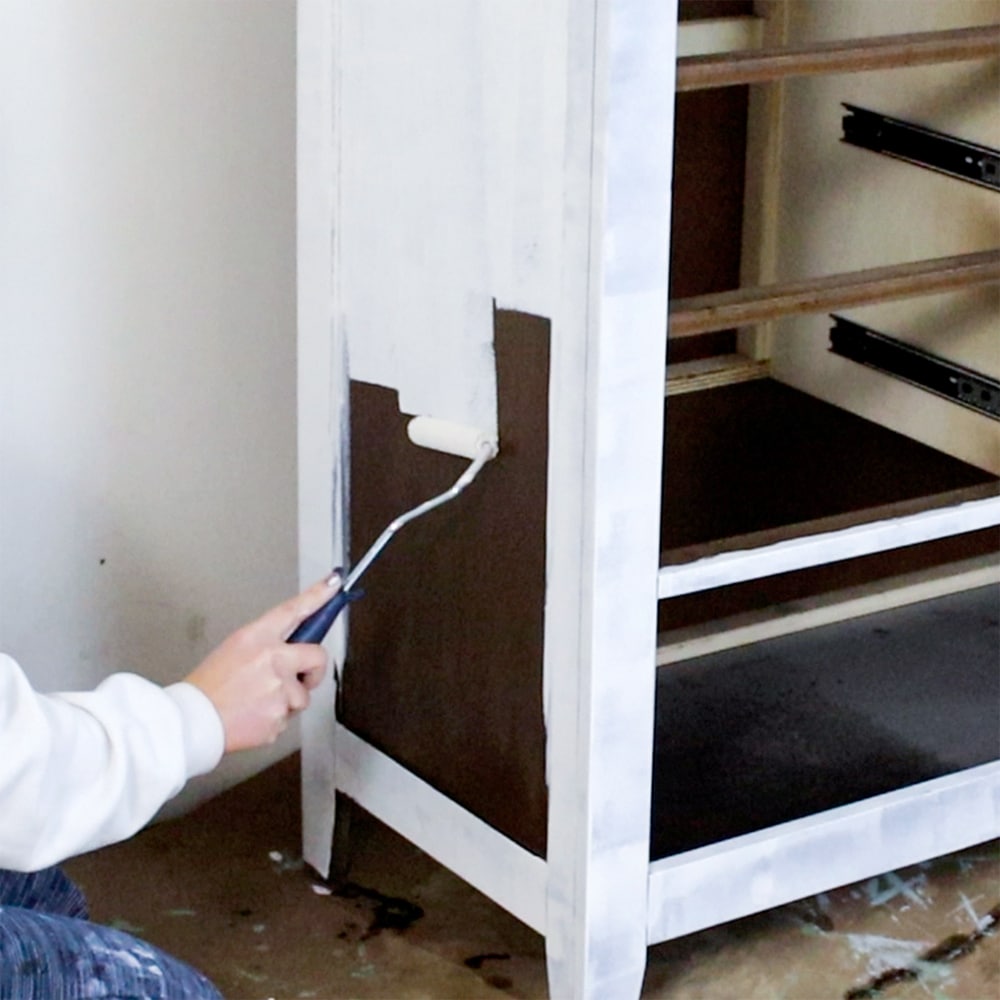
Give your stained surface 2 thin coats of primer. BIN shellac primer is easy to apply with a roller (and a paint brush for corners and details) or from BIN shellac primer spray can. Here are the best rollers for painting furniture and the best paint brushes for painting furniture if you need help choosing the right tools for the job.
Choosing the Right Paint
Now it’s time to paint! The two main types of paint are water-based and oil-based, both of which have their own set of advantages and disadvantages.
Water based paints are relatively easy to use, have fewer fumes while painting, and dry quicker than oil-based paints. However, they aren’t as durable as oil-based paints and they don’t level out as well either.
On the other hand, oil based paints level very well but take a long time to dry and are difficult to clean up after. They are also more durable than water-based paints, so they can be a better choice if you’re looking for a long-lasting finish.
Would you like to save this?
Oil based paints are harder to find as well, as a lot of companies are producing water based or water borne paints now days.
To learn more about the different types of paint that we recommend for painting stained furniture especially wood pieces, check out our post on the best paints for wood furniture.
The amount of coats of paint that you need, the dry time, and how to best apply them depend on the paint that you use, and the color that you choose. But, plan to paint 2-4 coats of paint to get full coverage. Take your time and enjoy the process! Check out this repainting furniture project for more tips and tricks on applying new paint over old paint or stain.
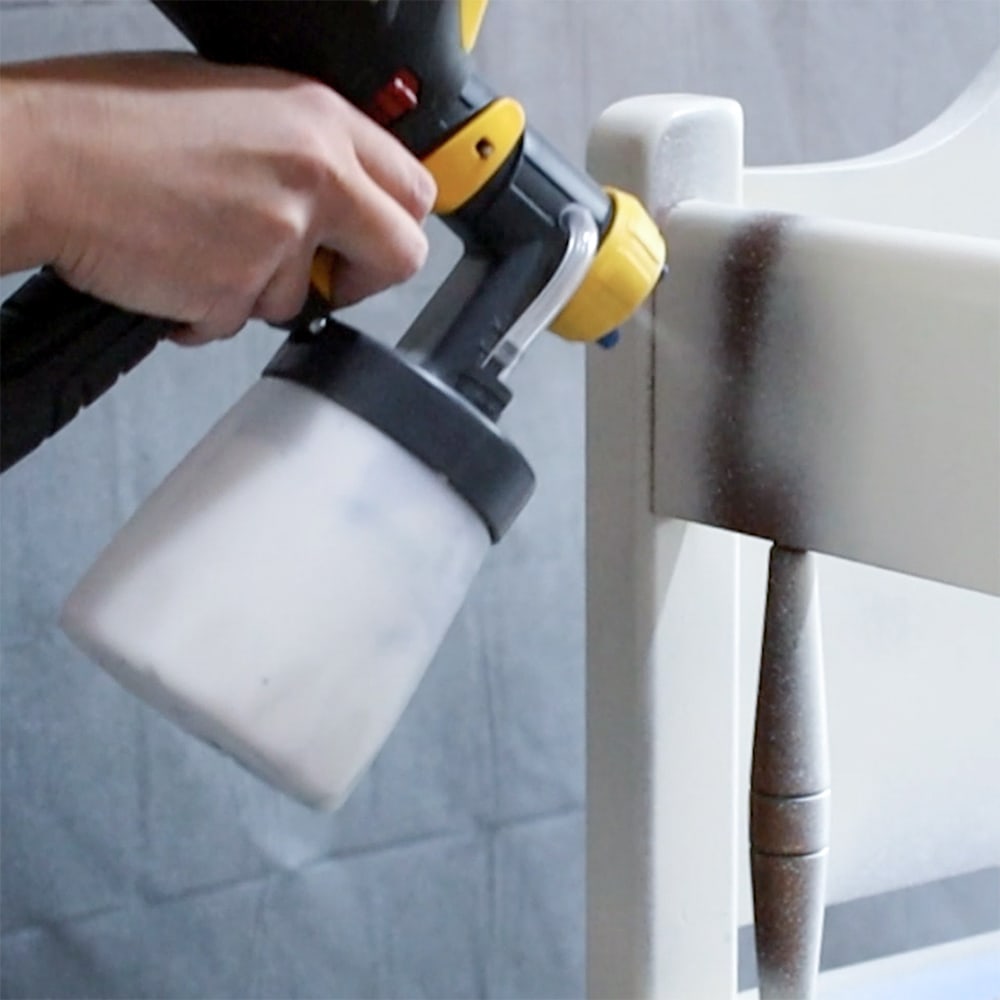
If you don’t want to brush paint onto a large project, you can use a paint sprayer instead. Here is our list of the best paint sprayers for furniture you’ll want to invest in.
You can also transform your dark or stained wood surfaces into lighter, more vibrant pieces by checking out my guide on how to whitewash stained wood.
Finishing the Project
After the painting is complete, it’s time to finish the project. Depending on the type of paint used (chalk, mineral, acrylic, etc.), a topcoat may be necessary for added protection and durability.
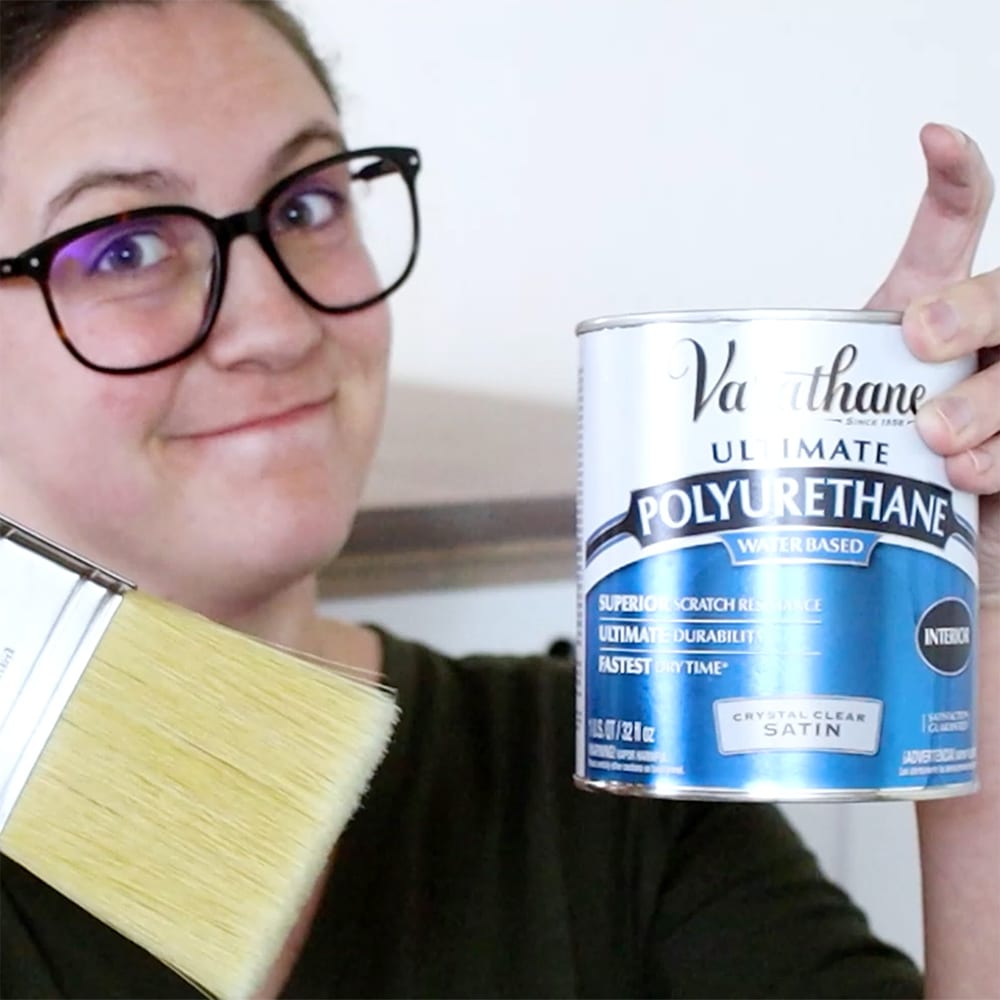
For instance, chalk paint or mineral paint typically requires a wax or polyurethane topcoat to protect and seal in the paint. I prefer to use water based polyurethane (also known as polycrylic) because it is very durable and it dries quickly. You can learn which topcoat is right for you in our wax vs polyurethane post.
For more information on how to apply a topcoat, here’s how to apply polycrylic to painted furniture by hand, and here’s how to spray polyurethane (water based) with a paint sprayer. If you aren’t sure which option is right for your project, here is our helpful guide on spray polyurethane vs brush on polyurethane.
Please note: Enamel, alkyd, and oil based paints should not be topcoated.
That’s all there is to it! Just remember to be extra careful with your project a few days, still careful with it for a month so then the paint can cure completely. Once it is cured completely, it will be as durable as it’s going to get.
Can I paint over stained wood without sanding?
Yes, you can paint over stained wood without sanding, but we wouldn’t suggest it. Sanding is a key step to get the surface ready for paint – it helps get rid of dirt, grime, and gloss from the stained wood. This makes the surface a bit rougher, which helps the paint stick better and guarantees a smoother finish.
If you don’t sand before painting, keep in mind that the paint may not adhere as well to the stained surface, resulting in a less durable finish. It may also be more difficult to get a smooth and even coat of paint, as any imperfections on the wood will show through. This can be especially noticeable with light colored paints.
However, if you are set on skipping the sanding step, you should make sure to thoroughly clean the surface before painting. You should prime as well, as this will help with adhesion. And use one of these best paints for furniture without sanding for better results.
We did try to skip sanding in these posts on how to paint wood furniture without sanding and how to paint laminate furniture without sanding, so check them out too. But still, we would always recommend sanding for your painted furniture to last!


Painting over oil based stain doesn’t have to be hard, and you can get professional results with these steps! Just take your time, enjoy the project and in no time you’ll have a beautiful painted surface!

Painting Over Oil Based Stain
Do you want to give new life to your furniture with a fresh coat of paint?
This guide will walk you through the step by step process of painting over oil-based stain from start to finish.
Materials
- 220 Grit Sandpaper
- BIN Shellac Primer Spray Can
- Waterbased or Oil based Paint
- Waterbased Polyurethane for the top coat
Tools
- Paintbrush or Sprayer
Instructions
- Clean and lightly sand older stained surfaces with 220 grit sandpaper. For freshly stained surfaces wait 48 hours to dry before painting.
- Apply 2 thin coats of BIN shellac primer spray.
- Using a brush or sprayer, apply 2-4 coats of paint to get full coverage.
- After the painting is complete and dry, apply a topcoat for added protection and durability (if using a chalk, mineral or acrylic paint).
Recommended Products
As an Amazon Associate and member of other affiliate programs, I earn from qualifying purchases.


more Staining furniture tips
- Staining Wood Filler
- How To Stain Wood With A Rag
- How To Stain Wood With Paint
- Restaining Furniture with regular wood stain
- How to Stain Already Stained Wood

Follow us on YouTube to get more tips for painting furniture. Or share your project with us on our Facebook Group and be part of our community. See you there!