My Husband’s First Furniture Makeover
Today’s project is a little different than normal. This time, my husband, who has never worked on a piece from start to finish, is going to take you through his very own first furniture makeover.
With some help and inspiration from these DIY dresser makeover ideas, I am excited to see what he can do with this old piece that has seen better days. If you’re a beginner looking to do your own DIY project, too, then keep reading!
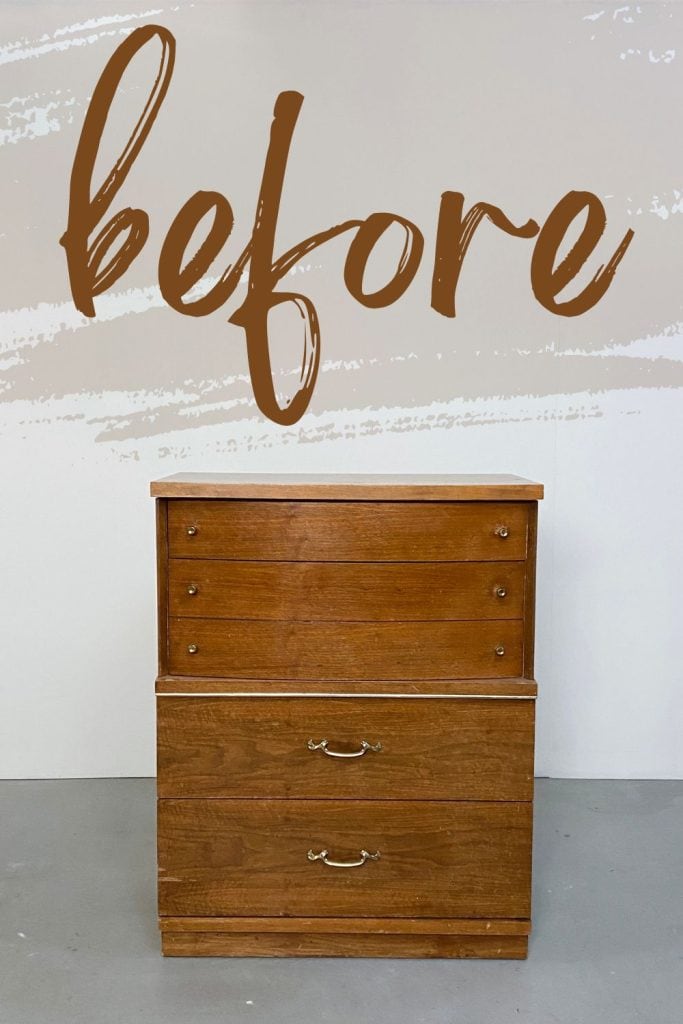
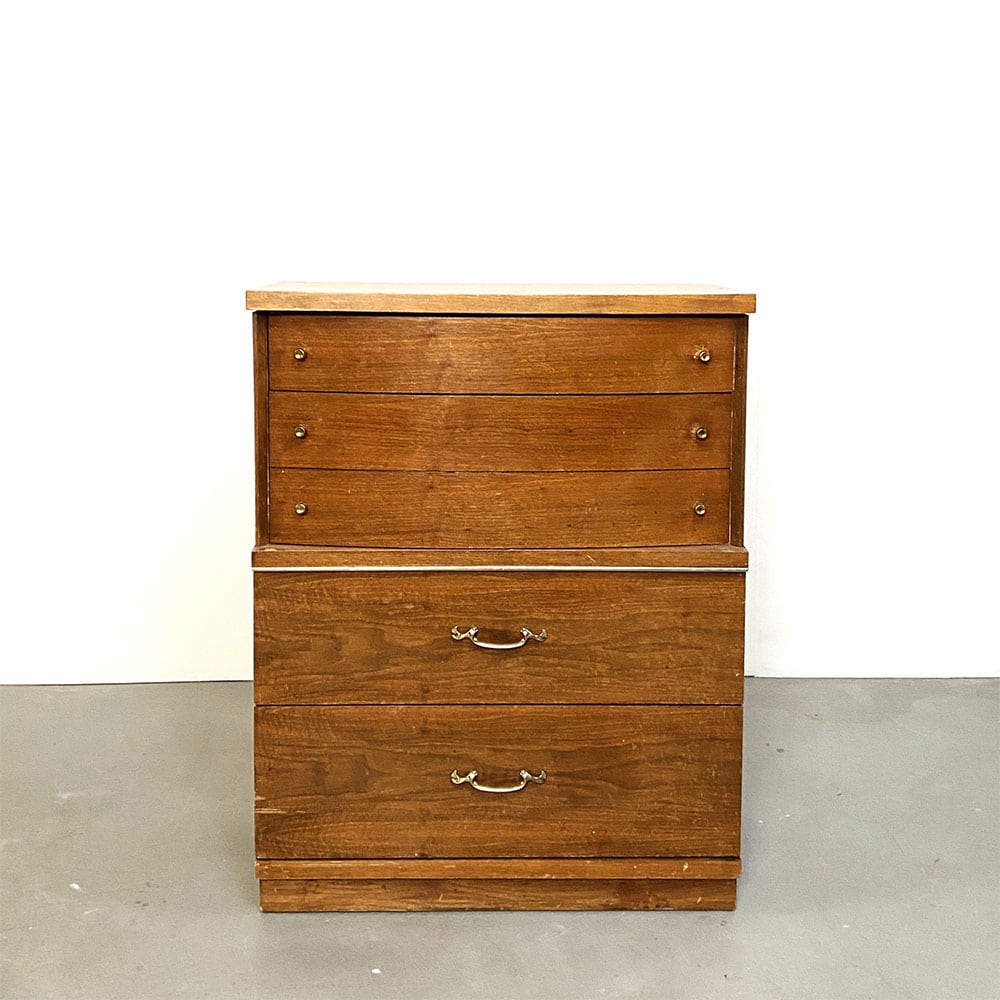
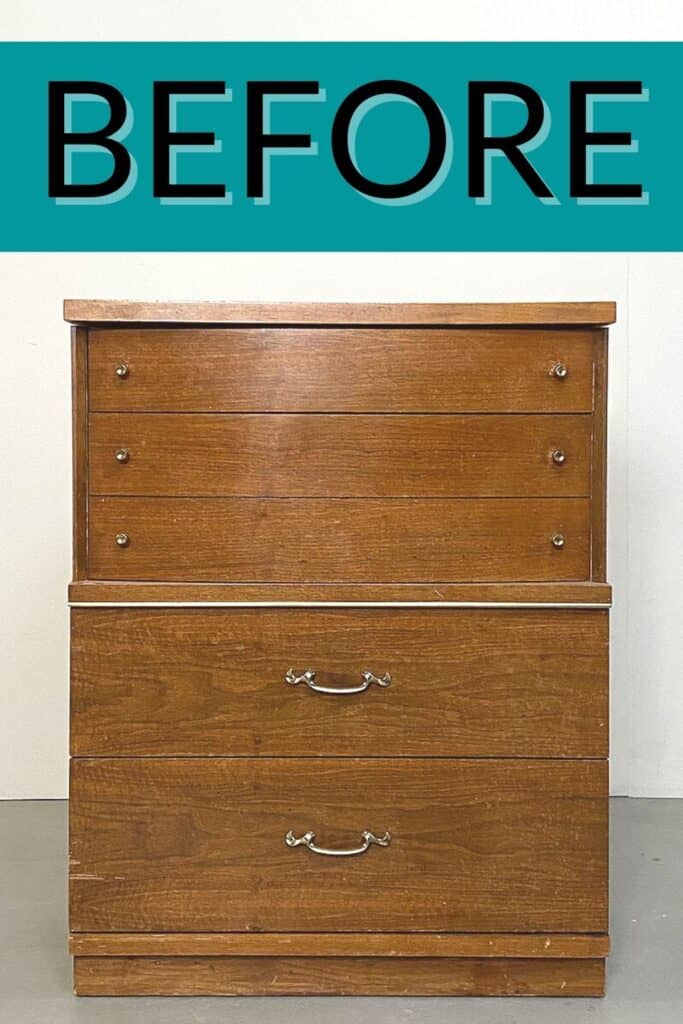
This is the dresser that we bought from Facebook Marketplace. If you’re curious about where to find affordable pieces, here are the best places to get good furniture for cheap.

I think my husband has only ever used a paint sprayer that I had set up once or twice. And that was probably 7 years ago. Sometimes, he helps with some things like cleaning or scuff sanding, and he always helps with moving and lifting. But the painting and finishing are always my job.
Of course, I was around to help him out…and stress him out… haha He’s such a good sport! If you’re like him and have never tried furniture makeovers before, you can learn from his experience. So, without further ado, here’s how it went down.

Supplies Used for my husband’s first furniture makeover
As an Amazon Associate, I earn from qualifying purchases. I also may earn from other qualifying purchases with other companies or get free product to review and use. All opinions are my own.
- Krud Kutter
- Shop Vac or Vacuum
- Painter’s Tape
- Pre Taped Plastic
- Citristrip Stripper
- 0000 Steel Wool
- Mineral Spirits
- 220 Grit Sandpaper
- 400 Grit Sandpaper
- SurfPrep Sander (Use code RAY10 to get 10% off your order)
- Bondo
- Wood Filler
- Tack Cloth
- Disposable Gloves
- BIN Shellac Based Primer
- Sherwin Williams Mohair Paint Roller
- Clear Shellac
- Sherwin Williams Emerald Urethane Trim Enamel Paint
- Paint Filters
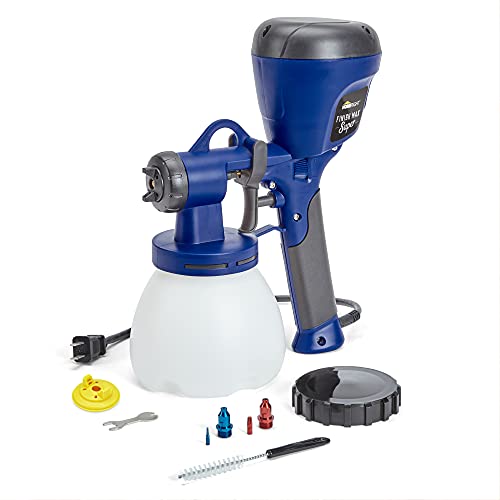
- HomeRight Super Finish Max Sprayer
- Respirator
- Behr Waterbased Wood Stain in Special Walnut
- Lint Free Rags
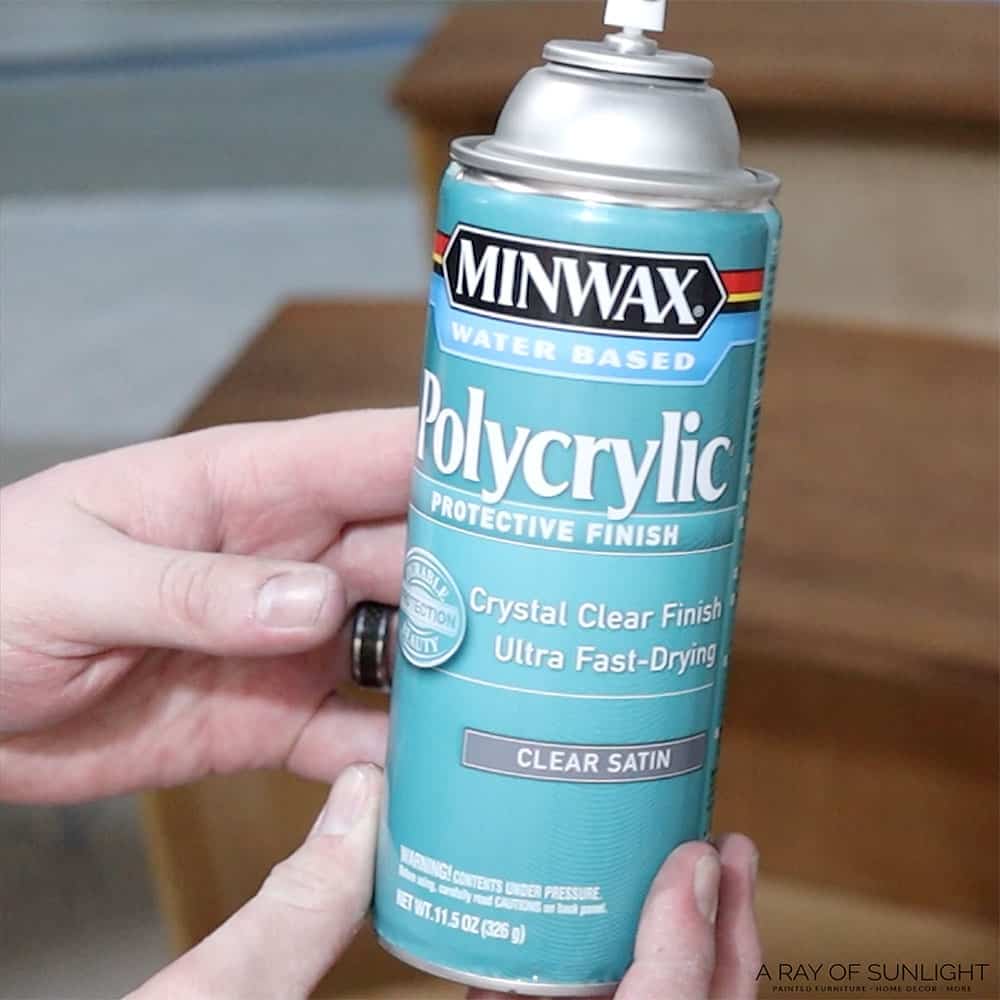
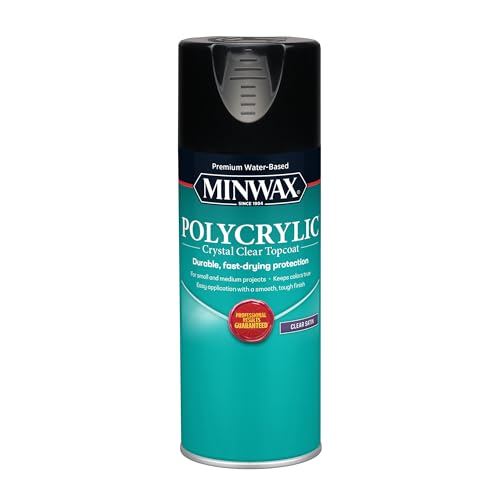
- Minwax Polycrylic Spray Can
- New Knobs and Drawer Pulls
Here is the makeover in my husband’s words.
Preparing The Dresser
First, I removed the old hardware. There was a metal plate attached to the dresser, and I removed that, too.
Then, I cleaned the whole piece with Krud Kutter and a damp rag. After that, I pulled out all the drawers and vacuumed out all of the nasty dust and the spiderwebs inside.
I help with cleaning the inside of the dressers often since my wife hates the thought of being surprised by a spider…so I was still in my comfort zone while doing this part of the process…haha Learn more on how to clean furniture before painting here.
Removing The Old Damaged Finish
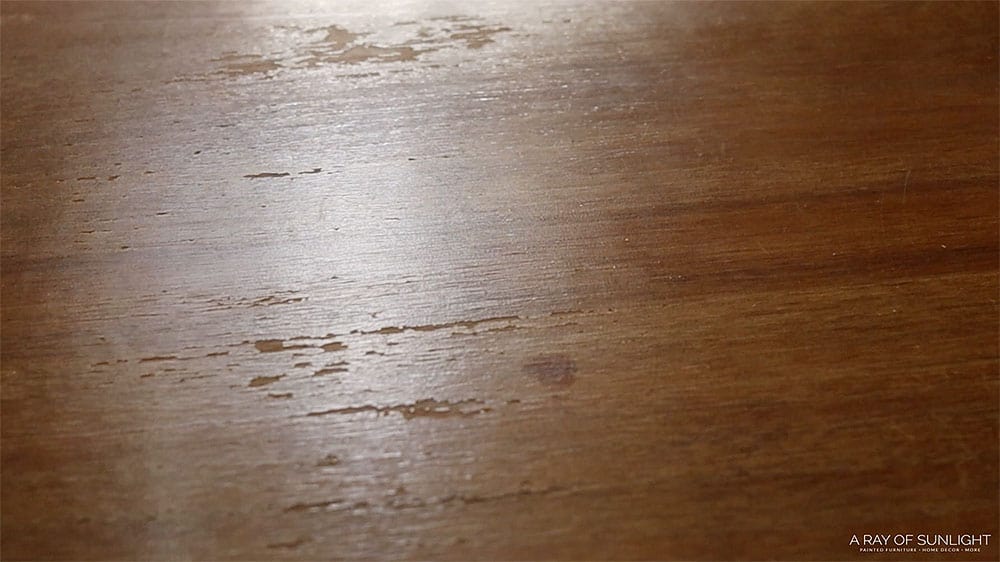
Before we went any further, we knew we had to do something about the damaged finish on the top of the dresser. So we taped things off and stripped the top, as well as 2 of the drawers.
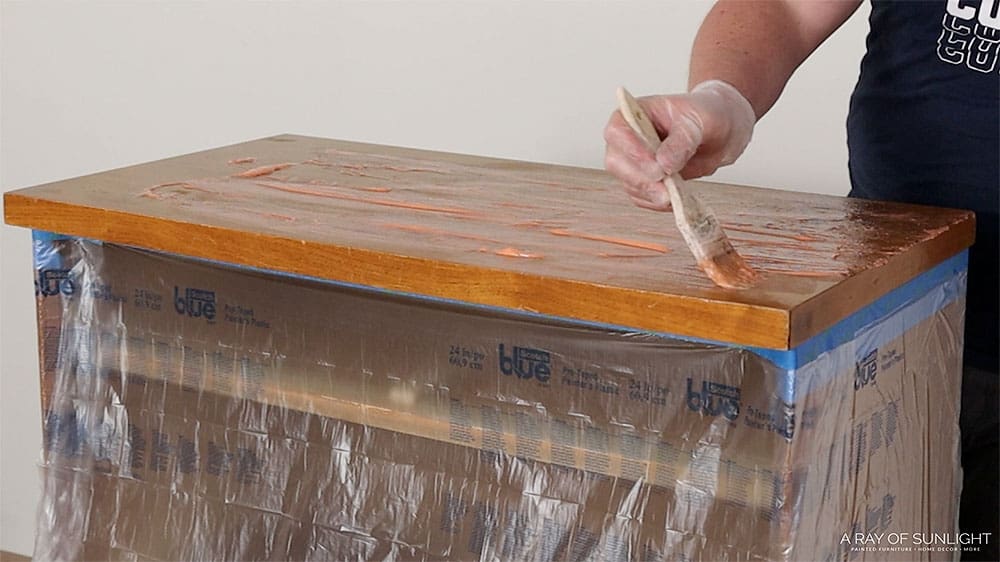
I ended up needing 2 layers of the chemical stripper to get most of the old finish off. After the wood dried, there were a few stubborn spots that I had to sand bare. But then I finally had a nice smooth surface!
Find step by step instructions on how to remove wood stain right here! Check out the best tools for removing paint from wood here.
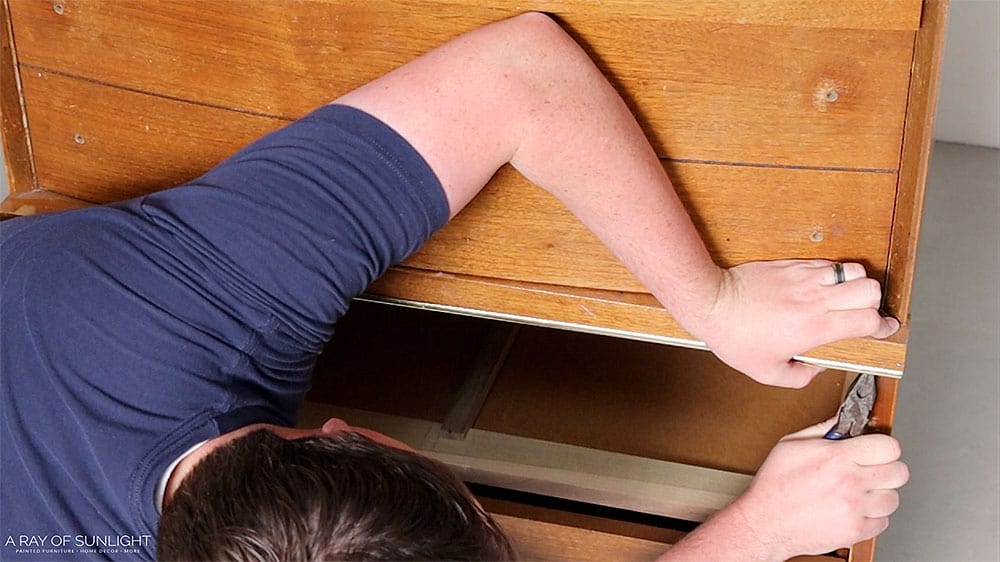
Repairing Chipped Veneer
Then, before we could dive into painting, we still had a lot of repairs to make on a lot of chipped veneer at the base of the dresser.
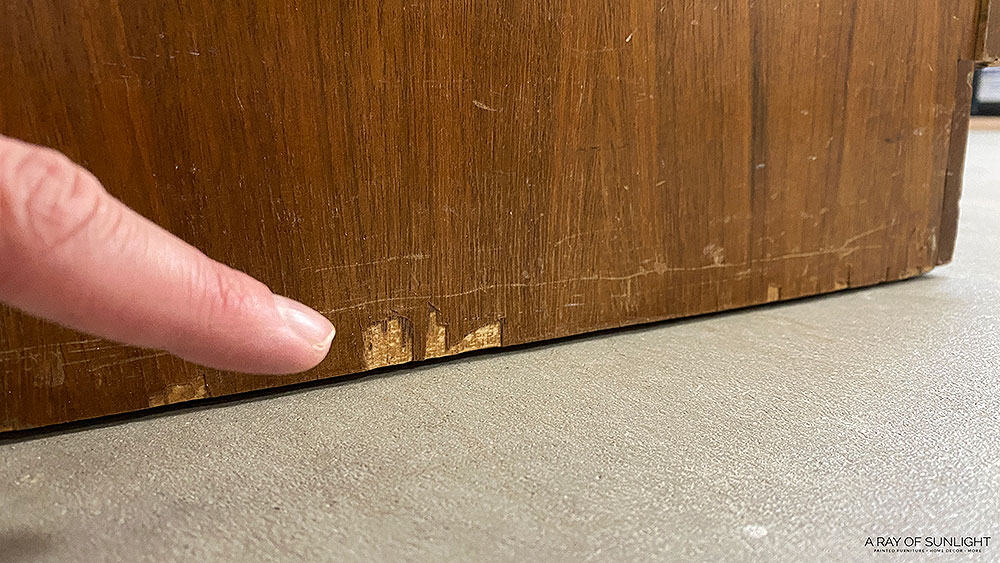
So, we flipped it upside down and chipped off all of the loose pieces. Then I filled in all of that veneer with Bondo.
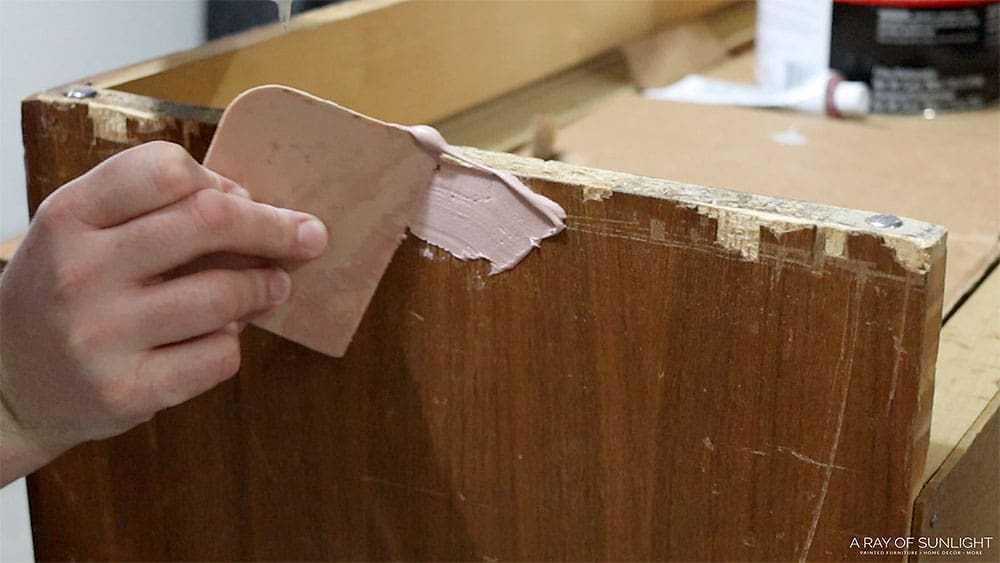
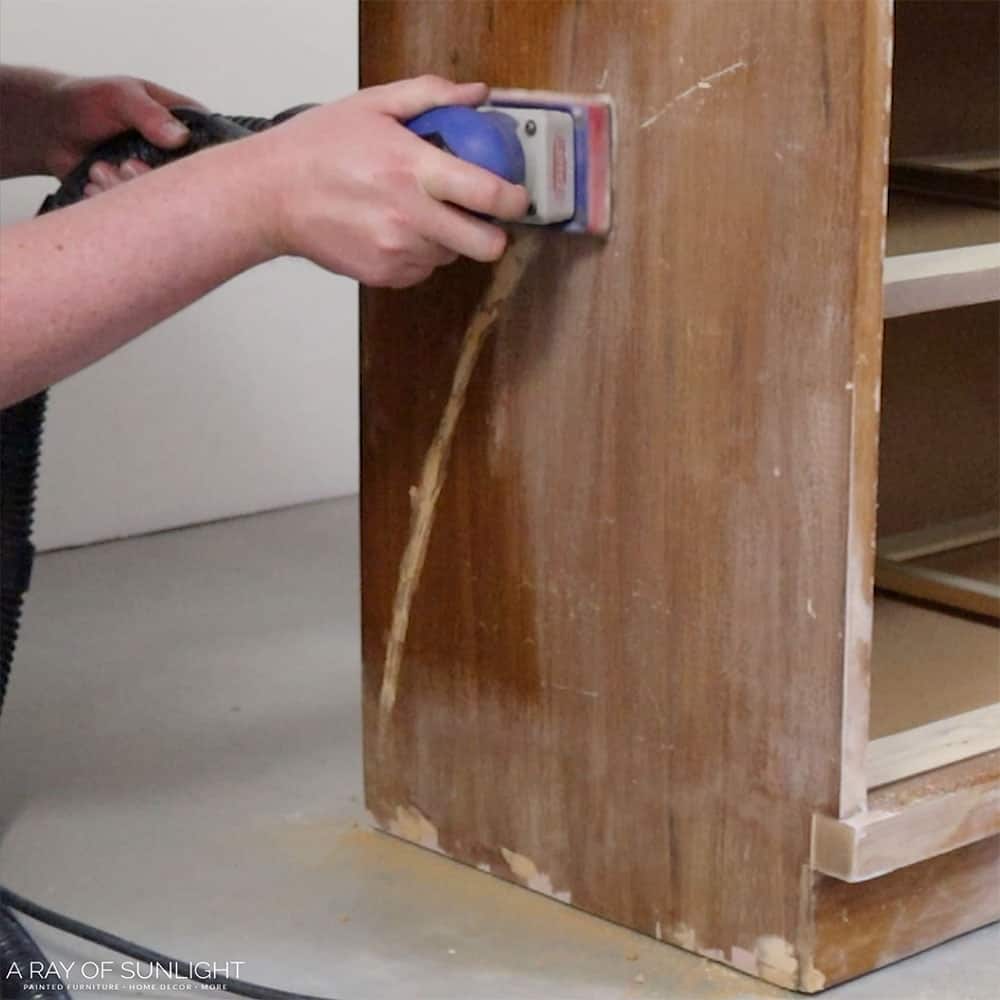
I made a newbie mistake and let the Bondo harden too fast, so I had to mix another batch together to fill in the rest of the chipped veneer. Once it was completely dry, I used our sander to get all the excess Bondo off. If you’re wondering, “Can a beginner fix this furniture damage?”, this post will give you answers and tips!
Check out my honest Bondo wood filler review here. See the full tutorial on how to fix chipped wood and repair damaged veneer here! And check out the best sanders for furniture in this post!
Get Our Secrets!
Grab this super convenient How to Repair Furniture Ebook with all of our secrets on how to repair furniture for only $14.
You can print it out and have instant access whenever you come across damaged furniture, and know exactly how to fix it!
Click on the picture of the book to purchase!

Filling Scratches And Dings
Then, I used wood filler to fill the smaller scratches and dings and a few spots on the Bondo-ed areas. Here are more best wood fillers for furniture you can use!
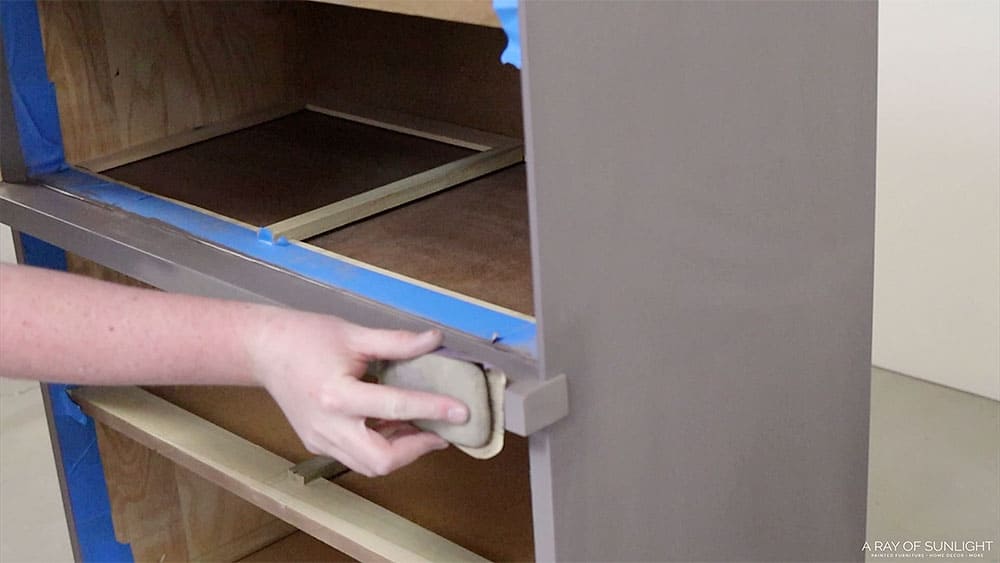
After it was dry, I sanded it down and scuff sanded the rest of the piece. You can learn about the importance of sanding before painting furniture here.
And then I vacuumed everything off and wiped it down with a tack cloth to get all the dust off.
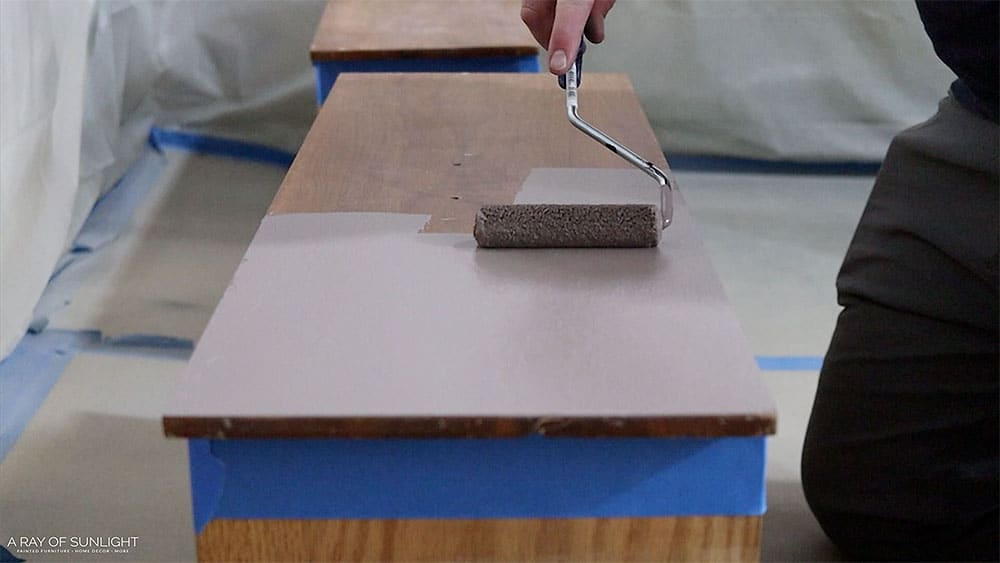
Rolling Primer onto Dresser
Then, it was time to prime. We used BIN shellac based primer that my wife got tinted grey-ish.
((I’ve never been able to get the paint department to tint BIN for me, but this time they agreed to try. It may not be the prettiest color ever, but they tinted it darker, and that was good enough for me.))
I rolled the first coat of primer, letting it dry for one hour until the next. Check out the best rollers for painting furniture here!
There was more texture than I wanted when it dried, so I sanded the texture out a little bit. But I did it down too far and into the wood. Another newbie mistake! haha You should also remember these five furniture makeover mistakes to avoid for a successful DIY project.

Then, I repeated the process of vacuuming and using a tack cloth to clean up all the dust.
And I applied another coat of primer on it. This time, I tried having only a tiny, tiny bit of it on my roller… and it came out so much better. There was still a little bit of texture, but definitely not as much as before.
And then this time, when I sanded the texture down, I did it by hand with 220 grit sandpaper because I was worried I would go through the primer again. Learn about the best sandpaper for furniture painting here.
I was able to control how much I sanded so much better than before! And then I cleaned it all off again.
I also sprayed clear shellac on the top and the two other drawers that I planned to stain. Natalie said she had heard that it helps the wood stain soak in more evenly, so I thought I would try it. Check out the best primers for painting furniture (and learn how to choose the right one) here.
Spraying Sherwin Williams Emerald Urethane Trim Enamel
Okay, so after stressing out a little through ALL of that priming, I was finally ready for this step. I used Sherwin Williams Emerald Urethane Trim Enamel in this color that doesn’t have a name. Check out our honest Sherwin Williams Emerald Urethane Trim Enamel review here for more about this product.
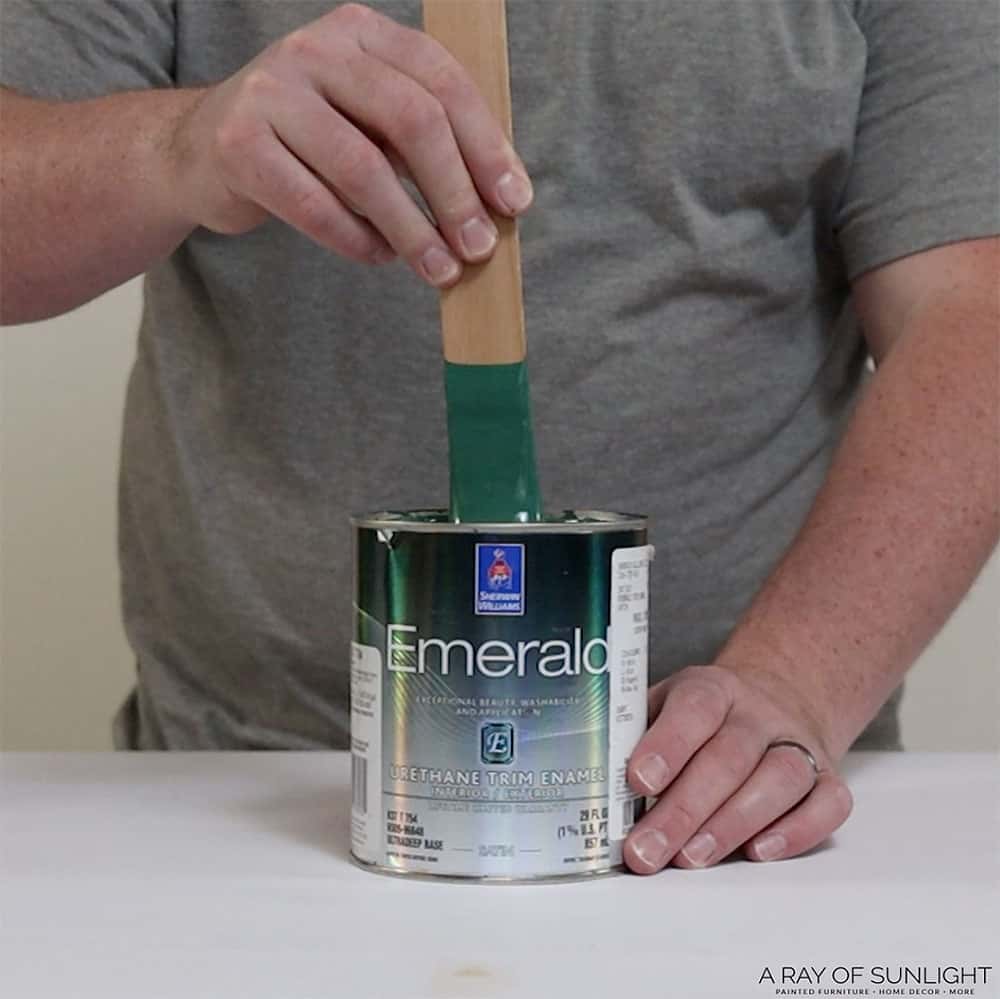
((I thought that this paint would be easier for him to use instead of one that requires a topcoat. Sometimes, topcoats are such a pain, especially on dark colors.))
I thinned it out by about 10% and filtered it through the filter like Natalie says to do. Here are more detailed guides on how to thin paint for a sprayer and how to thin paint for a Wagner sprayer if you have this model.
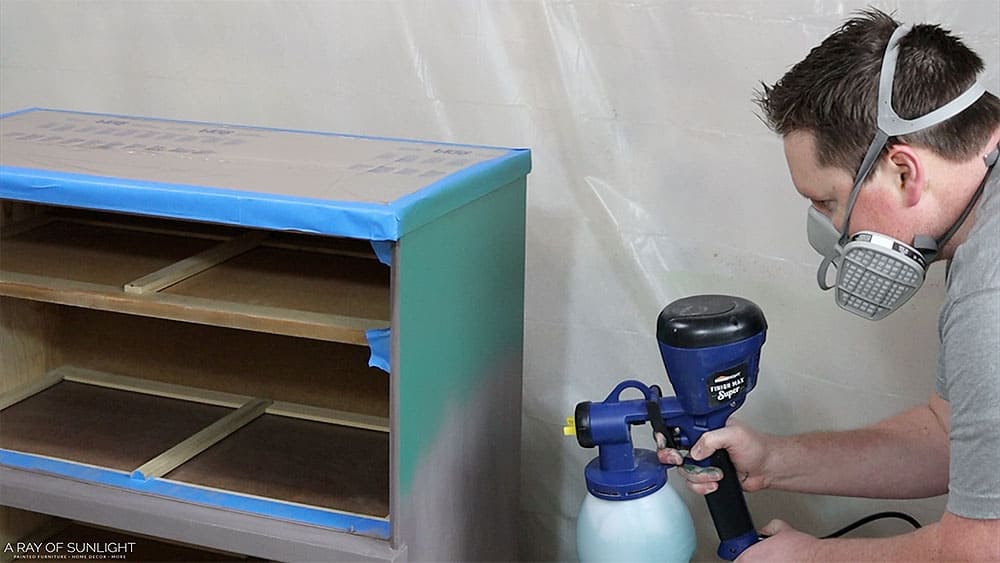
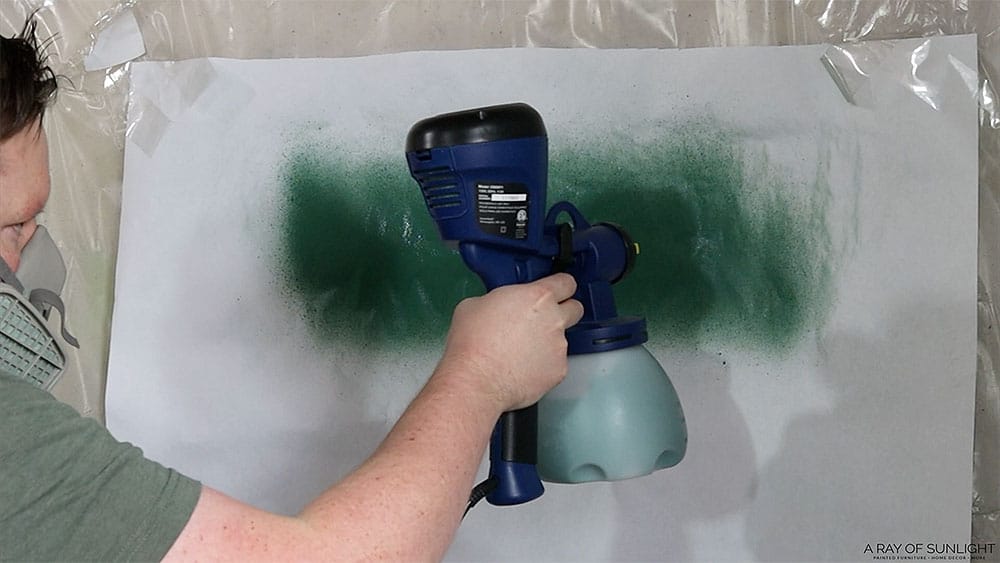
Then, I put the red 4mm tip on the HomeRight sprayer and tested it out. Check out our review of the HomeRight Super Finish Max paint sprayer here. Here’s Homeright Finish Max VS Super Finish Max for a comparison of these two models.
Remember, this is my first time really using a sprayer to paint furniture, and I was actually pretty nervous! Just ask Natalie how many questions I kept asking her throughout this whole process! Haha
((And how many times did I say, “Watch my video. It’s all in there.” haha I really wanted him to try without extra help from me.))
So, I got started applying the first coat, and it took some getting used to, but by the end of it, my confidence was growing. Here’s what it looked like while it was still wet.
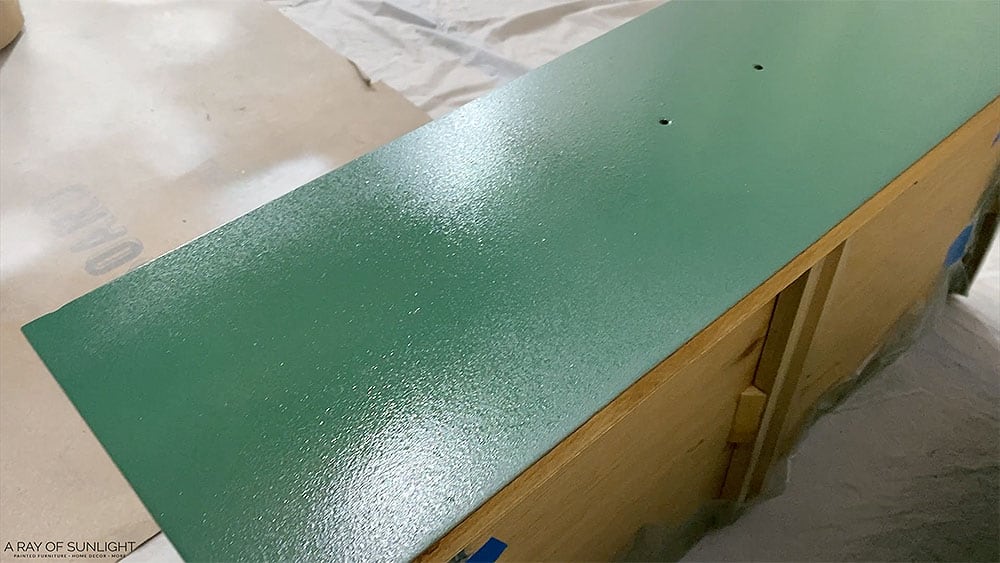
Turns out I did it a little too lightly, and the coating was more textured than I wanted, but overall. it still looked pretty good. When this was dry, I added the second layer.
This time, I adjusted it to spray a little heavier to try and get a slightly thicker finish in hopes that it would self level better for a smoother finish. Here’s more on painting furniture with enamel paint and using a paint sprayer to paint a dresser.
Priming Top of Dresser
And then my wife took the plastic off the top to get a good look at the whole thing.
Would you like to save this?
((And, not to Taylor’s surprise, I told him I didn’t like it. The stained top and drawers needed something green in between them. OR one of them needed to be green.))
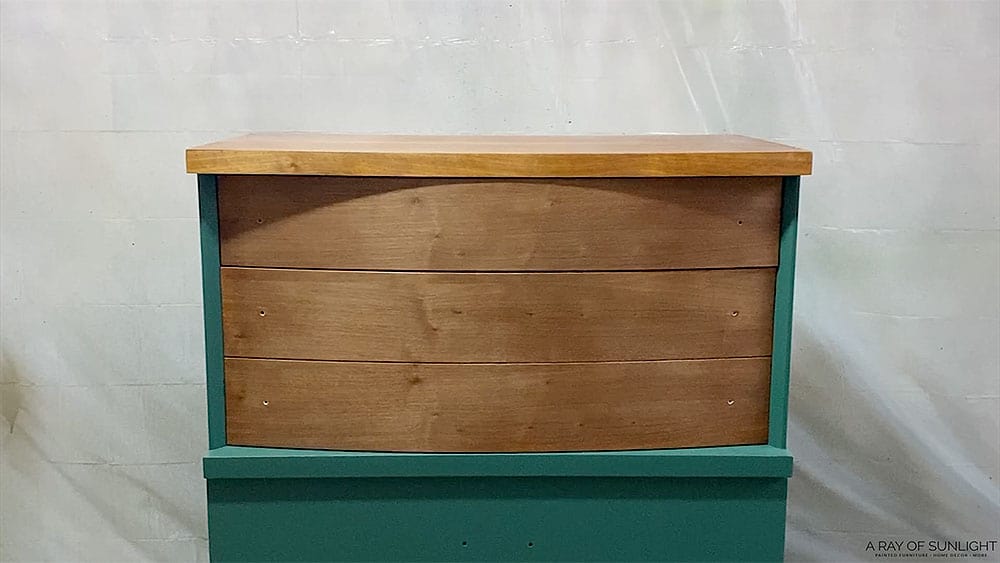
Once she pointed it out to me, I agreed… so we went to plan B. And I primed the top. I ended up giving it 4 light coats of primer.
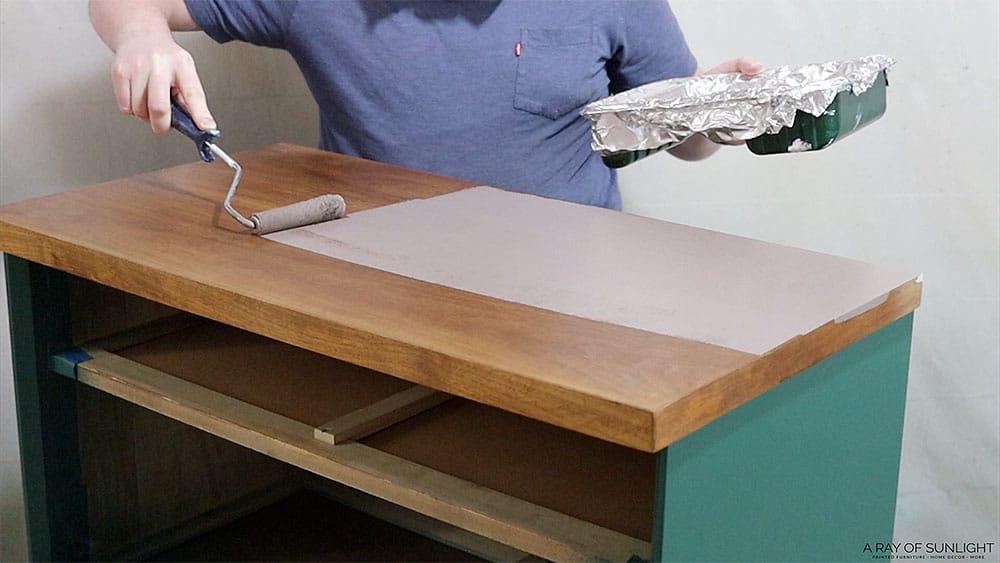
I was trying to roll it on thin so there wasn’t much texture left behind, but then Natalie noticed that the wood grain wasn’t filled in after 2 coats. So, I rolled on more to try to fill in the deep grain. Learn more about how to hide wood grain when painting in this post.
Sanding Texture For A Smooth Finish
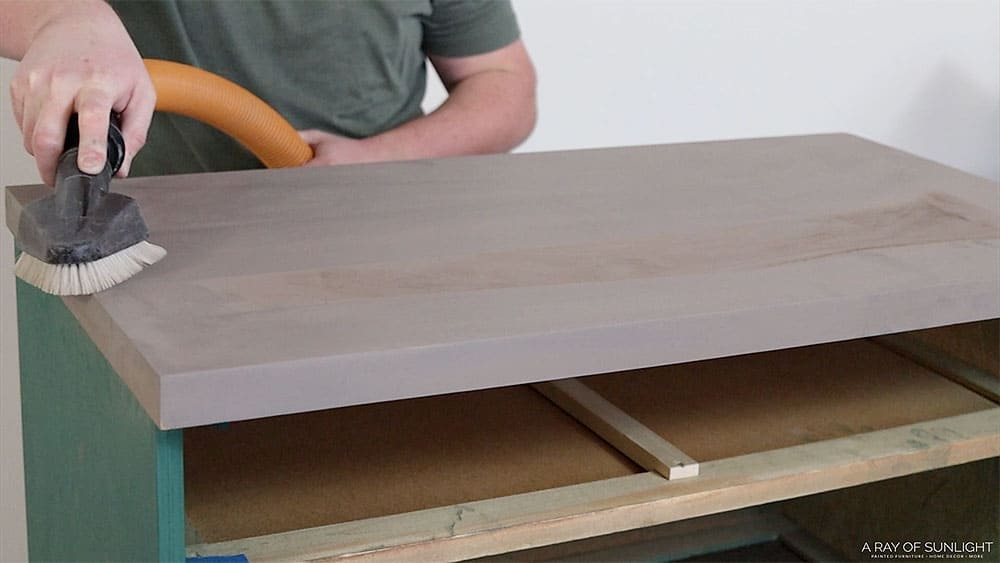
Then, it was time to sand and sand some more! I sanded everything (but the other 2 drawers down) with 220 grit to remove most of the texture and make it feel smoother. And I did it by hand because I didn’t want to do too much.
Since I had to put paint in the sprayer again, I figured that I might as well try to get an even smoother finish on the body of the dresser than before. Then, I vacuumed and used a tack cloth to get the surface all clean again.
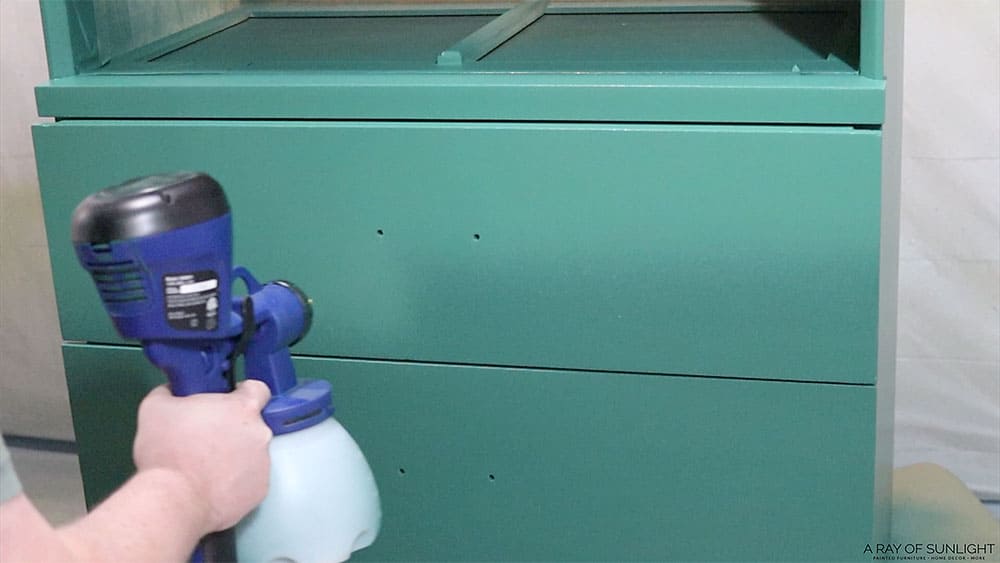
Painting The Top And Entire Dresser
This time, when I mixed up the coating, I thinned it out by 15% in hopes that it would create a smoother texture than before. So we added 16 oz of green to 2.5 oz of water and mixed it very well.
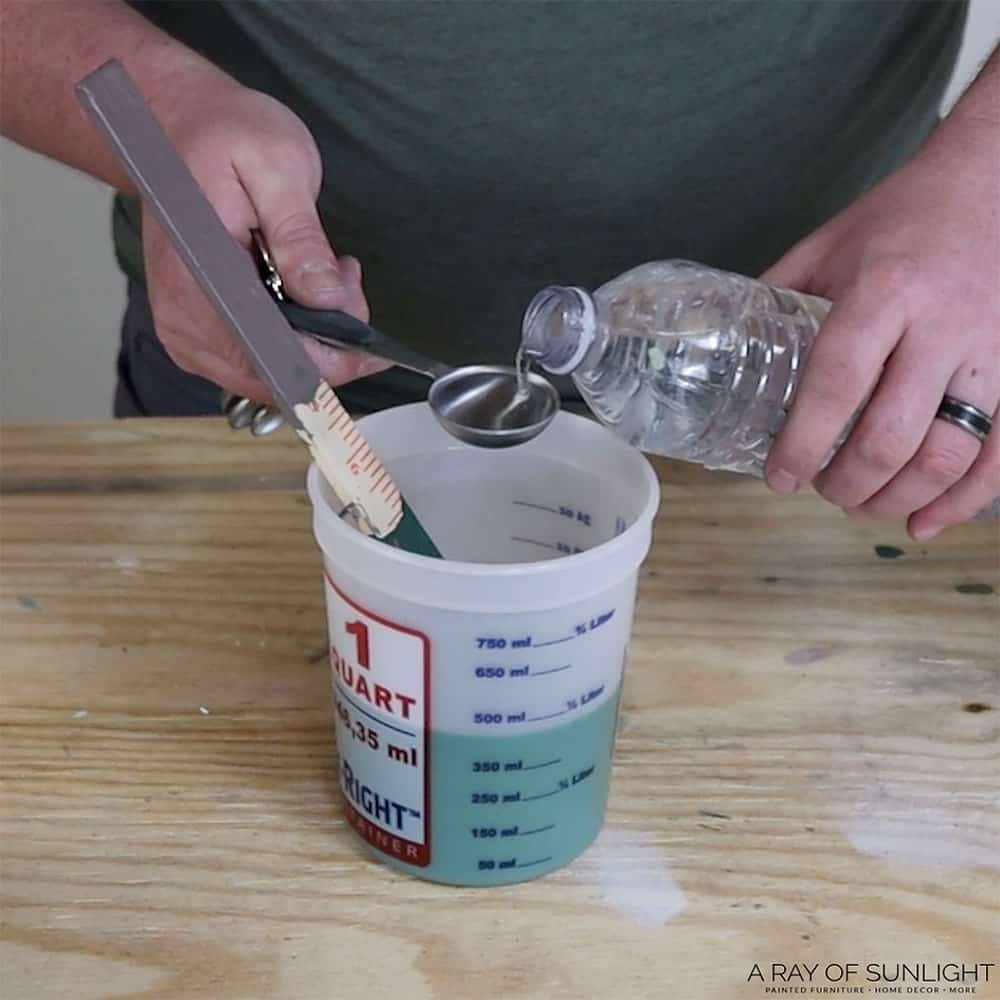
We used the 4mm tip again. Then, I tested it, adjusted the spray volume to where I was comfortable, and applied one coat on the top.

Halfway through, it started acting up on me and wasn’t spraying as much coating out as before. So the finish didn’t look very good.
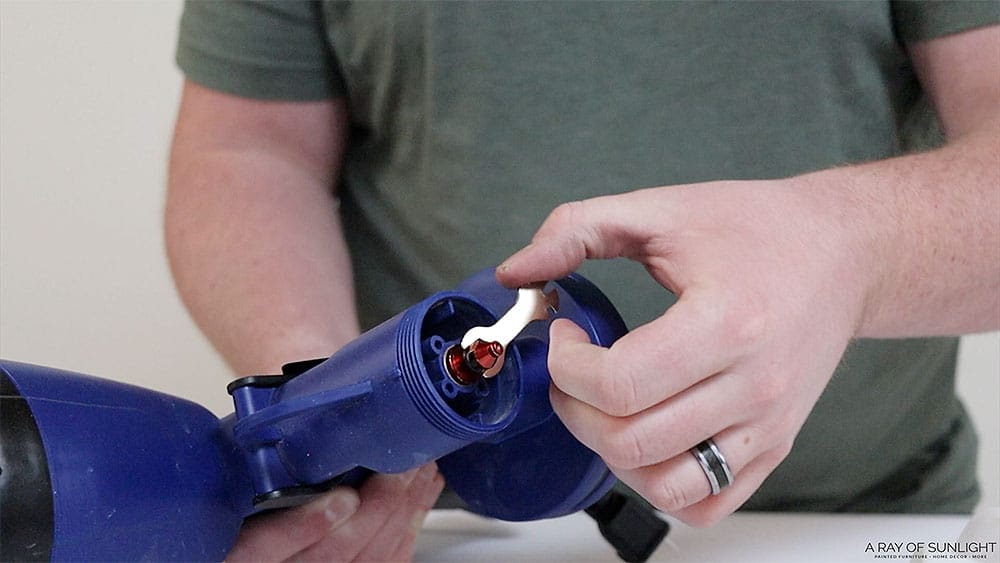
So I took it apart, cleaned out the 4mm tip, and got it working good again. Learn all about how to clean HomeRight paint sprayer and how to clean a Wagner paint sprayer here! Or check out the spray paint tools you need here.
But first, I lightly sanded the drawers and the top to smooth out the texture again. Then, I cleaned off the dust again. And I applied another green layer to the entire piece.
The HVLP gun started to apply less and less coating again as I was getting close to the end. So the top and the drawers still didn’t have a really nice looking finish. So, I messed around with the sprayer’s tip again until I got it to work.
Staining Wood Drawers
While that last coat dried, I worked on staining those two other drawers. I lightly sanded them with 220 grit sandpaper just to make them feel smooth again. Then, I cleaned off the dust.
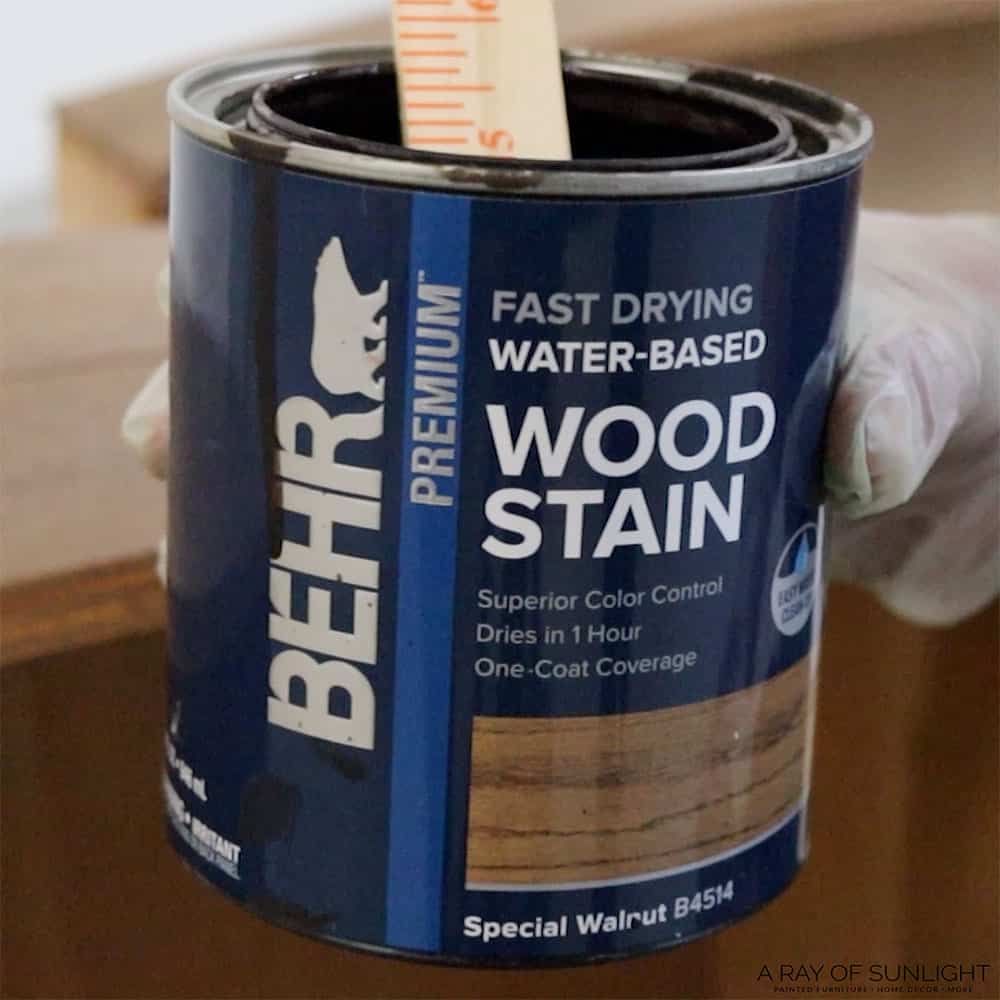
And then, I applied Behr waterbased wood stain in Special Walnut. You can also see how this stain color looks in my DIY TV stand here. Check out more best wood stains for refinishing furniture you can use here.
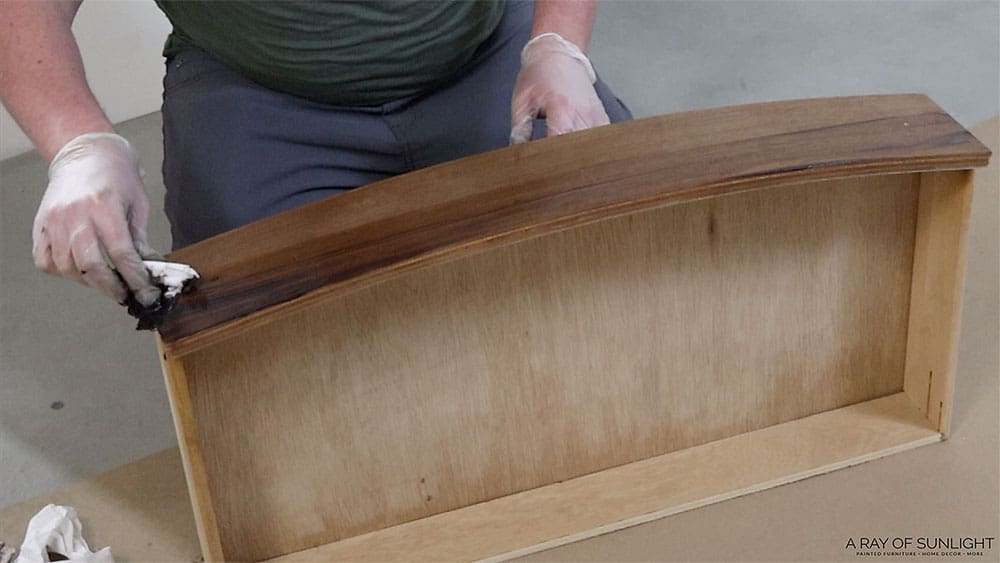
I wiped it on with a lint free rag and then used a clean one to wipe away the excess. With my wife coaching me, I tried to wipe it on and off in long, even strokes that went with the grain of the wood.
((Yeah, you were stressing me out there a bit. Haha But you did a good job.))
The stain was dry after an hour, and it looked so good. Here’s a guide on how to apply waterbased stains. If you want a darker look, here’s how to stain wood darker!
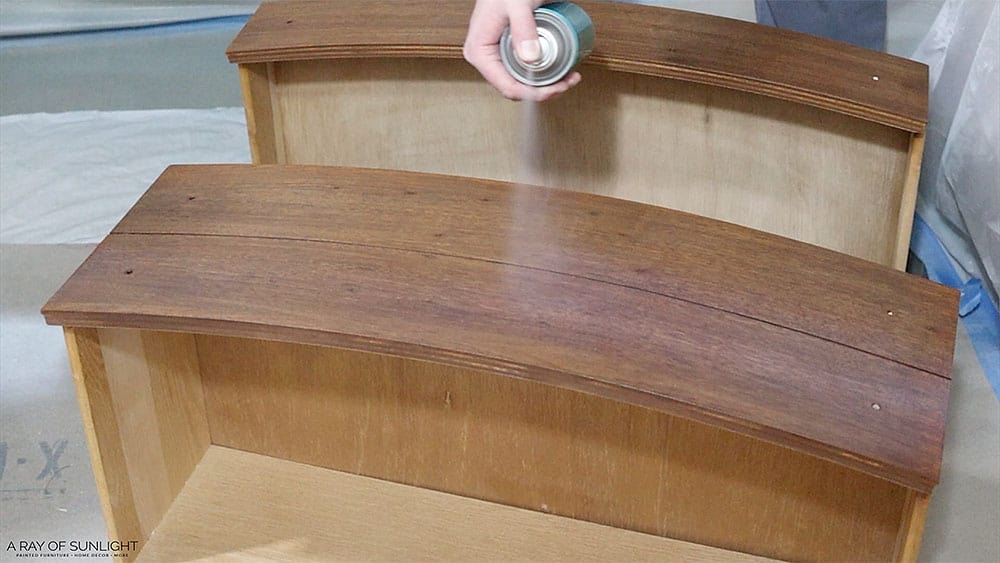
Topcoating Stained Drawers
So I applied 3 coats of Minwax Polycrylic, letting it dry for 30 minutes in between. That stuff sprays like a dream. And it looks and feels SO GOOD. You can learn more about the Minwax Polycrylic Spray in this post!
Check out best topcoats for painting furniture here. And here’s how to apply polycrylic to painted furniture to do it properly.
Applying Final Coat
The stained drawers were done and looked great, but I wasn’t quite done. I went back and lightly sanded them one more time. After cleaning them off, Natalie gave me the idea to put them back into the dresser.
((Sprayed paint dries so much smoother when it is on a vertical surface. The sides always feel smoother than the top. I guess that’s another reason I spray with the drawers in.))
Then I added one last coat on the top and the drawers.
When all was said and done, we ended up with a total of 5 coats of paint, 6 coats of primer, 1 coat of stain, 3 coats of poly… oh, and 2 coats of stripper in the beginning.
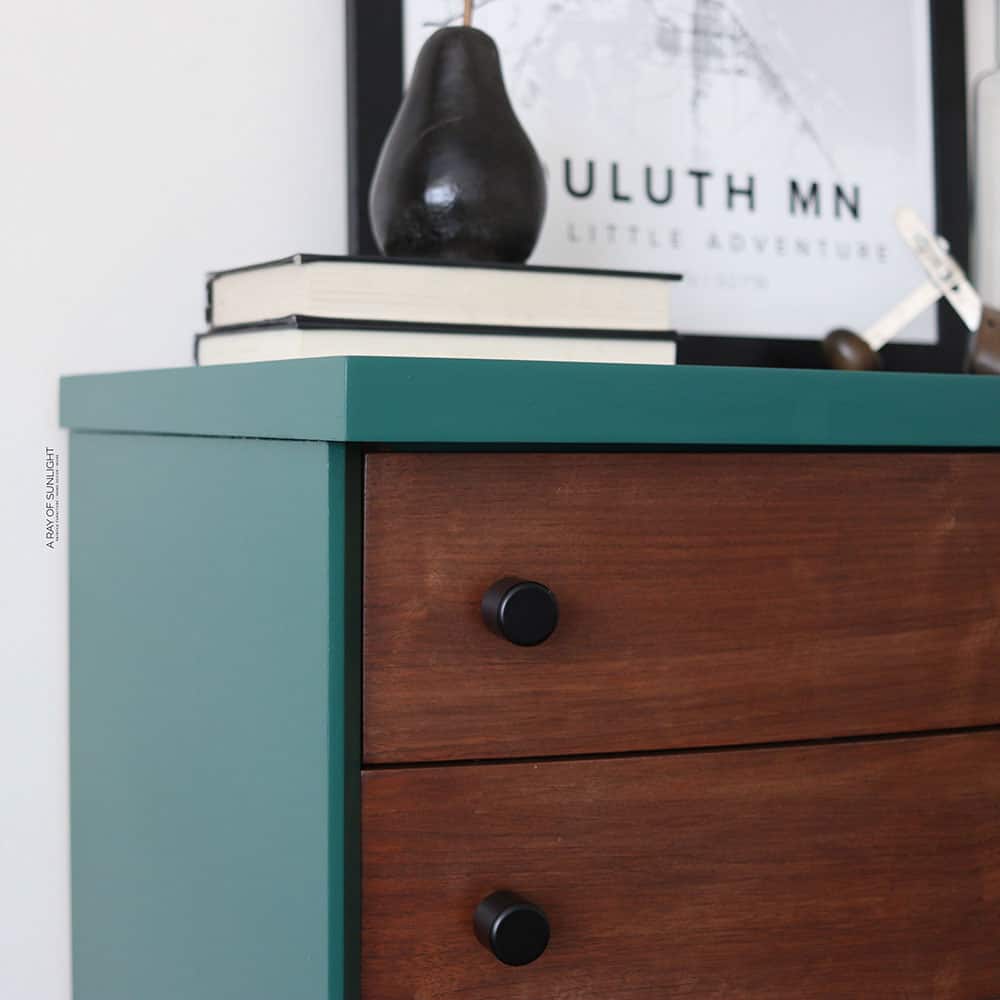
Adding New Hardware
After everything was dry, I put the new hardware on.
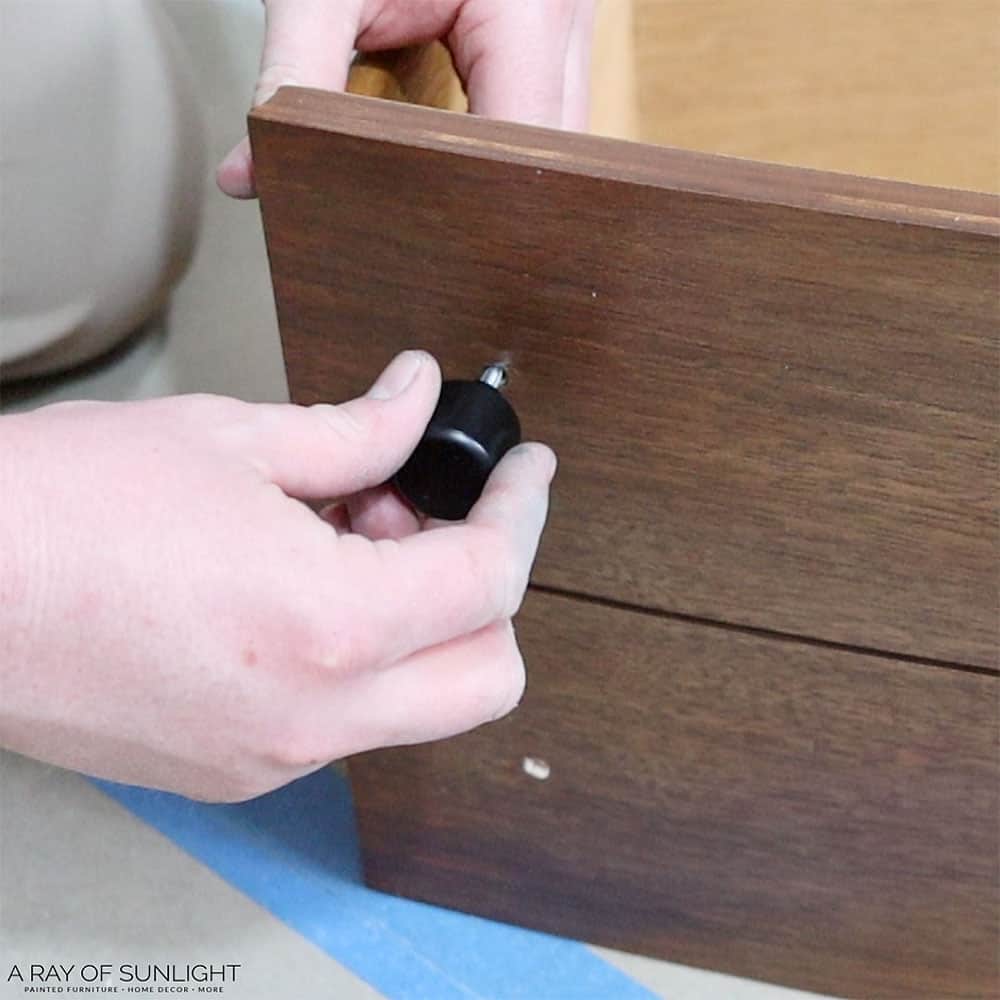
They matched up with the previous holes in the drawers, so we didn’t even need to measure and drill new holes! That’s a win win for me! But if you ever do come across a project where you need to make new hardware holes, learn how to change hardware on a dresser here!
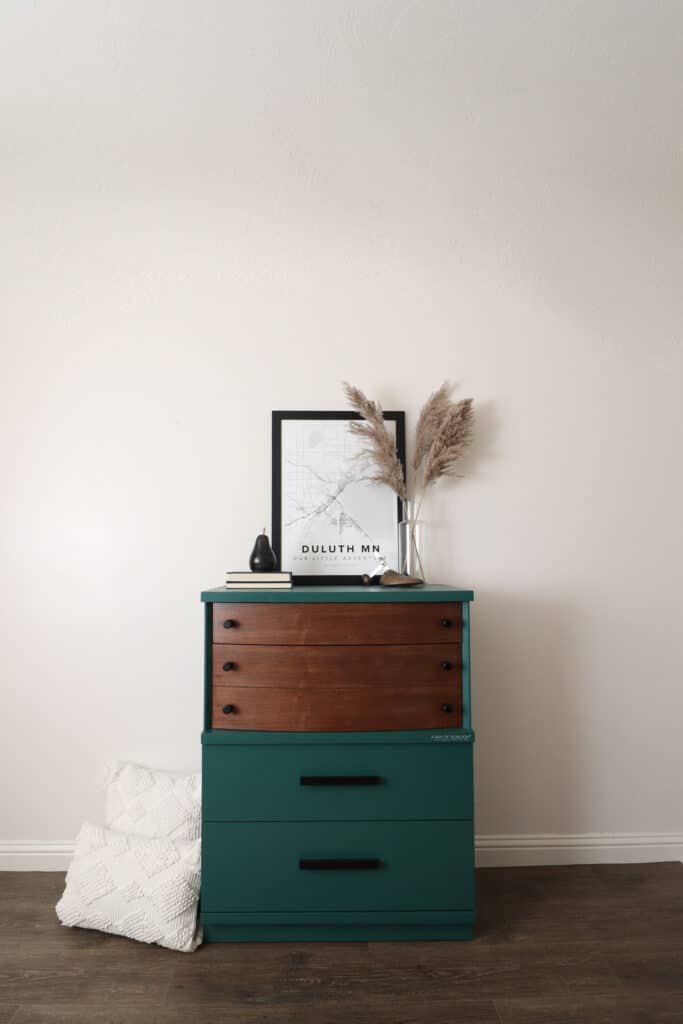
So, after a lot of trial and error on my part, here is what my first ever dresser makeover looks like now! For similar projects, here’s our list of green painted dresser ideas! And here’s our YouTube video you can watch for the whole process:
More Before and After Makeovers
See All >
Click any of these “before” photos below to view the “after” of that makeover.


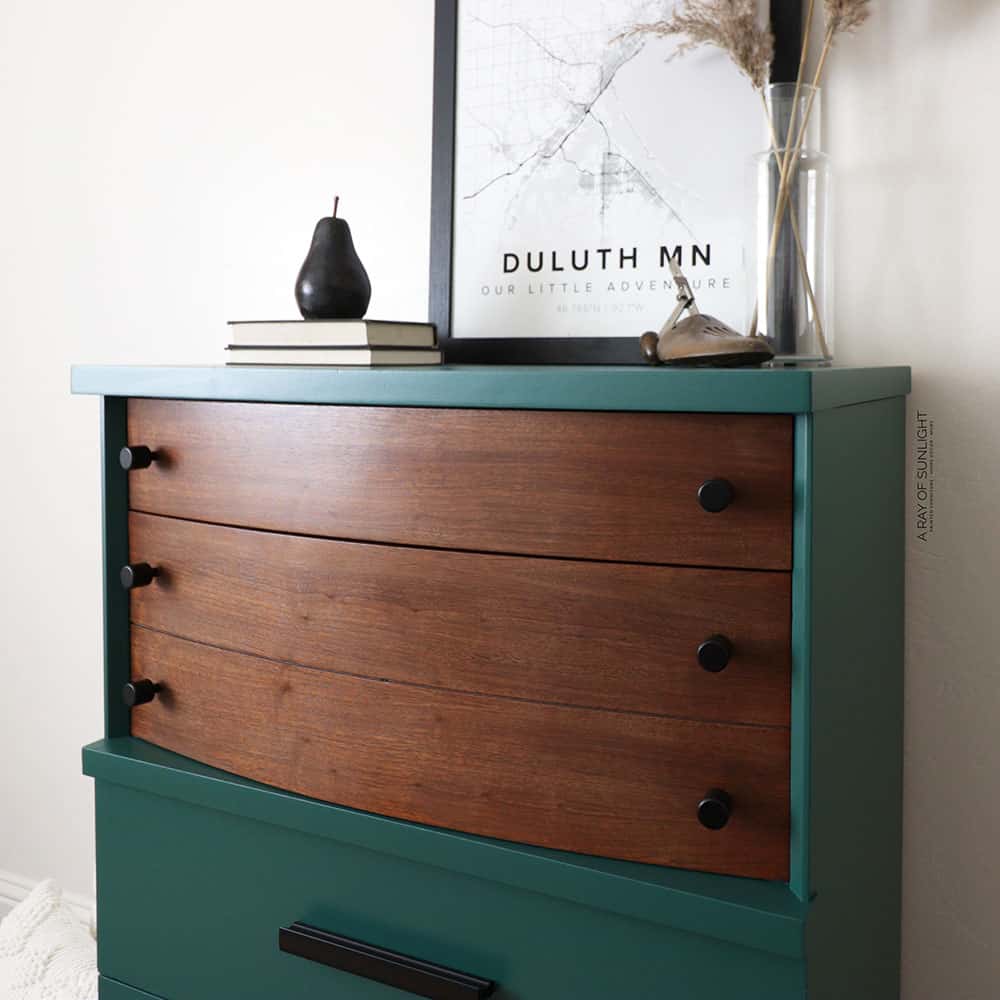
Overall, I am really happy with how it turned out, considering I am a total newbie at this. My favorite part was using the Minwax Polycrylic. It was so easy, and it looks so good.
Spraying stressed me out a bit because I didn’t want to mess it up and have to sand more. It didn’t help that the sprayer was giving me fits. But I’m looking forward to trying it again. And hopefully, it works better next time. Check out the best HVLP paint sprayers for furniture here!

I didn’t like all of the sanding, but I think it was worth it to make a smoother finish.
I really wanted to keep the top stained, but I think it does look better overall with the painted top. If you’re wondering, is two-toned furniture in style? – get answers and a two toned DIY project here!
What do you think? I hope you liked this makeover, see you next time!


My Husband's First Furniture Makeover
Want to try painting furniture? We're walking through the process of painting a dresser, with my husband's first ever furniture makeover.
Materials
- Krud Kutter
- Painters Tape
- Pre Taped Plastic
- Citristrip
- 0000 Steel Wool
- Mineral Spirits
- 220 Grit Sandpaper
- 400 Grit Sandpaper
- Bondo
- Wood FIller
- Tack Cloth
- Disposable Gloves
- BIN Shellac Based Primer
- Clear Shellac
- Sherwin Williams Emeral Urethane Trim Enamel Paint
- Paint Filters
- Behr Waterbased Wood Stain in Special Walnut
- Lint Free Rags
- Minwax Polycryilic Spray Can
- New Knobs
- New Drawer Pulls
Instructions
- Remove old hardware then clean the dresser with Krud Kutter and a damp rag. Vacuum out all of the dust outside and inside the dresser.
- Use a chemical stripper to get old damaged finish off.
- Repair damaged veneer by filling them in with Bondo. Once the Bondo completely dries, sand all the excess Bondo off.
- Fill the smaller scratches and dings on the dresser with wood filler. After the wood filler dries, sand it down and scuff-sand the rest of the dresser. Vacuum everything off and wipe it down with a tack cloth to get all the dust off.
- Roll on a few coats of primer onto the dresser, letting it dry between coats.
- Thin the paint out by about 10-15% and filter it through the paint filter. Spray a few coats of paint onto the dresser.
- Prime the top of the dresser. Once dry, lightly sand with 220 grit sandpaper for a smooth finish.
- Now, paint the top and the rest of the dresser.
- For staining wood drawers, lightly sand them then wipe stain on with a lint free rag and then use a clean lint-free rag to wipe away the excess.
- Seal the stained drawers with a few coats of topcoat, letting it dry for 30 minutes between each coat.
- Spray final coat of paint onto the dresser.
- Add new dresser hardware.
Recommended Products
As an Amazon Associate and member of other affiliate programs, I earn from qualifying purchases.


More Painting Furniture Tips
- Painting Furniture
- Chalk Painting Furniture
- Painting Furniture with a Sprayer
- Best Painting Furniture Supplies
- How to Prevent Overspray When Painting Furniture
Follow us on YouTube to get more tips for painting furniture. Or share your project with us on our Facebook Group and be part of our community. See you there!
It looks great, but you have a good coach! I would have stained the top the same as drawers and painted the trim around the edge green to frame it in. I like the dark pulls.
Looks great! You really worked hard to get it there. Great Job!
Aww thank you so much!! I appreciate the kind words!