Painting a Dresser
Have you ever looked at your plain wooden dresser and wanted to give it a fresh look? Painting a dresser is a fairly easy way to make it look new again or make it match your style of decor. Here’s a great way to make it look like a pro did it! (And so it will last a long time!)
This guide will show you how to turn something simple into a standout piece. We’ll use these blue painted furniture ideas for inspiration, but feel free to use any color that speaks to you. Let’s get started!
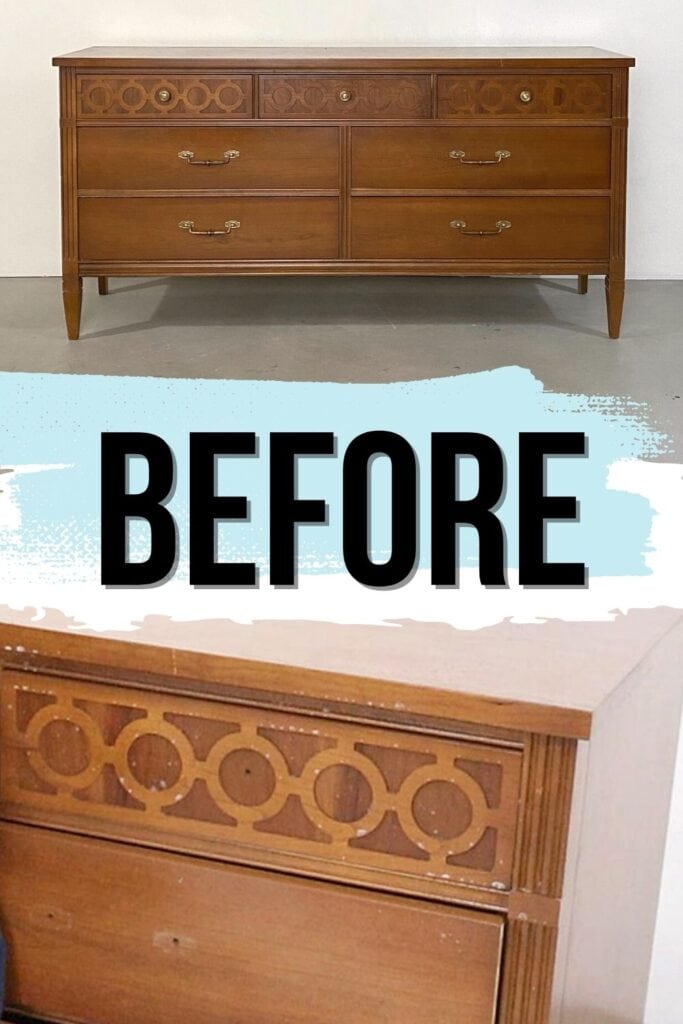
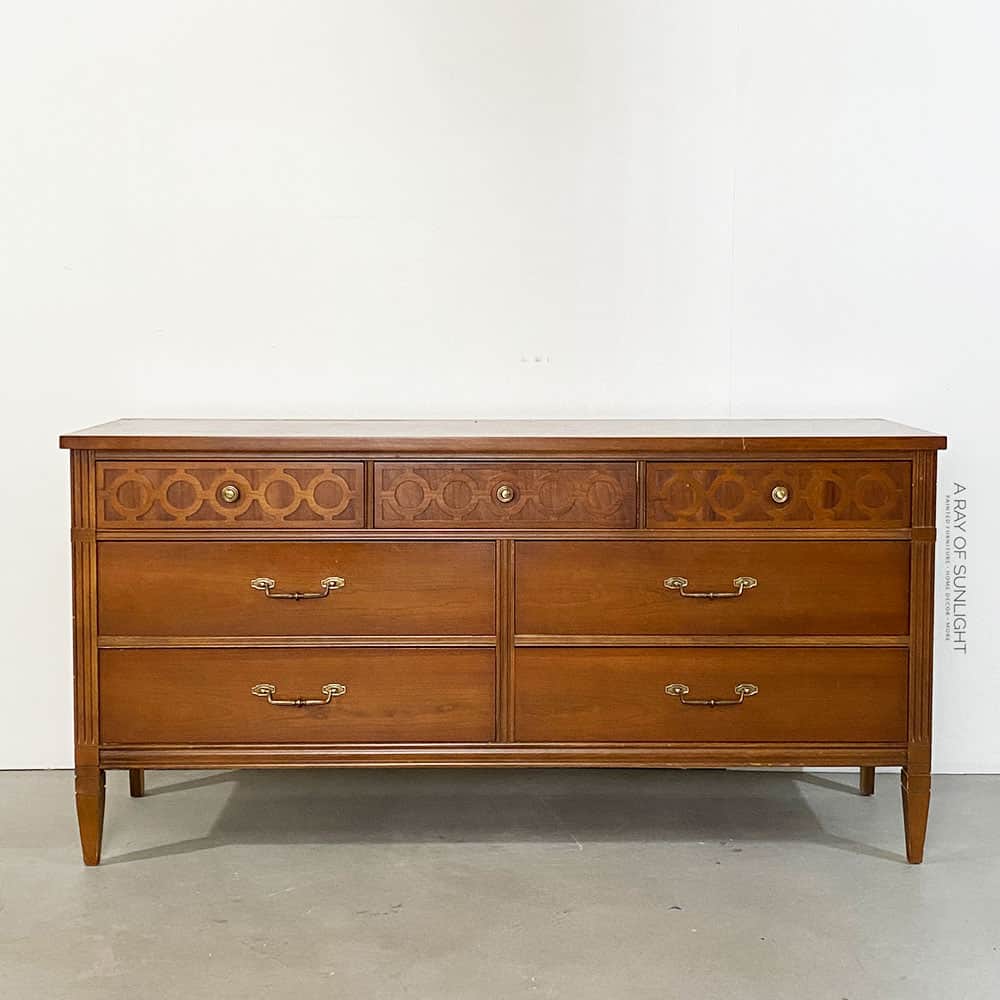
Alright, we found this set of dressers… and thought it would be fun to have a little friendly competition between my husband and me. I’m painting the long dresser and he’s doing the tall one… and you get to decide who did it better.

Both of these will be for sale too… sooo I wonder which one will sell faster and which one for more money. Haha, today, I’m sharing my makeover, and next time, we’ll share his. If you want to know how to make money painting furniture, learn more from this post.
Blue is versatile and can add a pop of color to any piece and room without being too overpowering. Plus, there are so many shades to choose from – from light blue to deep navy blue – making it easy to find one that fits your style. Check out the best blue paint for furniture options here.

Supplies Used For Painting A Dresser
As an Amazon Associate, I earn from qualifying purchases. I also may earn from other qualifying purchases with other companies or get free product to review and use. All opinions are my own.
- Electric Screwdriver
- Krud Kutter and a Damp Rag
- Shop Vac
- 220 Grit Sandpaper
- SurfPrep Sander (Get 10% off with code RAY10)
- Fine Grit Foam Sanding Pad (Get 10% off with code RAY10)
- Tack Cloth
- Clear Shellac
- Respirator
- Fusion Mineral Paint in the colors Algonquin, Little Whale, French Eggshell, Homestead Blue and Casement
- Paint Sprayer
- Paint Filters
- Staalmeester Paintbrush
- Topcoat
- Drill
- Drill Bits
- New Hardware
Grab our list of the 10 must have painting furniture supplies, too!
Prep Before Painting a Dresser
Okay, so of course, I removed the old hardware and cleaned the piece with Krud Kutter. Krud Kutter is my favorite cleaner – I just spray it on and then wipe and scrub the surface to remove all of the gunk. Learn more about how to clean furniture before painting here.
If your dresser has a stained finish, you’ll need to follow specific steps for paint adhesion. Learn how to paint a stained dresser for the best results!
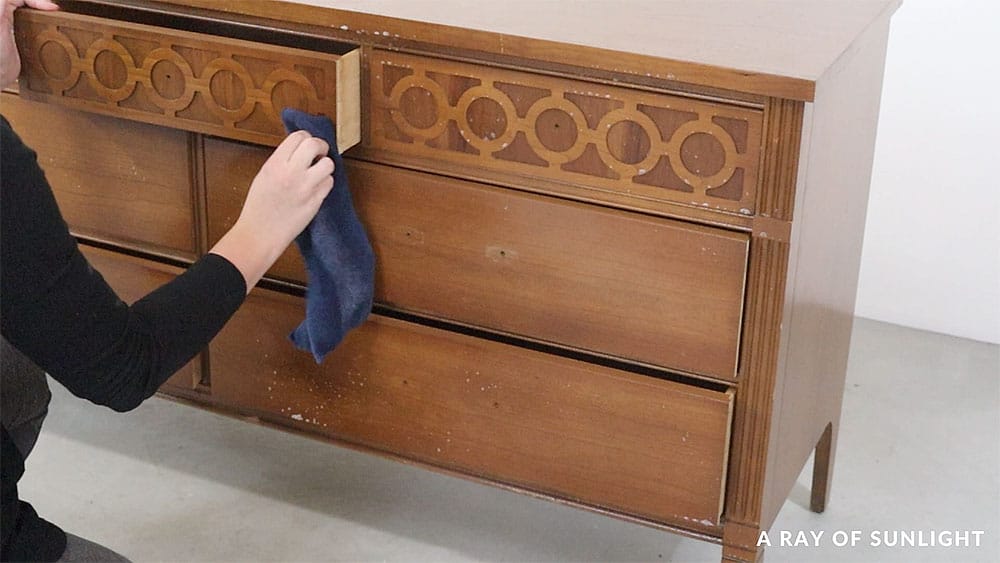
The inside got a good vacuum job as well. Haha I’ll come back and freshen up the inside of the drawers later with some Wise Owl furniture salve.
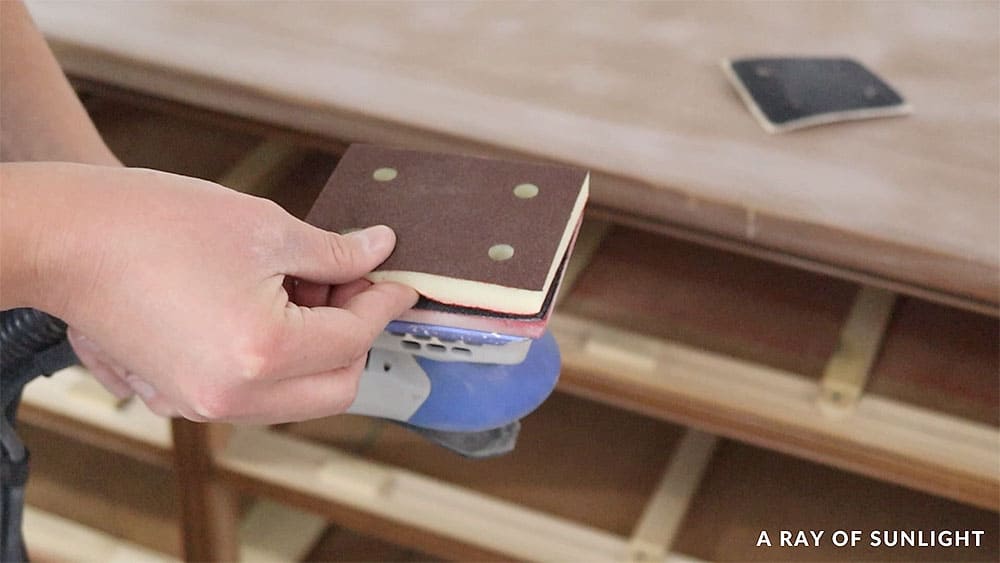
Then, I sanded the piece with 220 grit sandpaper on my SurfPrep sander. Read our SurfPrep sander reviews to know why I love it so much! And check out more best sanders for furniture here!
The tops of these dressers are made of laminate, which is basically plastic, so I sanded it extra well. When I got down to the areas that had some more detail, I switched the sandpaper for a fine grit foam pad to help me get into the curves and details better.
Learn more about the best sandpaper for furniture painting here, and get more tips on how to sand curved surfaces here.
This step is called scuff sanding, and a little bit of it goes a long way to help make the coating stick to wood and laminate. Read this post to learn more about sanding before painting furniture.
This sander is hooked up to my shop vac, so most of the dust gets sucked up, but not all of it, so I always go back and vacuum up the dust, and wipe everything off with a tack cloth, just to make sure the dust is all gone.
Learn all about how to prepare furniture for painting here.
Prime Dresser Before Painting
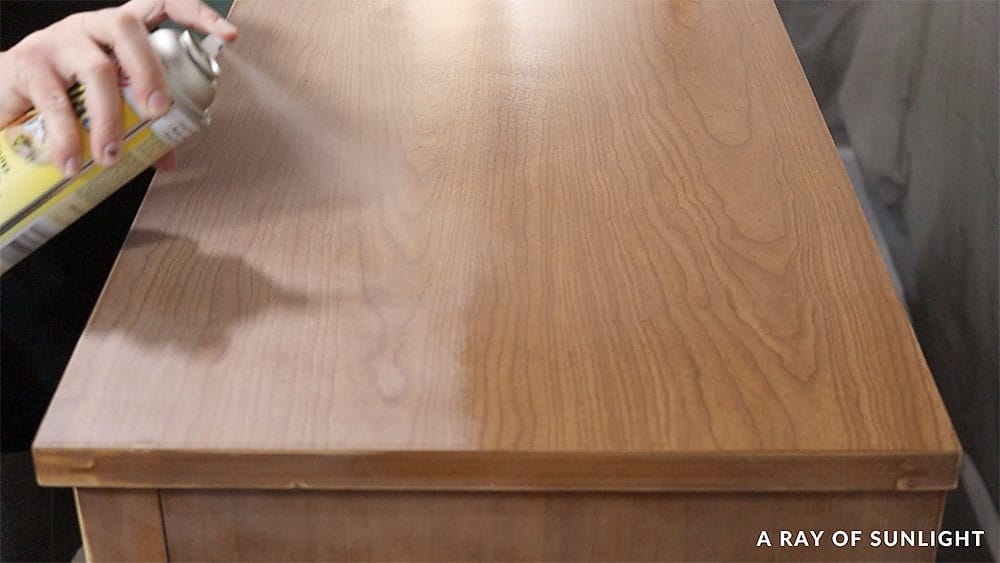
An hour after I started this project, I was done with the prep, so I moved on to priming. I sprayed 2 coats of clear shellac all over, letting it dry for an hour between coats.
Do I Need to Prime?
This clear shellac helps with adhesion, but it also blocks this annoying thing called bleedthrough. Bleedthrough is basically stains that come through the finish, from wood. And they will just keep showing up even if you keep adding more coats of color…until you use a product that will block them.
So far, it has worked well with everything that I have used it with. Chalk, mineral, latex, all in one, acrylic, enamel… Learn more about how to stop stains from coming through paint here!
Why Clear Shellac?
I like it because I can spray it on easily, it dries quickly, it’s clear, it helps the paint stick to wood and laminate, and it blocks bleedthrough really well… It’s just my preferred primer.
But you can definitely use a different product that is actually technically a primer instead. haha (Shellac based is best for furniture!) Check out the best primers for painting furniture here.
How to Paint A Dresser
Now that we have all that cleaning, sanding, priming, and prep work out of the way, our piece is finally ready! If yours has an existing finish, there might be a few things you need to look into. Here’s our guide on how to repaint a dresser.
Whitewashing Laminate Top
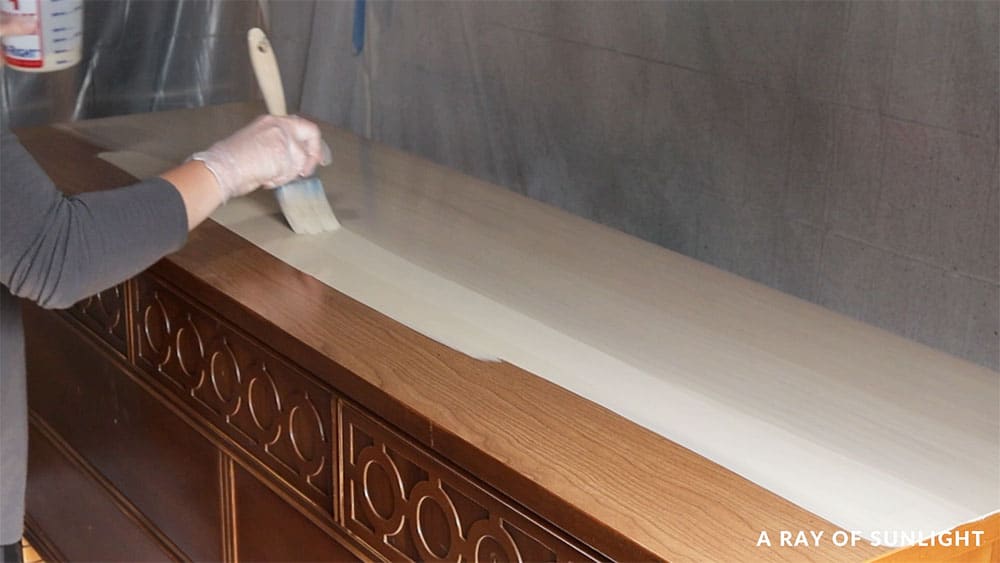
Alright, this makeover, I wanted to try something I haven’t done before… and it was a total flop. But… it is what it is. I wanted to see if I could whitewash the laminate top.
So I brushed on some thinned out coating, but I didn’t wipe it away because, well, it obviously didn’t soak into the laminate like it usually would soak into the wood… Read through this post to learn how to whitewash wood.
I let it dry like that… and it honestly… just didn’t look good. So, I tried sanding it a bit. But this Fusion paint was on there pretty good. I could have tried harder, but I decided to just try a different technique. So, I guess I’ll have to find another piece to whitewash in the future.
Check out whitewashed furniture ideas here. By the way, learn more about how to paint laminate furniture here.
So, I applied a second coat of whitewash and let it dry.
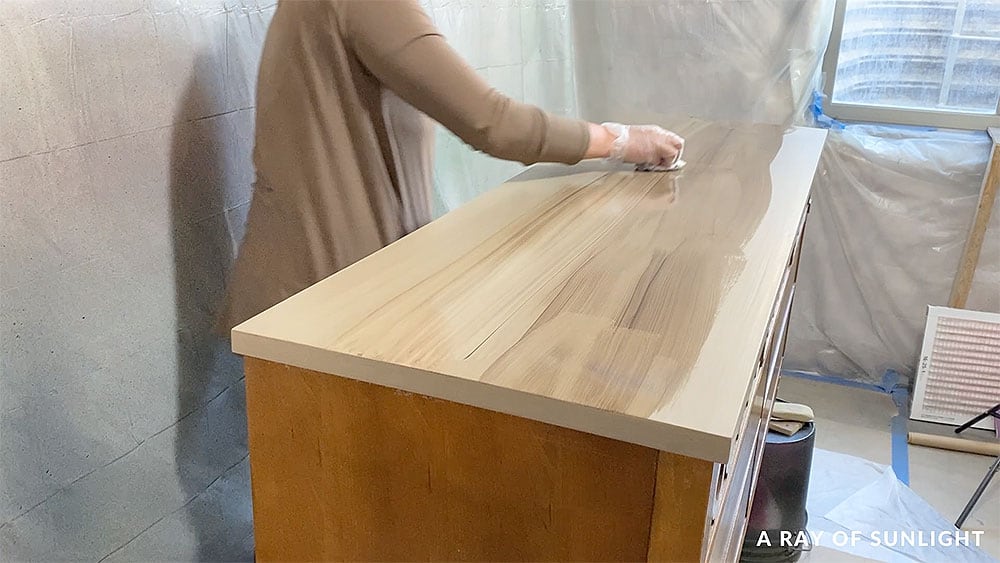
Staining Whitewashed Top
And then I put some waterbased wood stain on it. Waterbased wood stain is… different than oil based. It dries faster, it’s more workable… which is a good thing and a bad thing.
I ended up going back over it with more stain on the whole thing 3 different times, all within 25 minutes before I finally got it looking decent. Check out the best wood stains for refinishing furniture here.
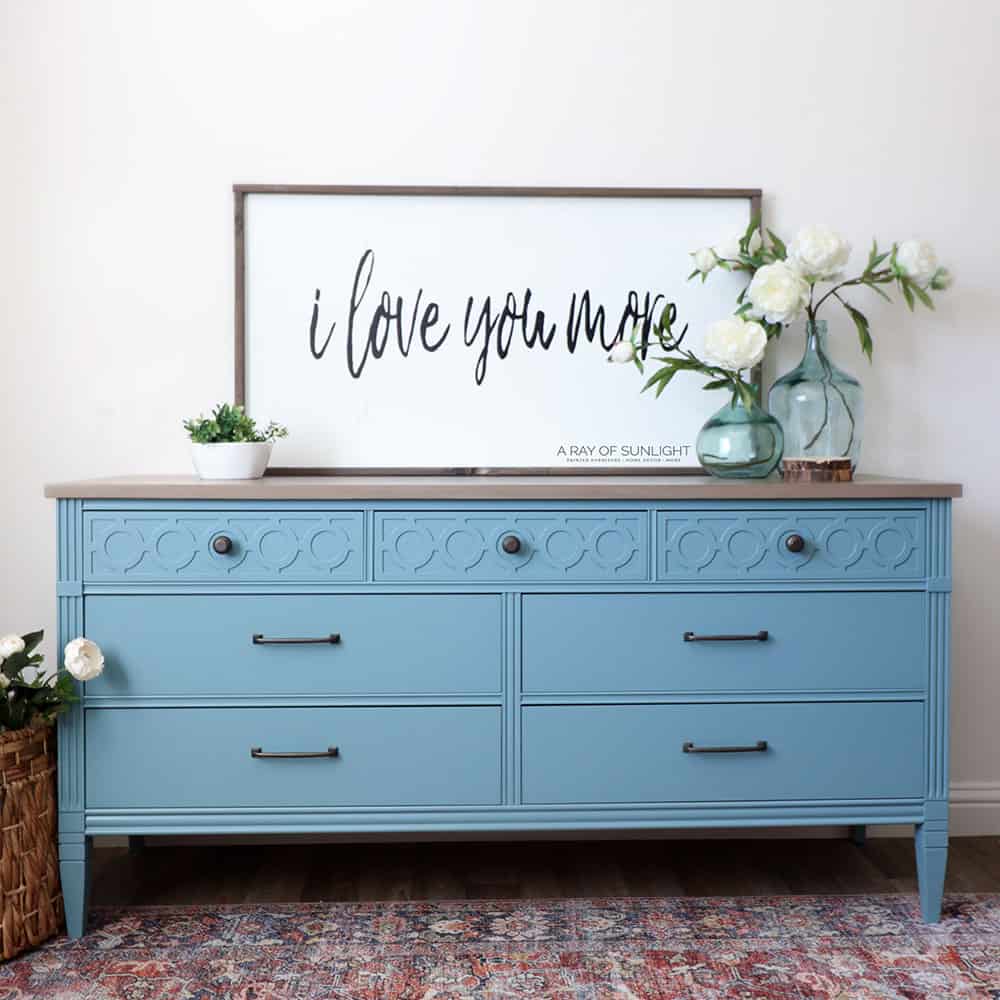
So then, I let that dry. I’m still not sure that I love it, but I thought you guys might like it, so I left it… and moved on to the next part… thinking I may or may not paint over it.
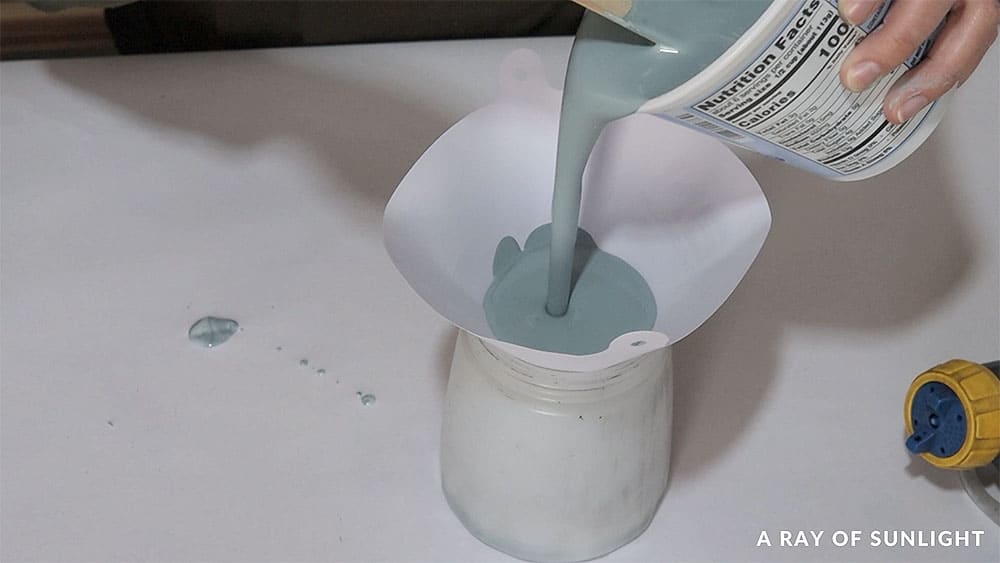
Spraying Fusion Mineral Paint
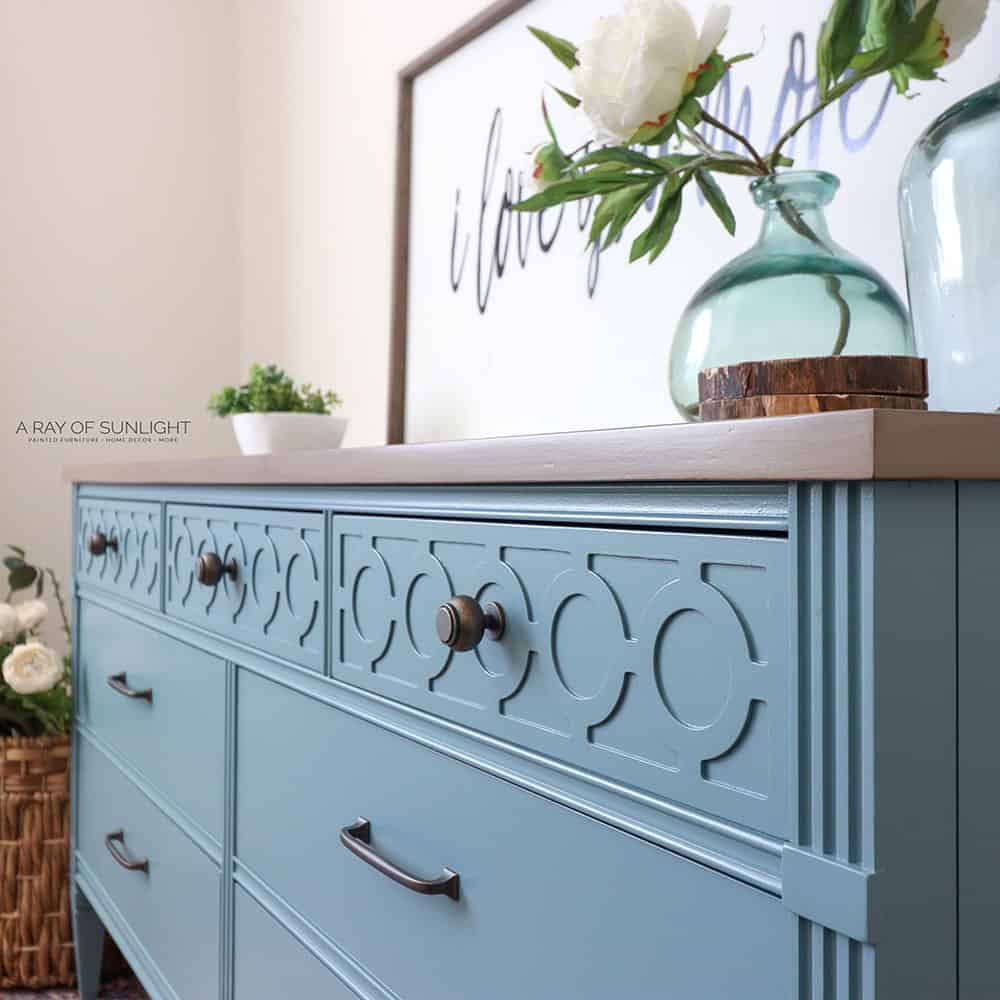
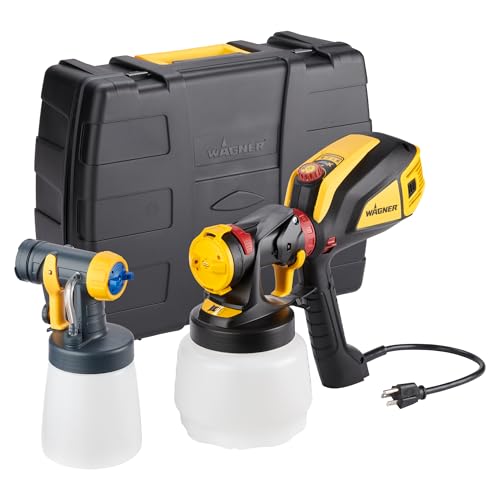
The next day, I mixed up a few different colors from Fusion. I mixed what I had left of Little Whale and French Eggshell. And then I mixed in some Homestead Blue and Casement. Then I poured it into my favorite entry level sprayer that you’ve seen me using in soo many videos now.
Would you like to save this?
And I mixed a little water in as well to thin it out and make it spray a nicer looking finish. Learn more about using the Wagner FLEXiO 3000 in this DIY blue painted nightstands makeover. And here’s how to thin paint for Wagner FLEXiO sprayer.
Fusion Mineral Paint
Let’s talk about it for just a second, shall we? Fusion Mineral Paint is super durable, it adheres very well, dries quickly, and dries hard.
My only complaint with it is that it dries to a matte finish. Otherwise, I love it! Check out this comparison post on Fusion Mineral Paint VS Heirloom Traditions Paint if you’re considering the two.
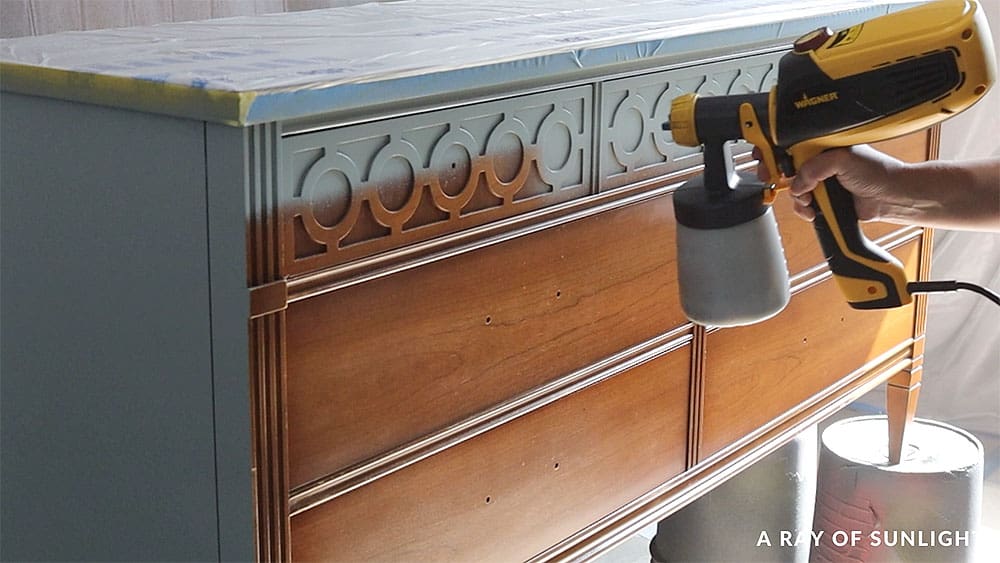
Painting Dresser with a Paint Sprayer
Before I sprayed, though, I taped the top off with some yellow frog tape because it’s for delicate surfaces, like surfaces that have recently been painted. Check out this post to learn how to prevent paint bleed through painter’s tape. Find out what is the best painters tape that doesn’t bleed here.
And then I put some pre taped plastic over the rest of the top to cover it all up. Get more tips on how to prevent overspray when painting furniture.
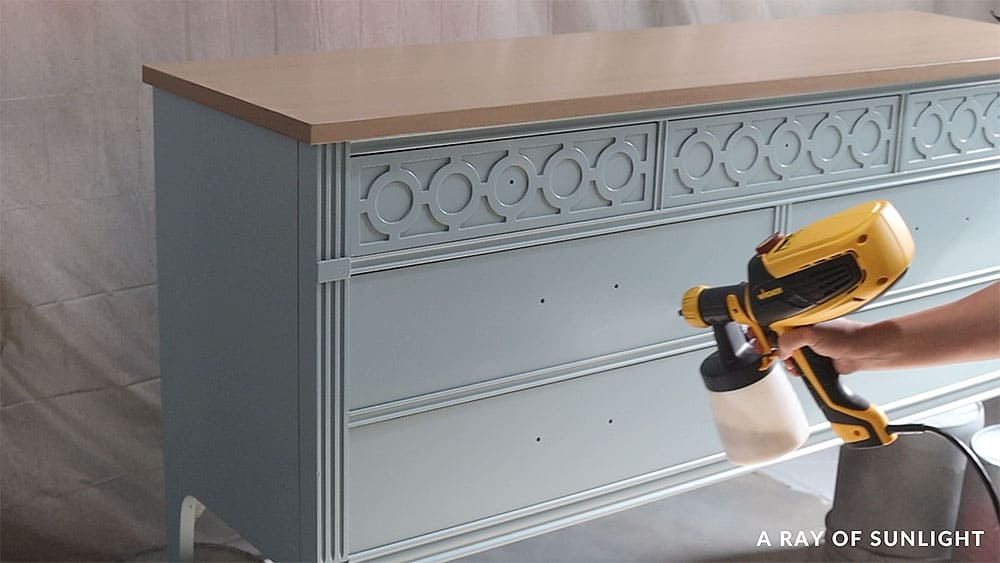
And then I tested the sprayer out before I sprayed the actual piece. I turned the little paint flow dial until I got it where I felt good about it. And I sprayed a light coat all over.
Painting the Inside of the Drawers
When the coat felt dry, I opened up the drawers… and since I was feeling lazy, I brushed some blue on the top and side edges of the drawer front. Typically, I tape the drawers in plastic so I can spray them… but I didn’t feel like it. So, I brushed 2 coats on with the Staalmeester paintbrush.
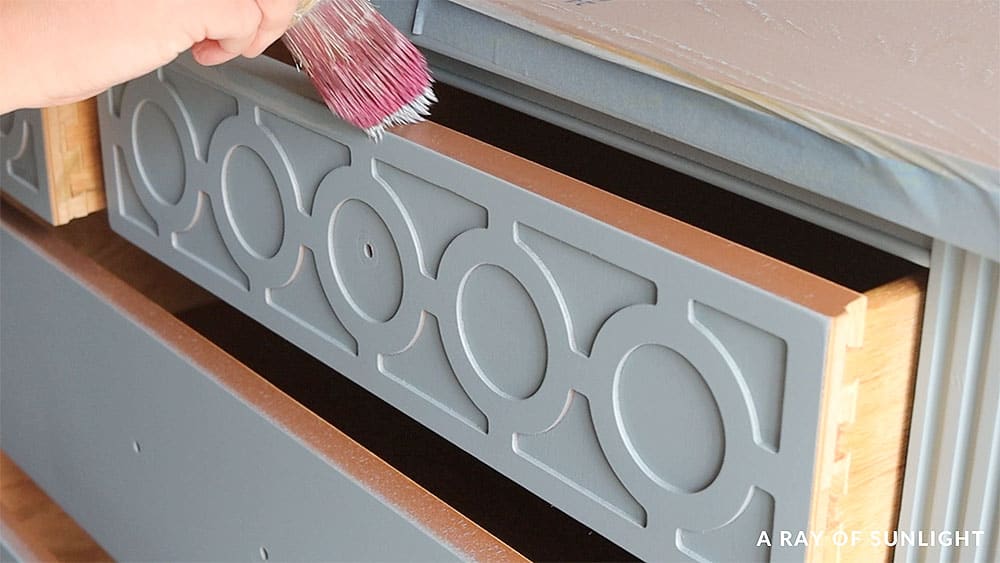
Whenever I use Fusion Mineral Paint, the Staalmeester brush is my go-to. It honestly really helps reduce the brush marks left behind. Check out more best paint brushes for painting furniture here!
Taking Care of Drips and Touch Ups
When the drawers were dry, I pushed them back in and noticed some drips, so I sanded them out with a fine grit foam sponge, cleaned up the dust, and then sprayed a second blue coat. Check out my guide on how to fix spray paint drips here.
And then, I noticed a nice scratch on the top that I hadn’t noticed before. Sooooo with a lot of annoyance, I filled it in, touched it up with coating, sanded it, and stained it…. I ended up doing that a couple of times before I gave in and just coated that whole front edge again.
Why do I try to cut corners?? It always takes more time in the end!
Topcoat Painted Dresser
With that all done, I finally moved on to the topcoat. Fusion technically doesn’t need one to be durable. But I don’t care for the matte finish that gets dirty and scuffed up easily.. so I topcoat it. You can read all about the different options of topcoats for painting furniture here!
Apply Polyurethane with a Sprayer
But, with a sprayer, top coating is so stinking easy. I mixed up my favorite topcoat, poured it into the sprayer, added a splash of water, mixed it again, and then sprayed 2 coats of it all over the piece, letting it dry in between.
Since I’m a bit OCD with how my furniture feels, I sanded the top with 400 grit sandpaper to help make it feel smooth, cleaned off the dust and then applied another coat just on the top. Learn all my tips on how to spray polyurethane in this post.
Attach New Hardware
By the time all of the topcoat was done, I had figured out the hardware situation… But, the new hardware was just ¼ of an inch bigger than the original ones.
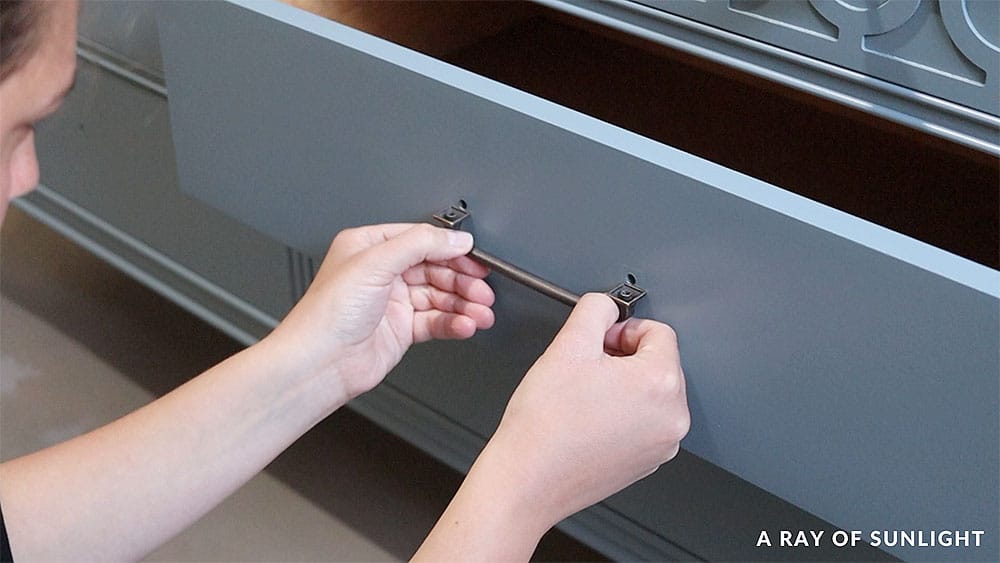
Soooo instead of filling in the old hardware holes and drilling new holes, I just kind of used a drill bit to make the hole wider… wide enough for the screws to attach to the new pulls, but not too big that they would show past the base of the hardware.
You can watch the whole process in our YouTube video below, or scroll down to see the after photos!
More Before and After Makeovers
See All >
Click any of these “before” photos below to view the “after” of that makeover.


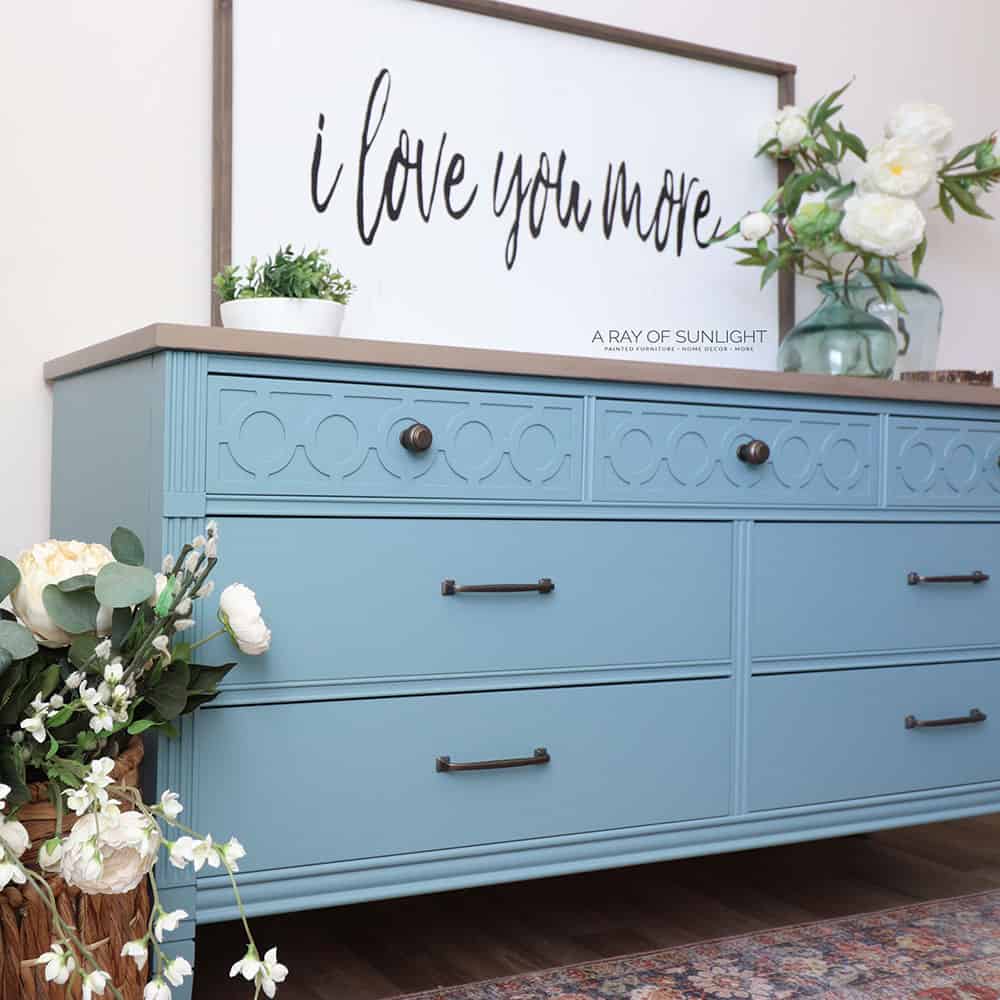
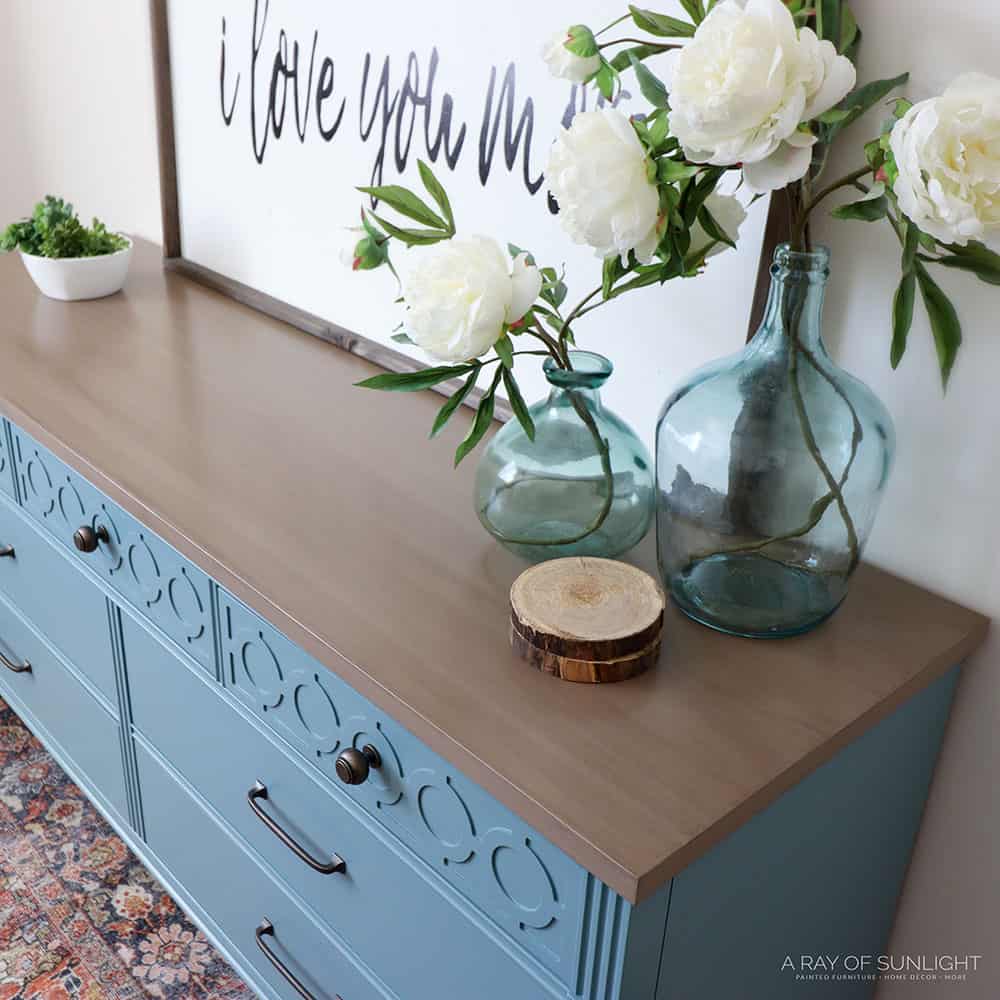
I’m still not 100% sold on the top. I love the color, though! What do you think?? Do you think I should redo it? Here are two tone dresser ideas for inspiration for this look. For similar projects, check out these french blue painted furniture and light blue painted furniture ideas.
It’s funny, my husband is getting close to being done with his makeover now, and I think I might like his better! I can’t wait for you to see it!


How to Paint Dresser Drawers
I touched a bit on painting the inside of the drawers above, but let’s dive a little deeper into how to tackle this part of the project. First, you’ll need to decide if you want to use the same color as the whole piece or mix it up with different colors for a fun touch.
If you’re feeling adventurous, you can even add some stencils. You can even do raised stencil like this for more texture and character. Here’s how to stencil painted furniture to guide you with this process.
You can also use liners like contact paper or fabric. These will not only protect your drawers but also add some color and personality inside. They come in a variety of designs and patterns and even scented options. You can easily switch them out if you ever get tired of one. Learn more from these dresser drawer liner ideas.
Then, you’ll need to remove all the drawers. This will make it easier to work on them, especially if you’re making them different colors. It’s also a good time to clean them and remove any old liner or residue. Here’s how to remove felt from wood drawers.
Once clean, you can lay them out and start adding some color or liners. Just make sure to let each layer dry before moving on to the next. Adding a topcoat is a good idea, too, especially for pieces that get a lot of use. Check out these dresser drawer painting ideas for inspiration.


Painting a Dresser
Painting a dresser is a great way to transform outdated furniture into a piece that would match your home! Here are the steps on how to paint a dresser like a pro.
Materials
Tools
Instructions
- Remove old hardware, clean the dresser and scuff sand the surface to prep for paint. For laminate tops, sand the laminate extra well. Vacuum and wipe all the dust.
- Prime dresser with 2 coats of shellac, letting it dry for an hour between coats.
- Whitewash the laminate top with some thinned-out paint to create a natural weathered look.
- Pour paint into the paint sprayer through a mesh filter and mix a little water to thin it out. Before spraying the paint, tape off the top to prevent overspray.
- Now, spray a couple of coats of paint all over the dresser. When the paint dries, you can brush 2 coats of paint onto the top and side edges of the drawers.
- For any paint drips, sand them out with a fine-grit foam sponge, clean up the dust, then spray another coat of paint.
- For topcoat, mix up polyurethane, pour it into the paint sprayer, add a splash of water, mix it again, and then spray 2 coats of it all over the dresser, letting it dry between coats.
- Attach new hardware and enjoy!
Recommended Products
As an Amazon Associate and member of other affiliate programs, I earn from qualifying purchases.


More Painting Dresser Ideas
- DIY Dresser Makeover
- Painting Furniture Without Sanding or Priming
- How to Paint Over Oil Based Paint
- Painted Light Blue Dresser
- Navy Blue Milk Painted Dresser
Learn the Art of Updating Furniture!
If painting furniture feels overwhelming or your past attempts didn’t go as planned, this course will guide you step by step.

Follow us on YouTube to get more tips for painting furniture. Or share your project with us on our Facebook Group and be part of our community. See you there!
Ok, I actually like it although I’d rather be able to see it in person! The whole time I was reading thing, I was thinking of my custom laminate dining table debachle. I guess I could try this, but it’s 72 inches plus leaf and I worry I wouldn’t get it to look as nice. Plus the durability part is equivalent to me just painting it. Thanks for sharing your process. I say keep it this way, don’t paint over it.
So where do we see your husband finished product.
You can see it here Painting a Dresser White
I love the finished dresser! I have a laminate TV cabinet thing I want to refinish an this gives me great ideas! Oh, and can you tell me where you got the rug that the dresser is displayed on? It’s what I’m looking for in my living room. Thanks!
Thank you so much. I’m so glad you loved the finished dresser. It’s so great to know it gave you some good ideas. And yes, this rug is awesome. We love it too! Here’s the link where we found it (aff): https://urlgeni.us/amazon/rugbl