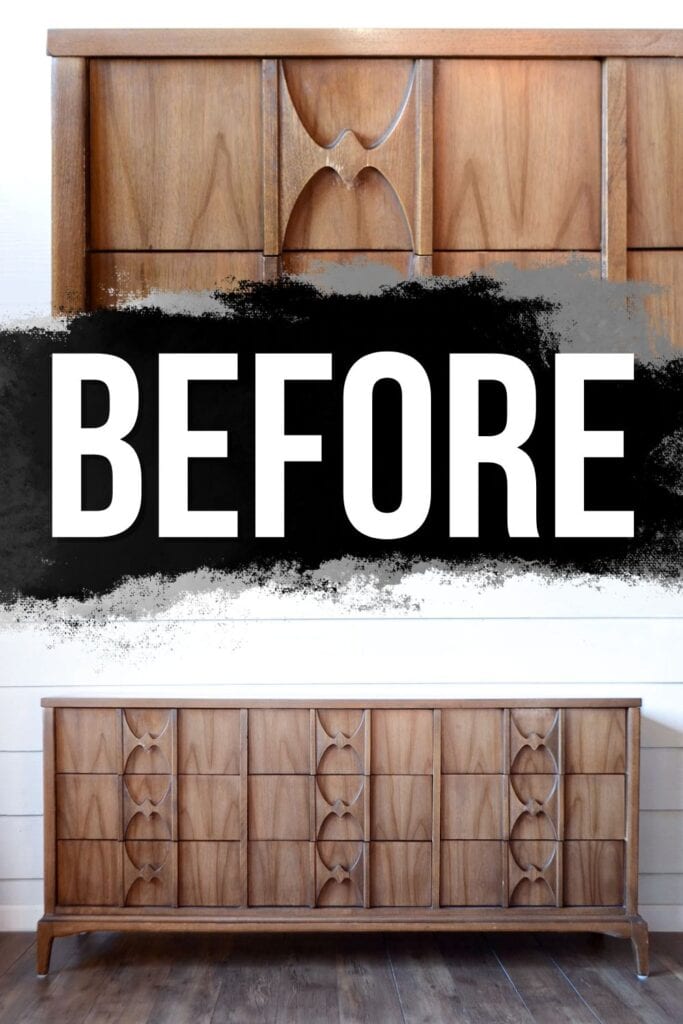
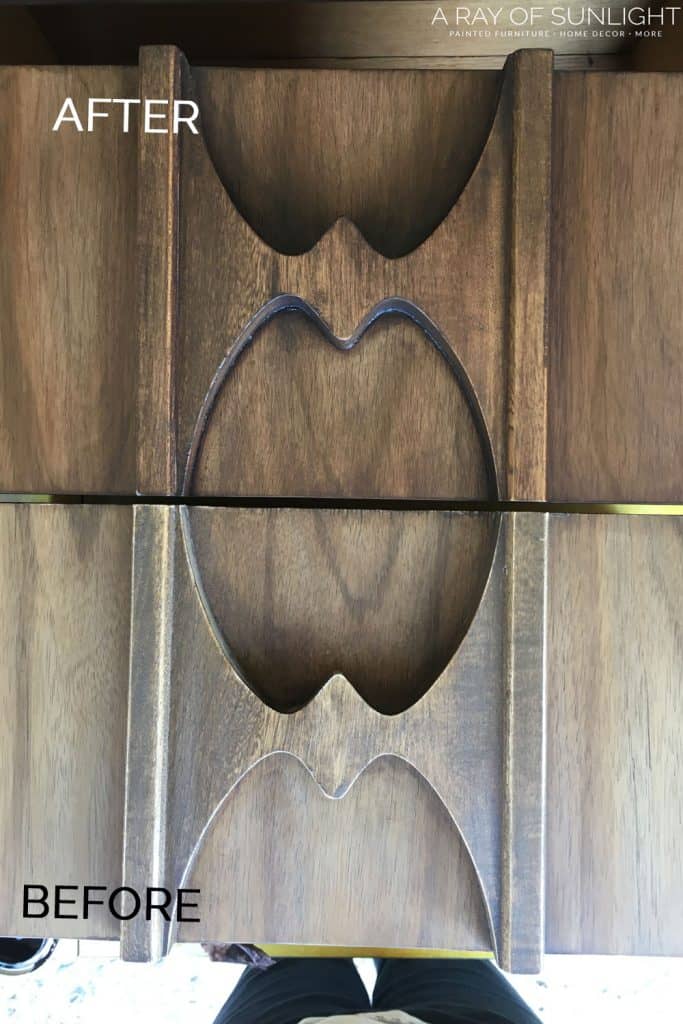
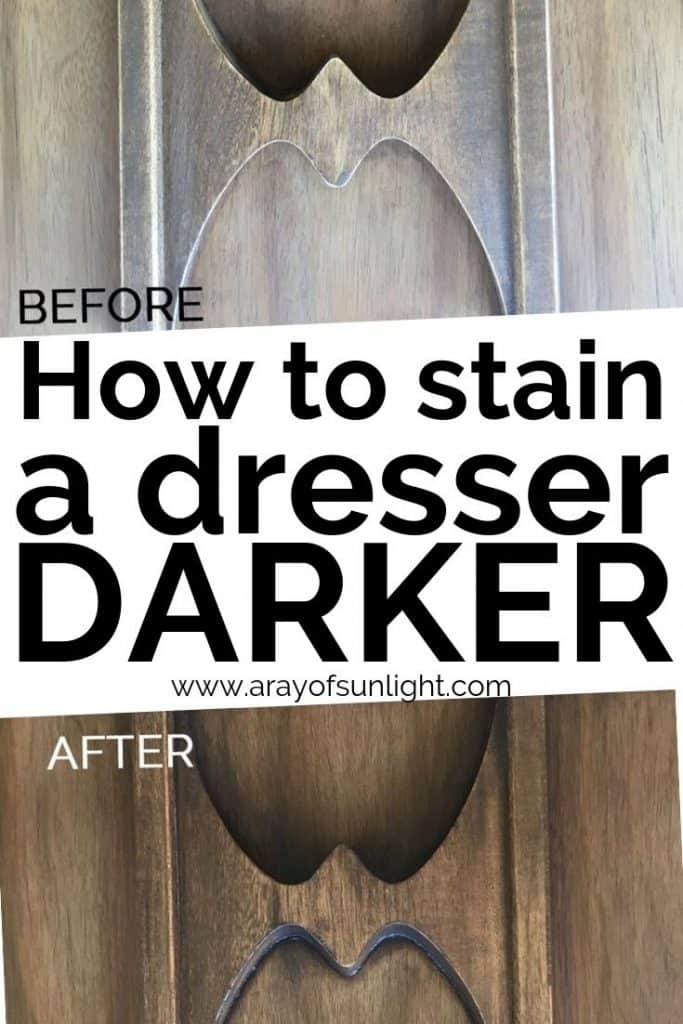
Staining a Dresser Darker


Did you know that you don’t always have to sand or strip a dresser to bare wood to be able to stain it darker? I’m showing you how staining a dresser darker doesn’t have to be hard! There are a few simple refinishing furniture techniques that can help you create the darker look you want without starting from scratch.
Whether you want to give your old piece new life or simply change up the color, this post will walk you through the process step by step.
If the original finish on your piece is light and you’re looking to switch things up, this might be just the solution you need. A darker one can give a more modern or dramatic look, and if your piece has minor scratches and dings, it’s also a great way to hide these imperfections.
This easy tutorial shows you how to refinish a dresser without stripping while hiding small scratches. This is, by far, the easiest way to restain any piece! (If yours has bigger scratches or chips, here’s how to repair chipped veneer furniture.)

It can be time consuming and messy to remove the old finish completely, so why not save yourself the trouble and simply darken the existing finish? So, keep reading to learn how to get that richer, darker look without all the fuss.
As an Amazon Associate, I earn from qualifying purchases. I also may earn from other qualifying purchases with other companies or get free product to review and use. All opinions are my own.
The Perfect Product to Easily Restain a Dresser
A typical wood stain soaks into and penetrates raw wood. But more than likely, you don’t want to sand (or strip) your old piece down to raw wood. To restain without stripping, you need a product that will soak into the old finish a little but mostly stay on the top of it.
This amazing product is called gel stain. There are many companies that sell their version, but (in my opinion) the best gel stain for furniture is General Finishes gel stain.
You can use it over an existing finish, when you’re staining a dresser darker, or on painted furniture with a stained top. You can use it on veneer pieces as well and even use it over paint to create a weathered wood finish like this.
It comes in many different colors, so you can choose one or a couple of colors and mix them to your desired look. The most popular one is their Java color. It’s a deep, rich brown with hints of a deep red.
My technique for using it is a little different than most, but in the end, I believe that it creates the most authentic looking dark stained dresser. This will also help in avoiding brush marks in gel stain – something many have a problem with.
Supplies Used for Staining a Dresser Darker
- Krud Kutter and an Old Rag
- 320 Grit Sandpaper
- Tack Cloth
- General Finishes Gel Stain
- Cheap Paint Brush – (Get from the dollar store!)
- Lint Free Rags
- Oil Based Poly
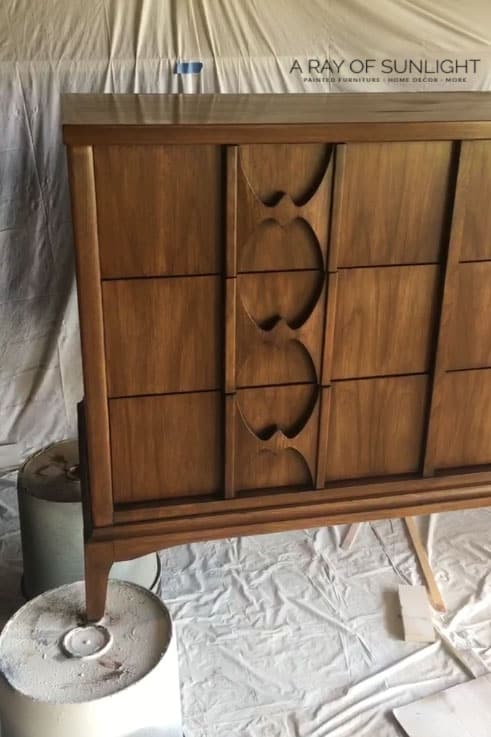
Prepping Dresser for Stain
Before you can get to restaining, it needs to be cleaned off and prepped. Here are all of my tips for how to prepare furniture for painting.
If there is any grease, oil, or grime on your piece, you run the risk of the gel stain not sticking. All the dirt will repel it just like it repels paint. You can easily do this by cleaning it off with Krud Kutter and a damp old rag. Krud Kutter easily cuts through the dirt, so it’s the perfect product for cleanup.
Get more tips on how to clean furniture before painting here. Then, let the piece dry completely. Once it’s dry, you need to scuff sand it.
Now, I’m not talking about sanding the old finish completely off. I’m just talking about taking off the sheen a little bit. This will make the stain stick even better. It will also help disguise any minor scratches and level out a chipped stained finish.
When you scuff sand, you only need to sand by hand by going back and forth a couple of times over the whole piece. If you don’t want to sand by hand, here are the best sanders for furniture you can use.
It is really important to sand in the same direction as the grain and well, or else you will see your sanding marks after you stain. Learn more about sanding before painting furniture here. After you scuff sand, vacuum and wipe it down with a tack cloth to remove all of the dust.
If you want to skip this step, here’s our guide on how to stain furniture without sanding!
How to Apply Gel Stain
Get a small amount of gel stain on the end of your cheap paintbrush. You want to use a cheap one so you can throw it away after this project. You can also check out these best brushes for staining wood and save these best paint brushes for painting furniture for a different project!
Brush it in the same direction as the grain. Let it penetrate into the wood and dry for a very small amount of time. Then, wipe the coat away with a lint free rag. Make sure to still follow the direction of the wood grain. Wipe it until you don’t see any brush marks or lines from wiping it away.
Let it dry for 24 – 48 hours. Once it is completely dry, you can apply another layer to make the results darker!
Gel Stain Tips
- Make sure to work in small sections, like 1 or 2 drawers at a time or one side of the piece at a time.
- How long to let the gel stain sit before brushing it off depends on the weather conditions (hot and dry vs. cold and humid), but it shouldn’t sit for more than a minute to 5 minutes before being wiped off.
- It also depends on how much you brushed on. If you brushed on a lot, it will dry slower, so you should have more working time.
- If you brush more over wet gel stain that has been wiped away, it will remove more gel stain.
- Always brush on and wipe off with the grain of the wood. If there are any streaks left, it will mimic the look of the wood grain.
- Minor scratches and areas where the old stain had been removed will show up darker once gel stained.
- Switch out your lint free rag for a new one as the old one gets too saturated. I like it to have some gel stain on it, but not too much.
- How to remove gel stain from wood? If you don’t like the look, you can remove it with mineral spirits before it dries and starts to cure. After it has started to cure, your best bet will be to remove it with a stripper or sand it off.
Check out this post on refinishing an old dresser, where we removed the old finish, and here are the best sanders to remove paint. If you’re wondering, can you stain over paint? – get answers here!
How to Stain a Dresser Darker – Super Dark Method
If you want to make your piece super dark and rich, you may not want to build up thin layers with the first method. Especially if you start with a light color of wood stain.
Would you like to save this?
Instead of brushing the gel stain on and then brushing it away, you can brush it on in a thin coat, and then leave it until it is completely dry (at least 48 hours).
Once that coat is dry, you can add another coat to deepen the color and also cover the streaks left by brushing. Three coats in this method will give you the most coverage and best results.
You will end up with a finish that doesn’t show the original wood grain at all but has a deep, rich wood tone. To me, this method looks like fake wood, and I wouldn’t recommend it.
You can learn more about how to stain wood darker with gel stain here! You can also get more tips on how to stain wood furniture darker here.
How to Finish Off Gel Stain
No matter the method you decide to go with, you will need to topcoat for durability. If you use a waterbased topcoat, make sure the gel layer has dried for at least 48 hours. Learn more about topcoats for painting furniture here.
Apply either 3 coats of wipe-on poly or spray poly for the best results. You can wipe on poly with a lint free rag. Or you can spray poly on in the paint can version. Wait the recommended time in between each coat. Learn ALL of my tips and tricks on how to spray polyurethane here!
Now you’re done! You can attach your hardware back on if the piece has hardware. Here is a video from General Finishes showing how to update existing furniture with gel stain!
You can also use Retique It for refinishing – here’s how to use Retique It to learn about this product and how to apply it.
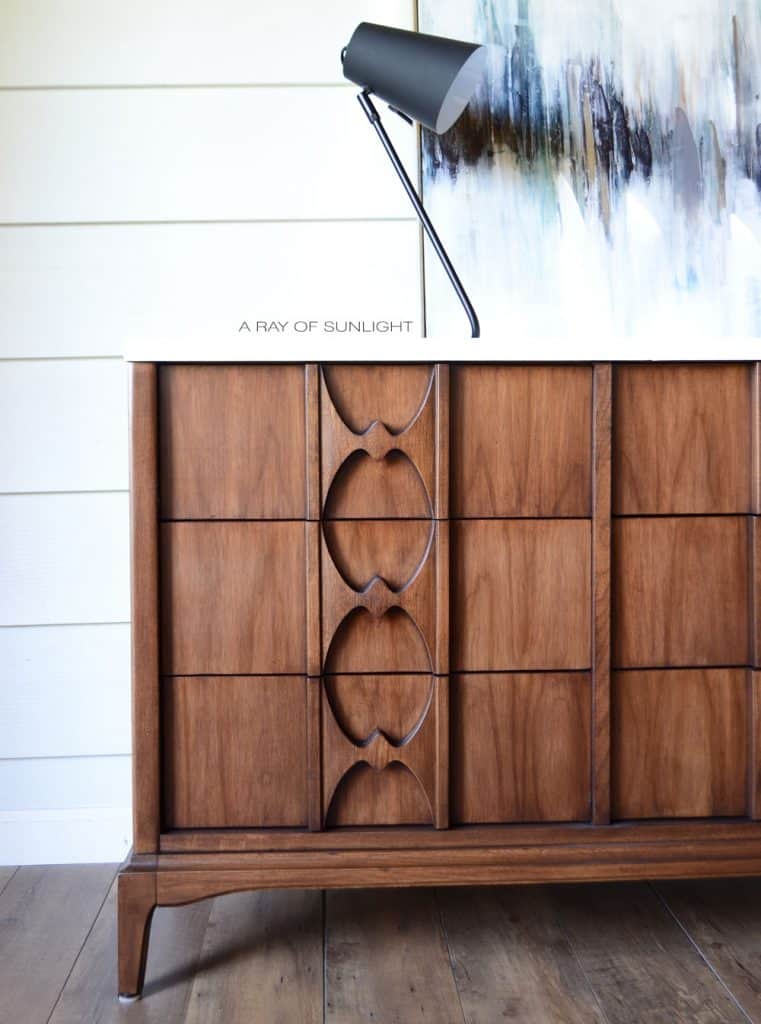
Painting Top White
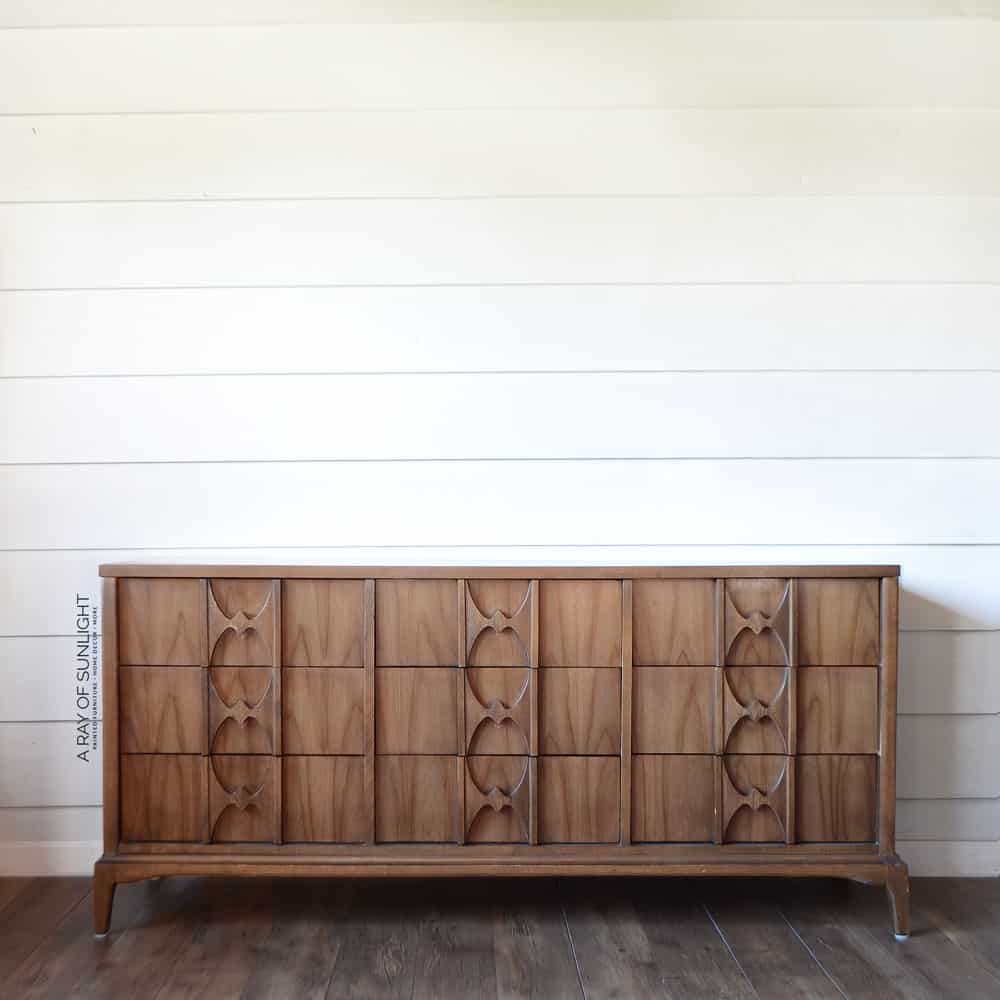
For the top, it had a few chips taken out of the veneer, so I opted to make it white to create a faux marble top look. Check out my guide on painting over oil based stain here.
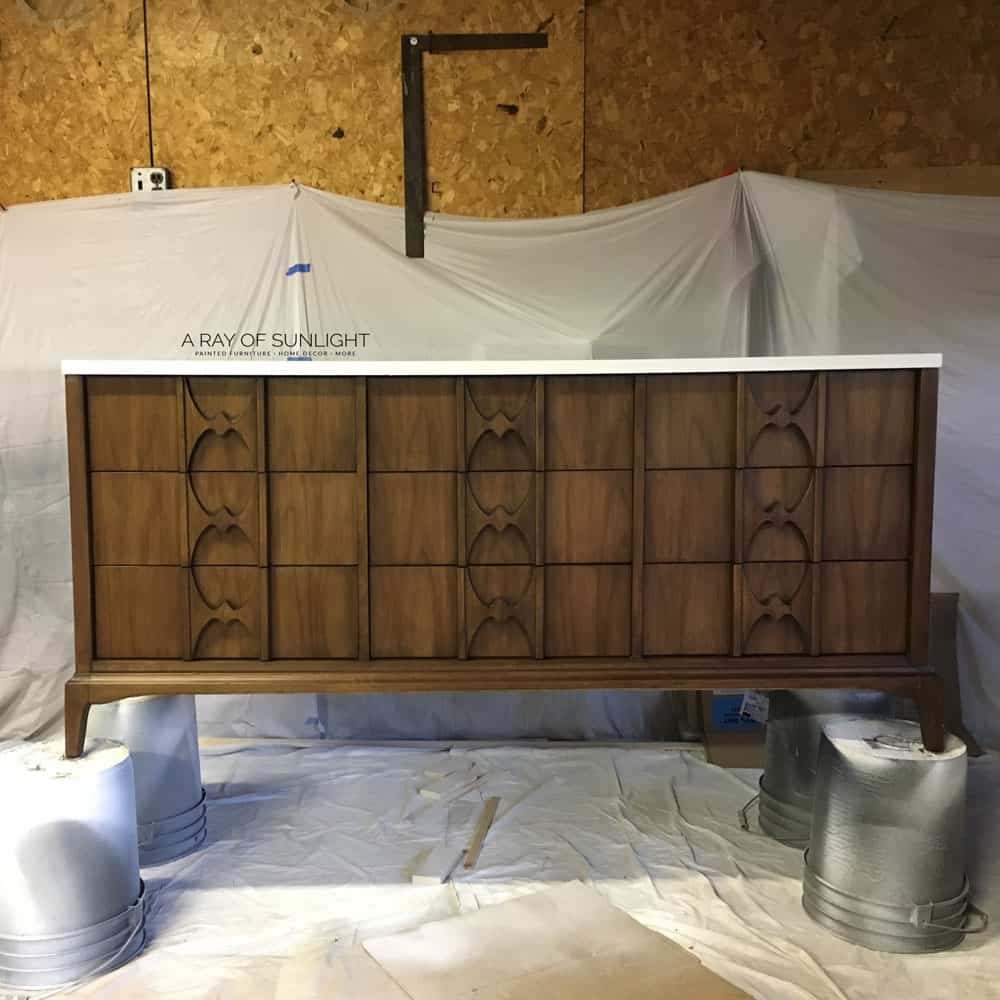
If you want to recreate this look, I would recommend taping off the bottom first and then painting the top. Learn more about how to prevent overspray when painting furniture here. After the top is completely white, I would then move on to staining the bottom.
Get more tips on painting furniture white here. For similar projects, check out these mid century modern painted furniture ideas.

More Before and After Makeovers
See All >
Click any of these “before” photos below to view the “after” of that makeover.


How to Stain a Dresser Lighter
If now, you want your piece to have a lighter finish, you’ll need to do a bit more work. Start by stripping off the dark layer that’s already there. A good stripper like Citristrip works great – just apply it to small sections at a time. This way, you’ll have better control and can avoid it drying out too fast.
Cover the stripper with plastic wrap to keep it from drying out, and let it sit for at least 8 hours, but no more than 24. Once it’s had time to do its thing, check on it by peeling back a bit of the plastic. If you see bubbling or a gooey texture, it’s good to go.
Uncover a small section, and start scrubbing off using steel wool or a scrubbing pad dipped in mineral spirits. Don’t forget to wear gloves for protection. Learn more about how to remove stain from wood without sanding in this post.
Here’s how to refinish a dresser lighter where we used Stripwell QCS instead.


Once you’ve scrubbed off everything, let the wood dry completely for a day or two. If you notice any spots you missed, grab some 220 grit sandpaper and foam sanding pads to smooth them out.
With this clean slate, you can apply the light colored finish you want. If you want really bright results, you can also use a white wash. Here’s how to whitewash wood to guide you with this, and check out these whitewashed furniture ideas for inspiration.


Staining A Dresser Darker
You don’t always have to sand or strip a dresser to bare wood to be able to stain it darker. I’m showing you how staining a dresser darker, doesn’t have to be hard!
Materials
- Krud Kutter
- Old Rag
- 320 Grit Sandpaper
- Tack Cloth
- General Finishes Gel Stain
- Cheap Paint Brush
- Lint Free Rags
- Oil Based Poly
Instructions
- Before staining, clean off and prep your old dresser for gel stain. Clean with Krud Kutter and a damp old rag. Then let the dresser dry completely. Once the dresser is dry, scuff sand the dresser. Vacuum all the dust and wipe the dresser down with a tack cloth.
- Use a cheap paintbrush and get a small amount of gel stain. Brush the gel stain onto your dresser in the same direction of the grain. Let the gel stain penetrate into the wood and dry for a very small amount of time.
- Wipe the gel stain away with a lint-free rag. Make sure to wipe in the direction of the wood grain and wipe the gel stain until you don’t see any brush marks or lines from wiping it away.
- Let the gel stain dry for 24 – 48 hours. Once the gel stain is completely dry, you can apply another layer to make the dresser darker!
- Topcoat the gel stain for durability. Apply either 3 coats of wipe-on poly, or spray poly for the best results. You can wipe on poly with a lint-free rag. Or you can spray poly on in the paint can version.
- Paint the dresser top. Tape off the bottom so you don't get paint on other parts of the dresser you have stained.
Recommended Products
As an Amazon Associate and member of other affiliate programs, I earn from qualifying purchases.


More Stained Furniture Resources
- How to Paint a Stained Dresser
- The Best Stain for Weathered Wood Look
- How to Restain Wood
- How To Stain Wood With Paint
- Restaining Furniture
Follow us on YouTube to get more tips for painting furniture. Or share your project with us on our Facebook Group and be part of our community. See you there!

What size can of stain did you need? I have a dresser about that size with tall mirror and another tall dresser I want to do. I don’t know how far stain goes if I’ll need a gallon or if a quart will last.
Thanks for the tutorial, I was looking for something easy that didn’t involve to much sanding, there is a flower design on my set now I’m hoping I can save to still show through a slightly darker stain.
Hey Ashley! I believe that I used a half pint or a pint, and I used less than half of the container on this dresser. A little bit of gel stain really goes a long way! Goodluck on your project! I think you’ll still be able to see the flower design!
Yes I used Java on this project.
I love how this turned out! Thank you for sharing it with us on the Farmhouse Friday link party. I’m featuring it tomorrow. Hope you link up again soon. Happy New Years! pinned
Aww thank you so much! So happy to be featured. Happy New Year to you as well!