DIY Emerald Green Bedside Table


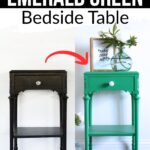
If you love unique and statement-making pieces, this DIY emerald green bedside table is for you. Not only will it bring life to your space, but it’s also a great way to upcycle old furniture. Get ready for some green painted furniture inspiration!
In this tutorial, we’ll show you how to turn a plain table into a vibrant piece with just a few simple steps.
You might be wondering, why green? Green is a bold and beautiful color choice when it comes to painting furniture and adding a pop of color to your home decor. It’s also a versatile color that can be used in different shades and tones to create various looks.

Emerald green, in particular, is a rich and elegant shade that adds a touch of luxury to any space. It’s also a trendy color choice that has been popping up in interior design and fashion.
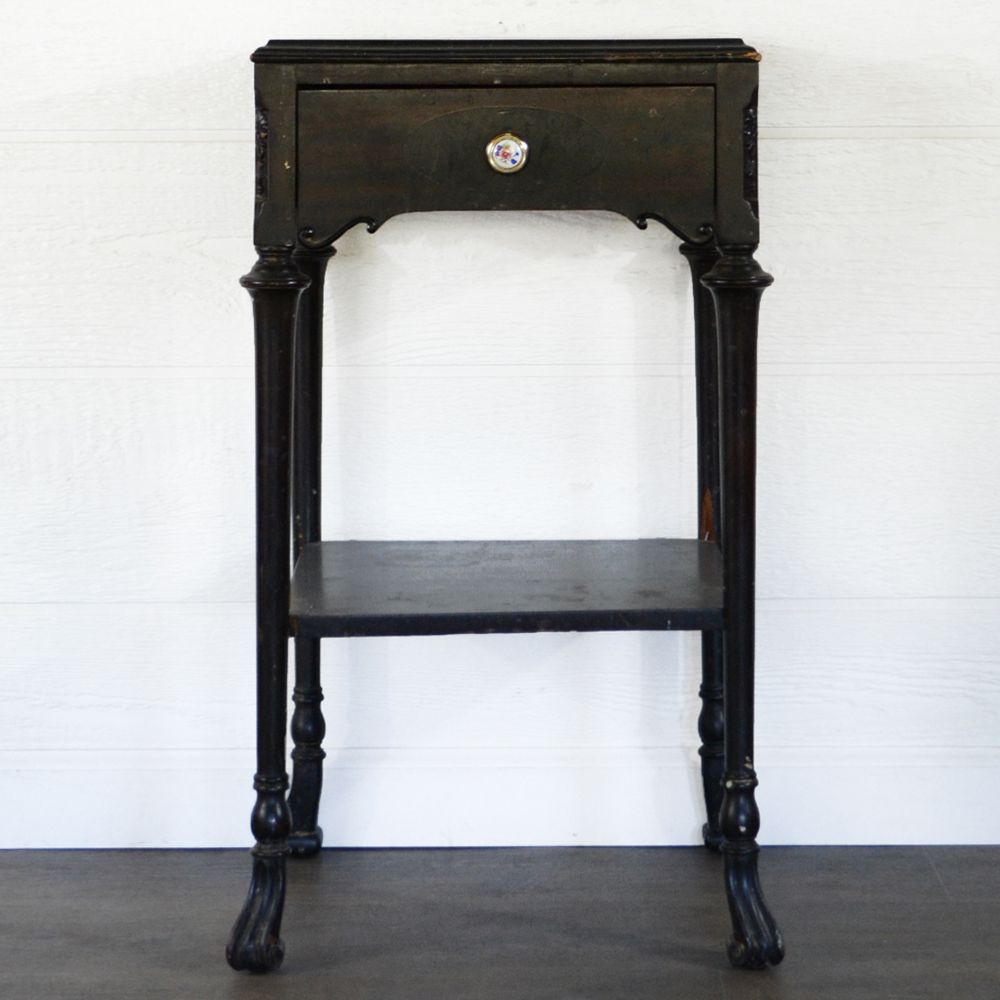
So why not bring a touch of this trend into your home? Now let’s start with a simple piece of furniture – the bedside table.

Supplies Used for DIY Emerald Green Bedside Table
As an Amazon Associate, I earn from qualifying purchases. I also may earn from other qualifying purchases with other companies or get free product to review and use. All opinions are my own.
- Cleaner
- Tack Cloth
- 220 grit Sandpaper
- Clear Shellac
- Paint Sprayer
- Latex Paint tinted to the color Argyle by Sherwin Williams Paint
- Calcium Carbonate
- Waterbased Polyurethane
- White Knob
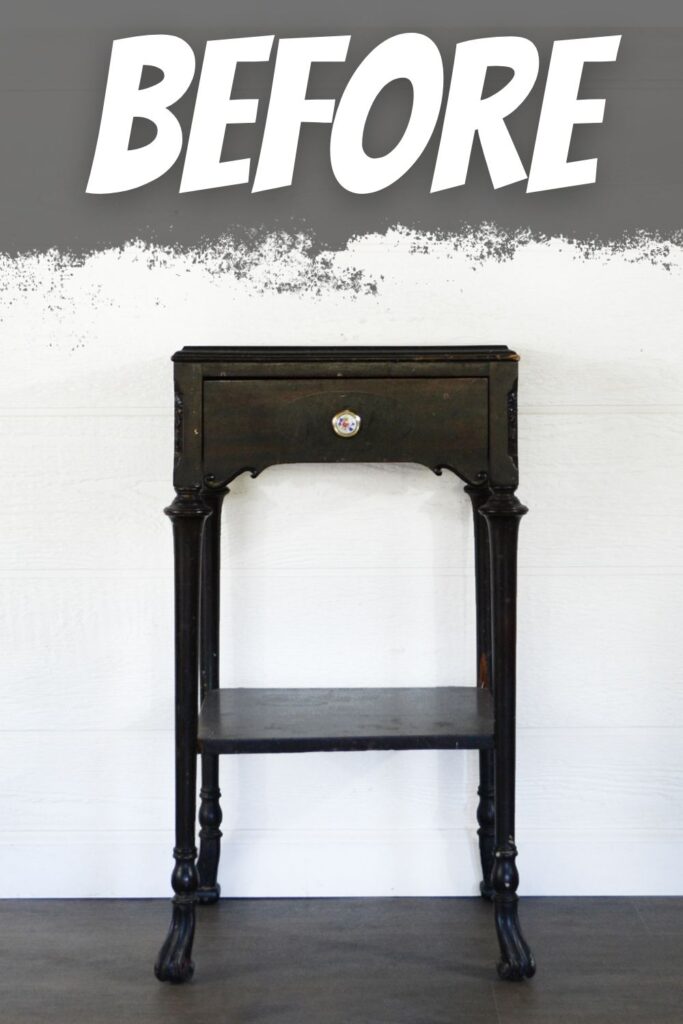
Prepping Bedside Table for Painting
First, remove any hardware or accessories from the table before cleaning. If you need to fill old hardware holes, proceed to fill the hardware holes and sand it smooth once dry. Thankfully I did not have to fill any holes in on this one.
Here are the ways to fill holes when replacing cabinet or furniture hardware you can try out.
Next, clean your bedside table thoroughly with a degreaser to remove any dirt, dust, or grime that could affect the paint’s adhesion.
Check out our guide on how to clean furniture before painting to make sure your piece is ready for a fresh coat of paint.
Let the table dry completely before moving on to the next step.
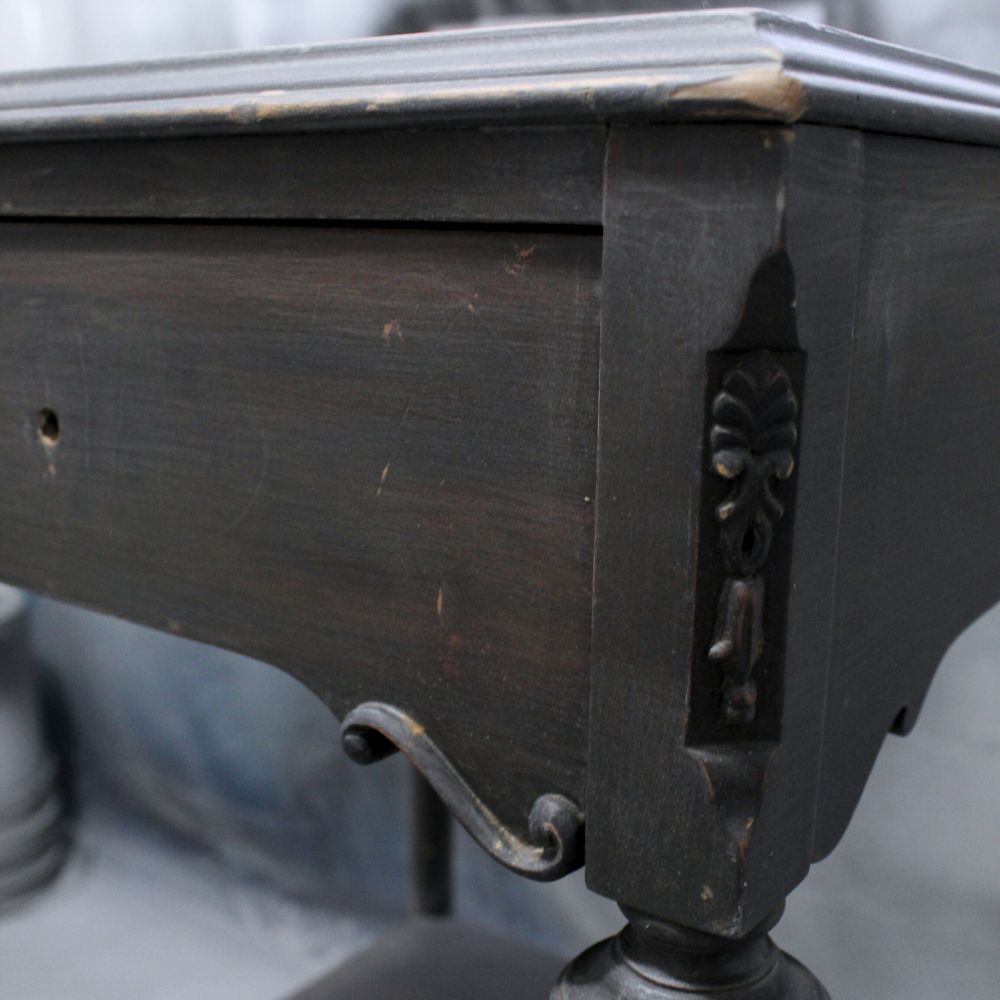
After cleaning, lightly sand your table to create a rough surface for the paint to adhere to. Use a 220 grit sandpaper to gently sand the surface, then wipe off any dust with a tack cloth.
You can learn the importance of sanding before painting furniture here, so you can appreciate its effect on the final result. Check out this guide for more details about sanding for paint prep here.
Priming Bedside Table
It’s important to prime the surface of your bedside table to guarantee that the paint adheres and lasts longer.
Primer also helps create a smooth and even base for the paint color to go on. We have a list of the best primers for painting furniture and how you can choose the right one for your project.
Give it two solid coats of clear shellac, making sure to let each coat dry for at least an hour. Then let it sit overnight before starting the painting. This will give the primer enough time to dry and set.
Making Homemade Chalk Paint
We are using Home Depot’s latex paint tinted to Sherwin Williams “Argyle” paint color for this project. To give this paint a chalky and matte finish, we’ll be making our own homemade chalk paint using calcium carbonate.
This DIY chalk paint is a great alternative to expensive store-bought options and it’s super easy to make.
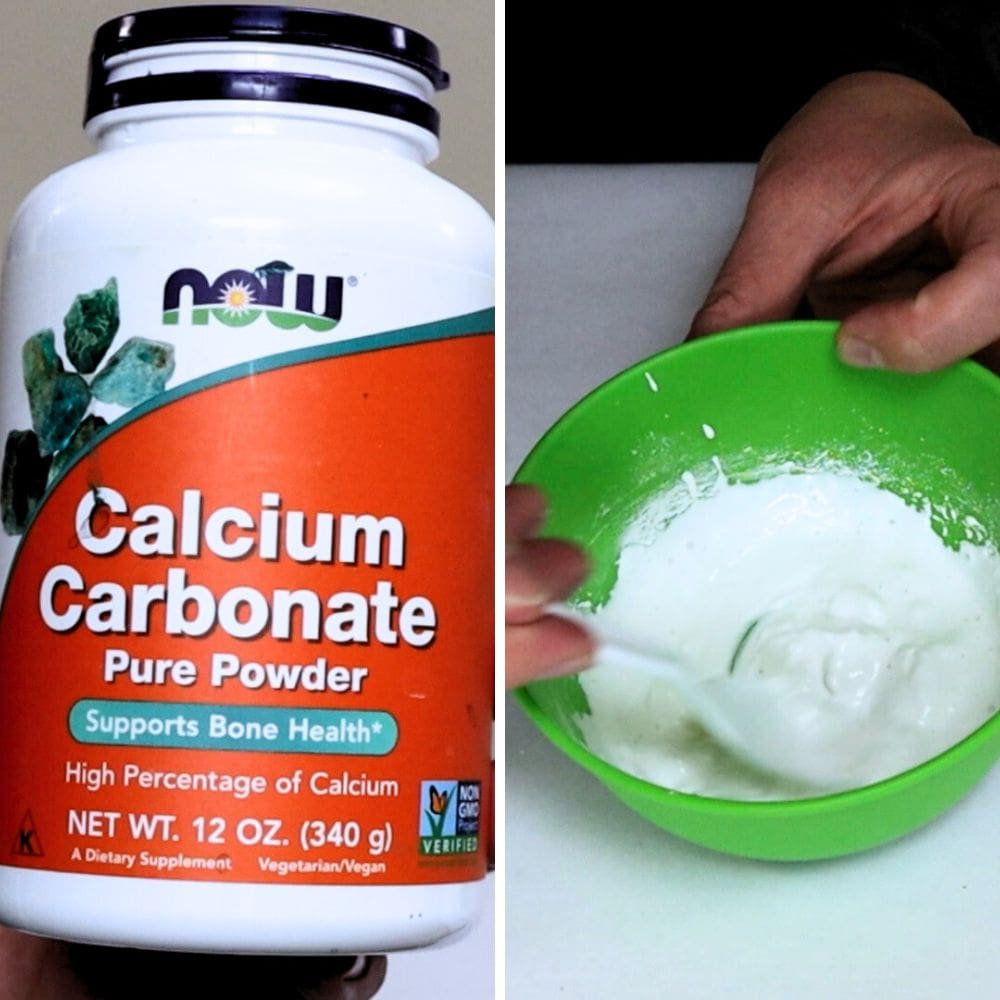
Dissolve 5 tablespoons of calcium carbonate in a small amount of warm water to create a smooth and glaze-like mixture. Make sure to mix it well so that there are no lumps or chunks left.
Then simply pour the mixture into 1 cup of latex paint. We don’t measure exact amounts for this, so just eyeball it and adjust as needed.
Here’s our homemade chalk paint recipe post for a more detailed guide and tips on how to get the perfect consistency.


Painting Bedside Table Emerald Green
With your chalk paint ready, it’s time to start painting your bedside table in emerald green!
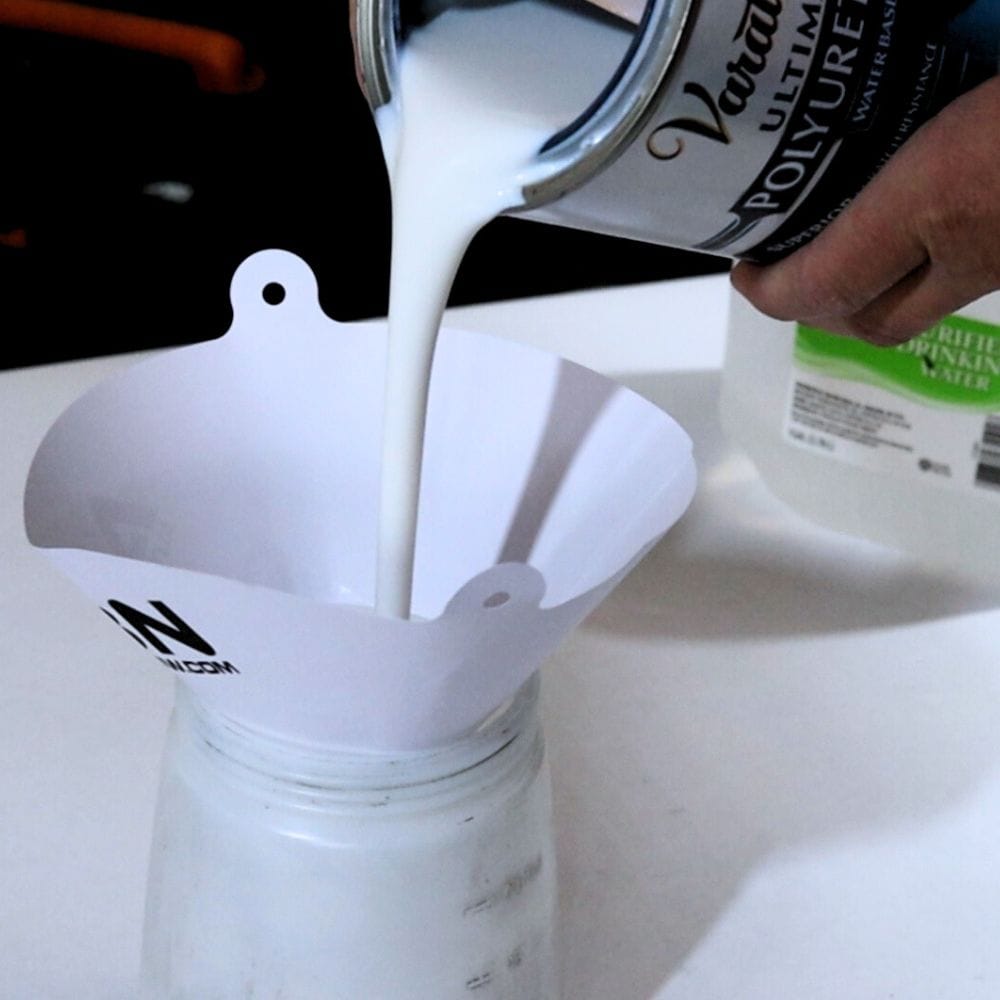
When using a paint sprayer for furniture, make sure to thin the paint. Here’s how to thin paint for a sprayer if you’re not familiar with the process.
If you prefer to use a brush, make sure you use a high quality brush to avoid brush marks in your dry paint. We have the best chalk paint brushes list here so you know your options.
Would you like to save this?
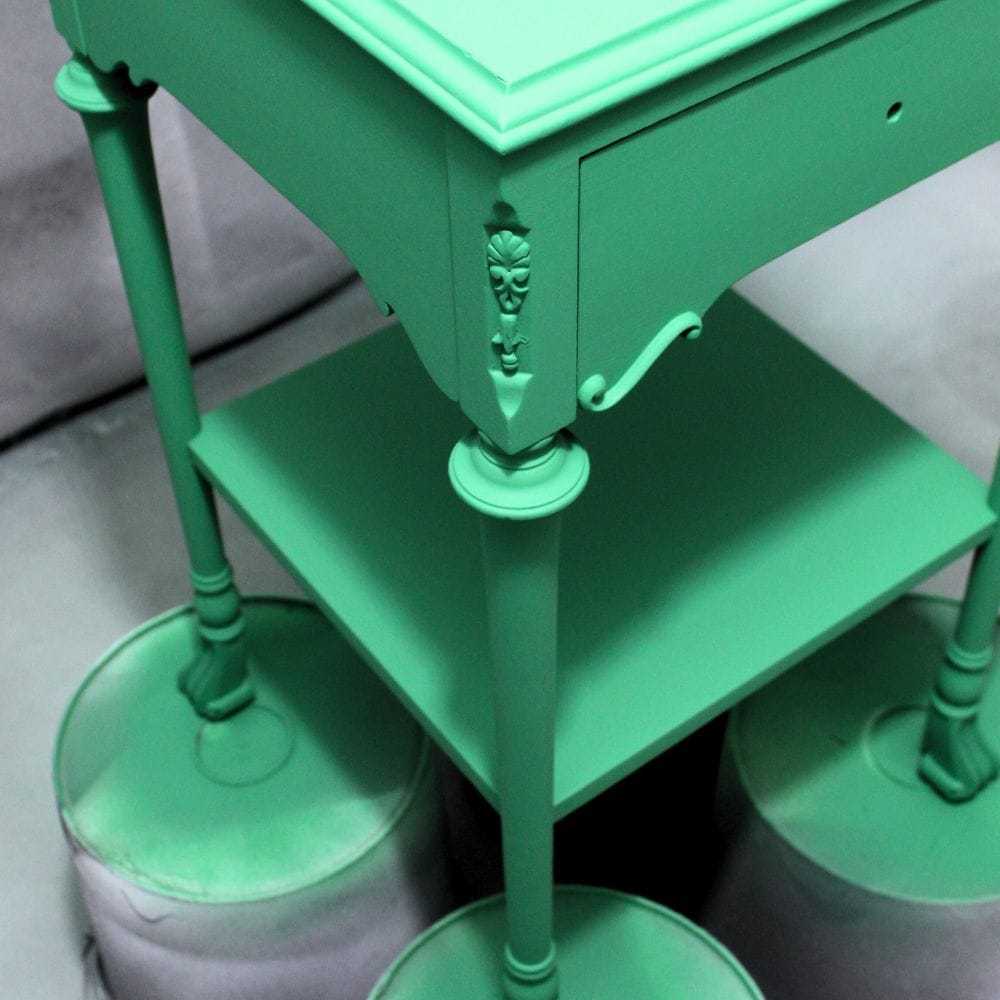
Spray or brush on thin layers of paint, making sure to cover all areas evenly. Be patient and let each coat dry completely before adding another one.
Depending on the coverage you want, you can do 2-3 coats of paint for a solid and vibrant color.
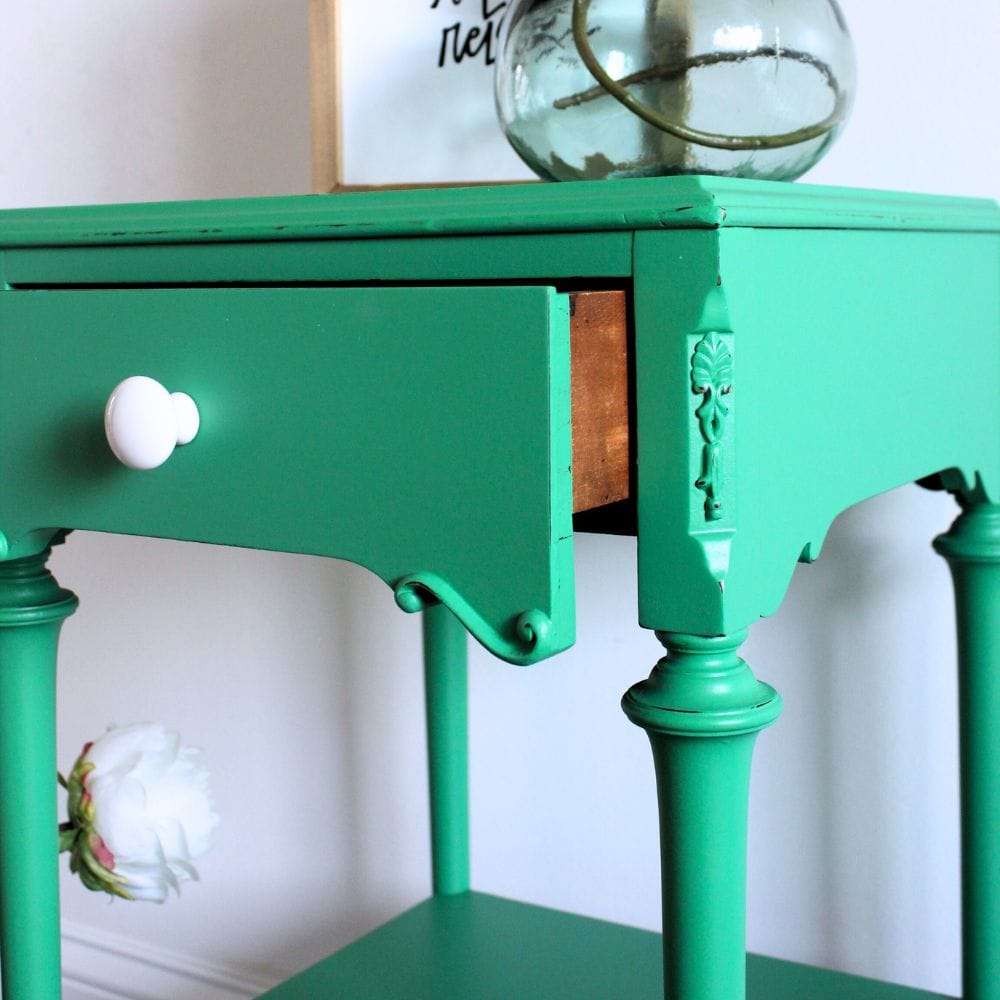
Once your final coat is dry, use fine-grit sandpaper to lightly distress the edges and corners of your bedside table for a shabby chic look.
This step is optional and you can choose to skip it or do as much distressing as you want. You can follow these distressing furniture techniques for more ideas.
Topcoating Emerald Green Painted Bedside Table
Now that your bedside table is painted in a stunning emerald green and distressed to perfection, it’s time to seal the paint for a lasting finish.
Using a topcoat for painting furniture not only adds durability but also gives the furniture a smooth and professional look.
This step is especially important since you’ll use the bedside table daily and you’ll want it to withstand wear and tear.
We have a comparison post on spray polyurethane vs brush on polyurethane to help you decide how to apply the topcoat.
But if you’ve sprayed your paint, you can naturally spray the topcoat as well. Here’s our guide on how to spray polyurethane for tips and tricks you can follow.
Spray 2-3 thin coats of water-based polyurethane on your bedside table, allowing each coat to dry completely before adding another one. Once you’re satisfied with the topcoat, let it cure for at least 24 hours before using the furniture.
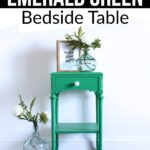
And don’t forget to add the finishing touch! We are replacing the old one with a new white knob to complement the emerald green color. Our post on how to change hardware on furniture tackles about this step.
If you have an old and boring bedside table, this project is a great way to give it a new lease on life. Now you got a stylish furniture piece that fits your personality and home decor.

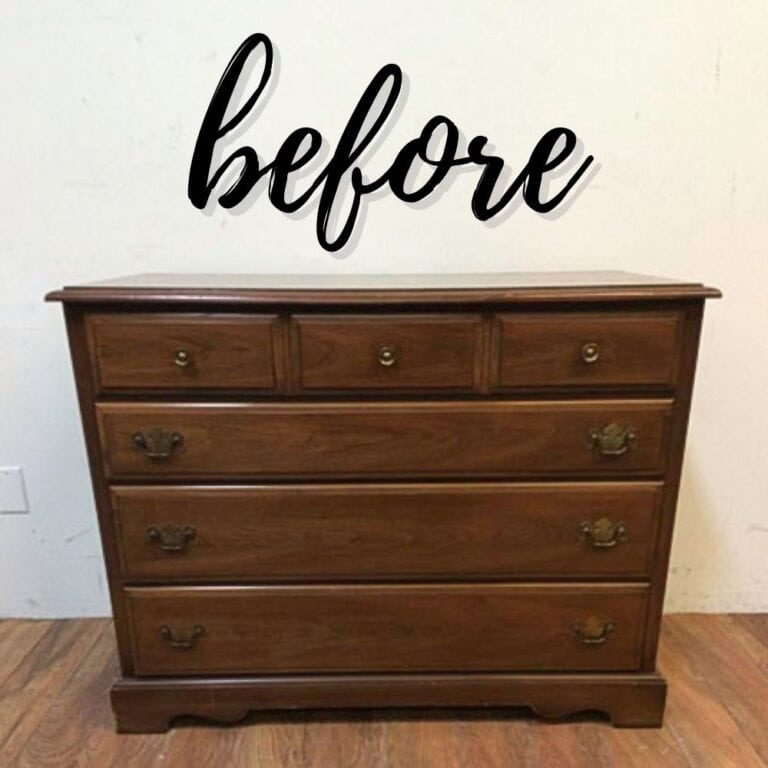
More Before and After Makeovers
See All >
Click any of these “before” photos below to view the “after” of that makeover.


For more inspiration for your bedroom pieces, check out these bedroom furniture paint color ideas and painted bedroom furniture ideas. If you want to try yellow, here are yellow chalk painted furniture you can recreate.
We hope this guide on how to paint a bedside table in emerald green has been helpful and easy to follow.


DIY Emerald Green Bedside Table
This DIY emerald green bedside table is the perfect furniture makeover project that will add a bold and stylish touch to your bedroom.
Materials
Tools
Instructions
- Prepare the bedside table by cleaning it thoroughly and sanding the surface for a smooth finish. This will create a smooth and even base for better paint application.
- Prime the bedside table with two coats of clear shellac and let it dry overnight for maximum adhesion and durability.
- Make your own chalk paint by mixing calcium carbonate with water and then into the latex paint for a matte and chalky finish. Dissolve the calcium carbonate in warm water before mixing it with the paint.
- Thin the chalk paint if using a sprayer, or have a fresh batch ready for brush application. Apply 2-3 thin coats of emerald green paint, making sure to cover all areas evenly and allowing each coat to dry completely.
- For a shabby chic look, lightly distress the edges and corners of the bedside table using fine-grit sandpaper. This step is optional and can be adjusted to your preference.
- Seal the paint with 2-3 thin coats of water-based polyurethane for durability and a professional finish. Allow each coat to dry completely before adding another one.
- Let the topcoat cure for at least 24 hours before using the bedside table. Attach new knobs or hardware to give it a refreshed look and complement the emerald green color.
Recommended Products
As an Amazon Associate and member of other affiliate programs, I earn from qualifying purchases.


More Green Painted Furniture makeovers
- Green Painted Modern Dresser
- Dark Green Buffet Makeover
- Gorgeous Green Painted Furniture
- Vanity Turned into Nightstands
- Painted Sewing Table With Silk All-in-One Mineral Paint
Follow us on YouTube to get more tips for painting furniture. Or share your project with us on our Facebook Group and be part of our community. See you there!
Thanks for joining us at Funtastic Friday. You are our random pick of the week. Great job on the table.