The Navy Dresser with Textured Drawers
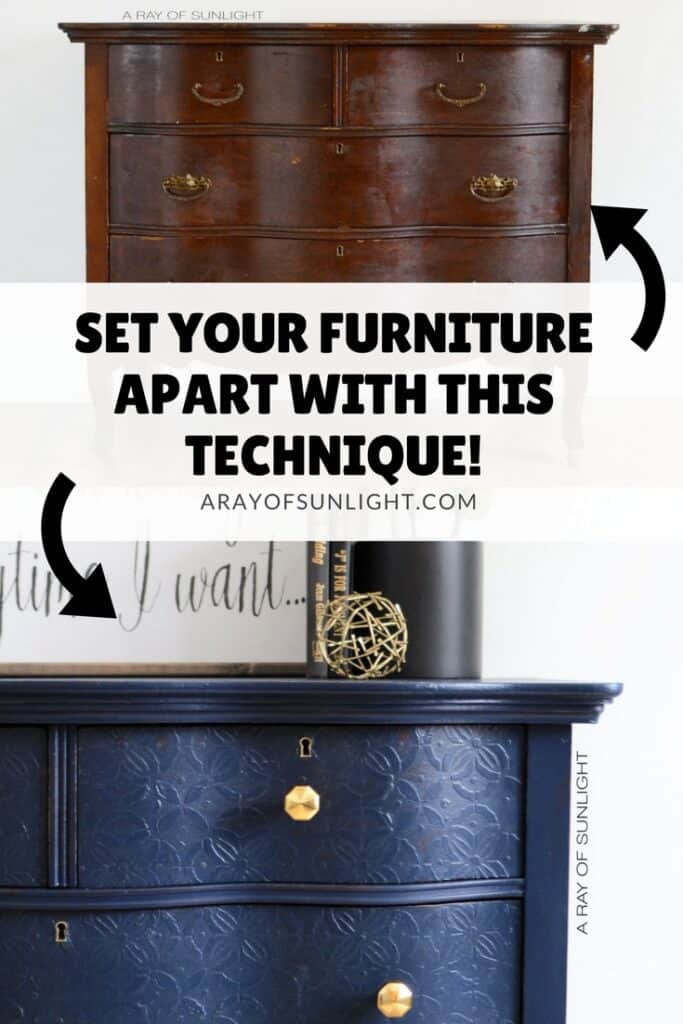
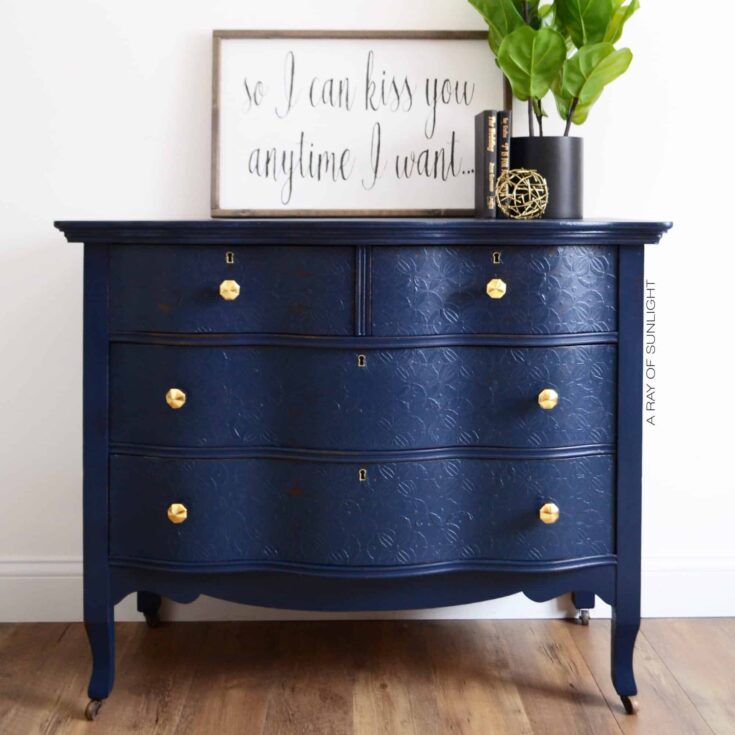
Navy blue-painted furniture is all the rage! It’s a sophisticated color, but it can also be a pop of color in your home. Add embossing to the drawers and you’ve got a navy dresser with textured drawers! You wouldn’t believe the difference just adding that simple element makes. If you’re looking to revamp your dresser or give it a whole new look, this DIY dresser makeover is perfect for you.
With just a few supplies, you can transform your plain dresser into a stunning piece that will be the focal point of any room.
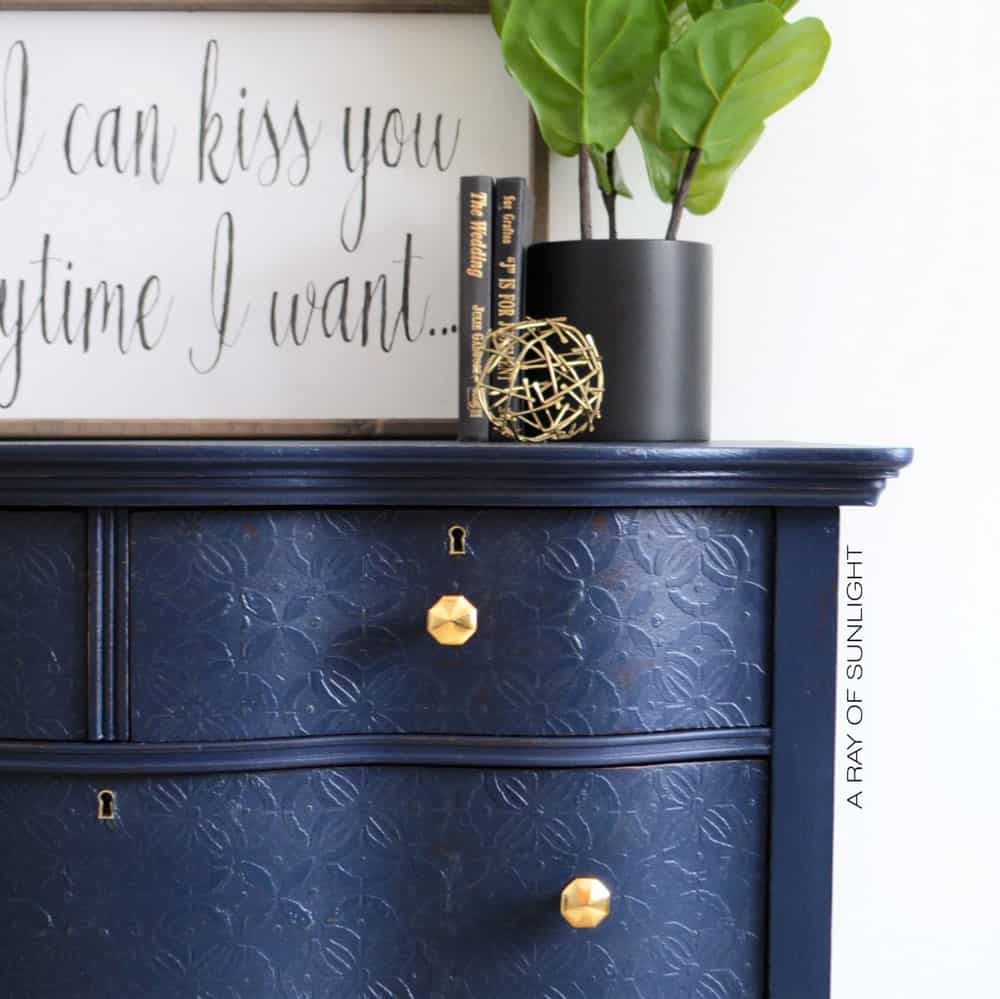
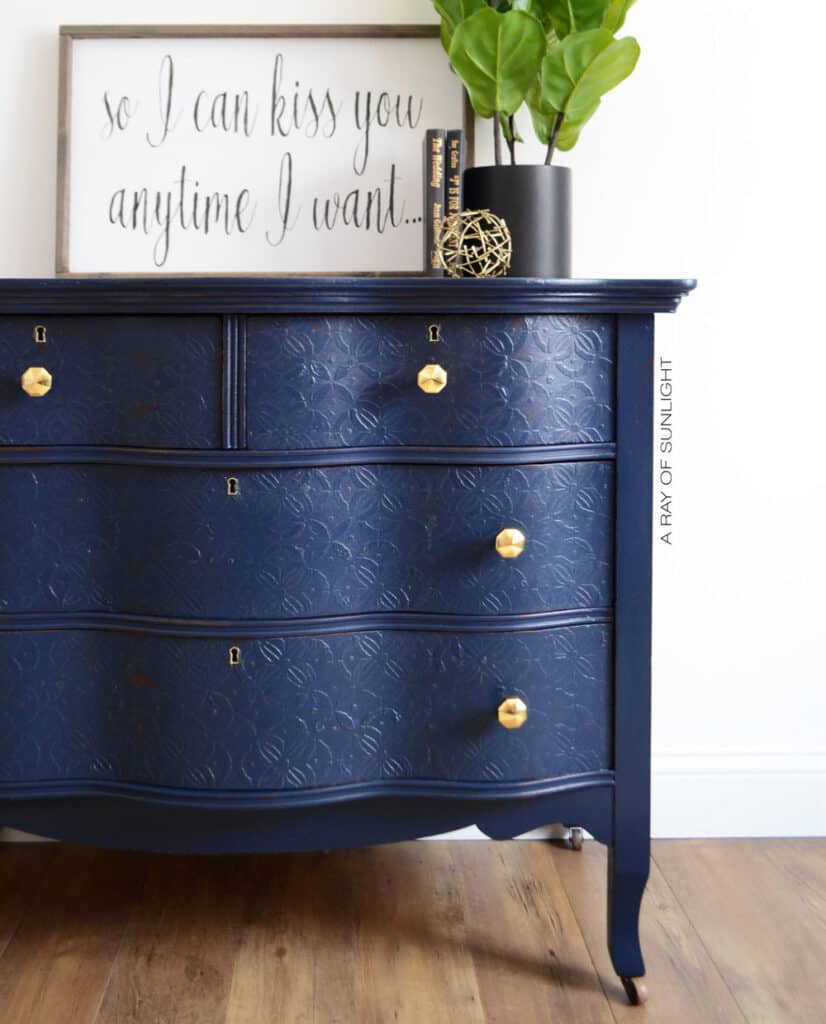
Who else is loving the navy blue rage?! I know I am! And Peacoat from Country Chic Paint is just the perfect blue!
It’s not too dark, but it definitely makes a statement. This navy blue paint is ideal for adding drama to any piece of furniture.
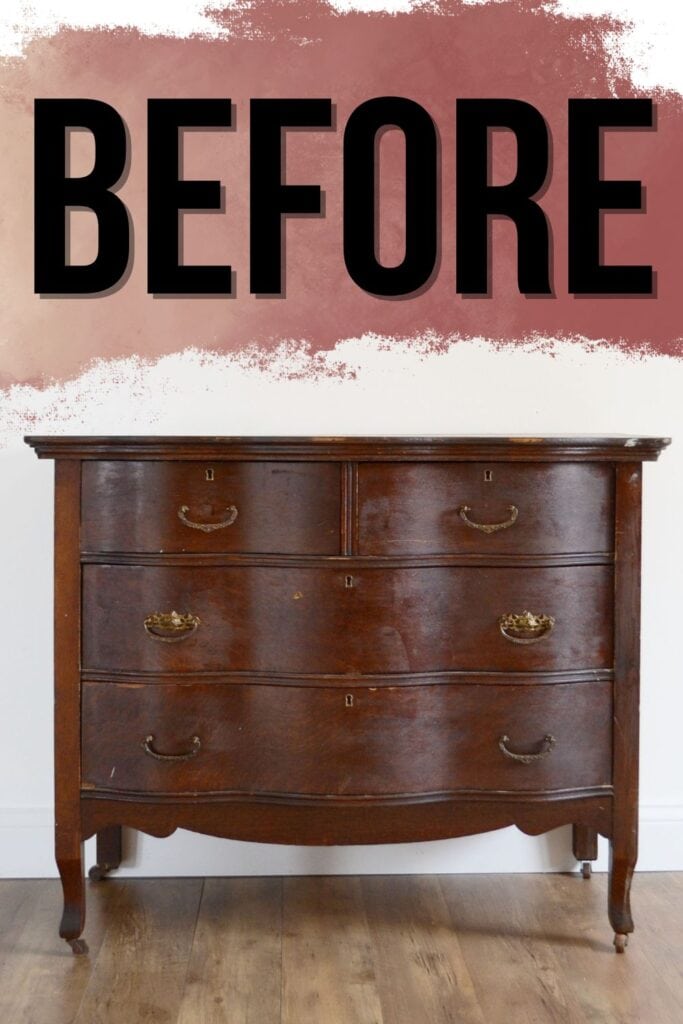
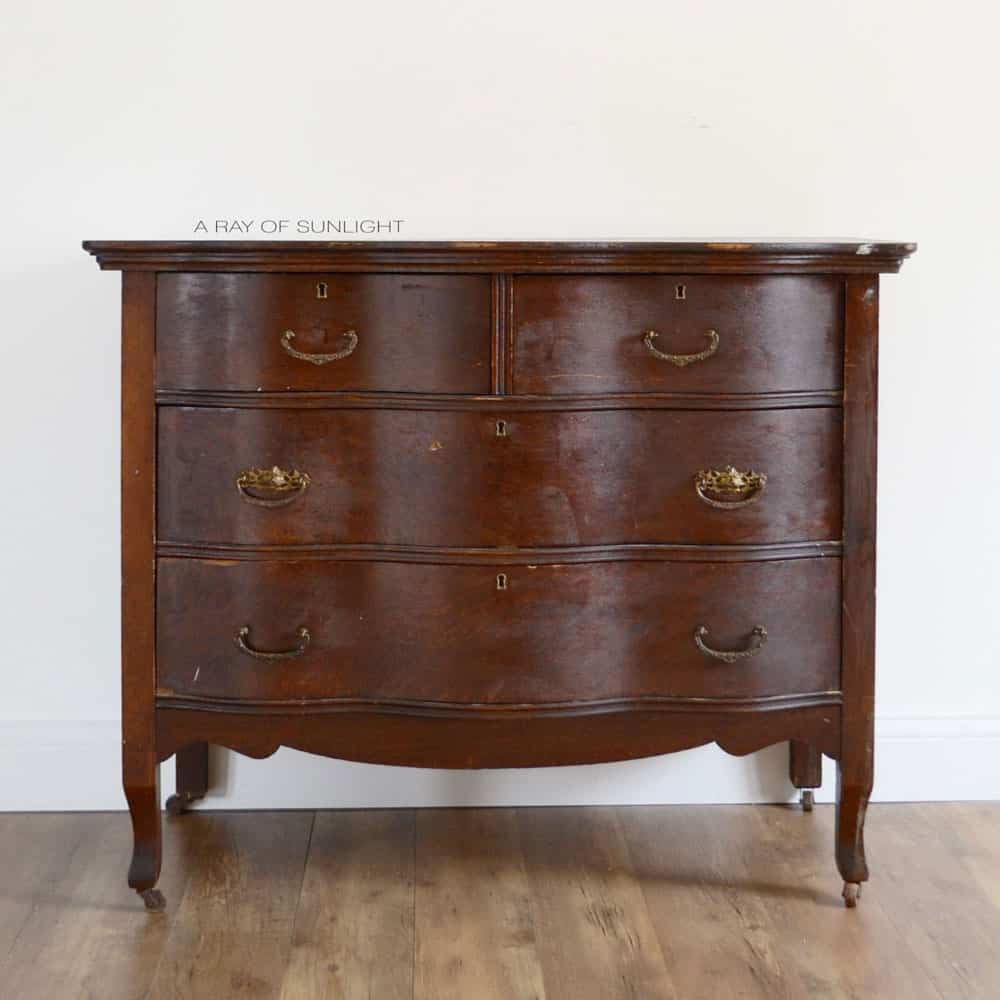
We found this dresser with quite a few chips on the drawer fronts and wanted to add some texture to help cover up the imperfections.
Plus, the texture adds a fun and unique touch to the classic navy dresser. It was such an easy and affordable way to give this dresser a brand new look.
Keep reading to find out how we did it!
Supplies Used for the Navy Dresser with Textured Drawers
As an Amazon Associate, I earn from qualifying purchases. I also may earn from other qualifying purchases with other companies or get free product to review and use. All opinions are my own.
- Texture Powder by Country Chic Paint
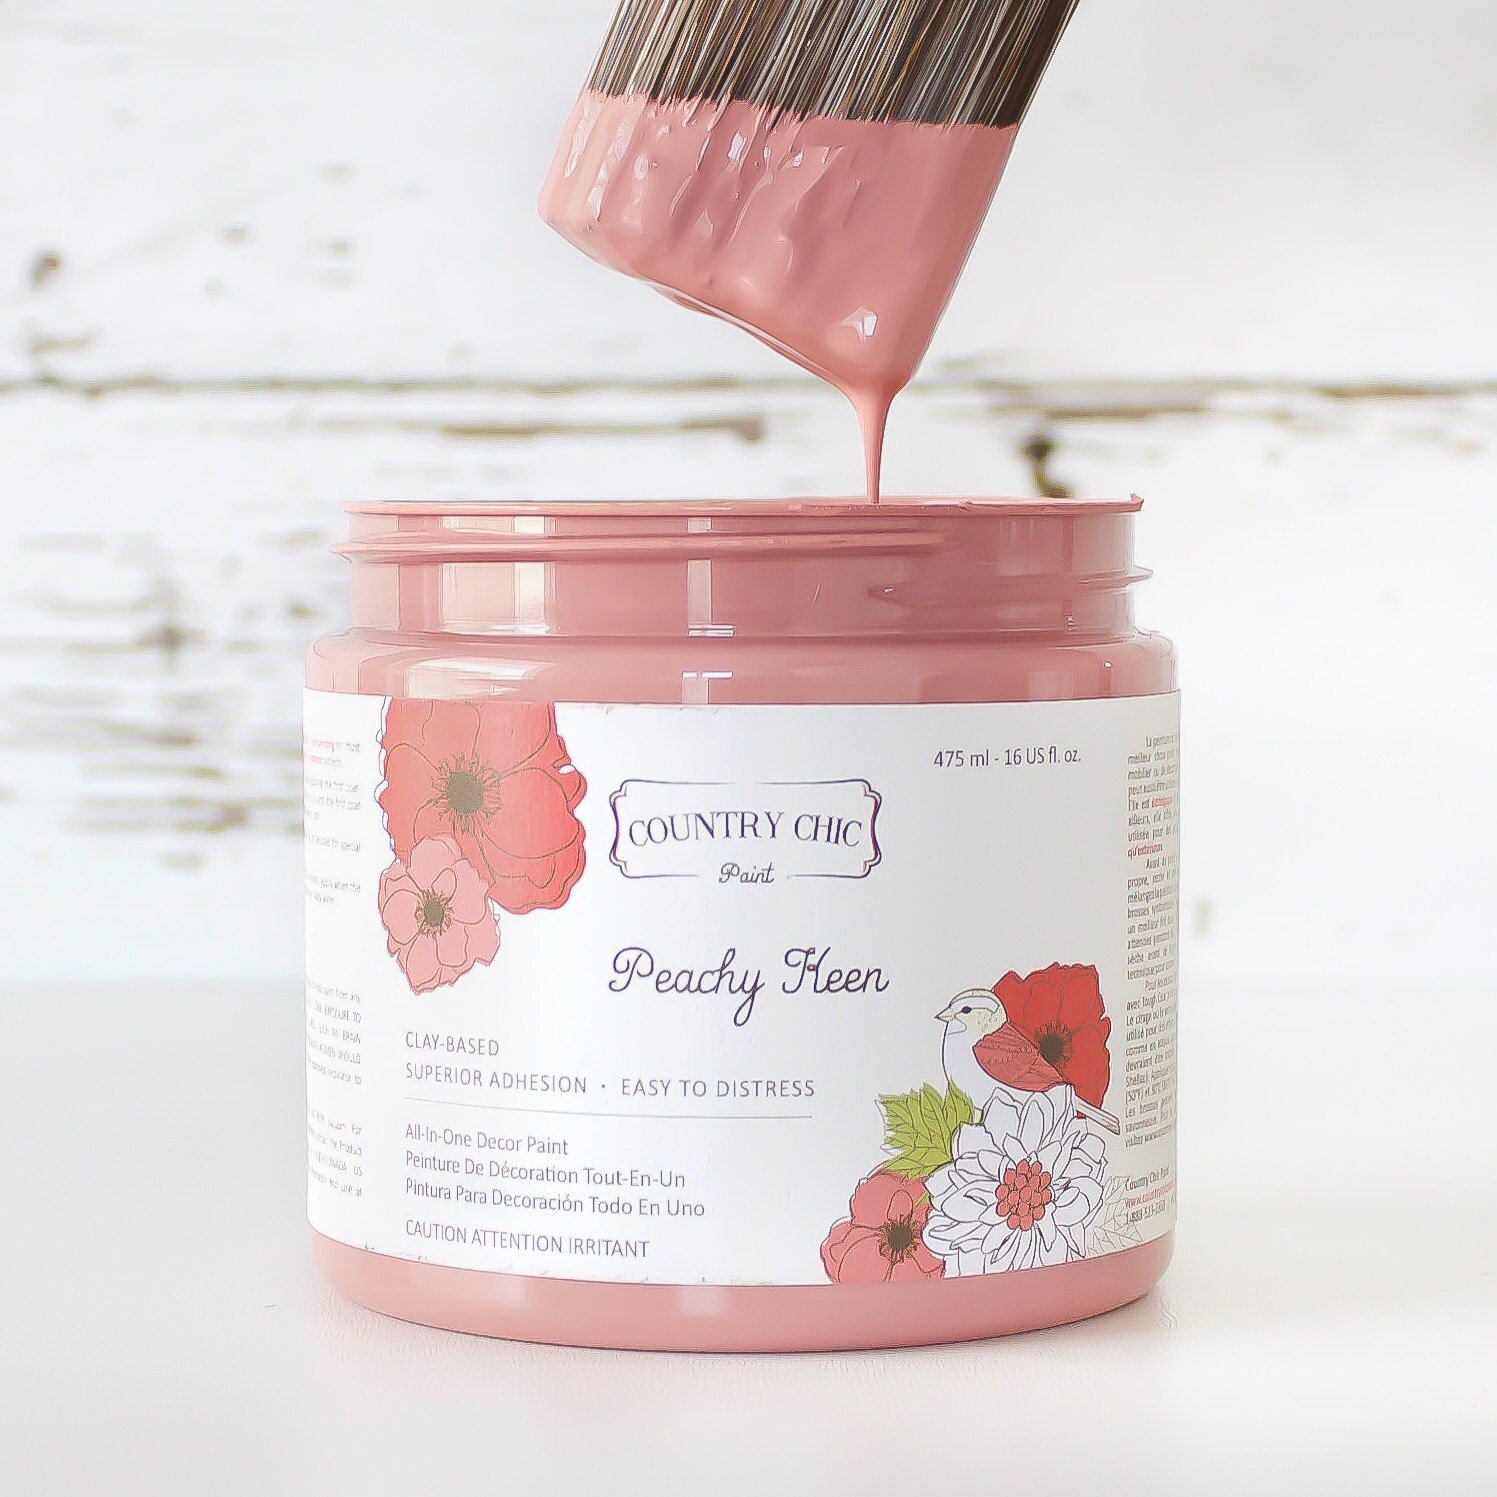
- Dark Roast and Peacoat by Country Chic Paint
- Painting Sponge by Country Chic Paint
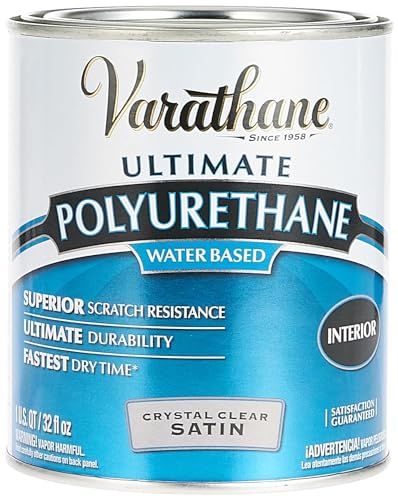
- Varathane Polyurethane
- Large Stencil
- Flat Edged Tool
Prepping Dresser for Paint
As always, I started by prepping the piece (learn how to prep furniture for paint properly here) and filling the hardware holes, all of the dings, scratches, and hardware holes.
Then I drilled new holes for the new knobs. Here’s more about how to change hardware on a dresser.
Embossing Dresser Drawers
I grabbed a large stencil that would cover the height of each of the drawers and mixed up a batch of texture powder with Dark Roast paint. This was about a one-to-one ratio.
I laid the stencil down and used a flat-edged tool (an old credit card would work great too!) to spread the texture powder all over the stencil.
I made sure to use pressure and gently scrape the texture powder off for a thin even layer.
Painting Dresser Navy Blue
After all the texture was dry I painted on a few coats of Peacoat paint with my new found favorite paint applicator, the painting sponge! Check out the best blue chalk paint for furniture here.
If you’re like me and hate brush marks on your pieces, and you’re not able to spray with a paint sprayer, this is the way to go! Check out more tips on how to paint furniture without brush marks here.
Or if you want to use a sprayer, check out this dresser that was sprayed with Peacoat in this painting furniture navy blue makeover! Get more navy painted furniture ideas here.
The painting sponge makes the paint go on in thin layers, which is better for adhesion and creates a brush-free finish.
It definitely takes a few more coats than a brush, but it’s so worth it to get a brush-free finish!
For the finishing touch, I distressed the edges of the dresser and the texture on the drawer with sandpaper and then sealed everything with a few coats of poly.
Learn ALL of my tips and tricks on how to spray polyurethane here!
More Before And After Makeovers
Click any of these “before” photos below to view the “after” of that makeover.
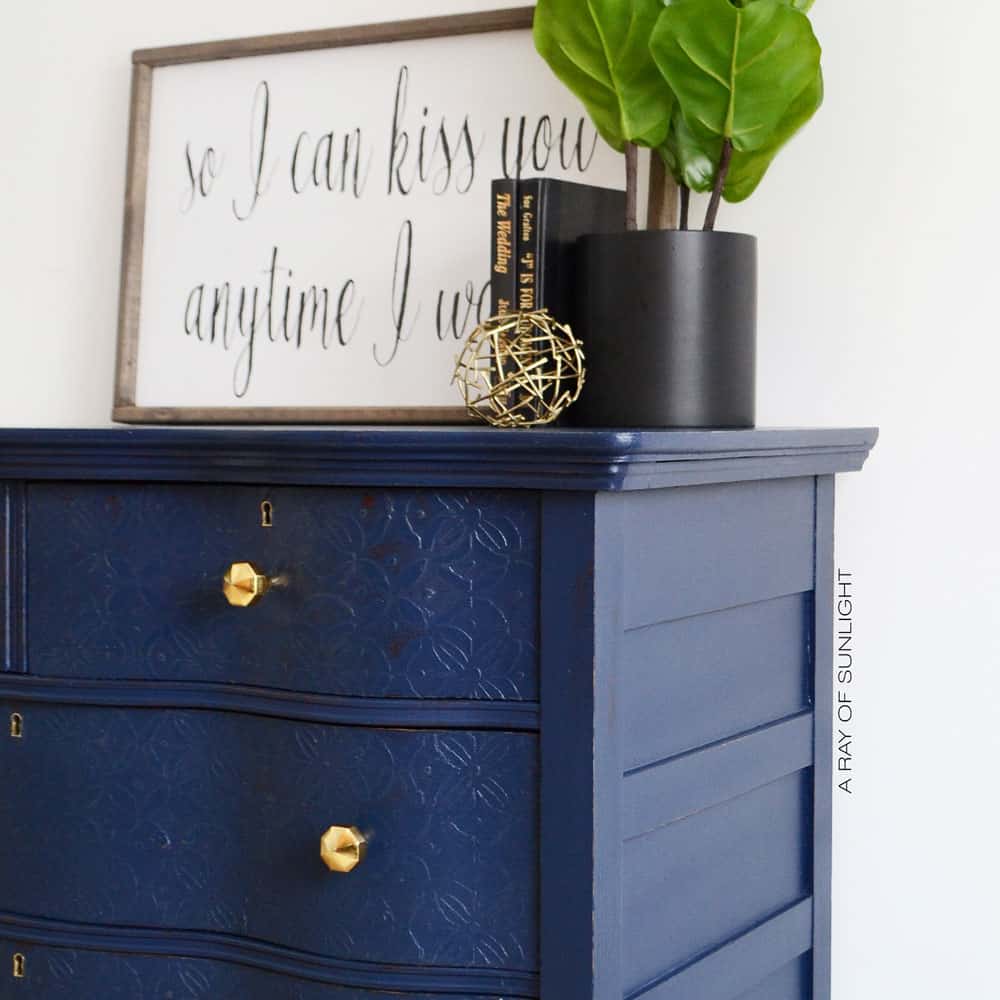
I’m in love with this transformation and can’t wait to bust out the texture powder again soon! If you haven’t tried texture powder or the painting sponge I highly recommend both!
The texture powder completely transforms a piece and helps hide imperfections and the painting sponge does an amazing job at creating a professional finish!
Aftercare for Your Painted Dresser
Now that you’ve achieved the gorgeous look you wanted for your dresser, let’s talk about how to maintain it and keep it looking its best. You’ll want to give your freshly painted furniture a little TLC.
To keep your painted dresser looking its best, make sure to dust it regularly. Dust may seem harmless, but it can actually scratch and dull the finish over time.
Just grab a soft, damp cloth and gently wipe down the surfaces. Remember to avoid using any harsh cleaning chemicals that can strip or fade the paint.
Next up, make sure you protect your dresser from any damage. Try to avoid putting hot or wet stuff directly on the painted surface as it can leave marks.
You might want to use coasters or mats to keep the surface safe. And of course, always be mindful when moving or handling the dresser to avoid any accidental bumps or scratches.
Will the texture powder affect the effect and durability of the paint?
The texture powder we used from Country Chic Paint is colorless – it won’t change the paint color. Plus, you can layer it with different colors for that awesome shabby chic finish!
It’s also made without harsh chemicals, so you don’t have to worry about its impact on your health or the environment.
As for durability, the texture powder actually helps with adhesion and creates a stronger bond between the paint and your furniture. So not only does it add a unique look, but it also helps with longevity.
I can see if you put a very thick layer of texture powder, the embossing may chip off easily because it’s easier to bump on accident. I would keep the embossing to a very thin layer to avoid this.
Can I use this embossing technique on other types of furniture besides dressers?
Absolutely! This textured technique can be used on a variety of furniture pieces, including tables, chairs, cabinets, and more.
Just make sure to choose a stencil that will fit the piece you’re working on and follow the same steps for applying the texture powder and paint.
You can even get creative and mix different colors of paint to achieve a unique look. Here are more unique bedroom dresser ideas you should check out and try!
Keep in mind that this technique works best on furniture with flat or smooth surfaces. If your piece has intricate carvings or details, the texture powder may not adhere well and the final result may not be as smooth.
But don’t let that stop you from experimenting and trying new things with this fun and easy technique!
Can I use this embossing technique on already painted furniture?
Yes, you can absolutely use this embossing technique on furniture that has already been painted. In fact, it can be a great way to add some depth and texture to an old piece of furniture that may have lost its charm.
Just make sure to properly clean and sand the surface before applying the texture powder and paint for better adhesion.
You may also want to test the technique on a small, inconspicuous area first to see how it works with your existing paint.
Another helpful tip is to choose a paint color that will complement or enhance the current color of your furniture.
For example, if you have a white dresser, try using a light gray or beige texture powder for a subtle, yet noticeable effect. Or if you have a dark green dresser, consider using a metallic gold or copper texture powder for a bold and eye-catching look.
More Textured Furniture Makeovers
- Embossing Furniture
- Shabby Chic End Tables With Raised Stenciling
- Raised Stencil
- How to Decoupage Furniture with Rice Paper
- DIY Navy Chest of Drawers
Follow us on YouTube to get more tips for painting furniture.
Or share your project with us on our Facebook Group and be part of our community. See you there!





Hi, I love your amazing textured furniture. Where do I find a painting sponge and embossing powder?
Hey! Check the post up above for links to the sponge and powder 🙂 Best of luck!
This one sold a while ago. Sorry
This is so cool. Just wanted to say your updates and emails are very helpful and informative (I’m still relatively new to this type of painting) and I like how you get to the point in your explanations.
Thank you!
THank you so much for being here and for the feedback!