Teal Painted Highboy Dresser
Here’s a kind of unique and really fun way to paint your old dresser. Check out this teal painted highboy dresser makeover with chalk paint and gel stain! This DIY dresser makeover is easy, affordable, and a great project for any beginner or experienced DIY-er.
Plus, with the beautiful teal color and updated look, you’ll have a one of a kind piece of furniture that will definitely make a statement in any room.
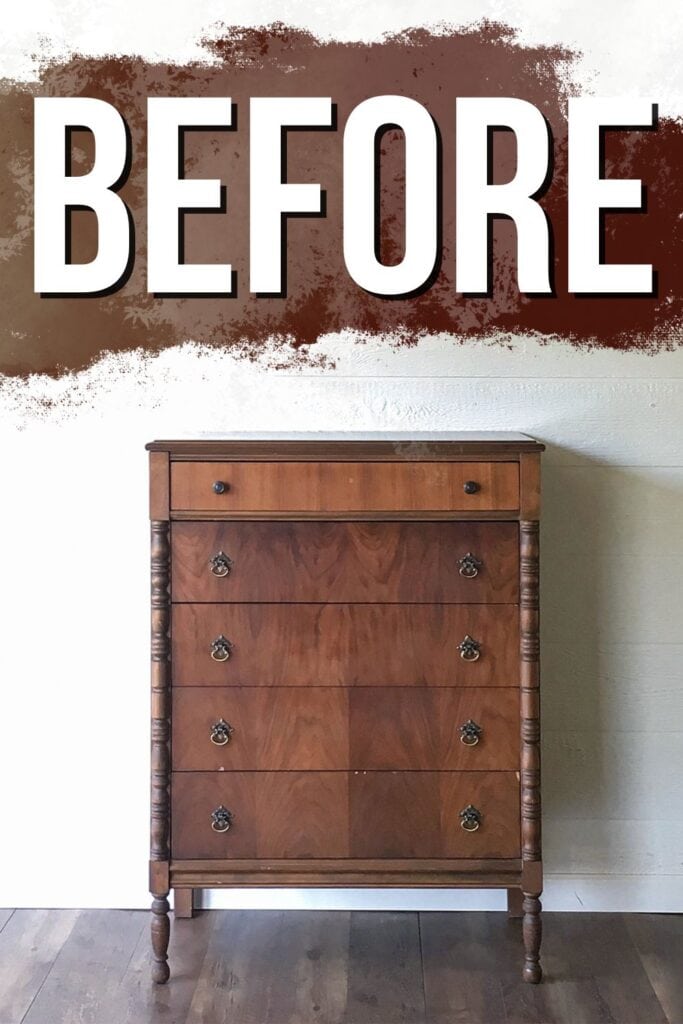
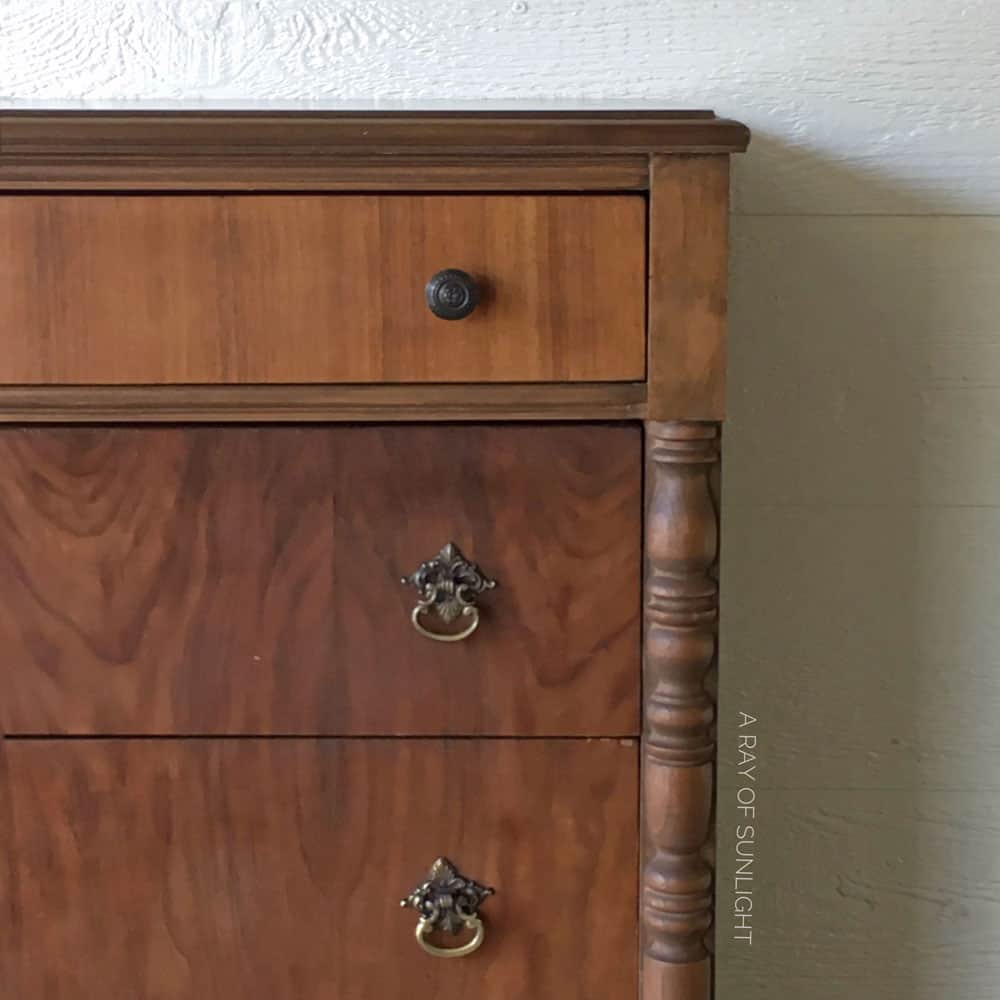
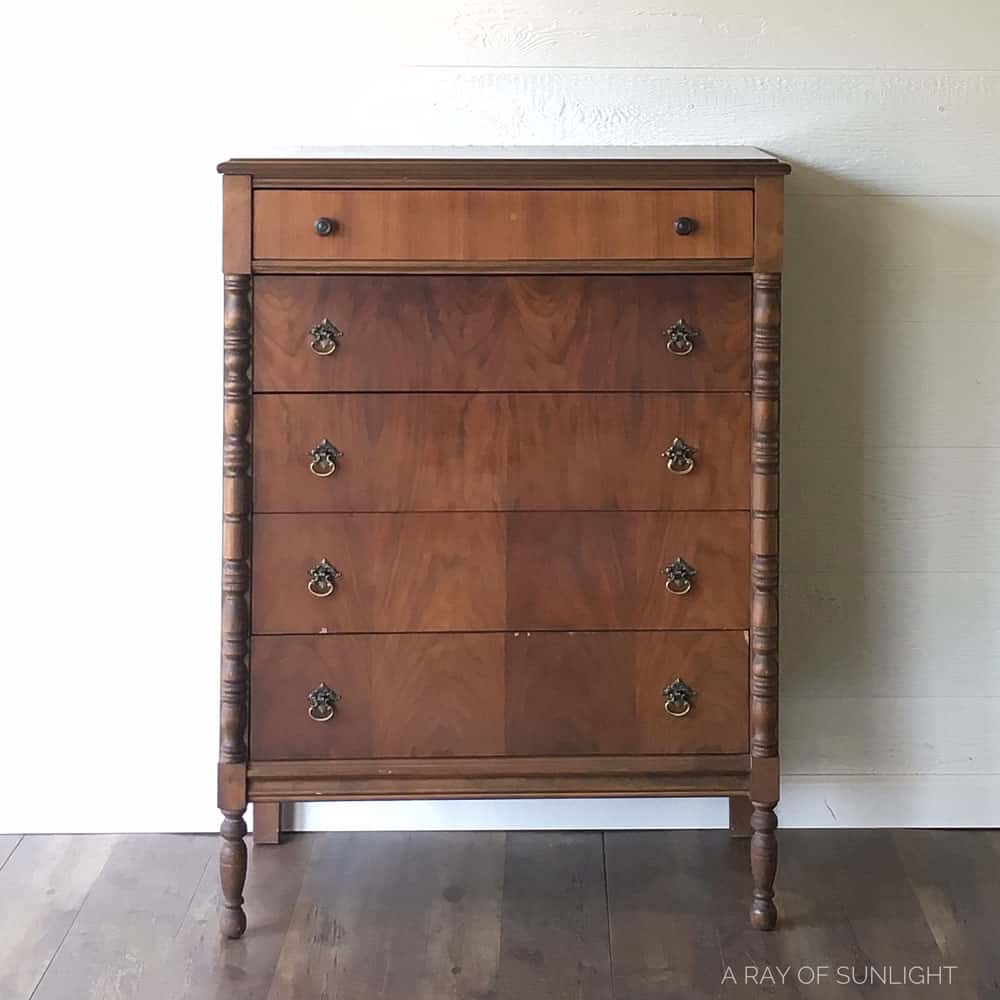
This dresser started out pretty drab and definitely needed a face lift. I’ve been drooling over the paint dipped furniture look and this chest of drawers was perfect for it!
There is something beautiful about combining wood and paint, especially when the paint color is an ever-so-popular teal. And that’s exactly why this highboy dresser was destined for a teal makeover.
Teal is such a gorgeous color, especially when used in home decor. It can easily be eye catching without being too overpowering.
So let’s see how this teal painted highboy dresser came to be!
Supplies Used for this teal painted highboy dresser
As an Amazon Associate, I earn from qualifying purchases. I also may earn from other qualifying purchases with other companies or get free product to review and use. All opinions are my own.
- 220 Grit Sandpaper
- Java Gel Stain
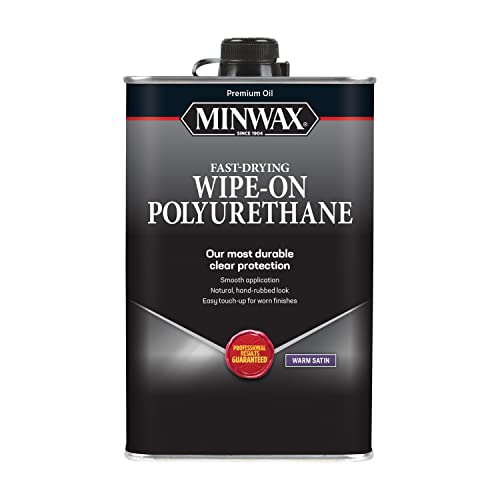
- Oil Based Polyurethane
- Painters Tape
- Pre Taped Plastic
- Craft Paper
- Country Chic Paint – Jitterbug
- Country Chic Paint – Happy Hour
- Paint Sprayer
- Waterbased Polyurethane
- New Acrylic Knobs
Grab our list of 10 must have painting furniture supplies too!
Preparing Dresser and Staining Top
I started out with a little bit of prep work, since I always want the most durable long-lasting finish. You can learn all about how to prepare furniture for painting here!
Then I refreshed the top portion of the dresser with some java gel stain, and sealed it off with an oil based polyurethane.
See gel stain in action with this tutorial on how to stain wood darker. Check out the best wood stains for refinishing furniture here. And here are the top furniture refinishing tools!
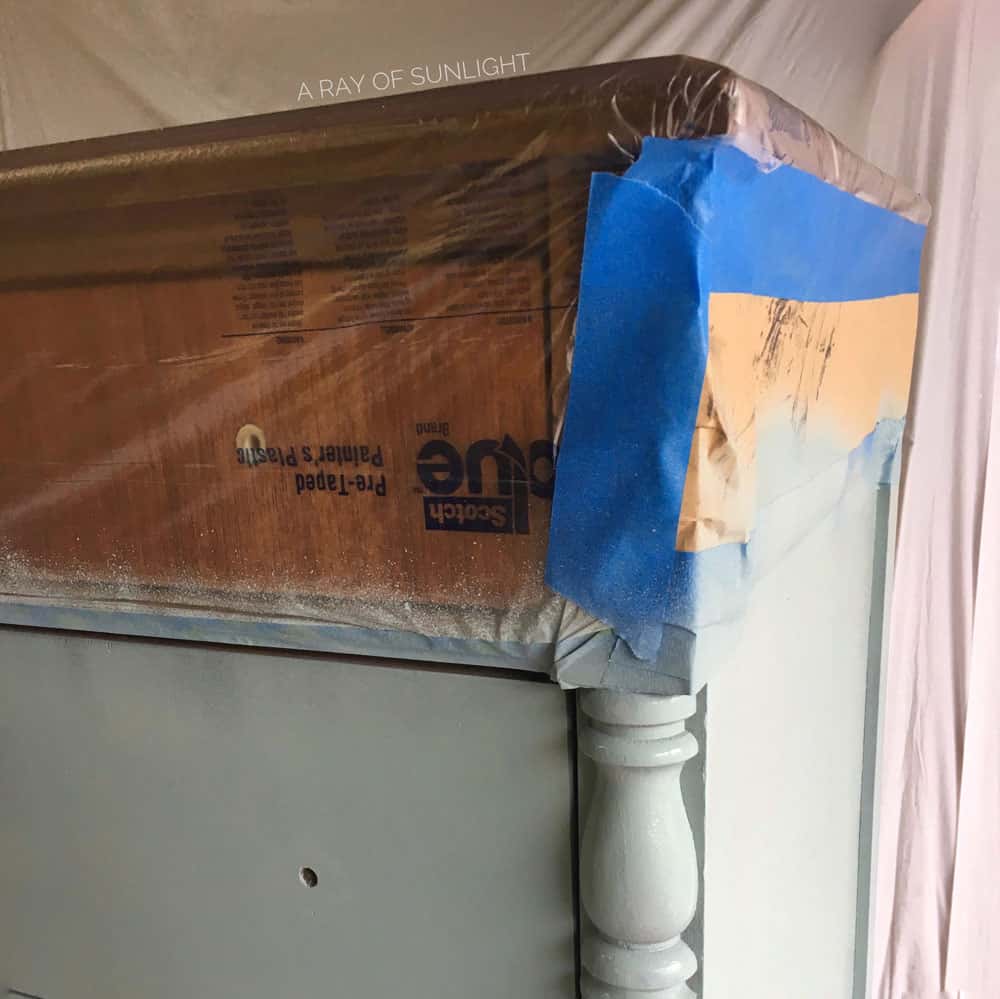
Once the top portion was completely dry (about 24-48 hours depending on the climate) I taped off the top, making sure to measure and use a level for a straight, even line all the way around.
I used basic blue painters tape and made sure the tape was completely sealed to create a crisp edge. Then I taped on plastic and some craft paper to protect the top from overspray.
Read this post to learn more about how to prevent overspray when painting furniture.
I created a stunning custom color of Country Chic Paint for the bottom by mixing about 1 part Jitterbug to 4 parts Happy Hour.
Check out my honest and detailed Country Chic Paint Review here.
Painting Dresser Teal
Both colors are absolutely beautiful on their own, but I was looking for a slightly deeper color than Happy Hour, and mixing them made up the perfect shade.
I sprayed on a few coats of paint with our paint sprayer, (have I mentioned how much I love our Wagner Double Duty paint sprayer??) then let it all dry.
Read this post to learn all about the best HVLP paint sprayers for furniture that we have used.
I lightly distressed all of the edges with 220 grit sandpaper, wiped it all down, and sprayed on 2 coats of poly for extra durability. Learn ALL of my tips and tricks on how to spray polyurethane here!
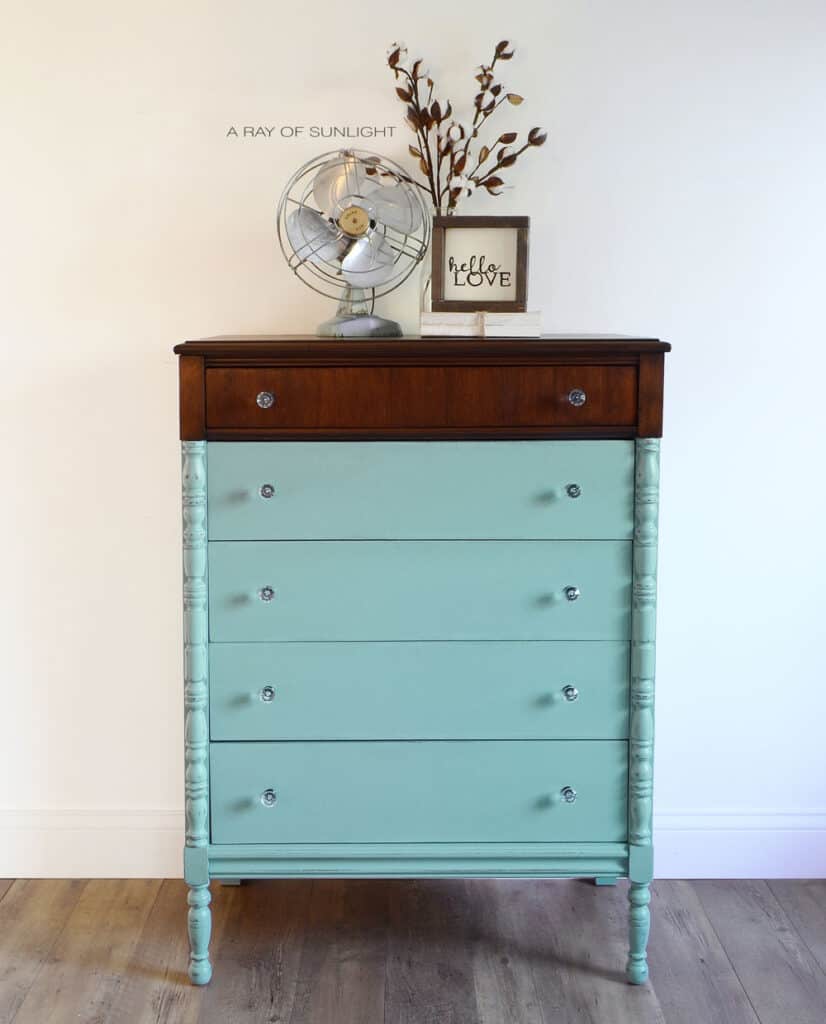
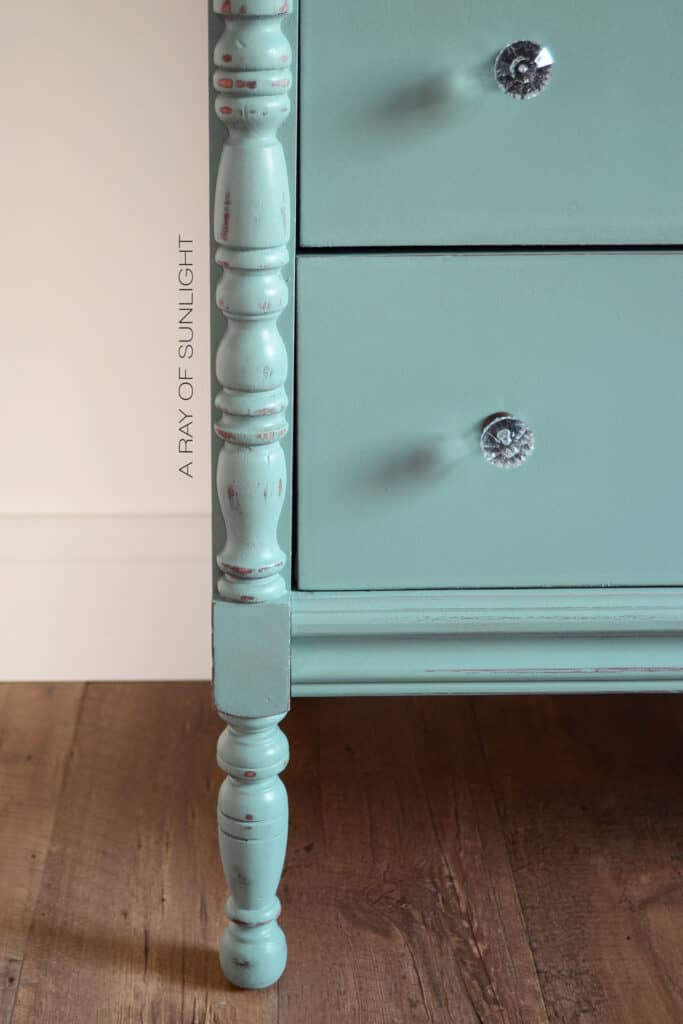
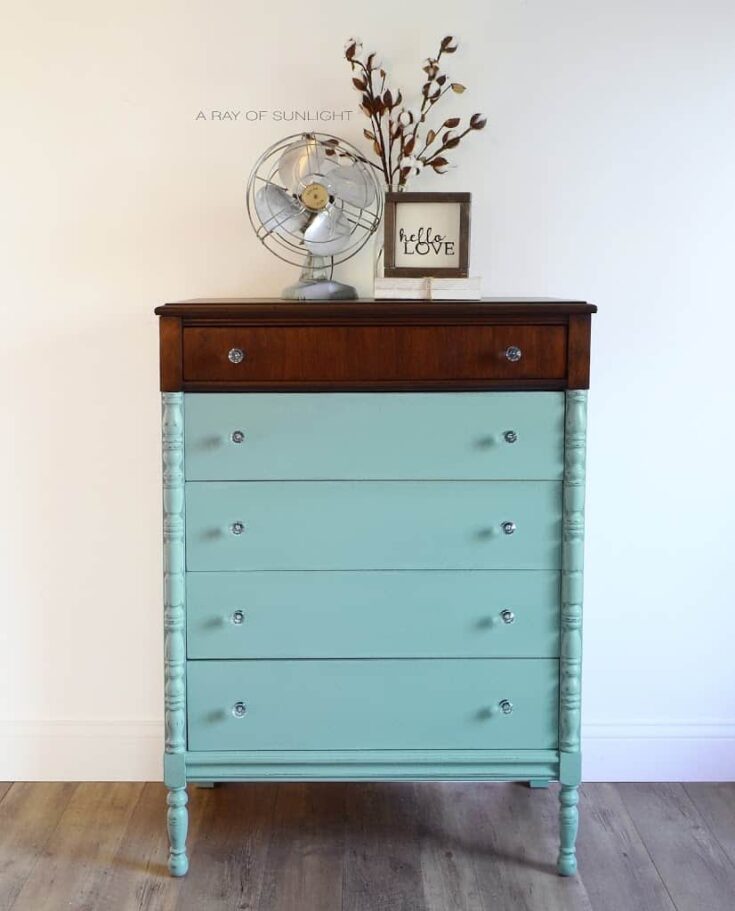
Finally, I was able to remove the tape and plastic to reveal the most beautiful “dipped” teal dresser. Check out more teal painted furniture ideas here.
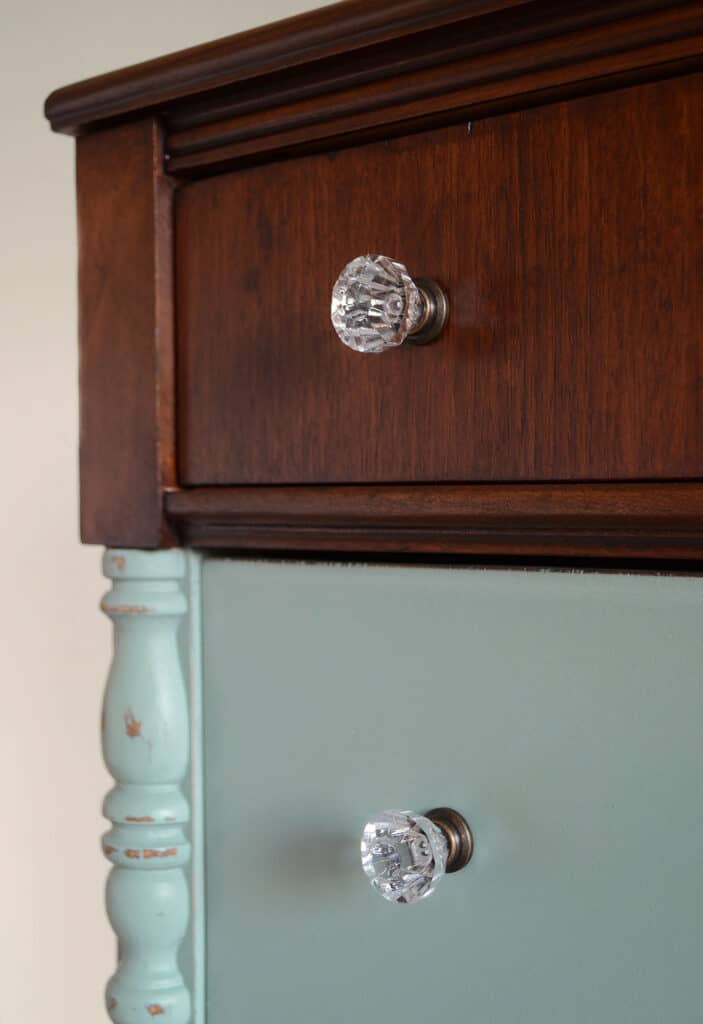
For the finishing touch, I updated the hardware with new acrylic knobs from D. Lawless Hardware to complete the vintage modern feel.
More Before And After Makeovers
Click any of these “before” photos below to view the “after” of that makeover.
Mixing paint colors can open up a whole new world of possibilities, especially for those wanting completely unique pieces.
You should also check out some turquoise painted furniture ideas here.
I’m so glad we took the leap to create a fun new color from two already stunning colors. Do you like the dipped furniture look?
What are other two-toned furniture ideas to try?
For more two-toned furniture ideas, one popular option is the classic black and white combo, which can give a sleek and modern feel to any piece.
Another idea is to use complementary colors, such as navy blue and mustard yellow or coral pink and mint green, for a fun and playful twist on traditional two-tone furniture.
Another way to incorporate two tones is by using different finishes, such as a matte and gloss or distressed and smooth, for a more subtle contrast.
Another trend in two-toned furniture is mixing wood tones, such as pairing darker walnut with lighter oak. This adds dimension and interest to a piece while still maintaining a cohesive look.
And for those feeling bold, try using multiple colors on one piece, such as painting each drawer of a dresser a different color or incorporating colorful accents into an otherwise neutral piece.
If you want to recreate these looks but wondering is two-toned furniture in style, check out this post to find out.
Can I use different brands of paint when mixing colors?
Well, yes, you can use different brands of paint when mixing colors. However, there are a few things to keep in mind when doing so.
First, make sure that the paints you are using have similar properties, such as being water-based or oil-based. This will guarantee that the paints mix well together and create a smooth and consistent color.
Additionally, check the sheen of the paints as well. Mixing a matte paint with a glossy paint can result in an uneven finish.
Another factor to consider when using different brands of paint is the quality and pigmentation of the colors.
Cheaper or lower quality paints may not mix well with higher quality ones, which can result in an off color or inconsistent look.
It’s always a good idea to do a test swatch before committing to mixing larger amounts of paint.
If you are unsure about using different brands of paint when mixing colors, try sticking with the same brand or at least similar quality levels.
This way, you can make sure that your mixed color turns out the way you want it to.
More Tall Dresser Makeovers
- Teal Blue Tall Dresser
- Embossing Furniture
- Vintage Dresser Painted with Teal Furniture Paint
- Teal Chalk Painted Dresser
Follow us on YouTube to get more tips for painting furniture.
Or share your project with us on our Facebook Group and be part of our community. See you there!





That’s actually something that I am planning on doing soon! Funny how you mentioned it while I’m trying to figure out what piece I can do it on. haha