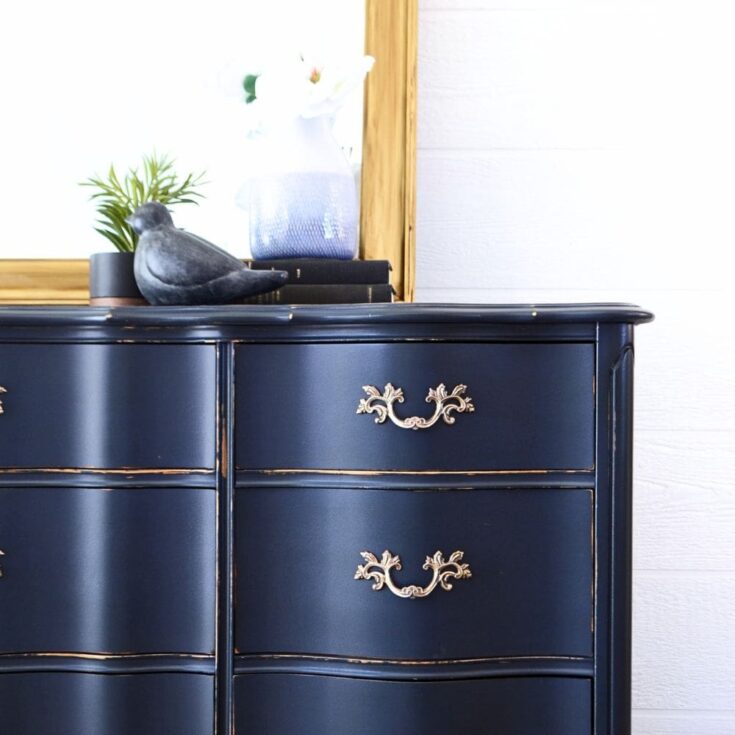
Midnight Blue Dresser Makeover
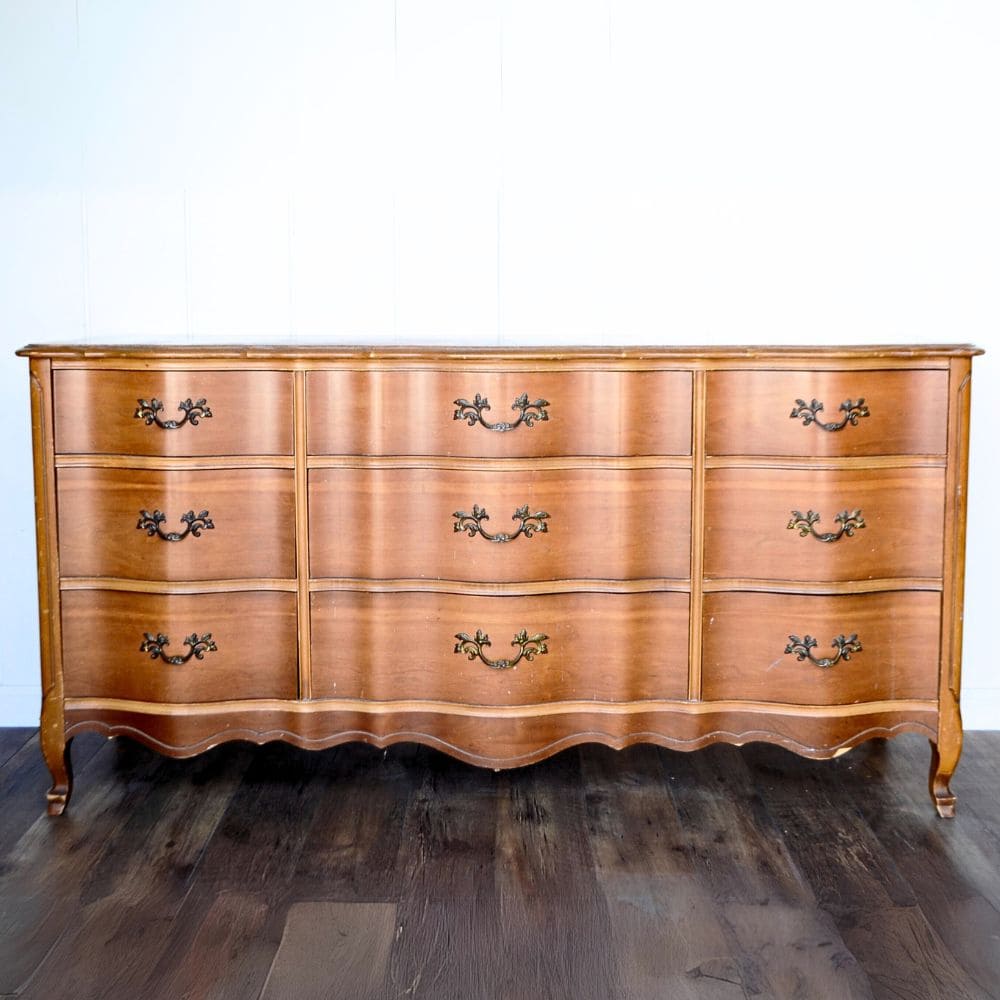
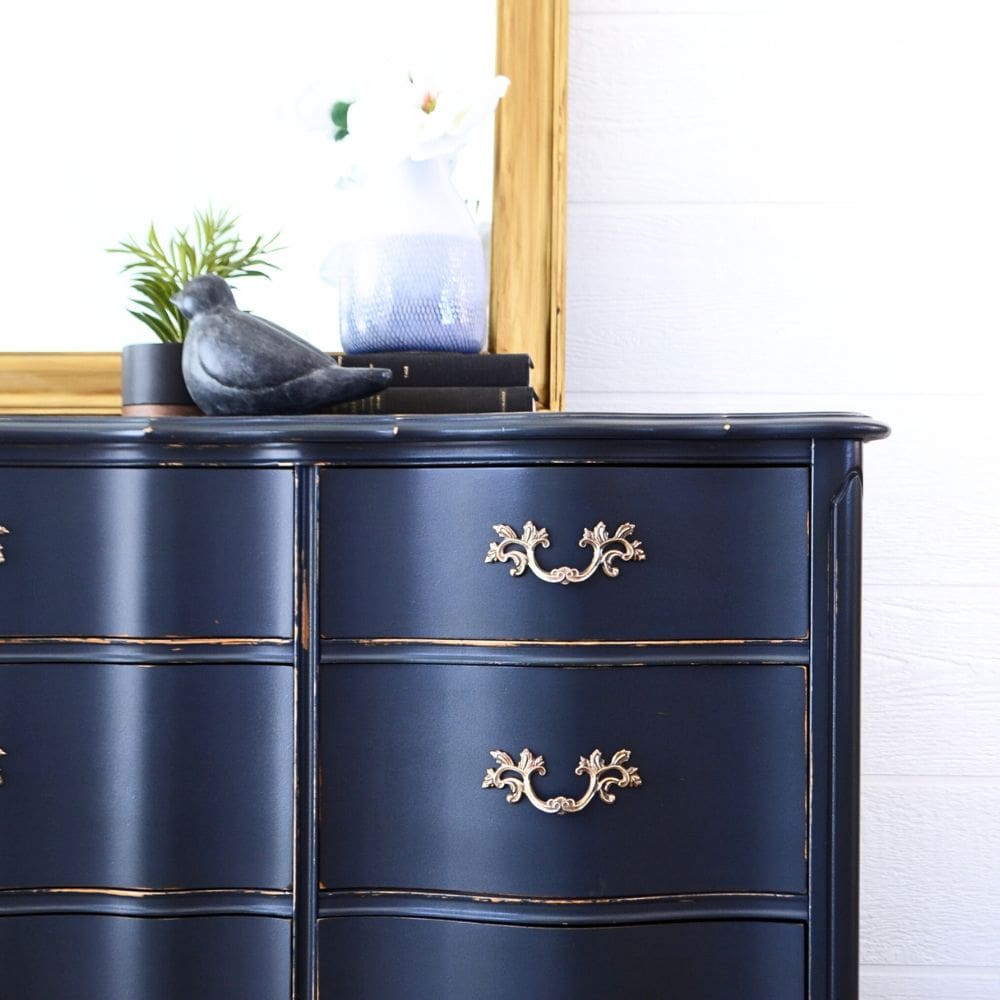
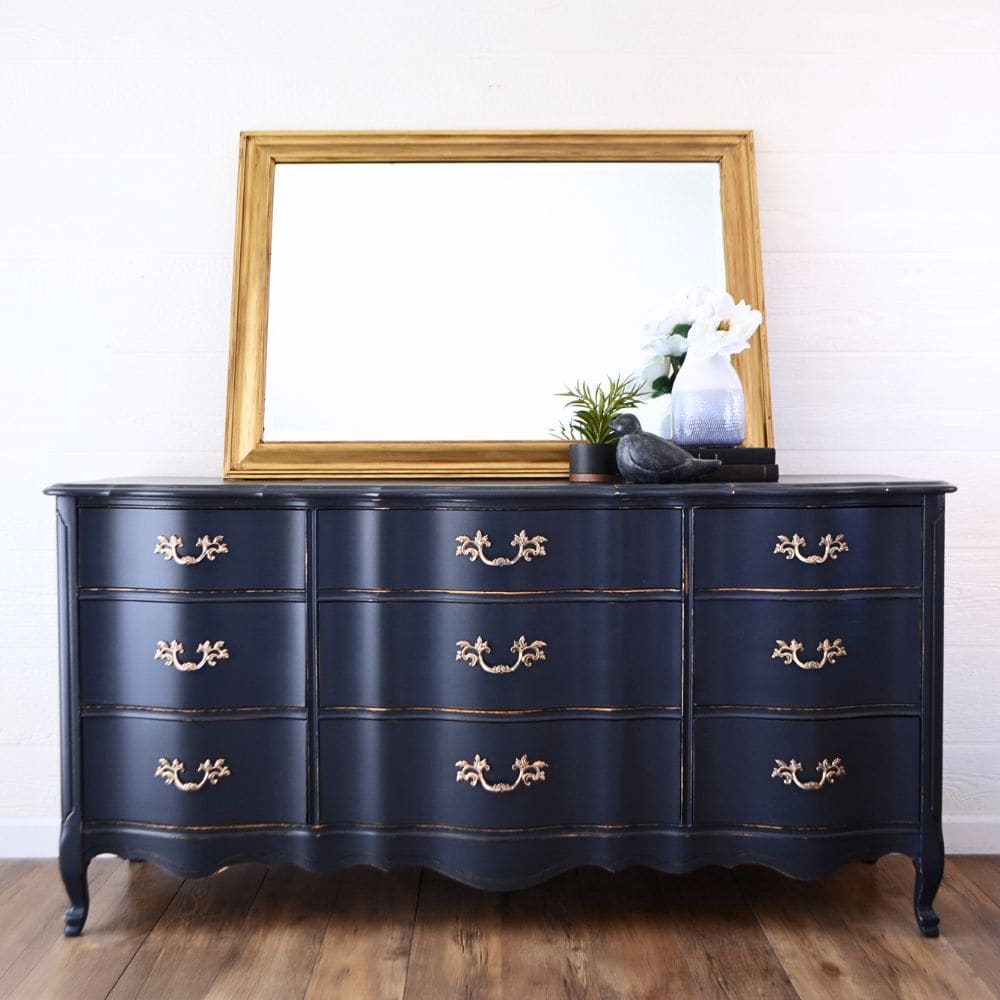
There’s something magical about the color blue – it’s calming yet captivating, and can instantly elevate any piece of furniture. And that’s exactly what we did with our latest project: a midnight blue dresser makeover! We took a plain, ordinary dresser and turned it into a stunning statement piece.
If you have no blue painted furniture in your home yet, now may be the perfect time to give it a try and add a beautiful blue piece to your space.
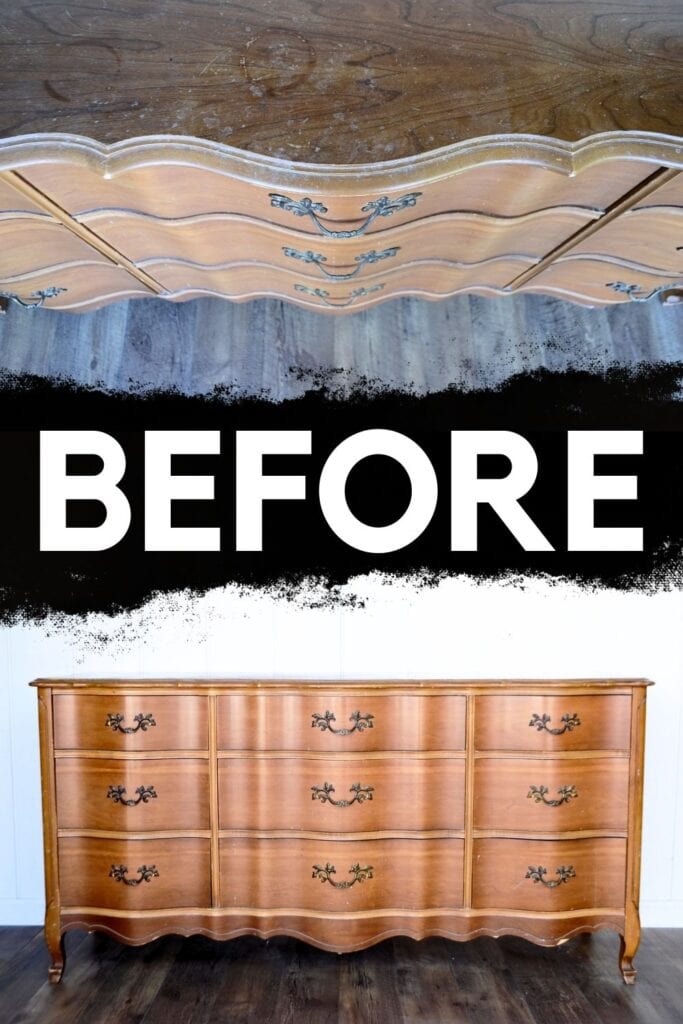
There’s no denying that the dresser is an essential piece of furniture in any bedroom. While it serves a practical purpose as storage for clothing and other items, it also has the potential to be a stylish statement piece.
Midnight blue is a color that works well with both traditional and modern decor styles. The deep, rich hue makes it stand out from the standard wood or white dressers often seen in bedrooms. Let’s dive into this DIY dresser makeover and see how a midnight blue dresser looks!
Supplies Used for Midnight Blue Dresser Makeover
As an Amazon Associate, I earn from qualifying purchases. I also may earn from other qualifying purchases with other companies or get free product to review and use. All opinions are my own.
- Screwdriver
- Krud Kutter
- 220 Grit Sandpaper
- Shop Vacuum
- Tack Cloth
- Clear Shellac Primer (Spray)
- Coastal Blue Milk Paint from General Finishes
- Polyurethane in Satin
- Bar Keepers Friend
- Scrubbing Sponge
Remove Dresser Hardware
Taking off the hardware from your dresser is a key first step before you begin painting. This way, you’ll have a nice clean surface to work on and prevent any accidental damage to the hardware. Also, it’s way easier to paint or stain your dresser when you don’t have to deal with knobs and handles in the way.
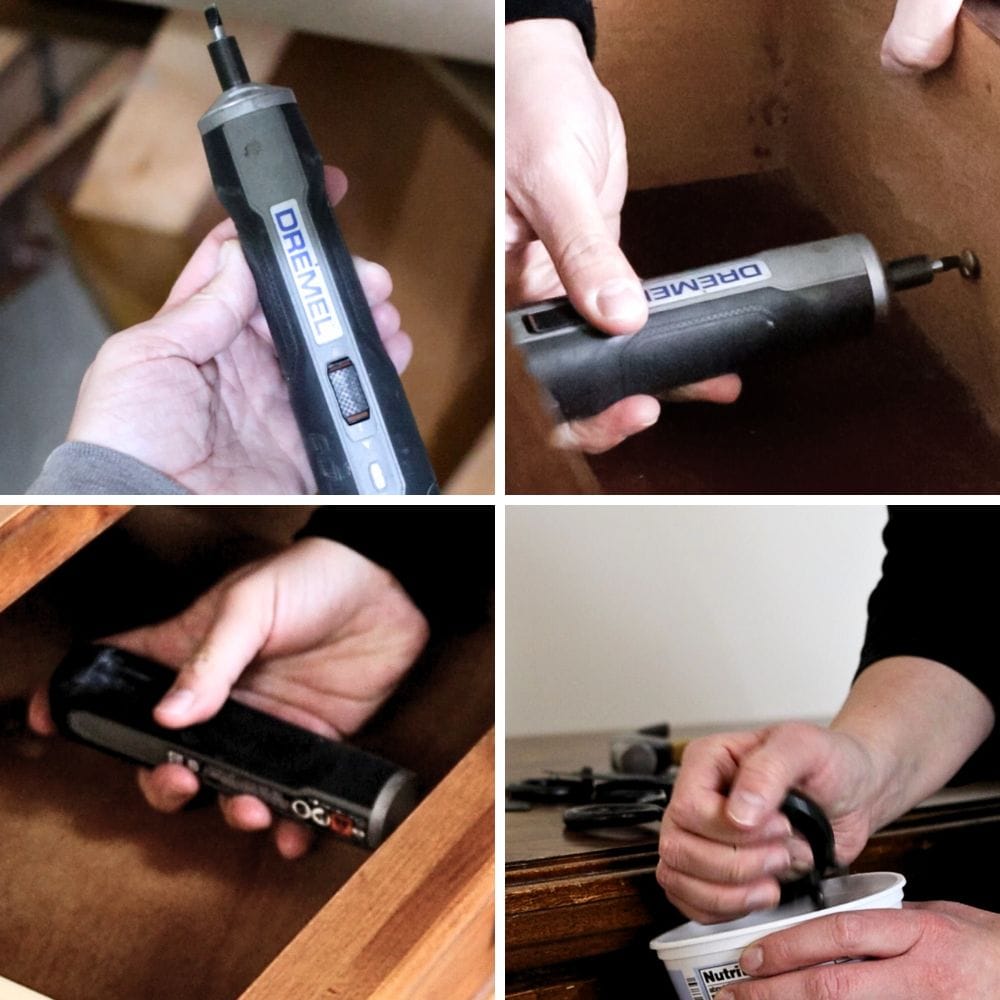
To remove the hardware, use a screwdriver or drill to unscrew and remove any knobs, handles, or pulls from the dresser. If there are multiple pieces of hardware in one drawer, make sure to keep track of which piece belongs where so you can easily put them back in the right place.
Clean and Sand Dresser for Painting
You want the paint to adhere properly and last long, so cleaning furniture before painting and sanding for paint prep are important steps.
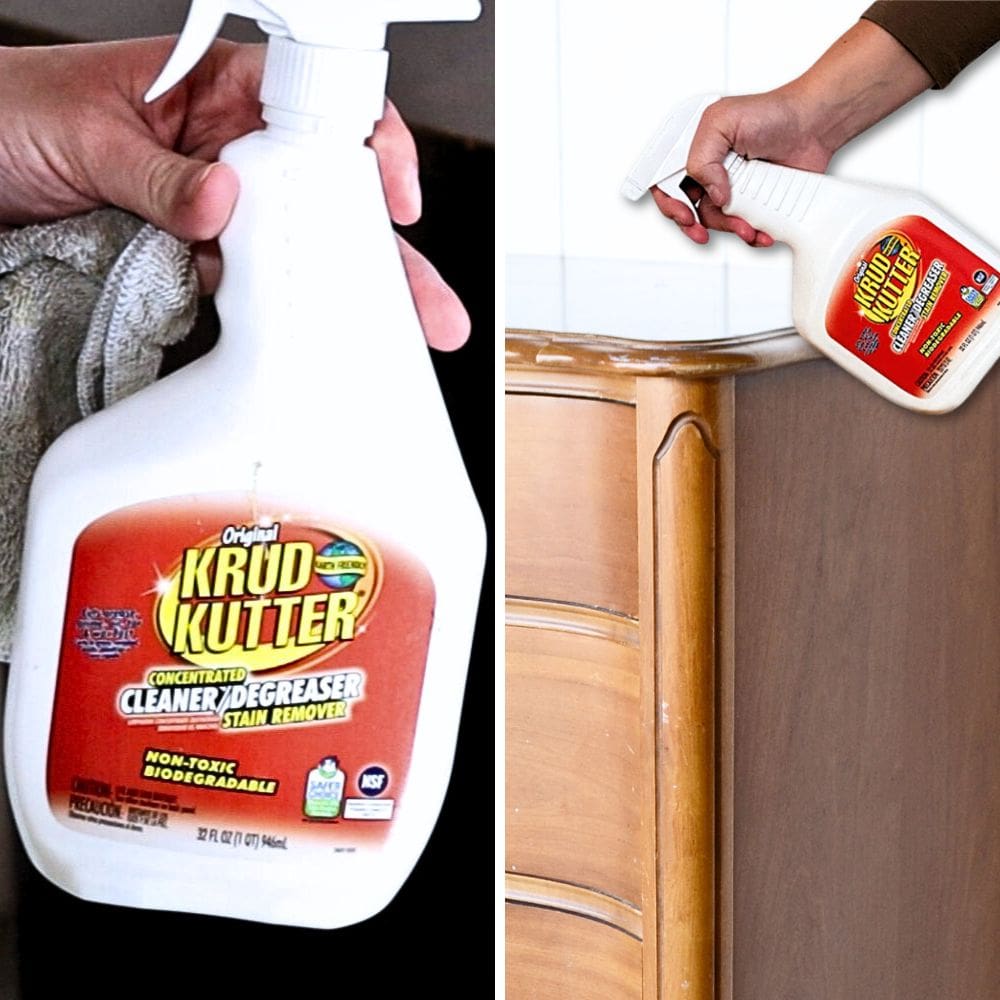
First, use a cleaner like Krud Kutter to remove any dirt, grime, or residue from the dresser. This will guarantee that the paint has a clean surface to adhere to and will prevent any dirt or debris from getting trapped under the paint.
Next, use 220 grit sandpaper to scuff sand the dresser. This will create a rough surface that the paint can grip onto, for a more durable finish. Make sure to sand in the direction of the wood grain for best results.
After sanding, be sure to clean off any dust and debris with a shop vacuum and tack cloth. Again, any dust or debris left on the dresser can ruin the finish of your painted piece.
Prime Dresser Before Painting
Before you start painting your dresser, it’s also important to prime it. Priming wood for painting helps create a smooth and even surface for the paint to adhere to, resulting in a better finish. One of the best primers for painting furniture is clear shellac.
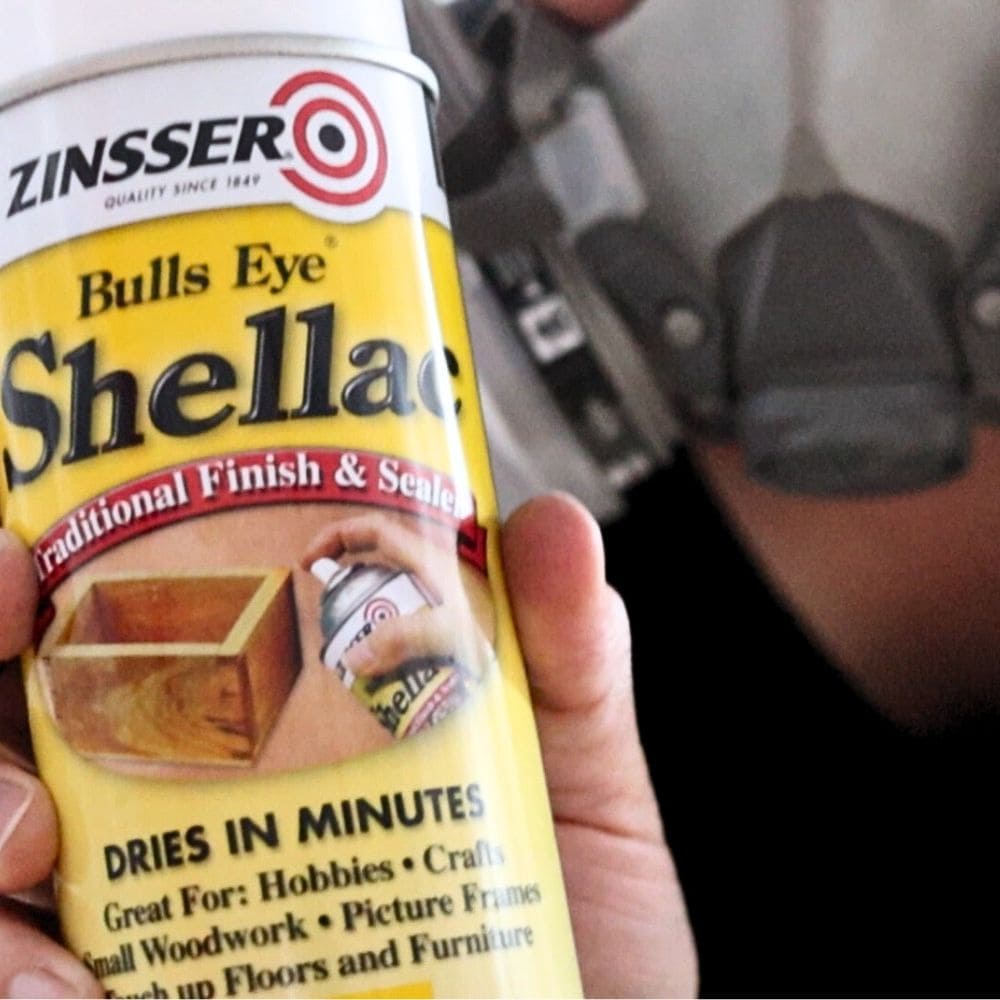
Use the spray version and apply it evenly on the dresser, making sure to cover all sides and corners. After applying the shellac primer, let it dry overnight. This allows the primer to fully set and create a strong bond with the wood. Skipping this step or not allowing enough drying time can result in a weaker finish that may chip easily.
In addition to creating a strong base for paint, priming also stops stains from coming through paint. You definitely want to avoid any discoloration or unevenness in the final result. So again, don’t skip priming!
Paint Dresser Midnight Blue
And now we move on to painting the dresser midnight blue! Using Coastal Blue milk paint from General Finishes, we applied two coats to the dresser, making sure to let it dry for 2 hours between each coat. You can check out our General Finishes Milk Paint review for more information on this paint.
Painting furniture with milk paint creates a beautiful matte finish that works well with the deep, rich color of midnight blue. Here’s how to paint furniture without brush marks if you don’t want any visible and unsightly brush strokes on your painted furniture.
If you’re not sure how to use milk paint on furniture, don’t worry – our guide will help you familiarize yourself with the process and get a flawless finish.
Distress Midnight Blue Dresser
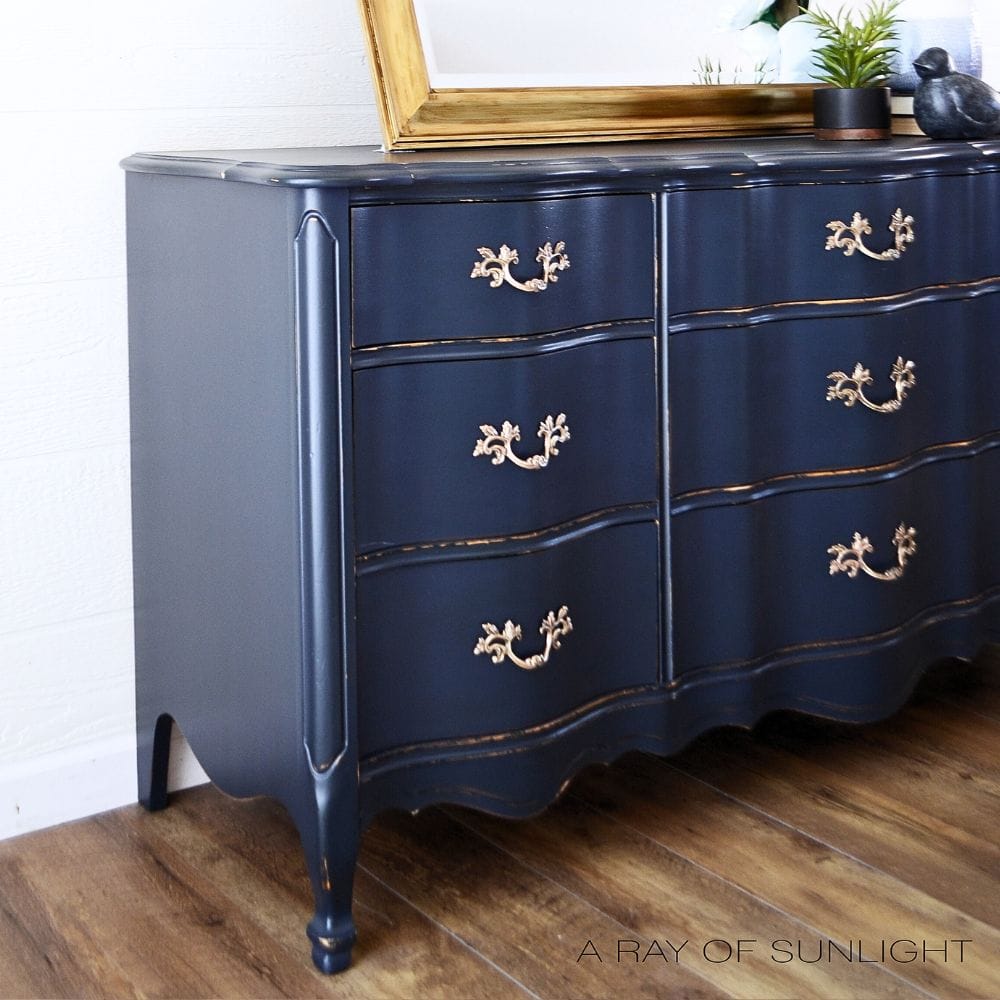
If you want to give your midnight blue dresser a more vintage or rustic look, distressing is the way to go. Using 220 grit sandpaper, gently rub away some of the paint on edges and corners, revealing the wood underneath. You can learn more distressing furniture techniques here for different effects and styles.
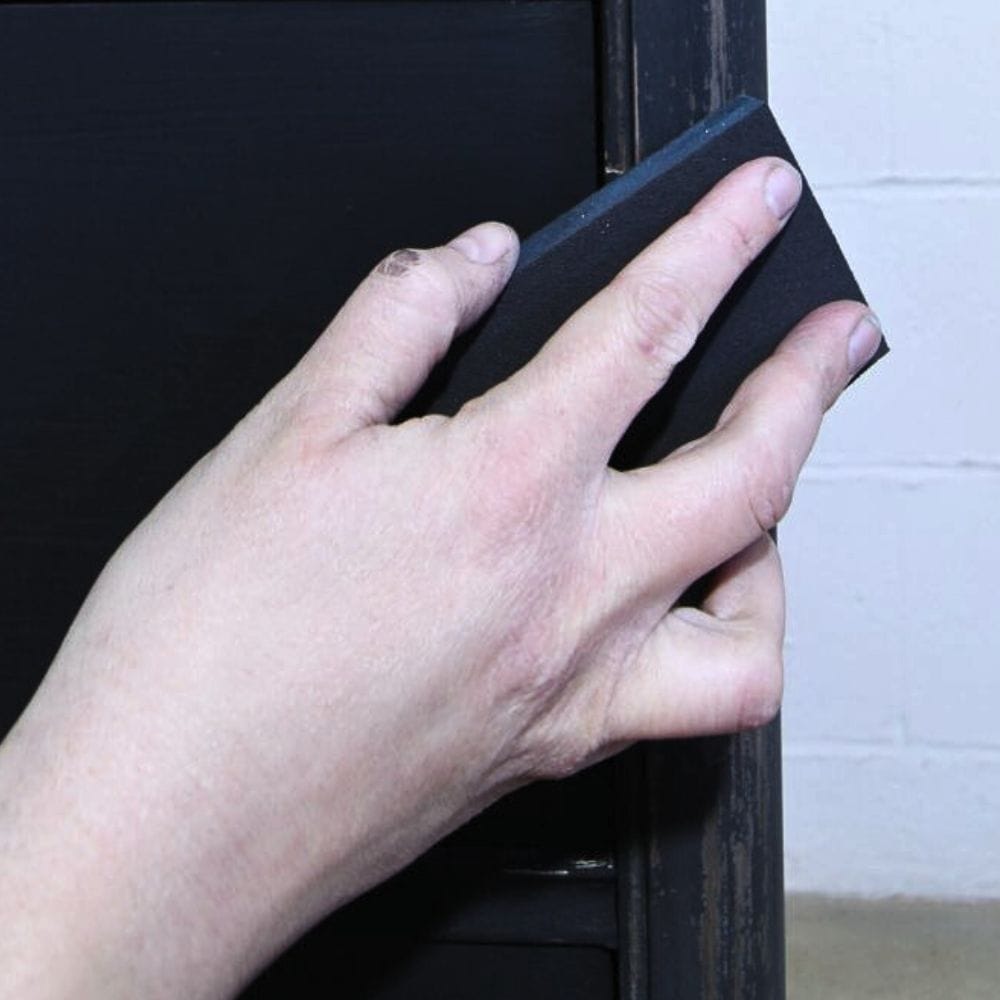
However, be careful not to overdo it with distressing – less is often more in this case. Focus on areas that would naturally receive wear and tear over time, such as edges and corners. Remember to clean off any dust or debris with a shop vac and tack cloth so it doesn’t get in your final finish!
Seal Midnight Blue Dresser
To protect our beautiful midnight blue dresser and give it a smooth, durable finish, it’s time to seal it! Spray 3 coats of Varathane polyurethane in Satin finish.
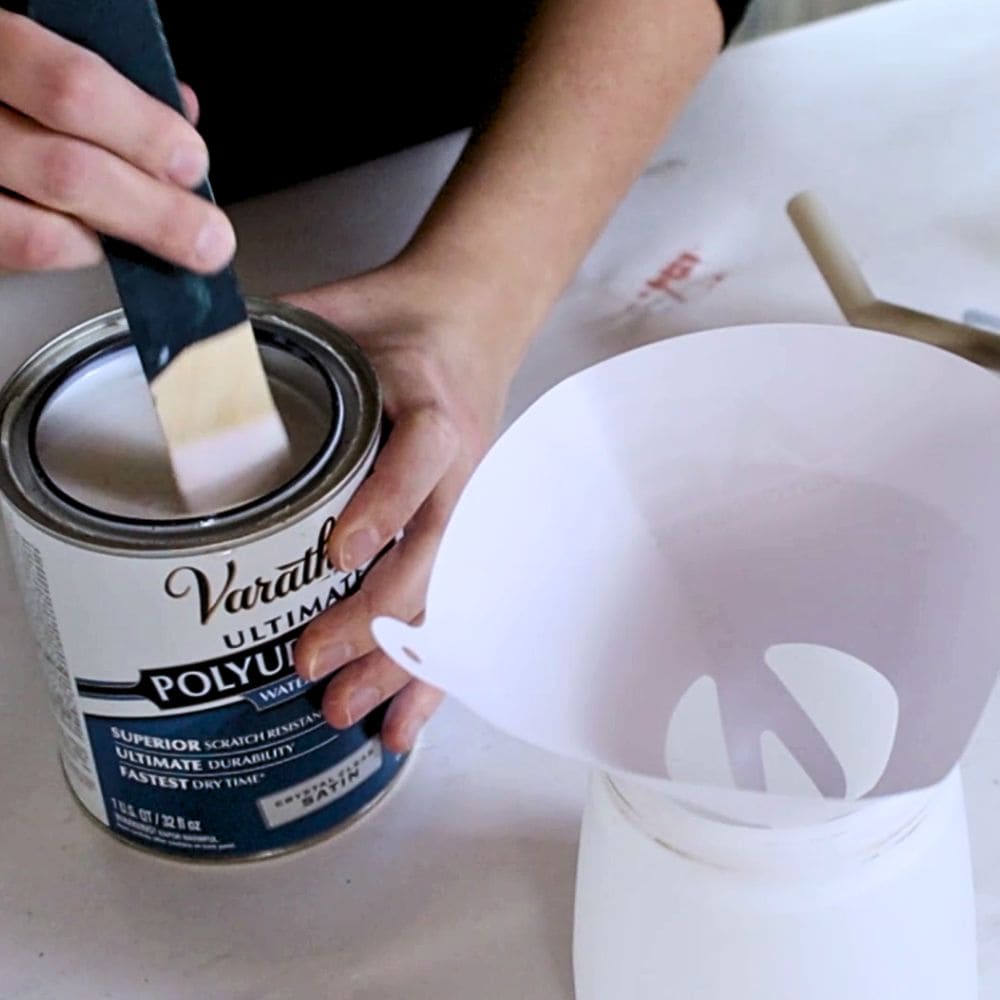
Polyurethane is a great choice for sealing painted furniture because it provides a protective layer that can withstand daily use and protect against scratches and stains. For maximum protection, make sure to let it dry and set overnight. You want the poly to fully cure and create a strong seal over the paint.
Clean and Reattach Dresser Hardware
Once your painted and sealed midnight blue dresser is fully dry, get your hardware ready for reattachment. Clean old furniture hardware first – we use Bar Keepers Friend and a scrubbing sponge to get rid of grime and dirt, then rinse and dry them off.
Put the hardware back on the dresser and make sure they’re attached securely. And just like that, this midnight blue dresser makeover is complete! Doesn’t it look amazing with its deep blue hue and smooth finish? Yes, your dresser can not only be functional but stylish too!
Take the time to follow each step from prepping, priming, and painting, to distressing and sealing, and you’ll have a beautiful piece of furniture unique to your home.
More Before And After Makeovers
Click any of these “before” photos below to view the “after” of that makeover.
More Dresser Makeover Ideas
- Blue Nursery Dresser Makeover
- DIY Navy Blue Bedroom Dresser
- Antique Dresser Milk Paint Makeover
- Light Blue French Provincial Dresser Makeover
Follow us on YouTube to get more tips for painting furniture.
Or share your project with us on our Facebook Group and be part of our community. See you there!


