DIY Simple Christmas Sign
The holiday season is the perfect time to get creative! There are many Christmas decor ideas out there, but nothing beats the feeling of creating something unique and special for your home. In this tutorial, we’ll show you how to make a DIY simple Christmas sign!
With just a few materials and simple steps, you can have a beautiful piece of decor to add to your holiday home.
Christmas signs are a fun and festive way to add some holiday cheer to your home. Whether you’re looking for a traditional or modern design, there’s no shortage of options out there.

But if you want to add a personal touch and make something one of a kind, why not try your hand at DIY?
DIY signs are also a great budget-friendly option for decorating during the holidays.
You can create a beautiful piece that would cost much more if bought in a store, plus you can customize the design and colors to fit your home and taste perfectly.
Let’s get started on making this DIY Christmas sign!
Supplies Used for DIY Simple Christmas Sign
As an Amazon Associate, I earn from qualifying purchases. I also may earn from other qualifying purchases with other companies or get free product to review and use. All opinions are my own.
- Decoupage Rice Paper
- Plywood
- 220 Grit Sandpaper
- Wood Furring Strips
- Miter Saw or Jigsaw
- Tack Cloth
- Zibra Fan Brush
- Waverly Chalk Paint in Ink
- Lilly Moon Gel Stain in Old Fashioned
- Polyurethane
- Water (for staining)
- Nail Gun
Cutting Plywood to Size of Decoupage Rice Paper
When we created our simple Christmas sign, the first step was cutting the plywood to fit the decoupage rice paper.
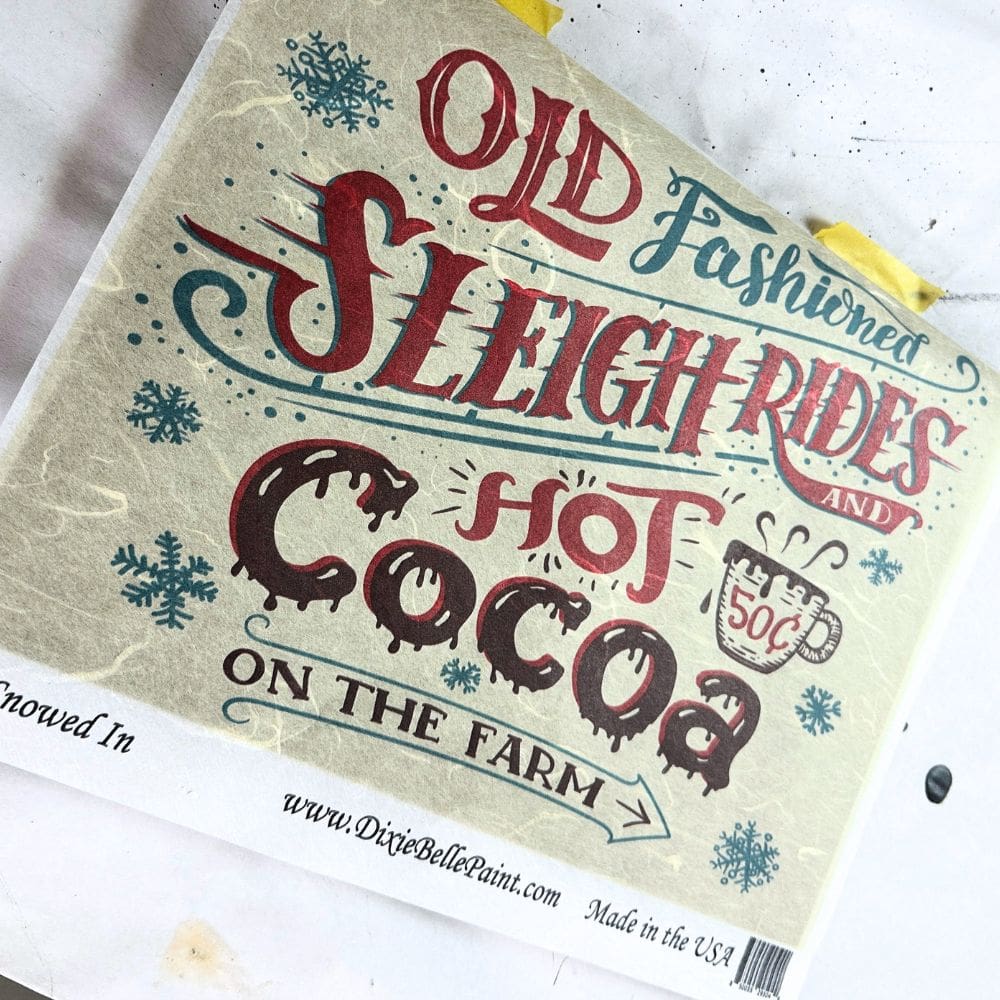
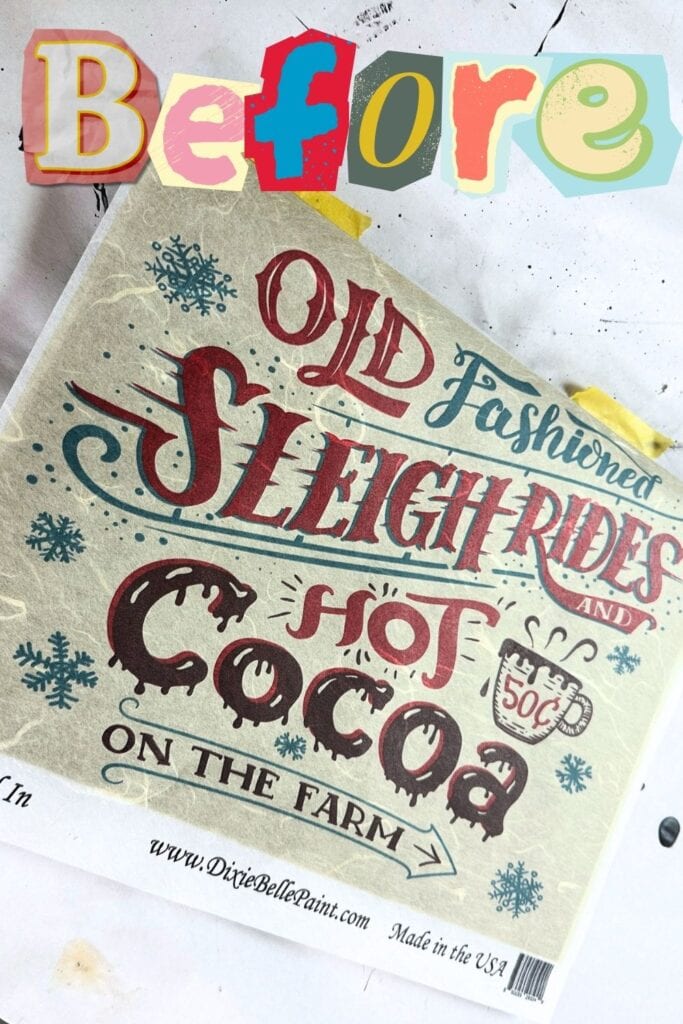
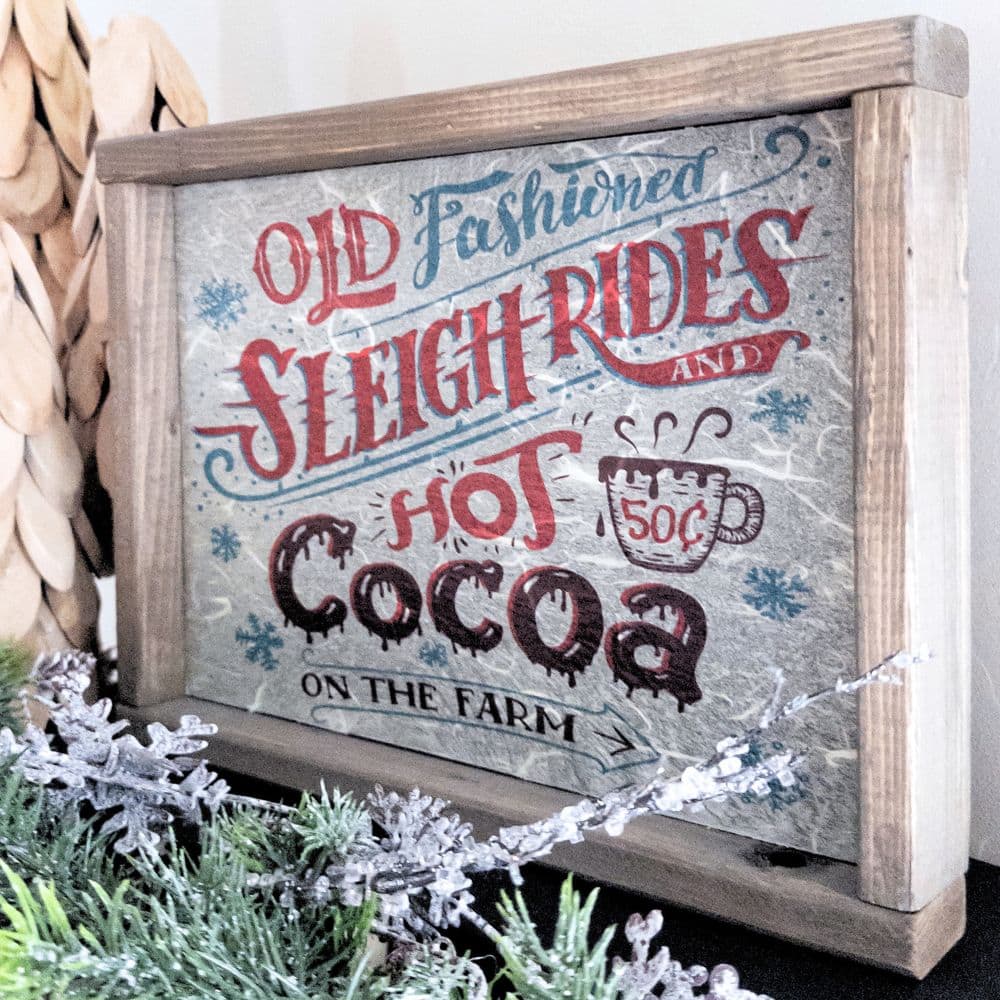
We cut 1/2″ plywood to match the dimensions of the Belles and Whistles Dixie Belle Decoupage Rice Paper design called “Snowed In“.
We used the bottom half of the decoupage paper for this project, while the other half was used in this DIY Merry Christmas wood sign.
Next, we made sure to sand down the edges of the plywood with 220 grit sandpaper.
This helped to remove any splinters and create a smooth surface for our sign, especially since we will be painting it later. Sanding before painting is always a good idea for the best finish possible.
Cutting and sanding the plywood made sure that our sign would have a sturdy base and smooth surface for the rest of the project.
Cutting Wood Furring Strips for Frame
We cut wood furring strips to create a sturdy frame for our sign – two pieces at 8″ long and the other two pieces at 13″ long.
Using a miter saw is a quick and easy way to cut these strips, but if you don’t have one, a cheap jigsaw can also get the job done.

This created a frame that was slightly larger than the plywood to fit over the edges.
The size of the strips can be adjusted to fit your desired frame thickness, but we found that these measurements worked well for us.
After cutting the furring strips, we made sure to smooth out any rough edges with 220 grit sandpaper. Again, sanding creates a polished look and prevents any potential splinters.
We also used a tack cloth to remove any dust or debris from the wood before moving on to the next step.
Painting Plywood
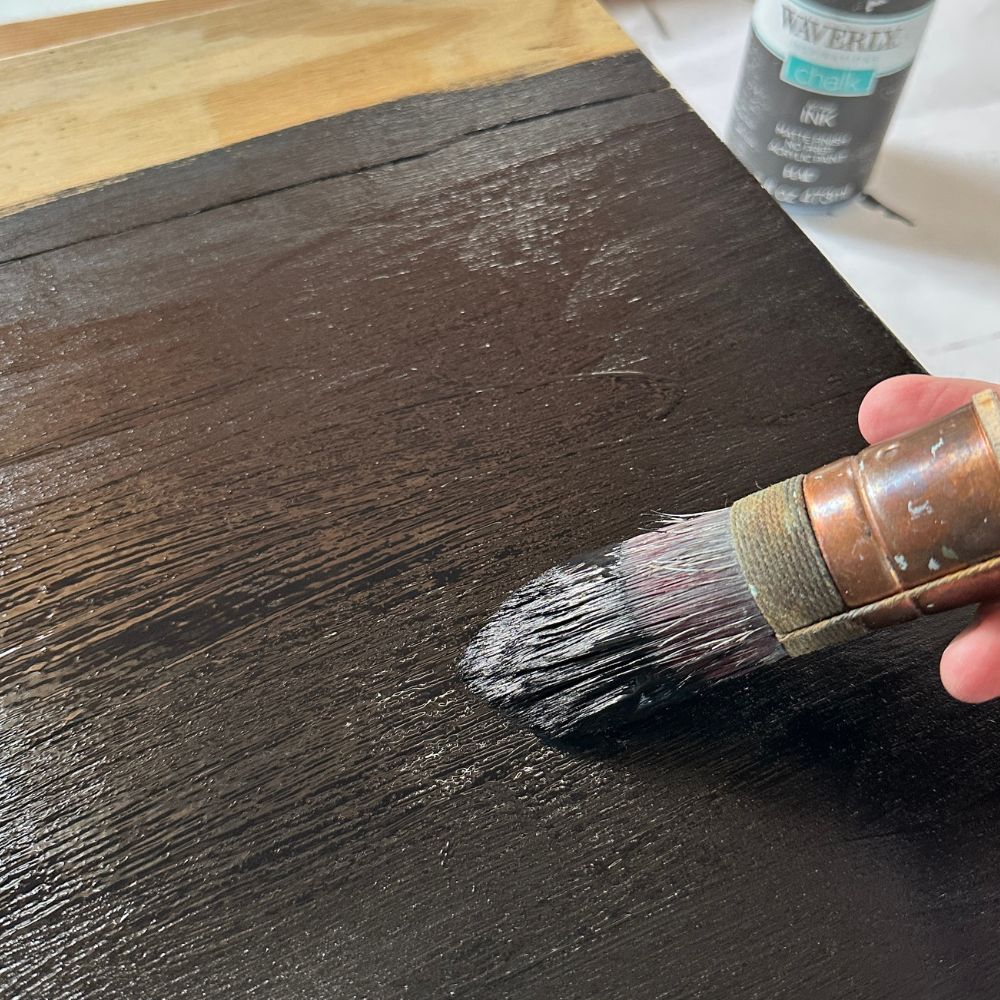
It’s time to add some color! For our Christmas sign, we chose to use Waverly chalk paint in the color Ink using a Zibra fan brush.
Ink is a deep and rich black that covers remarkably well with just one coat and dries in just 30 minutes.
You can read our Waverly chalk paint review to learn more about this brand and its features.
One thing I wish I had done differently was to paint the plywood white instead of black. In hindsight, white would have been a better choice as it would have made the decoupage paper stand out more.
So it’s up to you – choose whichever color you think will complement your decoupage paper best.
Staining Wood Frame
Next, we’ll stain the wood frame. Staining adds a rustic and warm touch to our sign – you can choose a darker shade for a bold look or go with a lighter tone for a more subtle effect.
We chose to use Lilly Moon Gel Stain in the color Old Fashioned, a rich brown shade that complements our Christmas theme perfectly.
Would you like to save this?
We recommend this gel stain for its quick drying time and minimal odor.
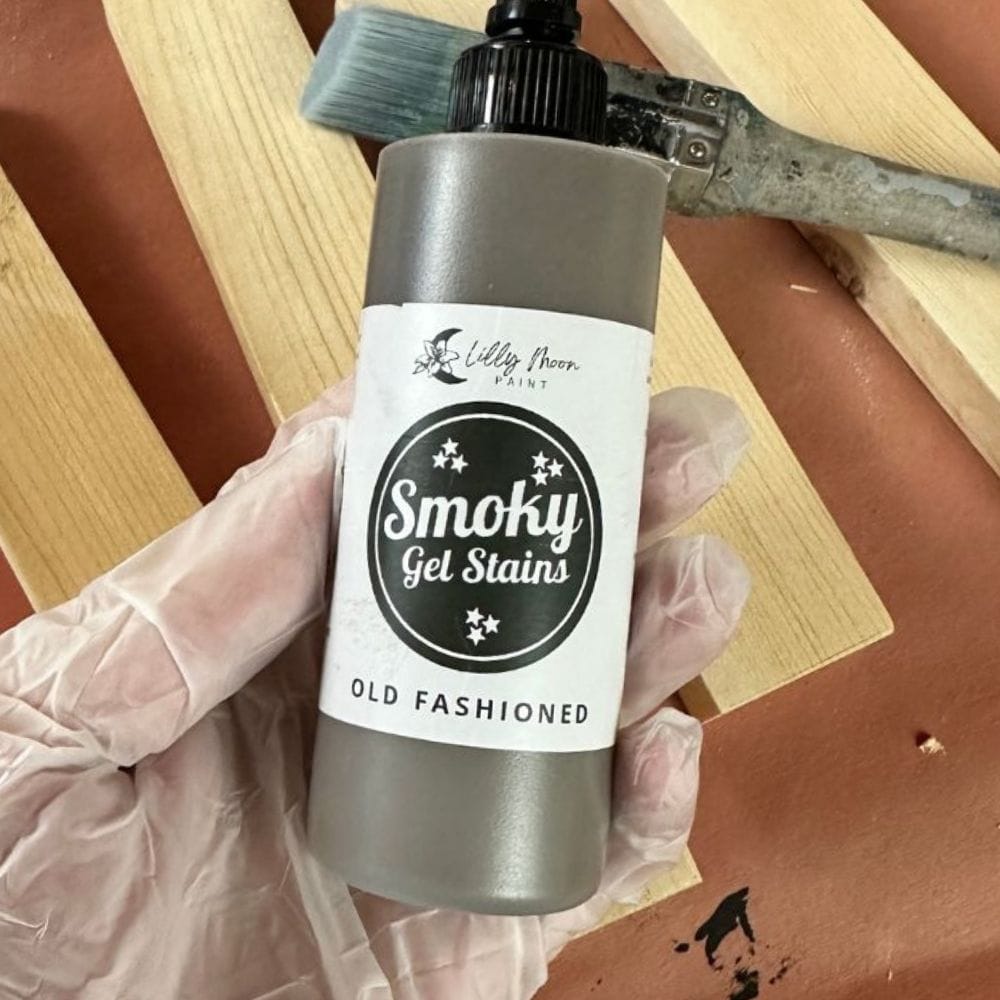
To start, we sprayed some water on the raw wood to help the gel stain soak in evenly and extend its working time. This also helps the stain spread further since it doesn’t all immediately soak into the wood.
We applied the gel stain evenly on all sides of the wood pieces using a brush then we let the wood dry completely.
You can check out our tutorial on how to stain wood if you want more detailed instructions and tips.
Applying and Sealing Decoupage Rice Paper
We carefully lined up the decoupage paper with the plywood and taped it in place to keep it aligned. This will prevent any shifting or wrinkles in the design.
Here’s how to decoupage furniture with rice paper to learn more about how to apply decoupage on furniture.
Make sure to apply a coat of polyurethane on the painted plywood before laying the paper down – this acts as a glue and helps to stick the decoupage paper to the wood.
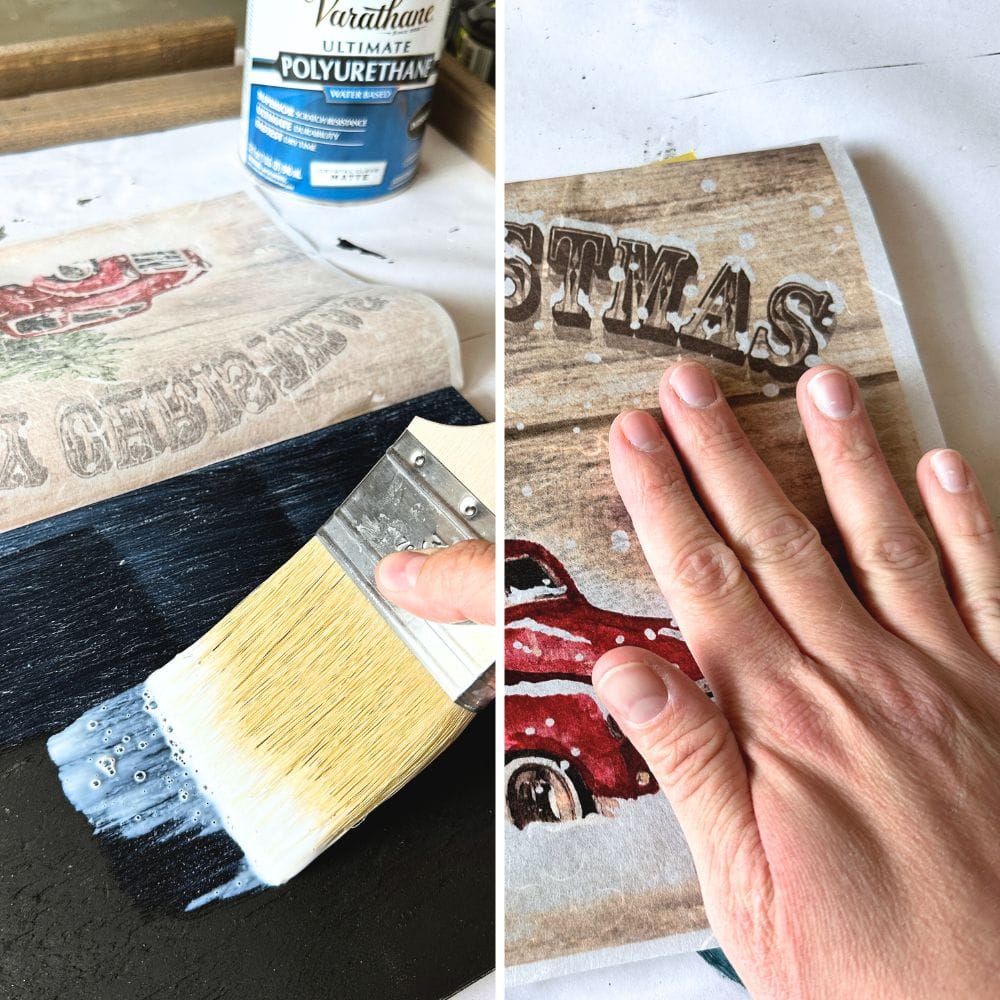
After applying the decoupage paper, we let it dry completely before trimming off any excess from the edges using sandpaper.
It’s important to be careful and precise when trimming the paper to avoid damaging or tearing it.
Once trimmed, we sealed the paper with a topcoat – we recommend one with a matte sheen to avoid any unwanted shine. Let the topcoat dry completely.
Assembling Christmas Sign
Assembling the Christmas sign is the final step in our DIY project. It’s important to take your time and be precise when attaching the frame to the plywood so your sign looks polished and professional.
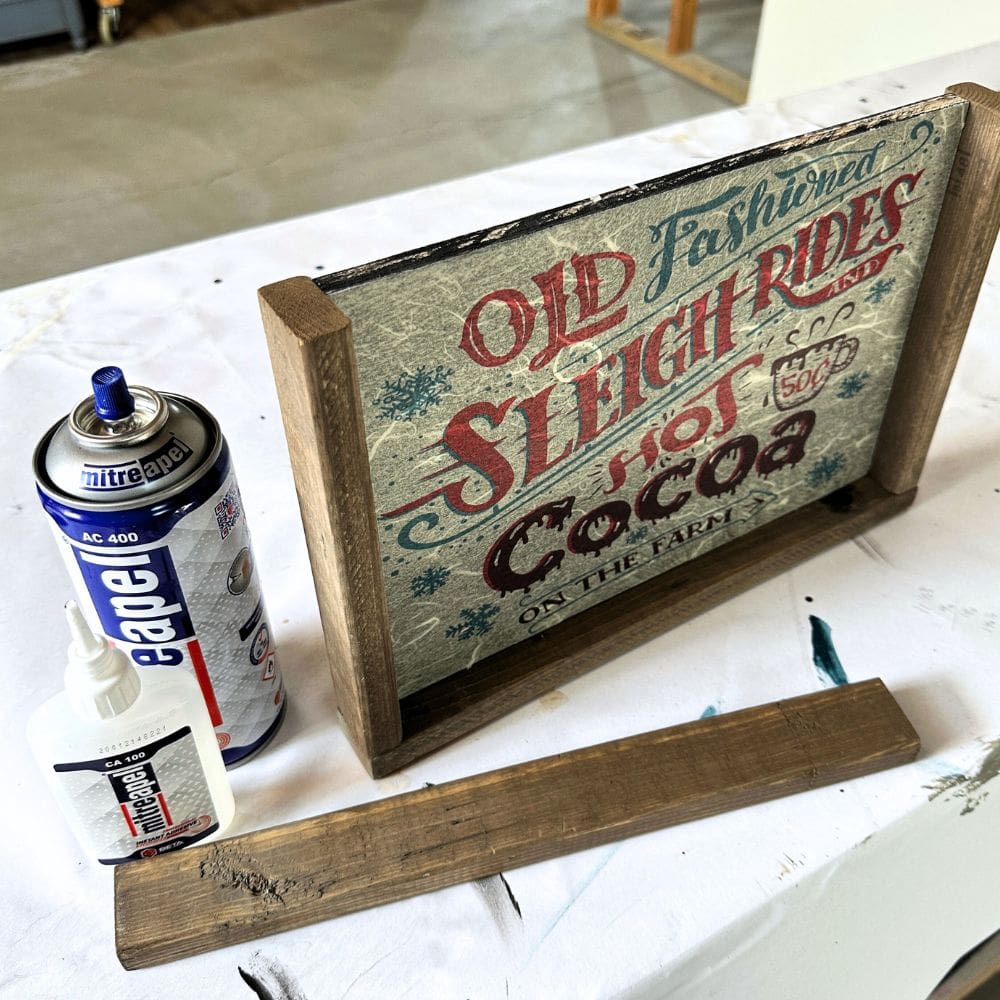
If you don’t have a nailer, there are other options for attaching the frame such as using wood glue or small nails.
We placed most of the excess frame on the back of the sign to avoid it sticking out too far on the front.
Once you have assembled your Christmas sign, you can also get creative and make one for the other side! This way, you can change up your decor by simply flipping the sign.
Check out these DIY Christmas signs to help you spark your creative ideas. You can also paint a simple Merry Christmas wall sign to bring a touch of homemade beauty to your holiday decor.
But if you plan on hanging the sign up from the back, you can just leave the back unfinished.
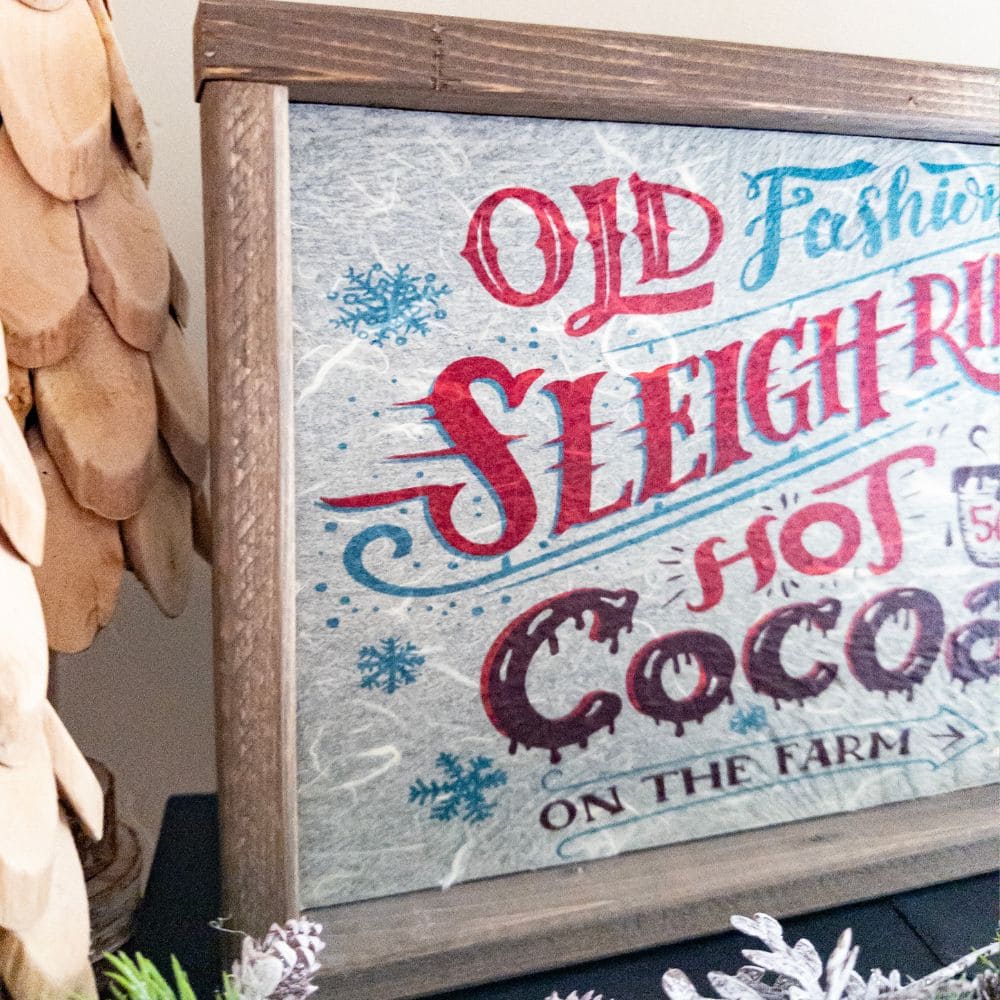
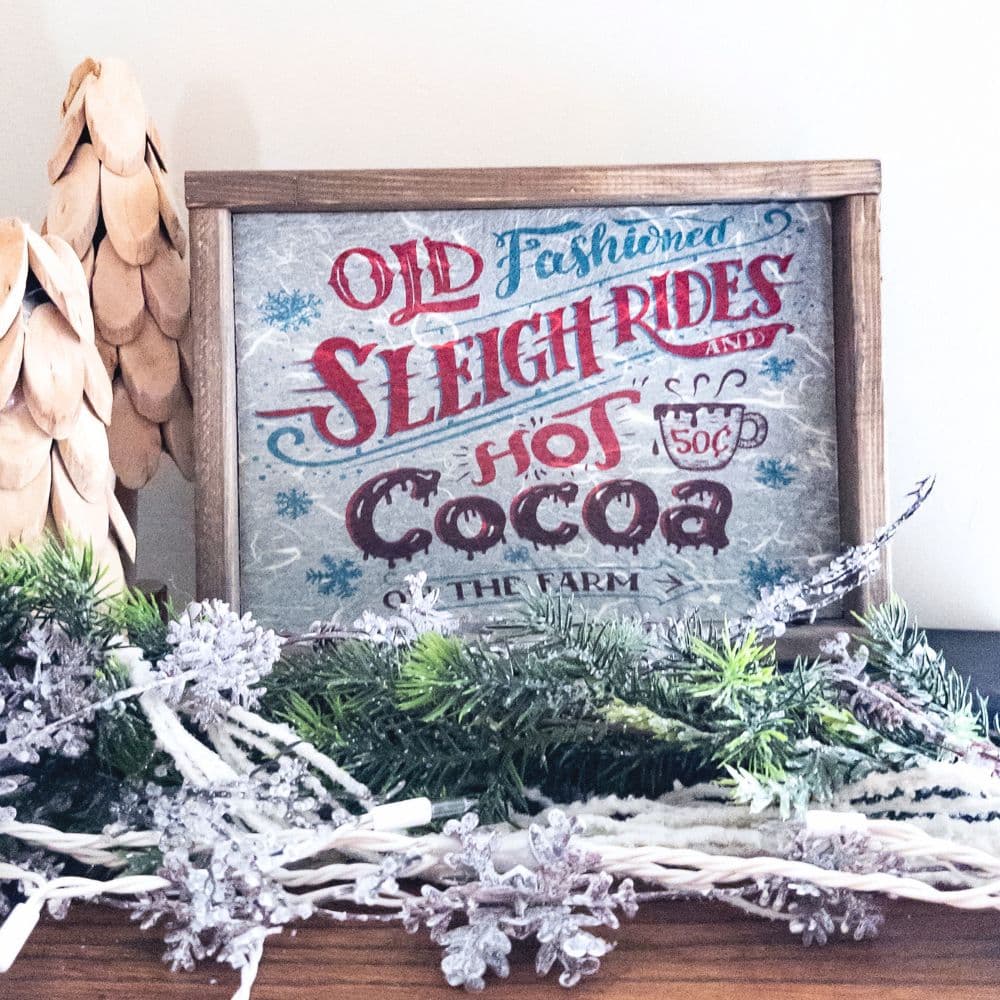
And voila! Your DIY simple Christmas sign is complete – a lovely and budget-friendly addition to your holiday decorations.
Remember, you can always customize the design and paint according to your preferences, making it totally unique for your home.
More Before and After Makeovers
See All >
Click any of these “before” photos below to view the “after” of that makeover.


DIY Simple Christmas Sign
With just a few materials and simple steps, you can have a beautiful DIY simple Christmas sign to add to your holiday home.
Materials
Tools
Instructions
- Prepare the plywood base by cutting and sanding it, creating a smooth surface for painting. Then, cut wood furring strips to create a sturdy frame.
- Paint the plywood with your desired color. Let the paint dry completely before moving on to the next step.
- Stain the wood frame with your preferred shade - we recommend a gel stain for its quick drying time and minimal odor. Make sure to let it dry completely before proceeding.
- Apply the decoupage paper on the painted plywood using a polyurethane topcoat as glue. Let it dry before trimming off any excess from the edges. Seal the paper with another coat of topcoat.
- Assemble the frame onto the plywood using a nail gun or other adhesive. Make sure to be precise and take your time for a polished look.
Recommended Products
As an Amazon Associate and member of other affiliate programs, I earn from qualifying purchases.


More DIY Christmas Decor Ideas
- Homemade DIY Christmas Village
- DIY Wooden Christmas Village
- DIY Christmas Centerpiece
- DIY Believe Sign from Dollar Tree
- DIY Christmas Village

Follow us on YouTube to get more tips for painting furniture. Or share your project with us on our Facebook Group and be part of our community. See you there!