Painting a Bed Frame Black


Are you looking for an easy and affordable way to update the look of your bedroom? In this blog post, we’ll guide you through the process of painting a bed frame black using chalk paint and provide tips on how to create a professional looking finish that will last for years.
With the right tools and techniques, black painted furniture ideas like this can add a touch of elegance or make a bold statement. Let’s get started on giving your bed frame a stylish new look!
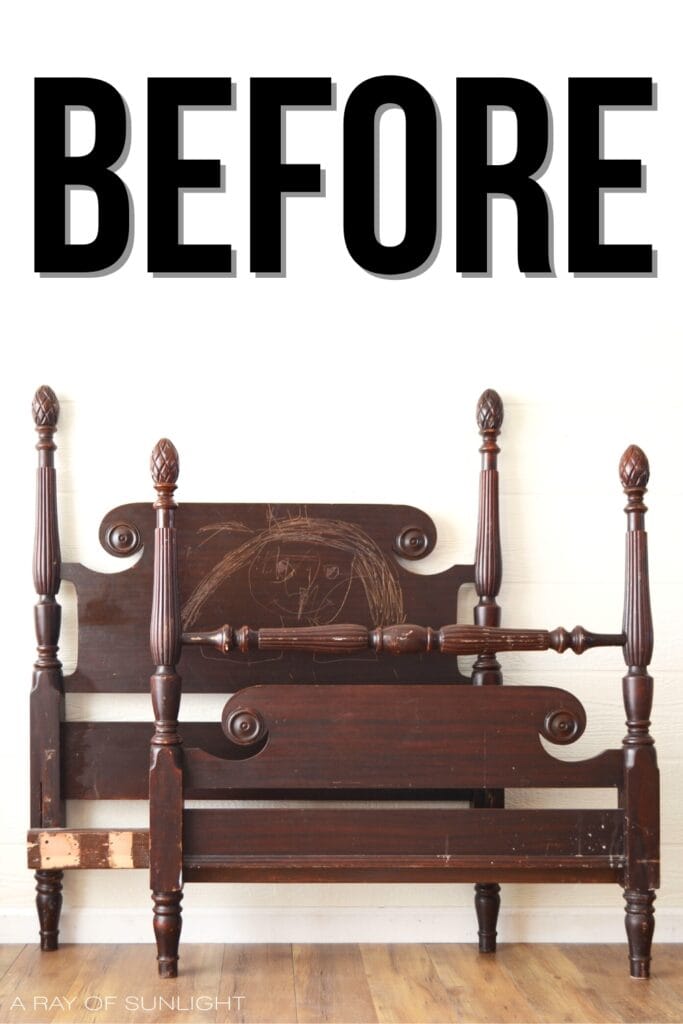
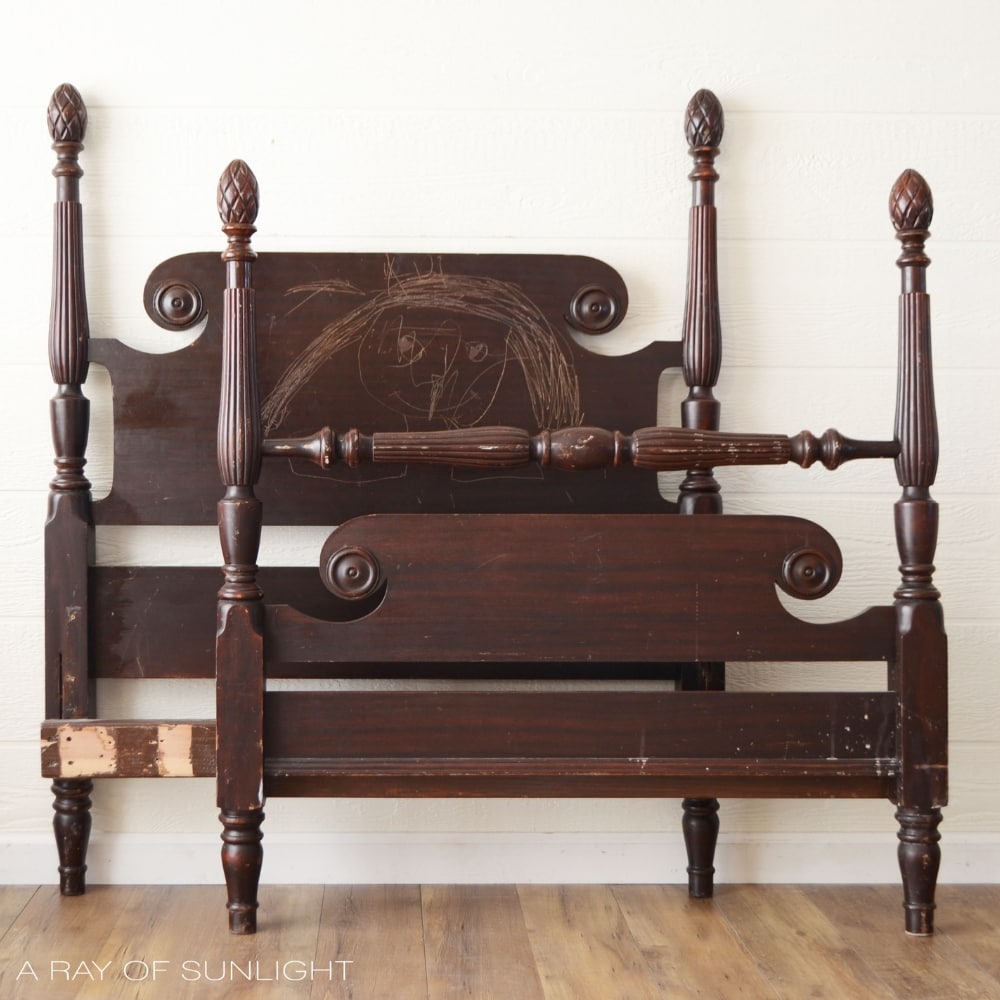
Is yours looking dull and outdated like this twin bed frame was? Do you want to give it a fresh and modern update without spending too much? In this blog post, we’ll show you how to make homemade chalk paint for a budget friendly makeover.

We’ll also guide you through the steps of painting your bed frame, including filling scratches, prepping the piece, and applying a topcoat. You’ll have all the necessary know how to tackle this DIY project with confidence.
By the end of this post, you’ll have a beautiful, new looking frame that will give your bedroom an instant update. And again, you won’t have to spend too much while still getting high quality results. Let’s dive in!

Supplies for Painting a Bed Frame Black
As an Amazon Associate, I earn from qualifying purchases. I also may earn from other qualifying purchases with other companies or get free product to review and use. All opinions are my own.
- Krud Kutter
- 220 Grit Sandpaper
- Bondo (if you have deep scratches)
- Shop Vacuum
- Tack Cloth
- Clear Shellac
- Behr Latex Paint
- Calcium Carbonate Powder
- Paint Sprayer
- Varathane Polyurethane Topcoat
Preparing Bed Frame
To get started, you’ll need to gather all your materials and take the bed frame apart if it isn’t already. Remove all the hardware from it to make your finish look nicer, and so the bed will go back together easily.
Next, give it a thorough cleaning using a degreasing cleaner like Krud Kutter. This will help to remove any dirt, oils, or other substances that may prevent the paint from adhering to the surface. Here’s how to clean furniture before painting for a more detailed guide.
Next, scuff sand the surface with 220 grit sandpaper. This will create very small scratches, allowing the new coating to grab onto the surface better. Learn more about this in our sanding before painting furniture post. If you want to skip this step, make sure to use one of these best black paint for furniture without sanding options.
For our piece, we had this lovely drawing scratched into the wood. So, we had to take care of all of the scratches before moving on. Fill those in with wood filler and then, when dry, sand it down flush with the wood around it. Check out our list of the best wood fillers here.
Once the surface is smooth, clean off the dust. I like to vacuum it up with my shop vacuum, and then use a tack cloth to get any remaining dust off.
Then, apply a coat of clear shellac. The primer will help with adhesion, create a base for better coverage, and one of the ways how to stop stains from coming through the paint. Here’s our list of the best primers for furniture so you can pick the one that is right for you.
How to Make Black Chalk Paint
For an easy and affordable option, consider this DIY homemade chalk paint recipe. You’ll need two main ingredients: Behr latex paint and calcium carbonate powder.
Mix the two until the mixture forms a smooth consistency. The calcium carbonate powder adds a chalky texture that helps with adhesion. I would not use latex on its own for furniture. Check out this post if you’re wondering what is the difference between chalk paint and regular paint.
Here are the top chalk paint brands if you don’t want to make your own. Or, if you don’t want to deal with topcoating later on, you can use one of these best all in one paints for furniture.
How to Paint a Bed Frame
You have several options – you can use a brush, roller, or sprayer to apply 2-4 coats of paint, depending on the desired coverage. Here are the best paint brushes and the best rollers for painting furniture. And here are the best paint sprayers for furniture. Take your pick!
Spraying is my favorite method because it is easier, faster, and just looks way more professional to me. But if you have never sprayed before and you only have one project to do, you might want to use a brush or roller instead. Learn all about painting furniture with a sprayer here.
One great benefit of using homemade chalk paint is that it dries quickly, making it easier to apply multiple coats in a shorter amount of time. Once you’ve applied the last coat, let it dry for at least 2 hours before applying a topcoat to it.
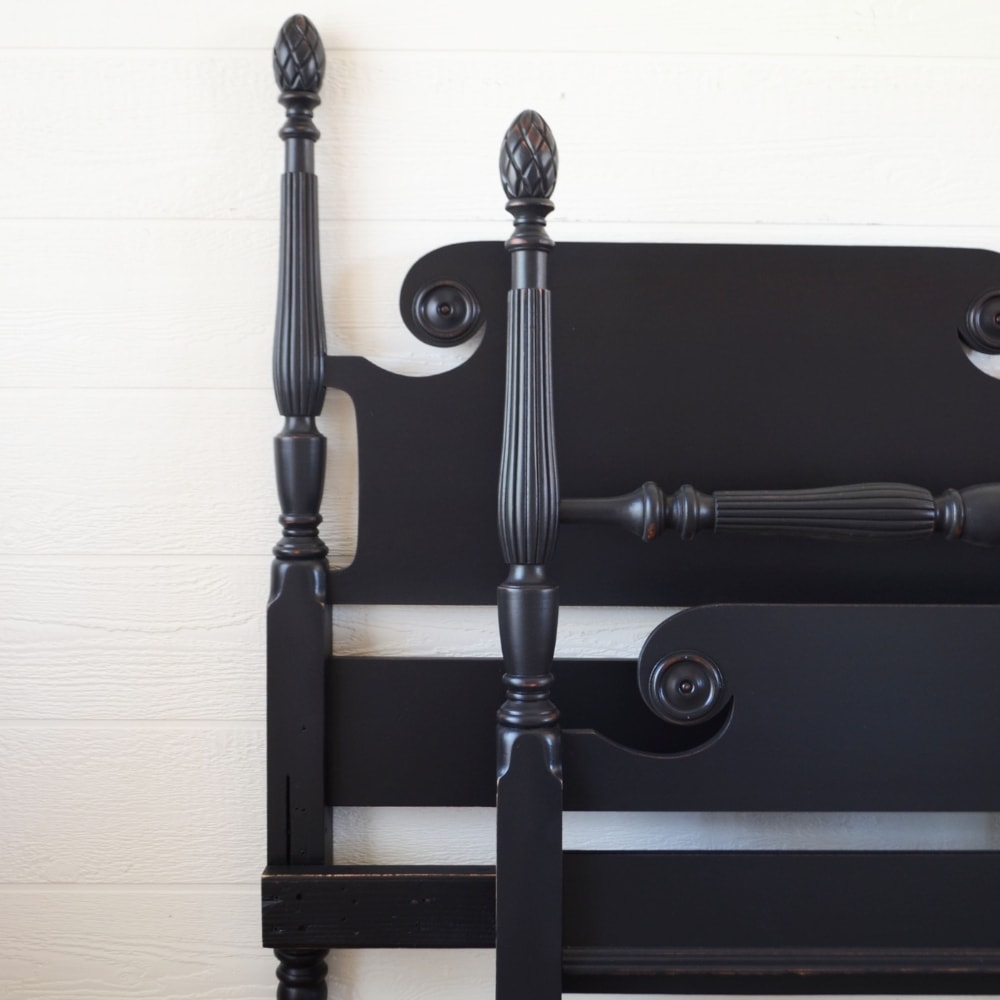
After my last coat was dry, I rubbed some 220 grit sandpaper all over to create a distressed look. If you want to create this same effect, learn more distressing furniture techniques here. You can also check out these distressed painted furniture ideas to get some fun inspiration!
Would you like to save this?
Topcoating Chalk Paint
The biggest downside to chalk paint is that it has to be topcoated because it is very porous and not as durable without the topcoat. Check out these topcoats for painting furniture to grab the right one for your project.
But water based polyurethane is my favorite because it will protect against scratches and make the finish easy to clean. Apply three coats of waterbased Varathane polyurethane with a brush or a sprayer for a smoother finish. Here is how to apply polycrylic (waterbased polyurethane) by hand, and here is how to spray polyurethane with a sprayer.
Then, allow your bed frame to dry for at least 24 hours before lightly using it or putting it back together. The paint and topcoat will take about 30 days to cure (to the point that it is as durable as it will get).
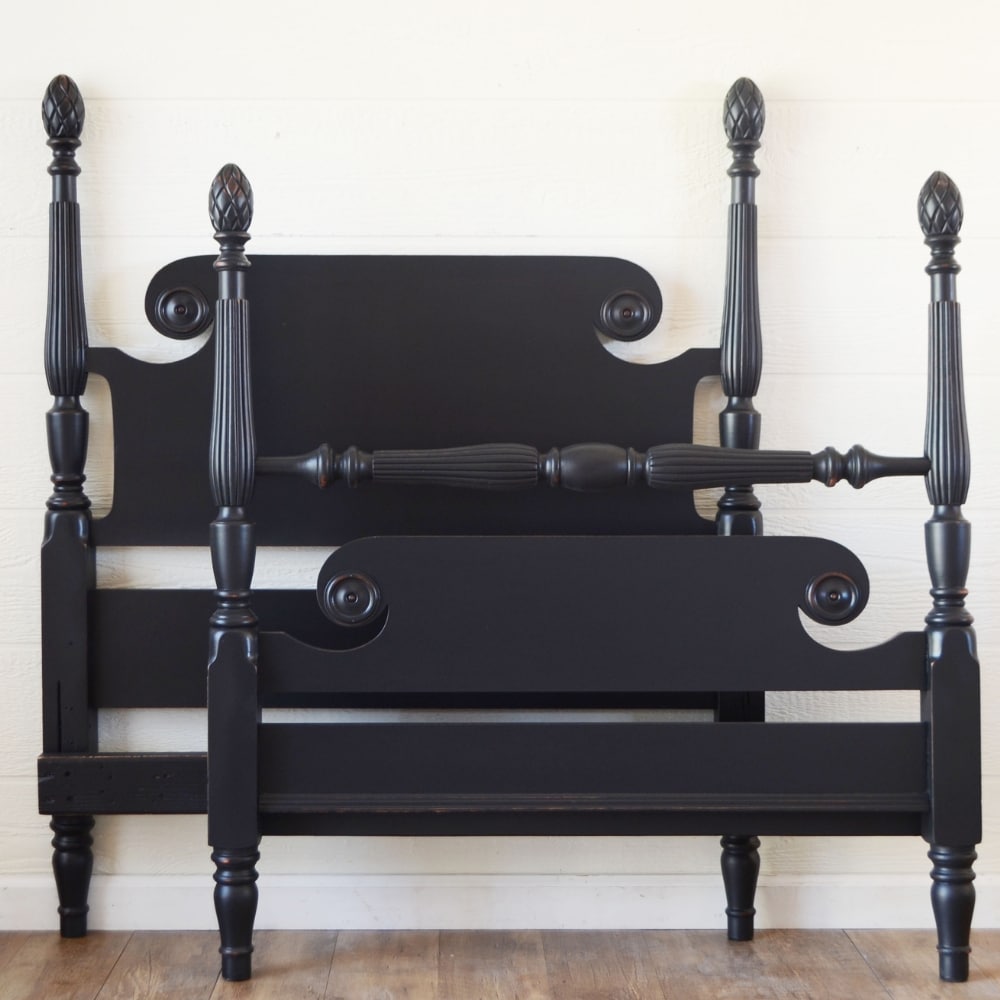
Here’s what our black painted bed frame looked like after! I wish I would have gotten a photo of it all put together, but I didn’t. Isn’t it cute?!? For more similar makeovers, check out these painted bed frame ideas.

More Before and After Makeovers
See All >
Click any of these “before” photos below to view the “after” of that makeover.


Check out these bedroom dresser ideas and cheap DIY dresser ideas to match your newly updated bed frame! You can also check out more black chalk painted furniture ideas here.


Best Paint for Wooden Bed Frame
Choosing the right paint plays a big part in making sure the new finish lasts a long time or looks professionally done. Check out our list of the best paints for wood furniture here.
Two of our top recommendations are Heirloom Traditions Paint and Sherwin Williams Emerald Urethane Trim Enamel.
Heirloom Traditions Paint is a great option for those who want an easy project. It’s an all in one product that adheres very well to wooden and even laminate surfaces and dries to a satin finish.
One of its benefits is that it doesn’t require priming or sanding before use. Yes, I’ve tested it and really, you can use it on laminate without sanding or priming, and it will stick very well! Learn more about painting furniture with Heirloom Traditions Paint here. We also have a Heirloom Traditions All In One Paint review you should check out.
Another excellent option is Sherwin Williams Emerald Urethane Trim Enamel. It has a durable finish that’s resistant to scratches, stains, and other types of wear and tear. It’s a waterbased enamel that’s easy to apply with a brush, roller, or sprayer.
One advantage is that it’s also self leveling, which means that it creates a smooth and even finish without brush marks! Check out my honest Sherwin Williams Emerald Urethane Trim Enamel review here. Learn more about painting furniture with enamel paint here.
Neither of these two needs a topcoat! So you wouldn’t have to worry about that step with these. Best of luck with your project! If you want to get more creative, check out how to make a bench from a headboard and footboard here.


Painting a Bed Frame Black
Planning to transform your bed frame and give your bedroom a fresh look? Follow this step by step guide to painting a bed frame black.
Materials
Tools
Instructions
- Gather your materials and, if needed, disassemble the bed frame. Make sure to remove all hardware for a better-looking paint job and easier reassembly.
- Use a degreasing cleanser like Krud Kutter to clean your bed frame thoroughly.
- After cleaning, use 220-grit sandpaper to scuff sand the bed frame's surface.
- Fill in any scratches with wood filler and sand the dry wood filler flush with the wood around it.
- Once the surface is smooth, clean off the dust using a shop vacuum and then use a tack cloth to get any remaining dust off.
- Then, apply a coat of shellac primer,
- Make homemade chalk paint by mixing Behr latex paint and calcium carbonate powder until it forms a smooth consistency. Use a brush, roller, or paint sprayer to apply 2-4 coats of paint, depending on the desired coverage. Once you've applied the last coat of paint, let the bed frame dry for at least 2 hours before applying a topcoat to it.
- After the last coat of chalk paint is dry, rub some 220 grit sandpaper all over the paint to create a distressed look.
- Apply three coats of water based Varathane polyurethane topcoat with a brush or a paint sprayer for a smoother finish. Then allow your bed frame to dry for at least 24 hours before lightly using it or putting it back together.
Recommended Products
As an Amazon Associate and member of other affiliate programs, I earn from qualifying purchases.


More Black Painted Furniture Ideas
- Painting Oak Furniture Black
- Chalk Painting Furniture Black
- Black Coffee Table Makeover Idea
- Chalk Painted Black Dresser
- Painting a Coffee Table
Learn the Art of Updating Furniture!
If painting furniture feels overwhelming or your past attempts didn’t go as planned, this course will guide you step by step.

Follow us on YouTube to get more tips for painting furniture. Or share your project with us on our Facebook Group and be part of our community. See you there!
This looks amazing, y’all. Love having some ‘grounding’ black in a room!
Thanks for sharing at Tuesday Turn About! So happy to be featuring your post at the party this week! Pinned!
Thank you for sharing your links with us at #273 SSPS Linky. See you again next week.