Painted Armoire Makeover
Are you ready to give your old and tired armoire a brand new look? With these painting furniture ideas, you can transform any piece that may have seen better days. In this blog post, we will guide you through an easy painted armoire makeover that will leave yours looking polished and updated.
No matter if you’re a seasoned DIYer or a beginner, this project is simple enough for anyone to tackle with confidence. Get ready to breathe new life into your drab armoire and create a stunning piece that will elevate the look of any room.
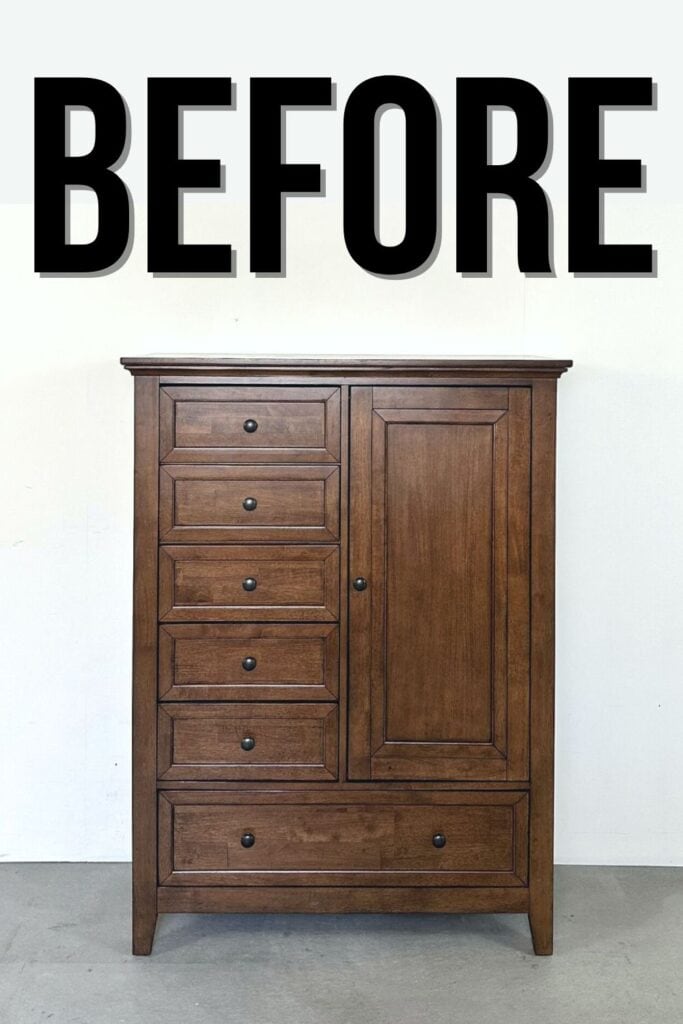
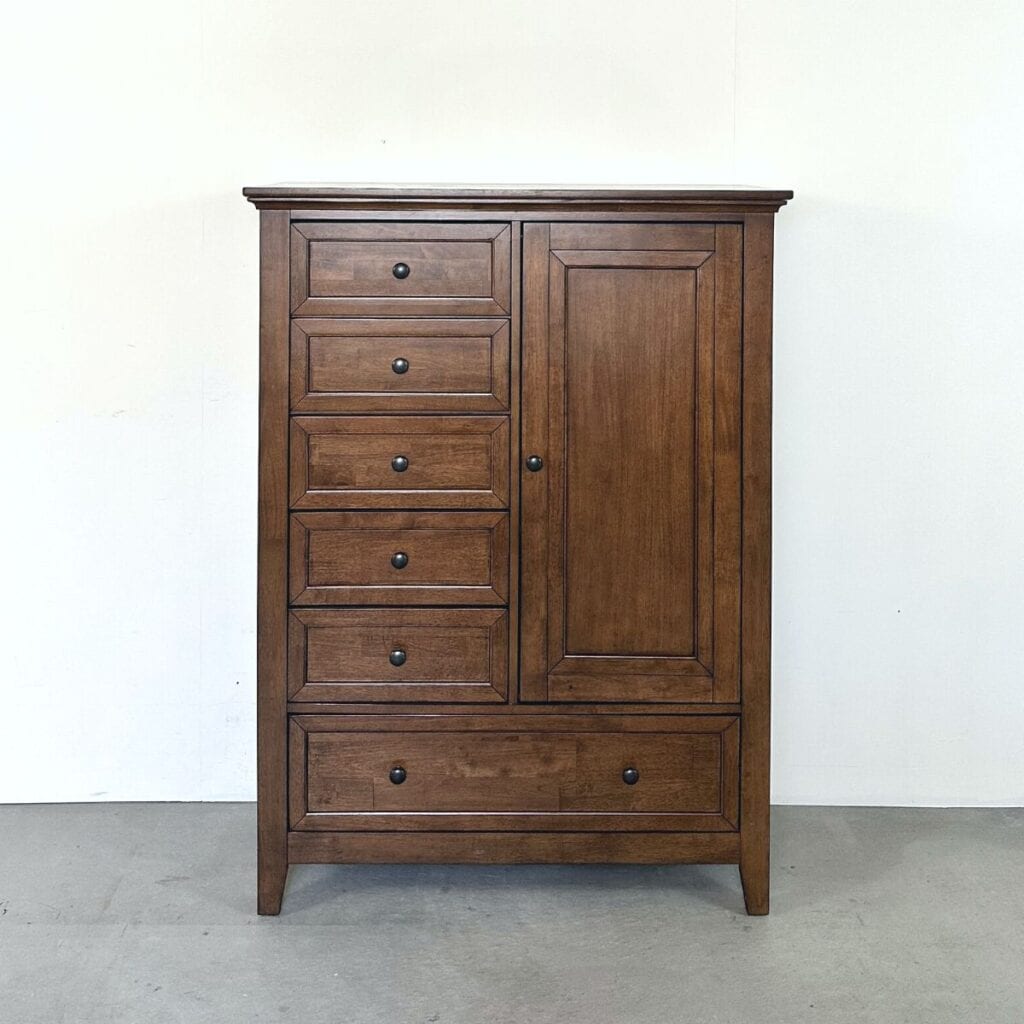
My sister bought this armoire for her bedroom and asked if I could help her paint it. It was in excellent shape, unlike most of my makeovers, but this tone of wood just isn’t her style.

So, she brought it over and I helped her with it. Which I was happy to do because I’ve been really burnt out in the painting department lately. It was so nice to have some help and some company while we painted.
If you have an old piece that doesn’t quite fit your style, consider giving it a makeover! It’s affordable, fun, and a great way to personalize and make it match your home decor better. Now, keep reading to see how this update turned out!

Supplies Used for This Painted Armoire Makeover
As an Amazon Associate, I earn from qualifying purchases. I also may earn from other qualifying purchases with other companies or get free product to review and use. All opinions are my own.
- Krud Kutter
- SurfPrep Sander (Use code RAY10 to get 10% off your order)
- Foam Sanding Pads (Use code RAY10 to get 10% off your order)
- 220 Grit Sandpaper
- Carbide Scraper
- Stripwell QCS (Use code SUNLIGHT10 to get 10% off your order of Stripwell QCS!)
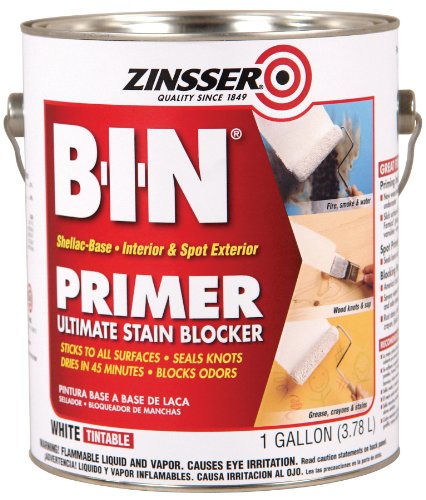
- BIN Shellac Based Primer
- Shop Vacuum
- Tack Cloth
- Sherwin Williams Emerald Urethane Trim Enamel
- Zibra Chiseled Wedge Paintbrush
- Mohair Mini Roller
- Zibra Topcoat Brush
- Waterbased Polyurethane
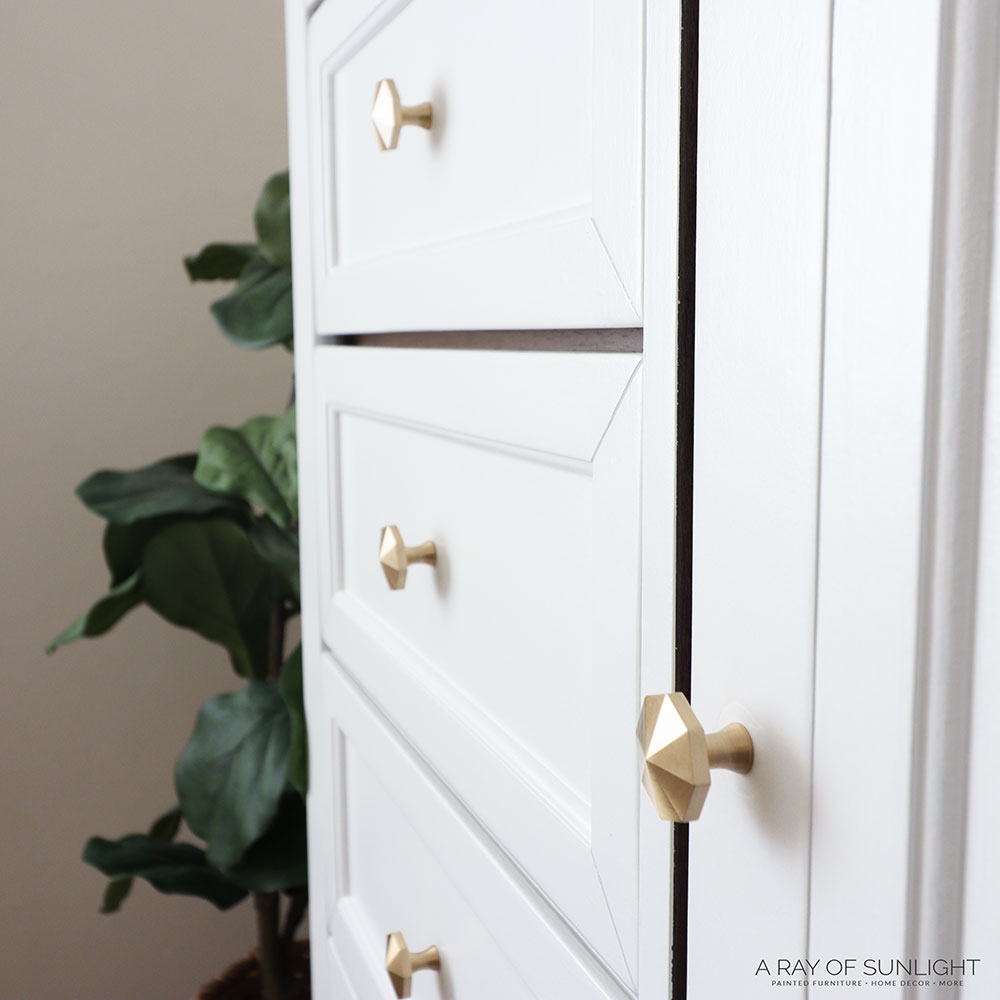
- Hexagon Knobs
Get our list of the best painting furniture supplies here so you can have them handy for your DIY projects.
Preparing for Paint
Before we start slapping on the new color, we have to do these steps on how to prepare furniture for painting to make sure it sticks well and looks really good when all is said and done.
Just like with every makeover, we removed the hardware first. We even unscrewed the hinges from the door… which if you’ve refinished furniture… you know can come back to bite ya. But this piece is new enough that I didn’t think it would be a big deal to put it back together.
Then my sister cleaned the whole piece with Krud Kutter and a damp rag to make sure the surface was clean and to help the paint stick. Here’s exactly how to clean furniture before painting.
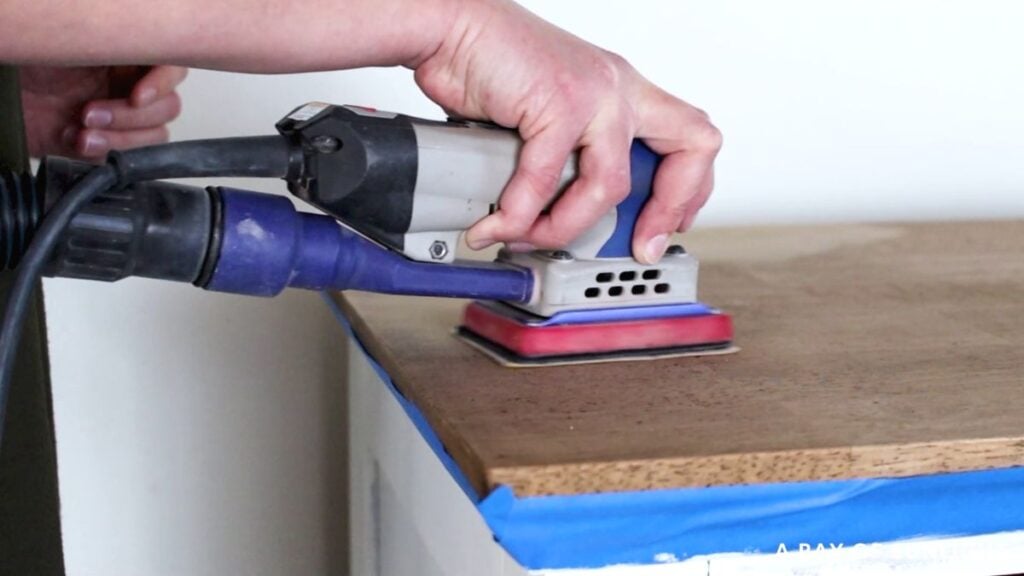
And then she breezed through scuff sanding with my SurfPrep Sander. Read our Surfprep Sander reviews here to know more about this tool.
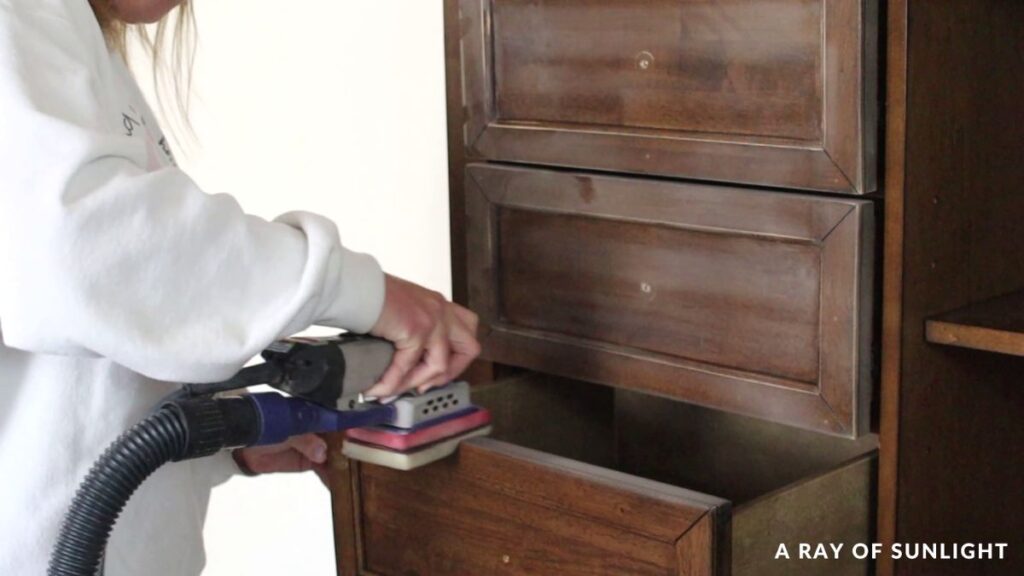
She used the ½” foam sanding pads in medium grit for anything that wasn’t flat. And then she used regular 220 grit sandpaper for the flat areas. Here are more best sandpaper for furniture painting options. If you don’t have an electric sander, here’s my guide on how to sand wood by hand.
This step also helps with adhesion. Learn how to scuff sand and see why it’s so important in our sanding before painting furniture post.
Removing Wood Stain
My sister wanted the top to be a warm grey wood color, so while she scuff sanded, I thought I could quickly scrape off the old finish with the carbide scraper… nope!! I tried and tried, but it barely removed the topcoat!
I was worried about sanding it all down, fearing that I would go through a thin layer of veneer and into a layer of MDF or particle board since this armoire is fairly new. There are do’s and don’ts when dealing with this kind of material – learn more on how to paint particle board furniture here.
So, to play it safe, we decided to use a chemical stripper to remove the old finish.
We used Stripwell QCS to remove the finish. I’ve gotta say, this stuff is quickly becoming a favorite of mine. Stripwell QCS is a simple and safe chemical stripper that has virtually no VOCs, which is rare with chemical strippers! (Use code SUNLIGHT10 to get 10% off your order of Stripwell QCS!)
Check out my Stripwell QCS review here, and learn how to use Stripwell QCS in this how to refinish a dresser post.
This finish was THICK! We ended up doing 2 rounds of stripping to get it off. Not surprising though since the carbide scraper barely did anything on this one! Get more tips on how to remove wood stain and how to remove stain from wood from these posts.
We also have a list of the best wood stain removers here for more options you can use.
Priming to Stop Bleedthrough
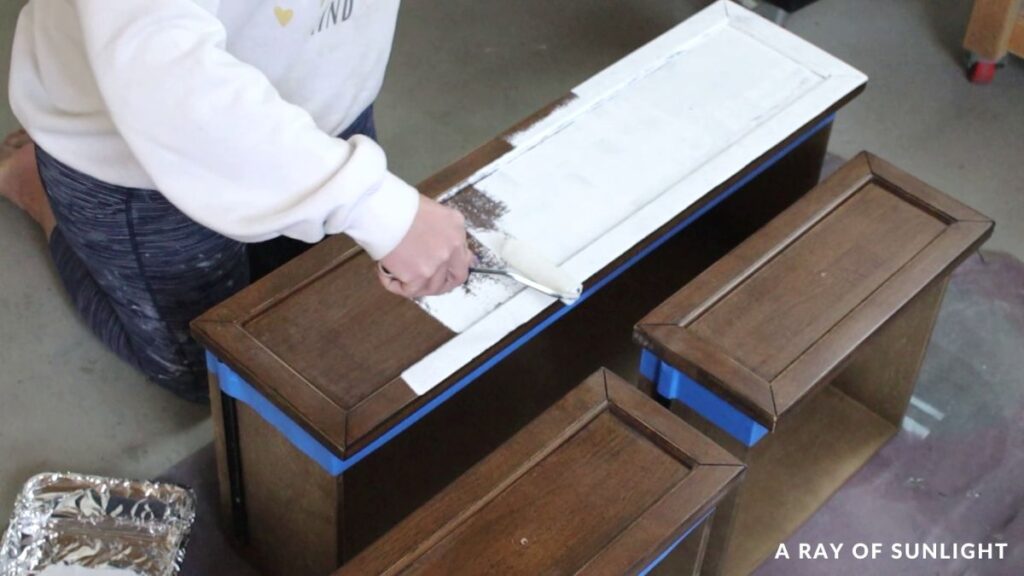
While we waited on the stripper, we primed the drawers and door with BIN shellac based primer to help the paint stick, but mostly, because it’s one of the ways to stop bleedthrough. Here are more best primers to stop tannin bleed you can use.
My sister wanted to paint this piece white, and if we didn’t prime it, I was sure we would have stains ruining the light colored finish. Learn more about how to stop stains from coming through paint by priming in this post.
We brushed and rolled 2 coats of primer on to make sure we had full coverage everywhere. When it was all dry, we sanded it smooth with fine grit foam pads, just to remove the texture that was left behind and make it feel smooth.
We used the vacuum to suck up most of the dust and then wiped everything down with a tack cloth again. Here’s how to clean wood after sanding to make sure the surface is totally clean before moving on to the next step.
Restaining Wood with Paint
The next day, the top (where we stripped off the old finish) was dry, so we were able to sand the raw surface with 220 grit sandpaper to smooth it out and remove a little bit of leftover finish.
Would you like to save this?
I also used some medium grit foam sanding pads to sand the curves on the side of the piece by hand. Then I cleaned off the dust.
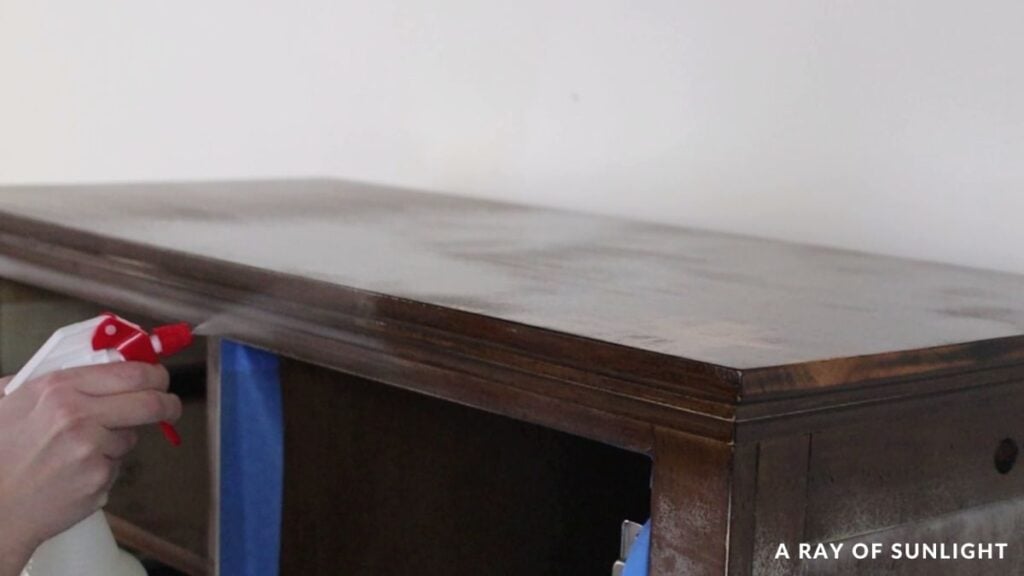
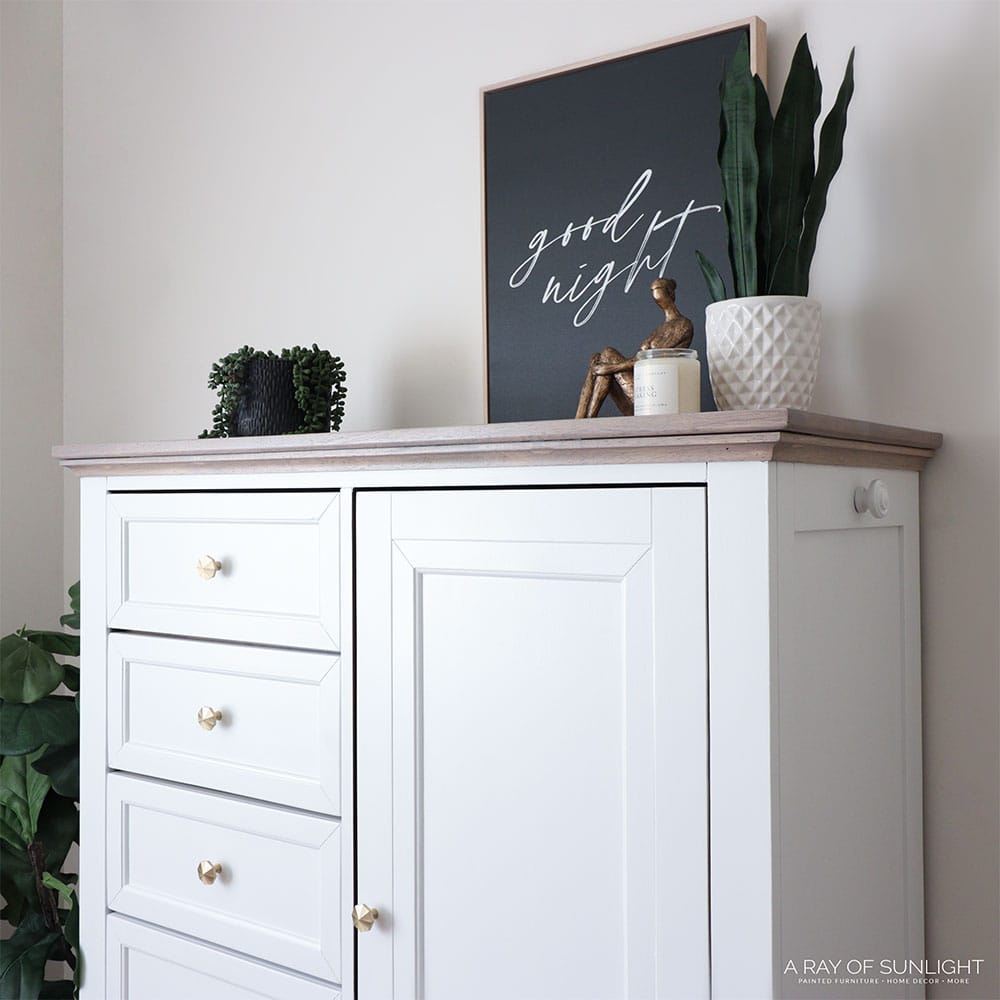
My sister loves her wood to have some grey in it, so I mixed up some grey and cream paint to make a light gray color, and then I added some water to it to create a wash. It is very similar to this process on how to whitewash wood.
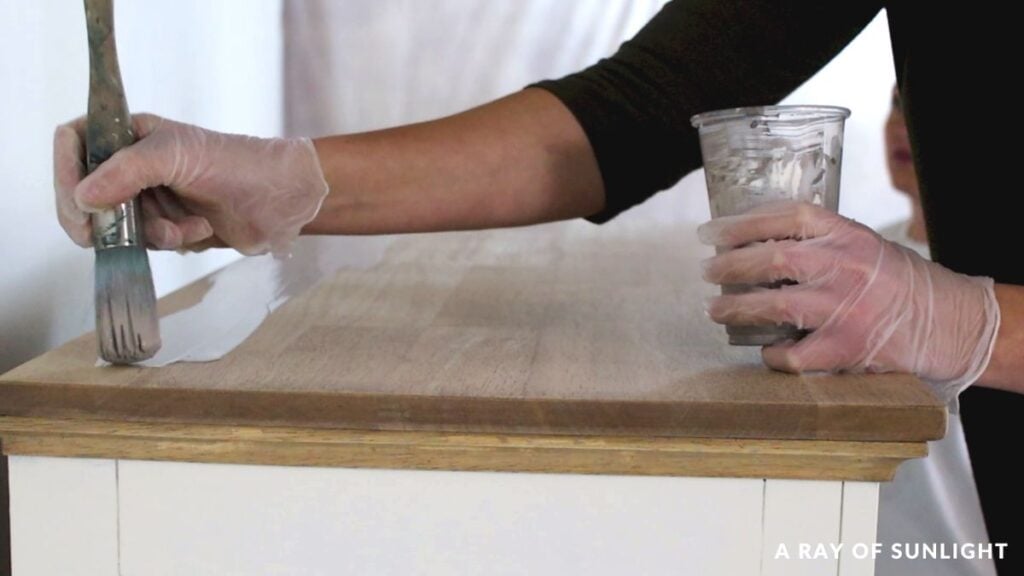
And then I brushed the wash onto the surface quickly with a Zibra paintbrush and wiped it away quickly to give it a slight grey tone. Ahhh, it looks sooo good!! Learn all about how to restain wood furniture here.
Painting Armoire White
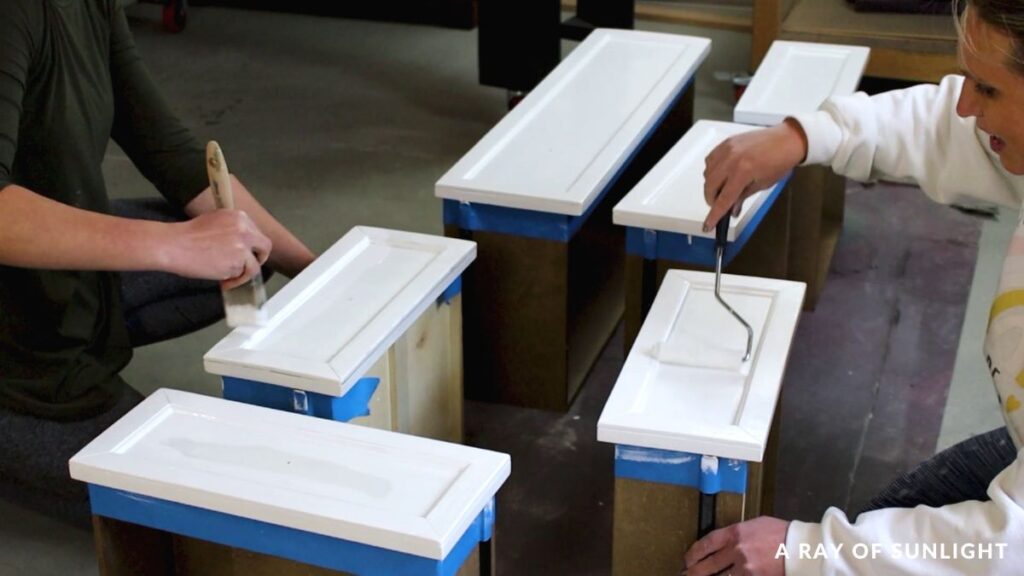
Then we brushed and rolled some Sherwin Williams Emerald Urethane Trim Enamel in Pure White onto the rest of the piece. Check out my list of the best white paint for furniture here for other options you can use.
It’s a high quality, self leveling trim paint that dries to a very durable finish – check out my honest Sherwin Williams Emerald Urethane Trim Enamel review here.
I’ve sprayed in on in the past, in this post about painting furniture white. But this time, we just brushed and rolled it on with a Zibra chiseled wedge paintbrush and a mohair mini roller.
We applied 2 coats on everything, letting it dry completely between coats (recoat time is 4 hours). This paint doesn’t need a topcoat. Actually, you shouldn’t topcoat it. Here’s everything you need to know about painting furniture with enamel paint.


Topcoating Stained Wood
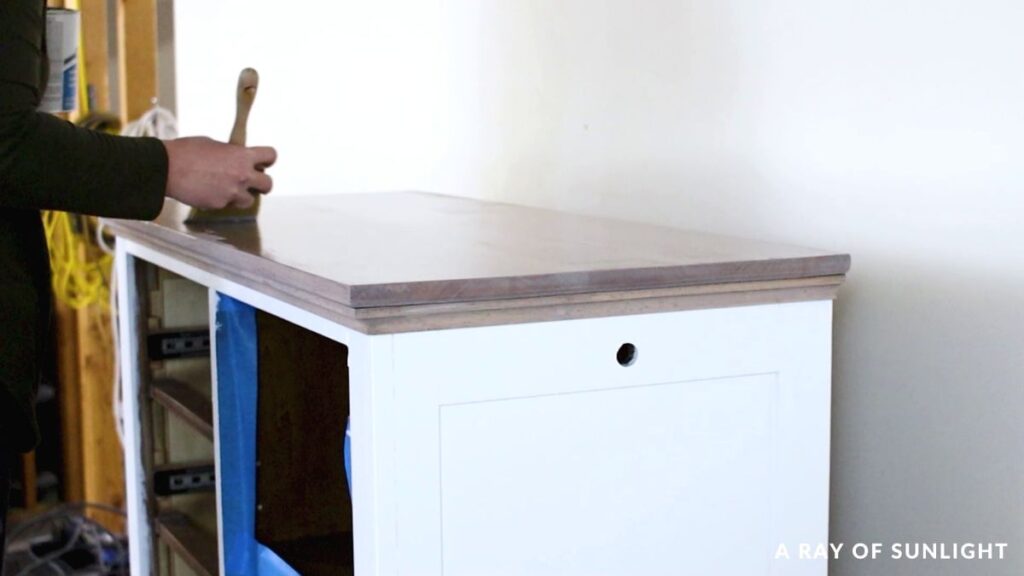
But, the freshly stained top did need a topcoat for protection. I topcoated it with a Zibra topcoat brush and 3 coats of waterbased polyurethane to protect the wood from getting damaged easily.
Learn more about topcoats for painting furniture and how to apply them in this post.
Then we put everything back together and we put on some new cute hexagon knobs on the drawers and door. Check out our detailed guide on how to change hardware on a dresser here.
Watch the full process in our YouTube video below, or scroll down to see what it looks like now! Get more inspiration from these stunning painted armoire ideas.

More Before and After Makeovers
See All >
Click any of these “before” photos below to view the “after” of that makeover.


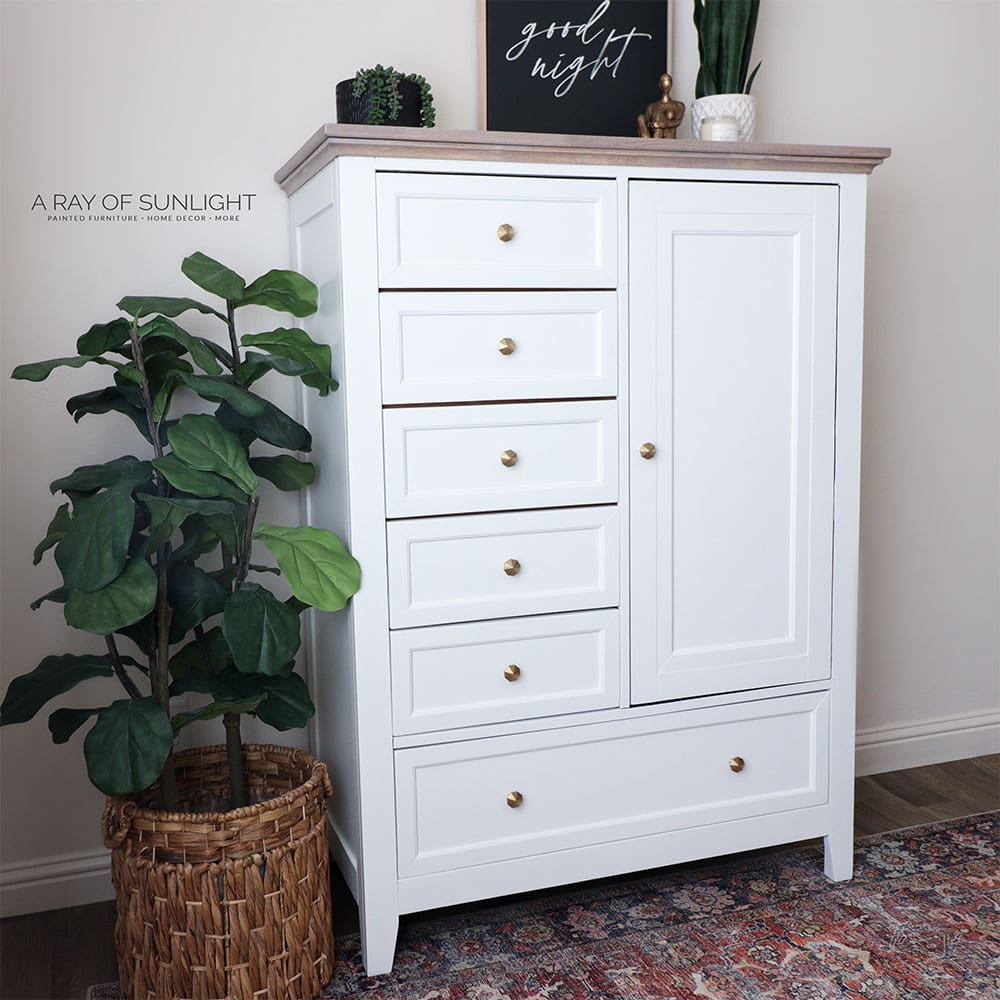
How stinking cute! I think I need to paint more furniture white, because I LOVE this crisp white look! If you feel the same way, here are more white painted furniture ideas. If you want a more natural shade, here’s our list of brown furniture paint ideas!
You can also use stain instead with these armoire refinishing ideas. And for more amazing furniture makeover ideas, check out this post for inspiration and step by step guides!
What do you think of the new look? Would you have painted it all one color? Or do you like the wood top? Let me know in the comments!!


Painted Armoire Makeover
Are you ready to give your old and tired armoire a brand new look? Here's an easy painted armoire makeover to make your furniture look polished and updated.
Materials
Tools
Instructions
- Remove the hardware and clean the furniture with Krud Kutter. Scuff sand everything to get it ready for paint.
- Remove the stained finish on top with Stripwell QCS.
- Apply 2 coats of BIN shellac based primer with a paint brush and roller.
- When the primer is dry, sand smooth with fine grit foam pads. Use the vacuum to suck up any dust then wipe everything down with a tack cloth.
- Brush and roll 2 coats of Sherwin Williams Emerald Urethane Trim Enamel in pure white with the Zibra Chiseled Wedge paint brush and mohair mini roller.
- Thin out some grey paint and apply it to the raw wood top.
- Once the wood is dry, apply 3 coats of topcoat using the Zibra topcoat brush.
- Put on new hardware.
Recommended Products
As an Amazon Associate and member of other affiliate programs, I earn from qualifying purchases.


More White Painted Furniture Makeovers
- White Painted Dressers
- Painting a Dresser White
- DIY Whitewash Dresser
- White Painted Coffee Table
- Gel Stain Over White Paint
Learn the Art of Updating Furniture!
If painting furniture feels overwhelming or your past attempts didn’t go as planned, this course will guide you step by step.

Follow us on YouTube to get more tips for painting furniture. Or share your project with us on our Facebook Group and be part of our community. See you there!
What a nice, clean bright white, and it is beautifully done. Love the door handles for accent.
Thank you for sharing your links with us at #277 SSPS Linky. See you again next week.