DIY Santa Painting with Decoupage Rice Paper
Santa Claus is an iconic symbol of Christmas, and a DIY Santa painting is a great DIY Christmas decor idea. However, not everyone has the artistic ability to create a beautiful painting of Santa on their own. Luckily, there is a simple way to create a stunning Santa painting using decoupage rice paper.
This project is perfect for beginners or anyone looking for an easier alternative to traditional painting techniques. So let’s dive into the steps of this fun and festive project!
Santa Claus is the jolly man in red who brings joy and gifts to children all over the world on Christmas Eve. He has been a beloved figure of the holiday season for many years, and his image can be found on various decorations and ornaments.

However, not everyone is comfortable with painting or has the time to create their own masterpiece like this Santa painting.
This is where decoupage rice paper comes in. It’s a simple yet effective way to add festive images, like Santa, to different surfaces without having to paint them yourself.
Yes, using decoupage rice paper for your DIY Santa painting allows you to skip the painting step and still get a beautiful result. You can choose from different Santa designs or even mix and match with other Christmas-inspired images.
Now it’s time to get started on creating your very own Santa painting!
Supplies Used for DIY Santa Painting
As an Amazon Associate, I earn from qualifying purchases. I also may earn from other qualifying purchases with other companies or get free product to review and use. All opinions are my own.
- 1/2″ Plywood
- 220 Grit Sandpaper
- 1″x2″ Wood Furring Strips
- Miter Saw or Jig Saw
- Chalk Paint in Black
- Gel Stain
- Polyurethane Topcoat
- Decoupage Rice Paper
- Paint Brush
- Hammer
- Wood Glue or Instant Super Glue
Cutting Plywood to Rice Paper Size
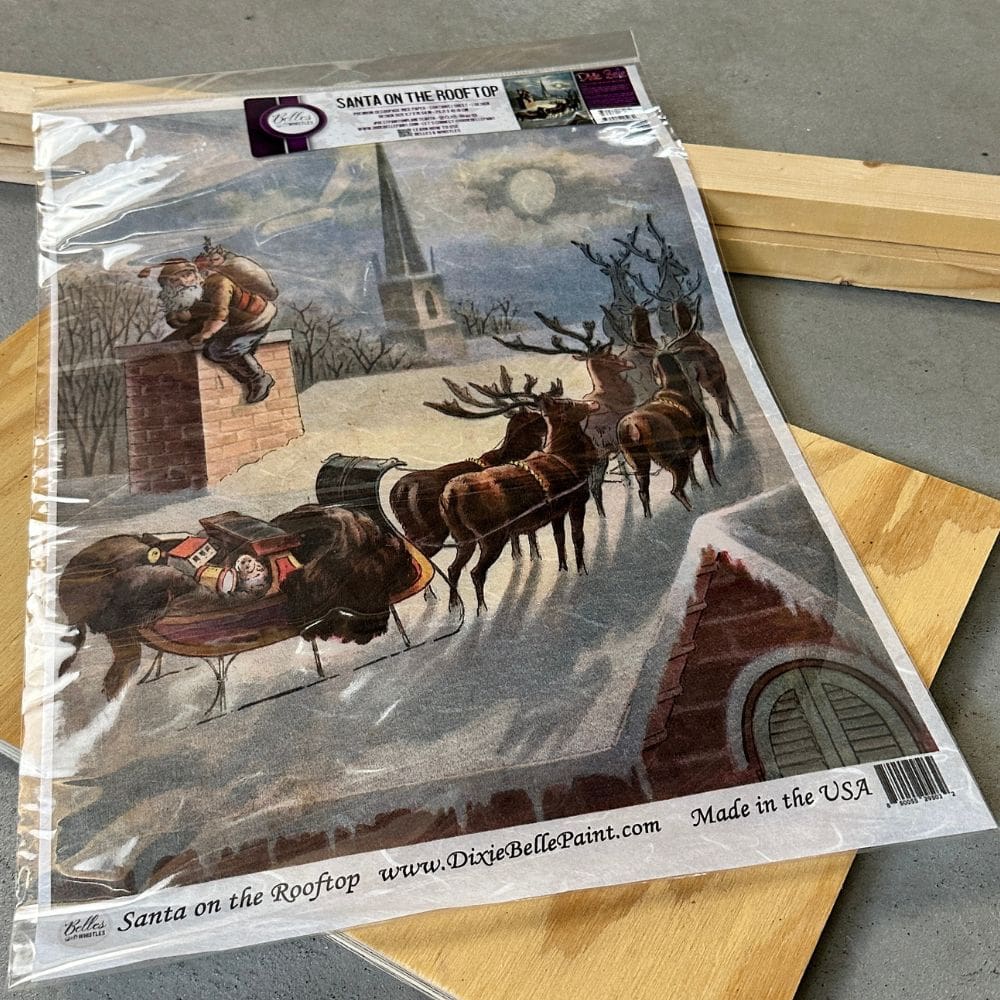
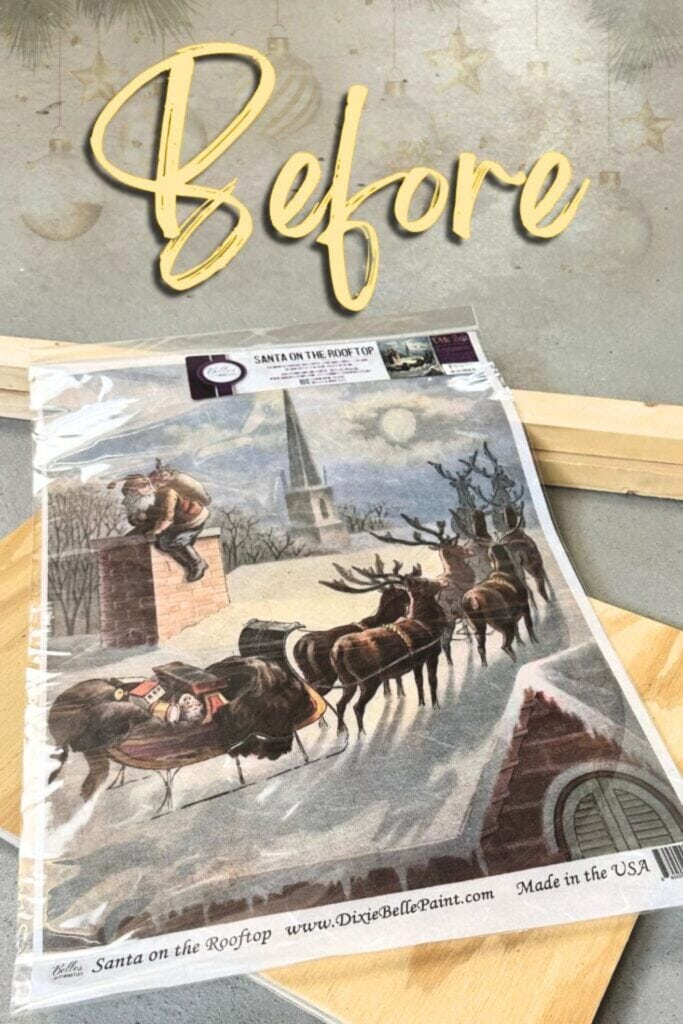
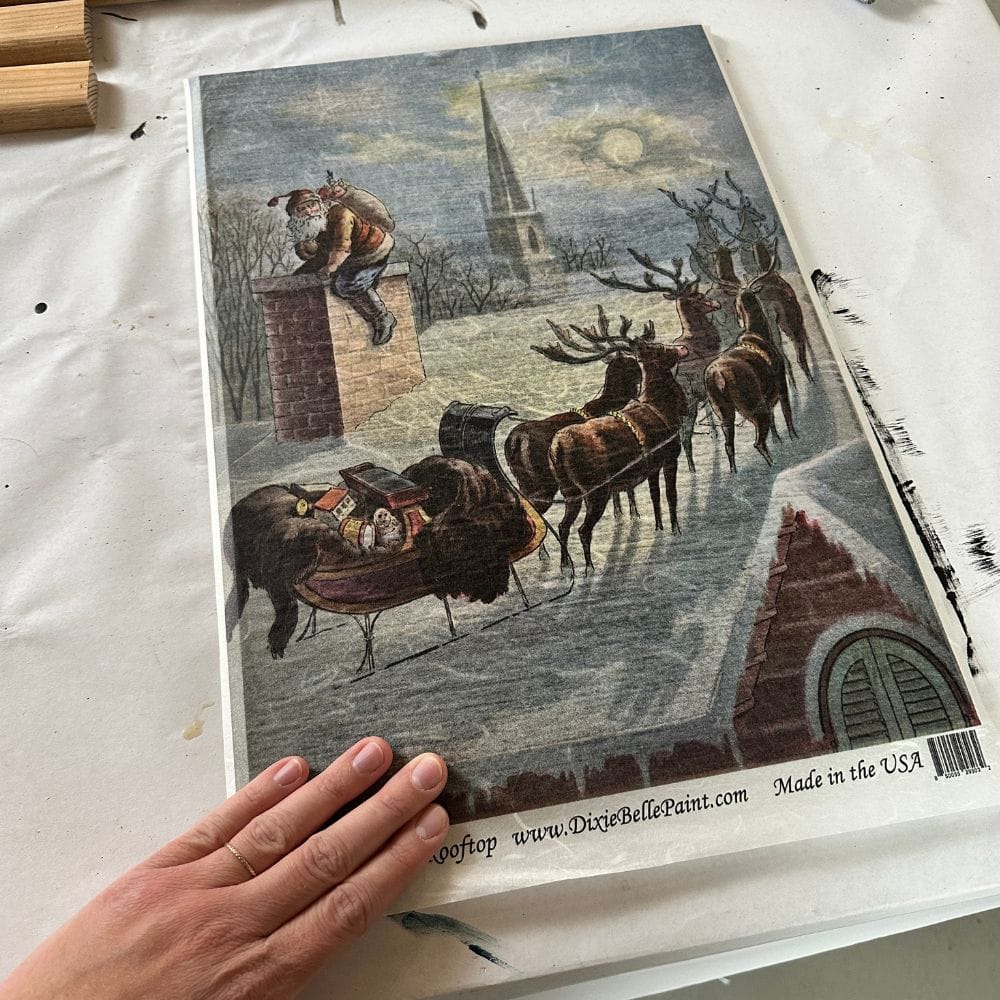
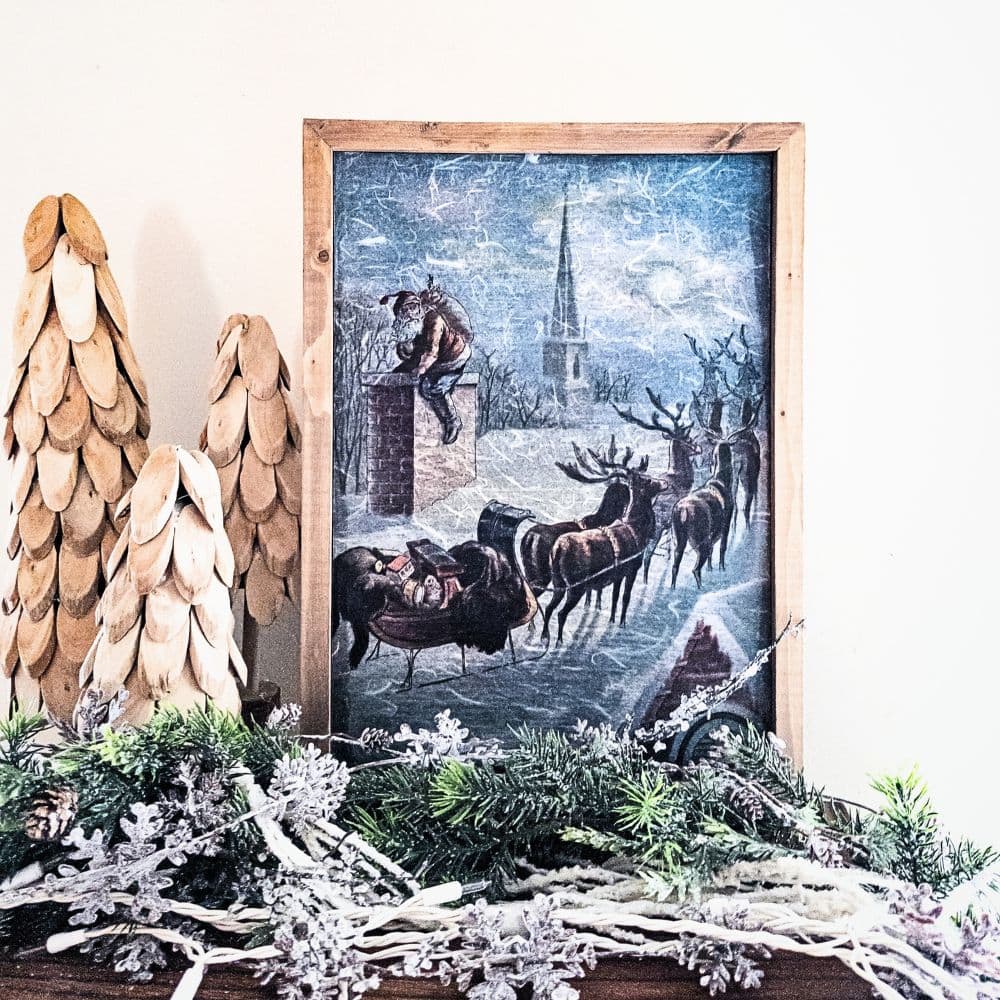
To start, gather your plywood and measure out the appropriate size for the rice paper design. In this case, we used Belles and Whistles Decoupage Rice Paper in the Santa on the Rooftop design.
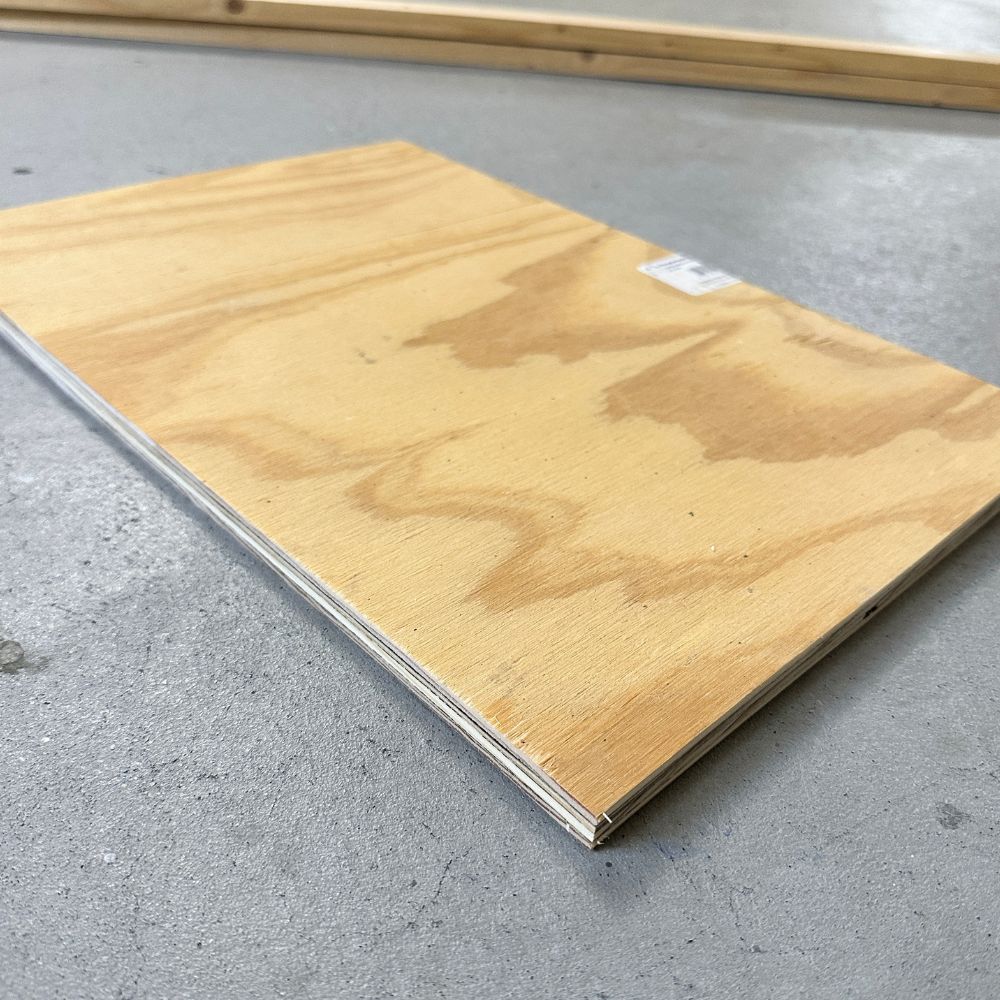
Carefully cut the wood to 11.5″ x 16.5″ using a saw or have it pre-cut at your local hardware store.
Once you have your plywood cut to size, sand the edges with 220 grit sandpaper. This will not only remove any rough or splintered areas but also create a smooth surface for painting later on. Clean any excess dust from sawing and sanding before moving on to the next step.
Cutting Wood Furring Strips for Frame
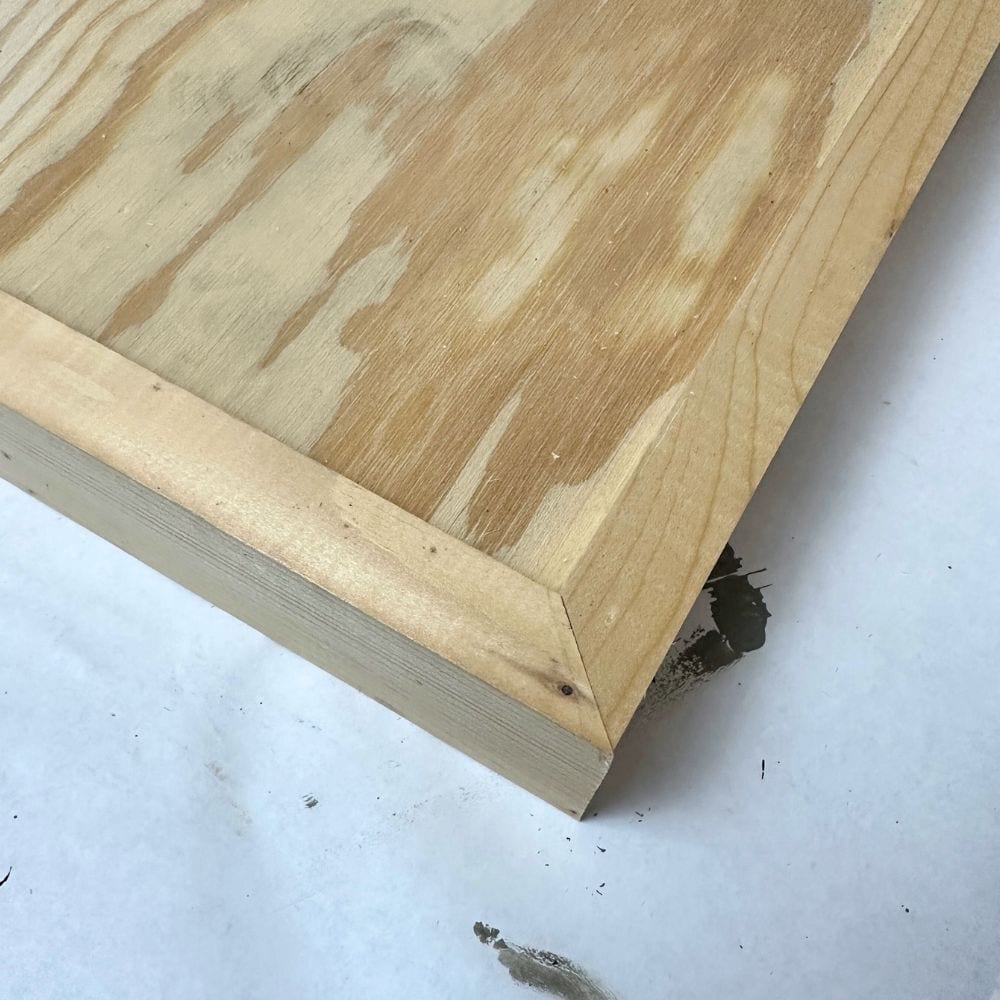
Now, cut the wood furring strips to make a frame around the plywood. Again, you can use a miter saw or a cheap jig saw for this. For this project, I cut the pieces at 45 degree angles for a clean and polished look.
However, if you prefer a more rustic aesthetic, simple straight cuts will also work.
Make sure to measure and cut two pieces at 11.5″ long and two pieces at 16.5″ tall, with the shortest part being the size of your plywood.
It’s actually more complicated than my usual way of how to make a wood sign, but trust me, those 45 degree angle cuts make it look so much cleaner! Don’t forget to sand the edges of the wood strips to smooth out any rough areas or splinters and make them safer to handle.
Painting Plywood
Once the plywood is cut and sanded, it’s time to paint the plywood. We used Waverly chalk paint in the color Ink. This paint is awesome because it dries quickly, typically within 30 minutes, and provides full coverage on the plywood.
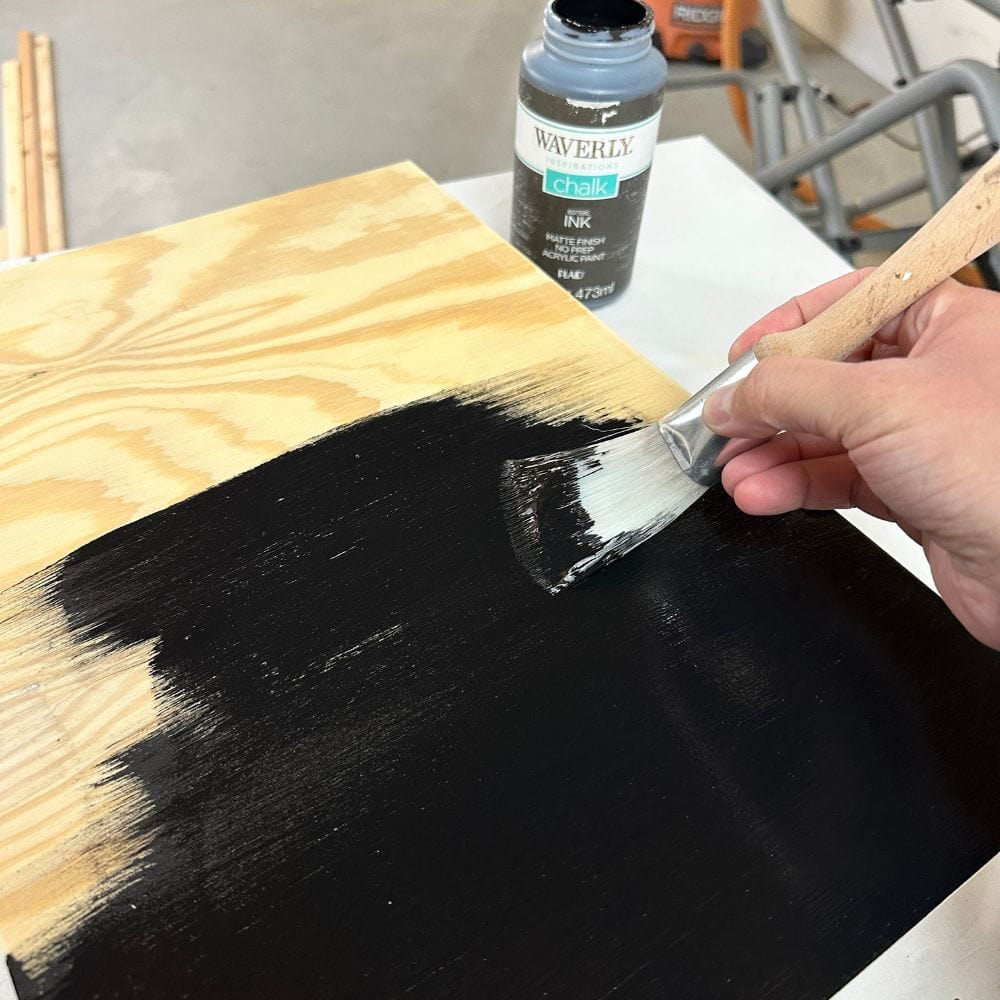
Our Waverly chalk paint review goes into detail on this paint if you’re interested in learning more.
To apply the paint, I used a Zibra fan brush, because it’s one of the best paint brushes for painting. Any cheap brush can work for this project though. Apply the paint in long, even strokes until the entire surface is covered.
Staining Wood Frame
Next, take your stain of choice and apply it to the wood frame. We used Lilly Moon Gel Stain in the color Old Fashioned for this one. This gel stain is great because it dries quickly and doesn’t have a strong smell.
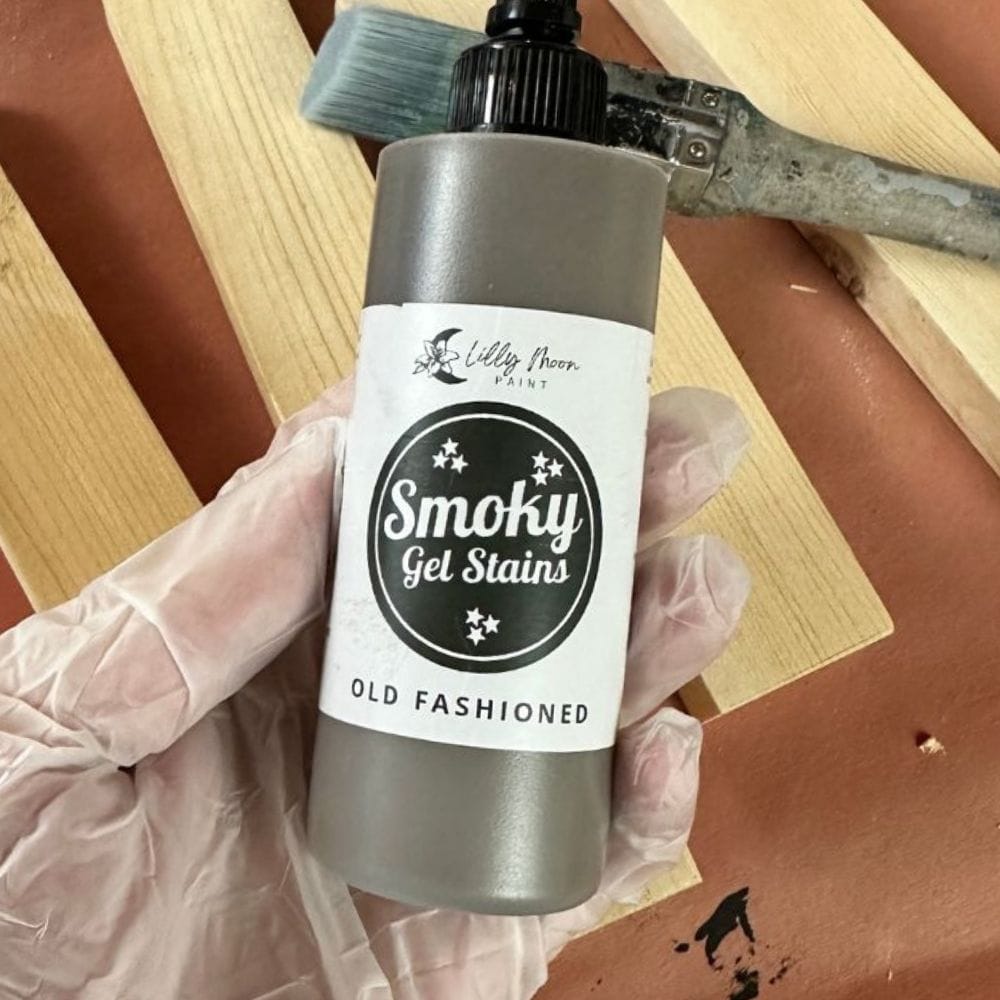
Spray some water on the raw wood to help the gel stain soak in evenly and extend the drying time. This way, you’ll have more time to work with it and it’ll make the gel stain stretch further since it won’t all soak into the wood.
Use a brush to coat all sides of the wood pieces evenly then just let the wood dry.
Laying Decoupage Rice Paper onto Plywood
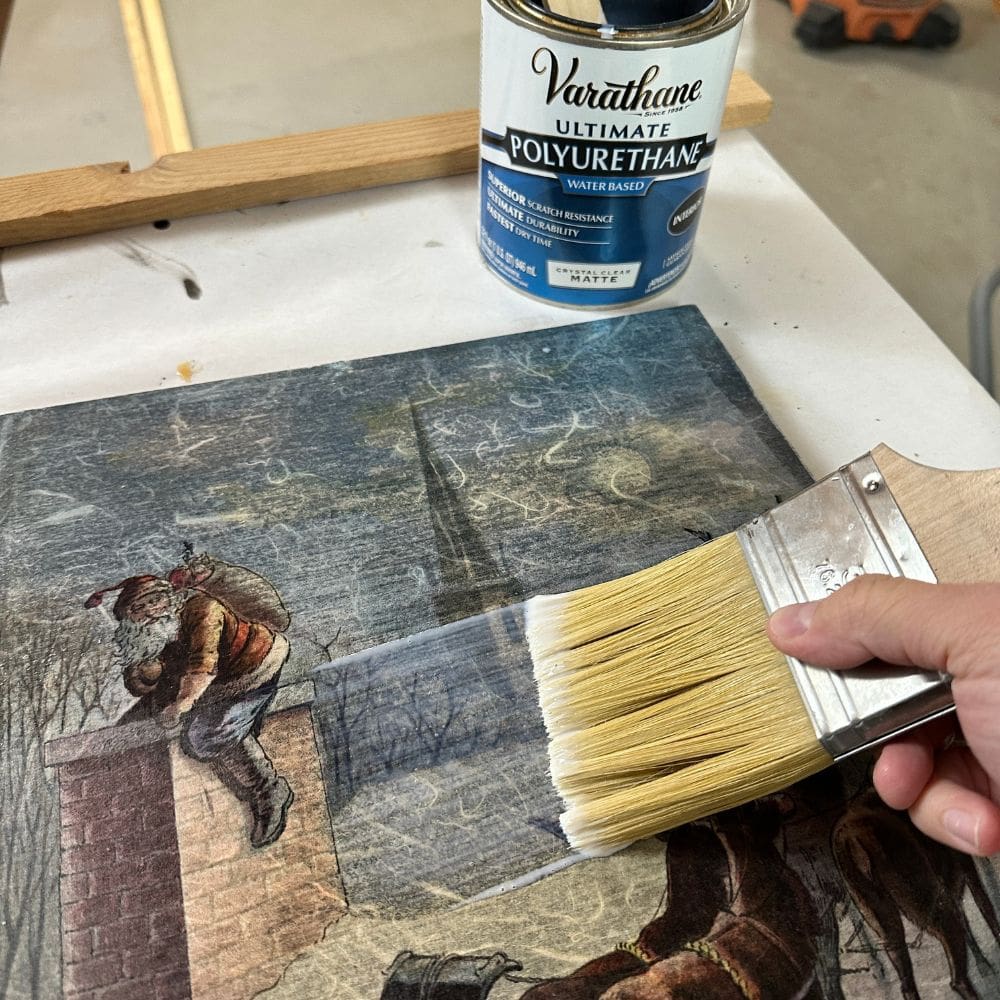
Get your Varathane waterbased polyurethane and use a brush to apply a coat onto the black painted plywood. After that, carefully place the decoupage rice paper onto the polyurethane-covered plywood.
Would you like to save this?
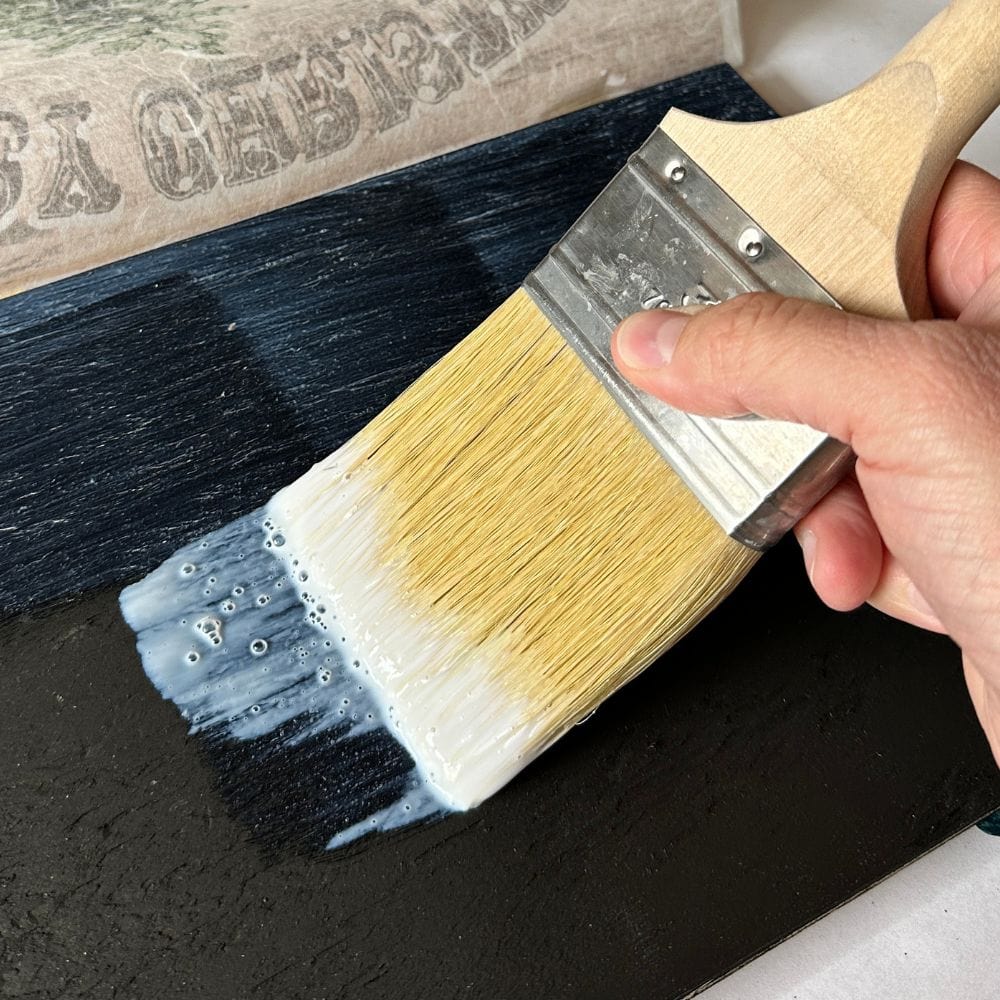
The polyurethane will act as an adhesive to stick the paper onto the surface.
For easier placement, you can work in small sections. Start by placing the rice paper on the plywood, and lining it up exactly where you want it. Then tape it in place (letting the tape only touch the border of the rice paper).
Then lift up the paper and move it to the side of the plywood, while leaving it taped in place at the top of the plywood. Apply polyurethane onto the plywood, and then put the rice paper carefully back in place, using the tape as a guide to help you get it lined up just right.
Rub the paper to make sure it sticks to the plywood all over.
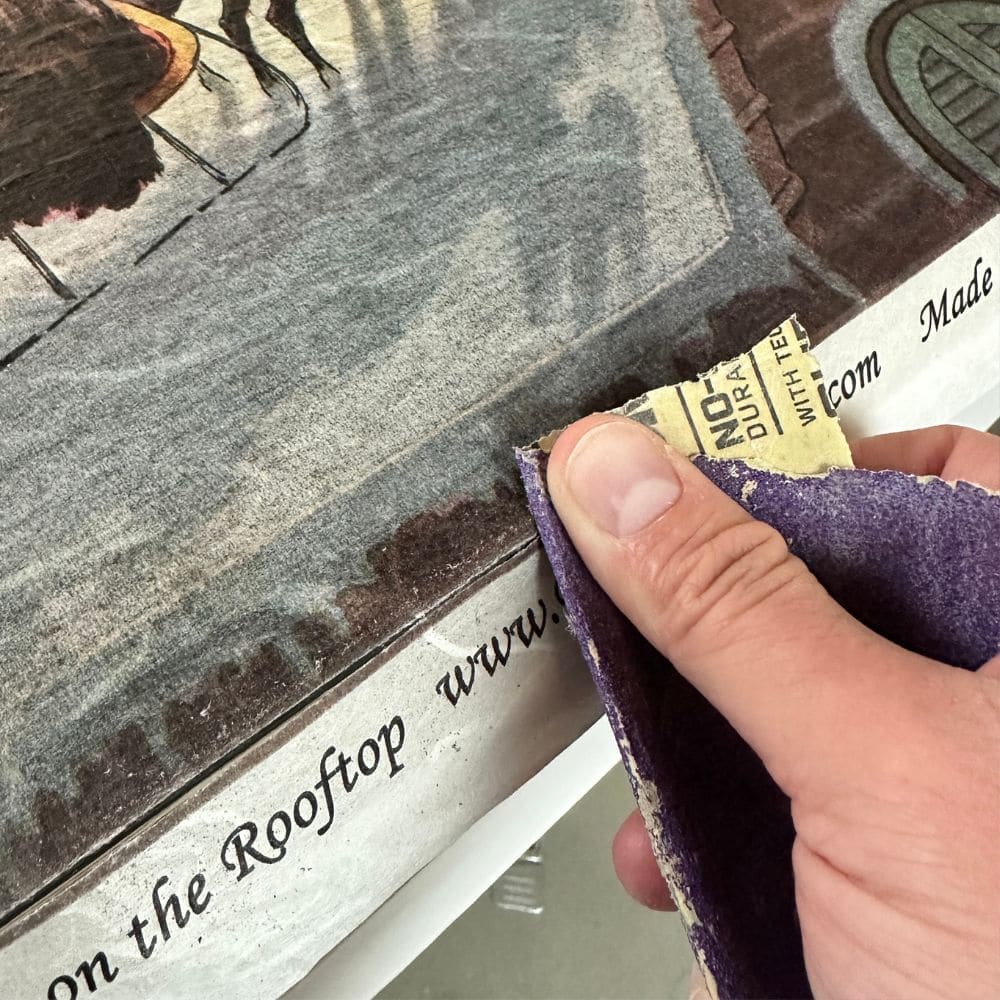
Allow the polyurethane to dry completely. Then trim off the excess rice paper from the edges of the sign. I used a piece of sandpaper to lightly sand the edge and cut it off. Just be careful not to rip or tear the paper while you’re at it.
Sealing Rice Paper
It’s important to seal it in with a topcoat. This will not only protect the delicate decoupage rice paper but also give your Santa painting a finished look. You can choose between a matte, satin, or glossy finish depending on your personal preference.
A matte finish will give your painting a more rustic and vintage feel while a satin or glossy finish will add some shine and modernize the look. Our post on topcoats for painting discusses on these different finishes and when to use them.
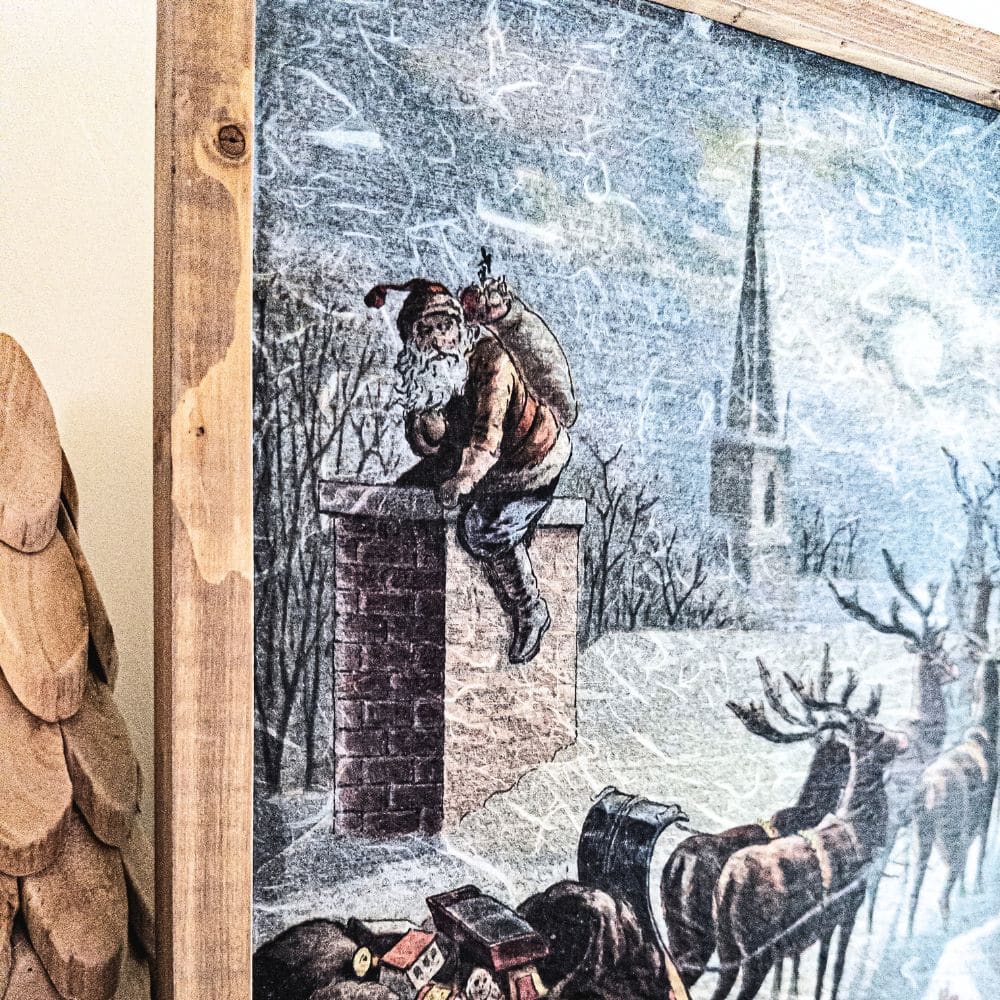
Carefully coat the entire surface of your Santa painting with topcoat, including the edges. Once fully dried, your DIY Santa painting is ready to frame!
Frame the Santa Sign
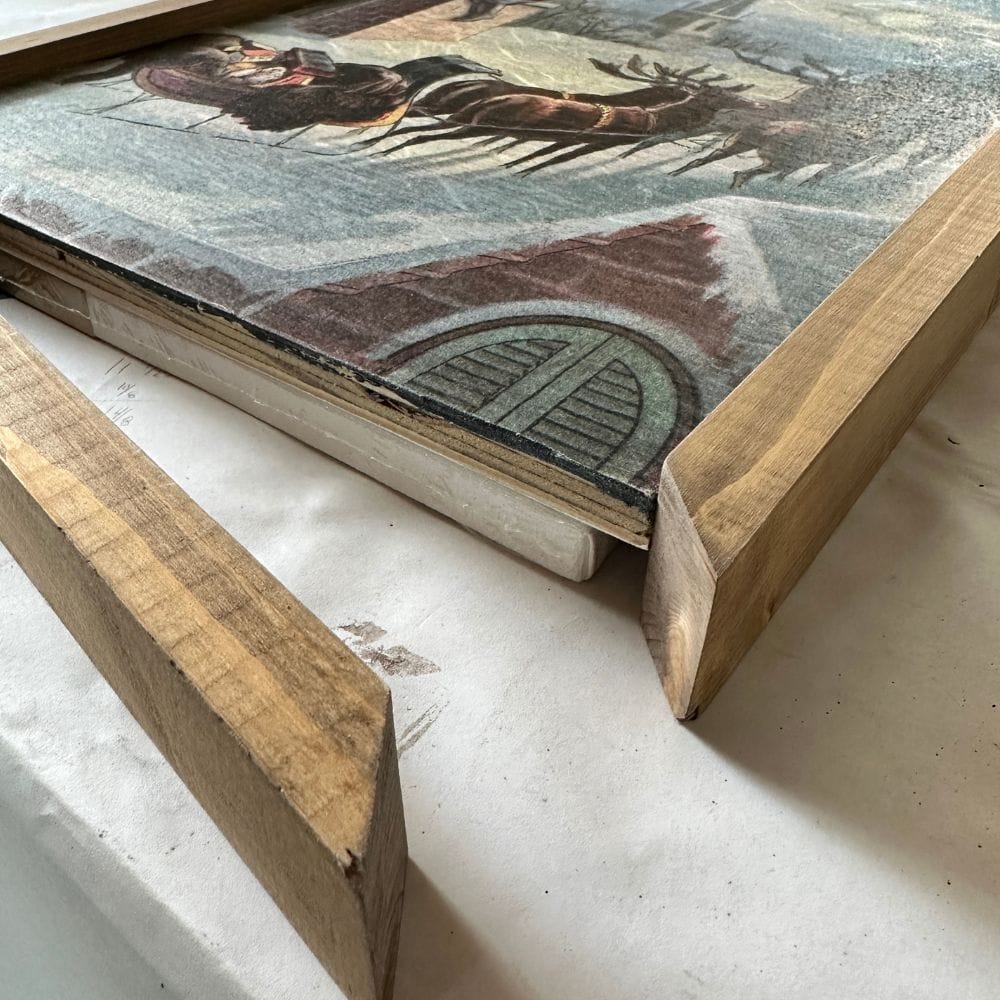
It’s time to attach the wood frame to the plywood sign! Using a nailer or hammer and nails to carefully secure the frame to the edges of the sign. Make sure that all corners are aligned properly before nailing in place.
If you don’t have access to a nailer or prefer not to use one, you can also opt for wood glue or instant super glue. Just be sure to hold the frame in place until the glue sets or dries completely.
When you’re nailing or gluing the frame, make sure to pay attention to how much it sticks out in front of your sign. You don’t want it overshadowing your Santa painting. Aim for a 1/4 inch overhang or less for a clean and balanced look.
And if you’re feeling extra creative, you can even create a sign on the back of this plywood piece. That way, you can have two designs in one piece and switch them up without making a new frame! Of course, this is if you’re not hanging the sign from the back.
This DIY simple Christmas sign would be a great idea to use on the back side!
Yes, you can definitely make a DIY Santa painting without having to be a skilled artist! And now you have your own personalized Santa artwork you can display every holiday season.
You can also use this technique to make other holiday themed paintings or even personalized home decor pieces. Recreate these decoupage dresser ideas with your own furniture!
Hang them up with these vertical Christmas signs to create a festive and diverse display that adds charm and character to your holiday decor.
Here are wooden Christmas door signs that you can hang outside to welcome your guests this Christmas season.
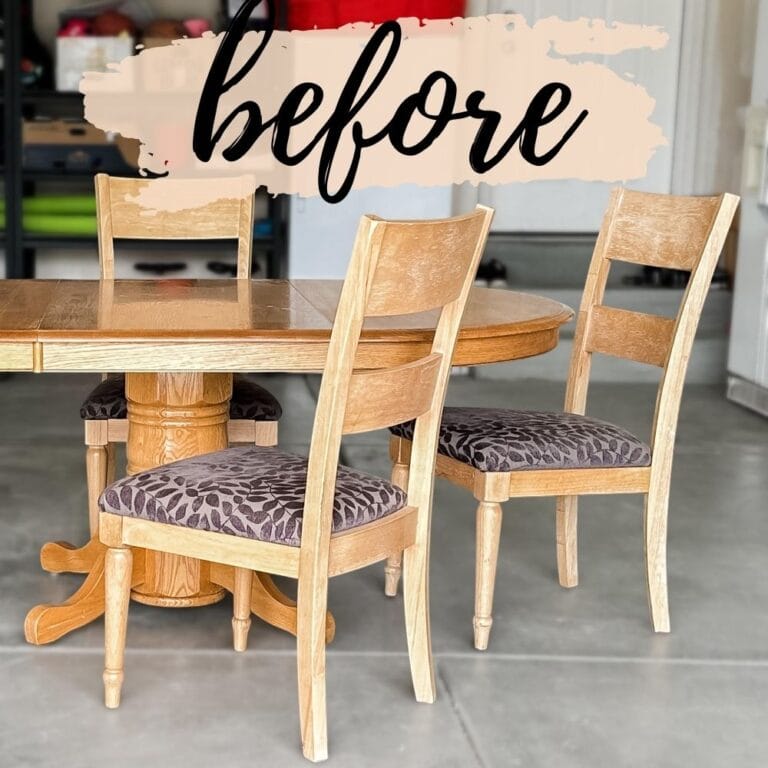
More Before and After Makeovers
See All >
Click any of these “before” photos below to view the “after” of that makeover.


DIY Santa Painting with Decoupage Rice Paper
Creating your own DIY Santa painting without any painting experience is super simple with our easy-to-follow guide.
Materials
Tools
Instructions
- Measure and cut plywood to the size of your decoupage rice paper. After cutting, sand the edges with 220 grit sandpaper.
- Measure and cut 4 pieces of wood furring strips to make as frame for your plywood sign with 45 degree angle cuts. Don't forget to sand the edges for a smoother finish.
- Paint the plywood with chalk paint, using long and even strokes for full coverage. Let dry for 30 minutes.
- Use a gel stain to add color to the wood frame. Apply it evenly with a brush and let dry completely.
- Spread water-based polyurethane on the painted plywood surface and carefully place the decoupage rice paper onto it, smoothing out any wrinkles or air bubbles. Let dry.
- Trim off excess rice paper with sandpaper and seal the painting with a topcoat of your choice for added protection and finish.
- Attach the wood frame to the edges of the plywood sign using nails, glue, or both. Make sure to align corners properly and aim for a 1/4 inch overhang for a clean look.
- You can now display your DIY Santa painting!
Recommended Products
As an Amazon Associate and member of other affiliate programs, I earn from qualifying purchases.


More Christmas Decor Ideas
- DIY Christmas Village
- DIY Believe Christmas Sign
- DIY Wooden Christmas Village
- Farmhouse Christmas Tree Ideas
- Build Your Own Christmas Village

Follow us on YouTube to get more tips for painting furniture. Or share your project with us on our Facebook Group and be part of our community. See you there!