Build Your Own Christmas Village
Are you thinking of Christmas decor ideas as well as holiday activities that will bring joy and festive spirit to your home? We say build your own Christmas village! This fun and creative DIY project will not only add a unique touch to your holiday decor, but it’s also a great way to involve the whole family in making memories.
Using simple materials and easy-to-follow instructions, you can create a beautiful Christmas village that will grace your home for many more holidays to come!
Christmas villages have been a popular holiday decoration for generations.

These miniature towns, usually made up of charming houses and festive decorations, evoke feelings of nostalgia and warmth during the holiday season.
While many stores offer pre-made Christmas villages, there is something special about creating your own from scratch.
Not only does it allow for more personalization and creativity, but it also gives you a sense of pride and accomplishment in your holiday decor.
Plus, it’s a great way to spend quality time with loved ones while getting into the holiday spirit. So gather your family and friends, put on some holiday music, and let’s get crafting!
Elements of the Christmas Village
Let’s first talk about the main elements that make up a Christmas village.
Christmas villages usually feature a series of houses. These could be designed to mimic the architecture of a quaint, snowy town or even resemble your own neighborhood.
Remember, there’s no right or wrong here; these are your houses, paint them any color you like!
What’s a village without its residents? Add some miniature people to your village to bring it to life.
You can choose to stick to traditional holiday figures like Santa and snowmen or get creative with a mix of characters.
Set the scene with a snowy landscape, pathways, and trees. You can use artificial snow, cotton balls, or even marshmallows to create a winter wonderland.
And don’t forget the lights! From string lights to battery-operated tea lights, these will add a cozy and magical glow to your village.
This is your chance to create a festive world that’s uniquely yours. The more details you add, the more captivating your village will be!
Supplies Used for Building Your Own Christmas Village
As an Amazon Associate, I earn from qualifying purchases. I also may earn from other qualifying purchases with other companies or get free product to review and use. All opinions are my own.
Scroll to the bottom to download the Free Template!
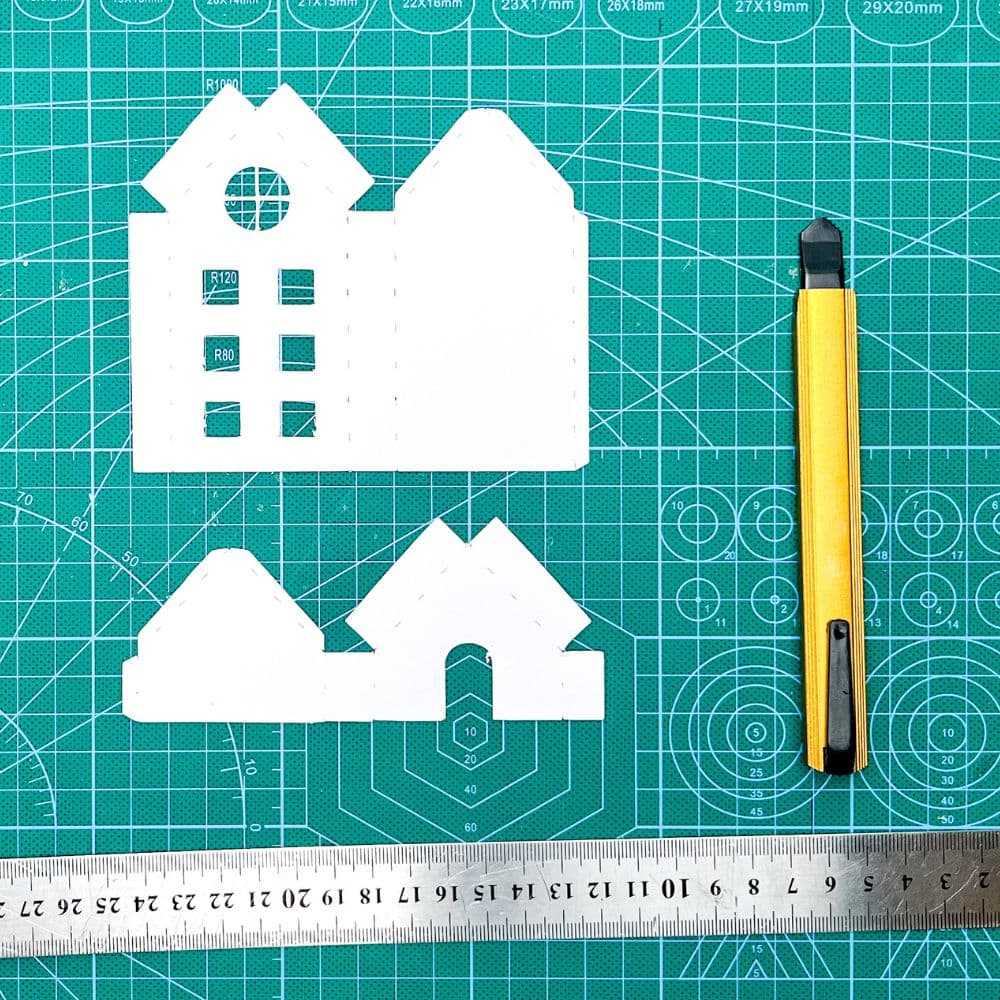
You will need these supplies that are easily accessible and affordable.
These include card stock to make the houses, a craft cutter for precise cutting, a metal ruler for measuring and scoring, and a glue gun for assembling them.
Downloading and Printing Templates
To start your Christmas village project, you will need to download and print house templates. It’s important to have a clear template that you can use as a guide for cutting and assembling your houses.
This will save you time and frustration, especially if this is your first time making a Christmas village.
Once you have your template, make sure to print it on sturdy card stock for durability. You can also adjust the size of the template to fit your desired scale for the village.
Consider printing multiple copies in case you make a mistake or if you want to create more houses.
Cutting Templates with Craft Cutter
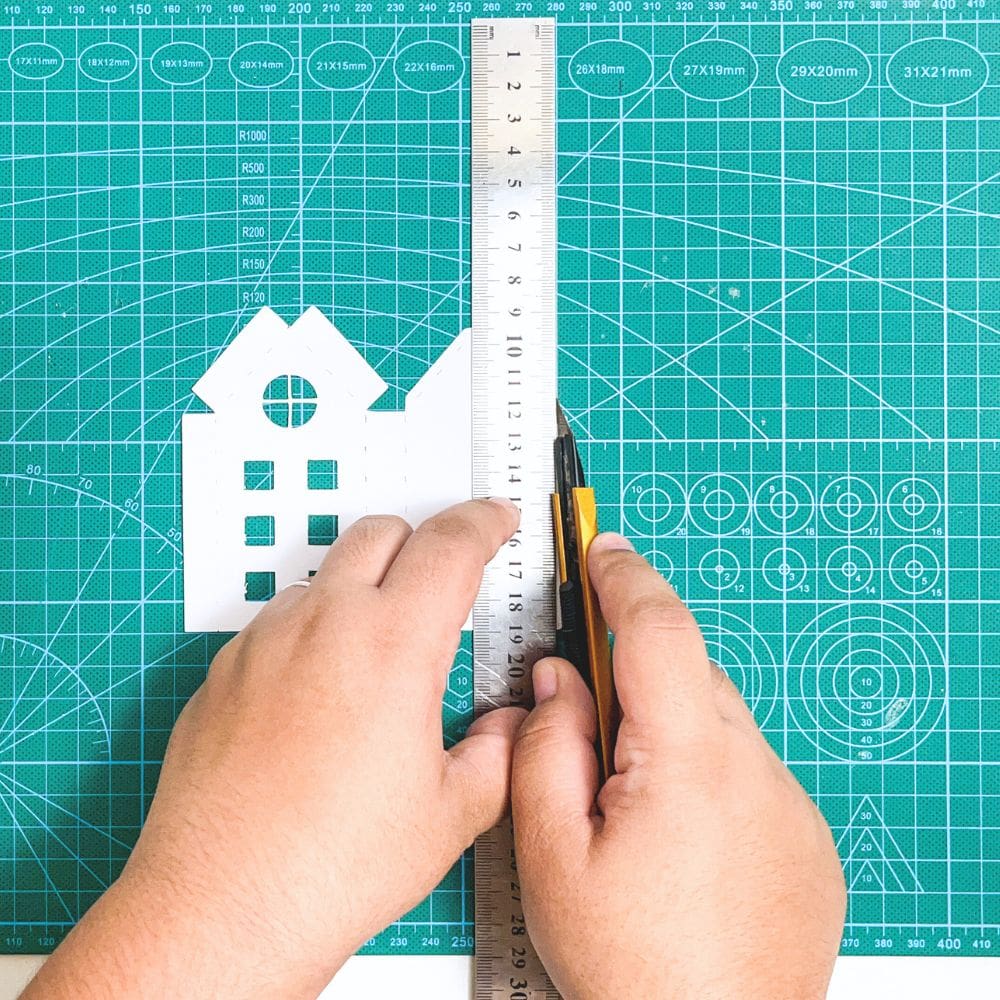
Now that you have your printed templates, it’s time to cut them out. Use a craft cutter for precise and clean cuts.
Make sure to place a metal ruler along the solid lines of the template as a guide to guarantee straight edges.
It’s always better to take your time with this step rather than rush through it and end up with uneven or crooked cuts.
For the broken lines, lightly score cut along them, making sure not to cut all the way through. This will make it easier to fold and assemble the houses later on.
If you have a scoring board, this can be a helpful tool for clean and precise score cuts.
Don’t worry about being too perfect with the scoring, as it will not be seen once the houses are assembled.
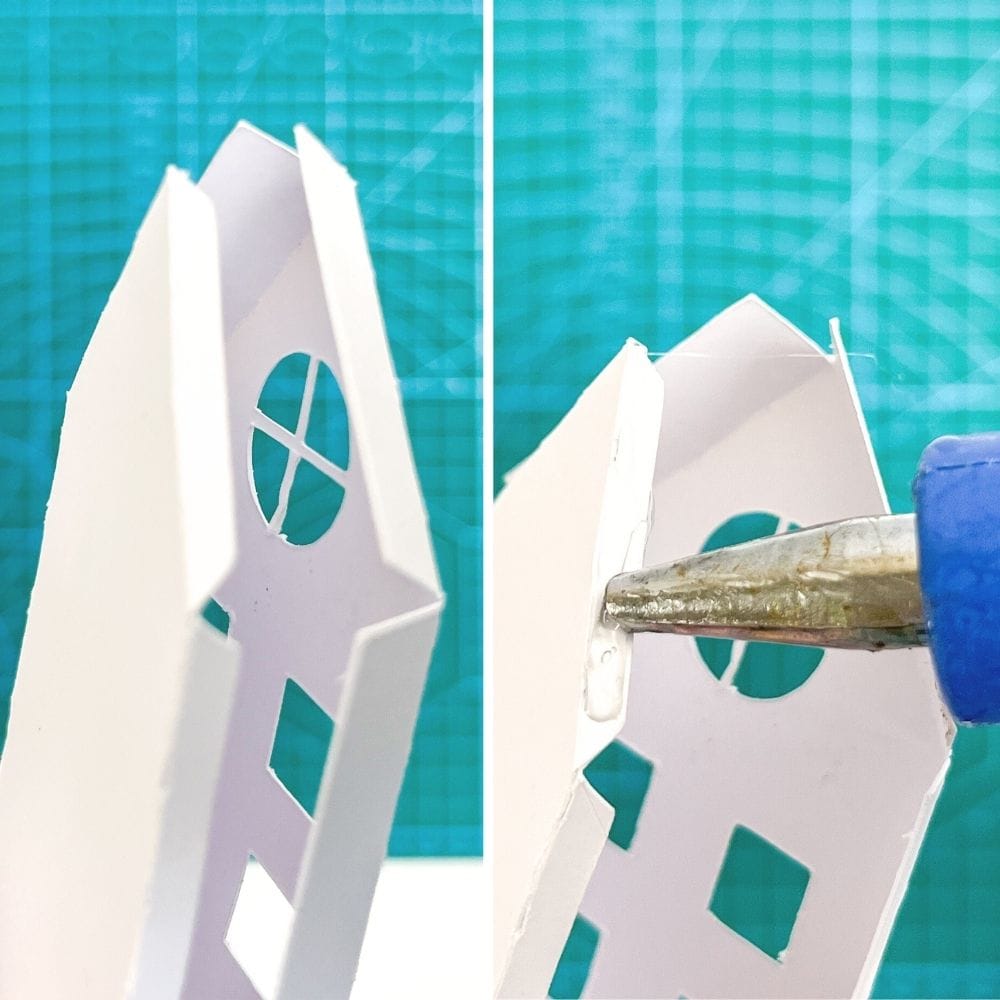
Assembling Christmas Village Houses
Attach the tabs on one side of the house to the corresponding tabs on the other side using a glue gun. Hold it in place for a few seconds until the glue sets and dries.
Would you like to save this?
Repeat this process with all your houses, making sure to let each one dry completely before moving on to the next.
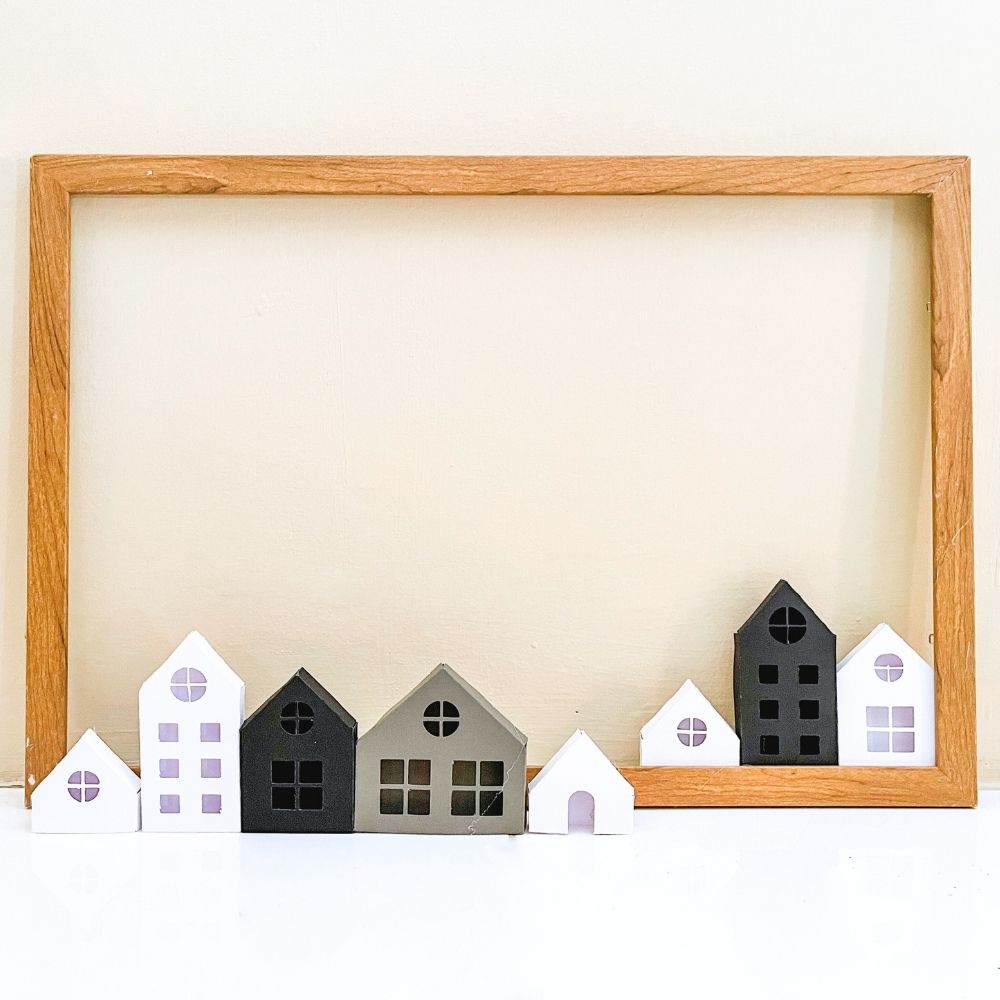
Once all the houses are assembled, get a wood frame – you can buy a new one or repurpose an old one. Carefully attach the houses to the bottom side of the frame using a glue gun.
Get creative with how you arrange and position the houses to make a visually pleasing village.
Decorating Christmas Village
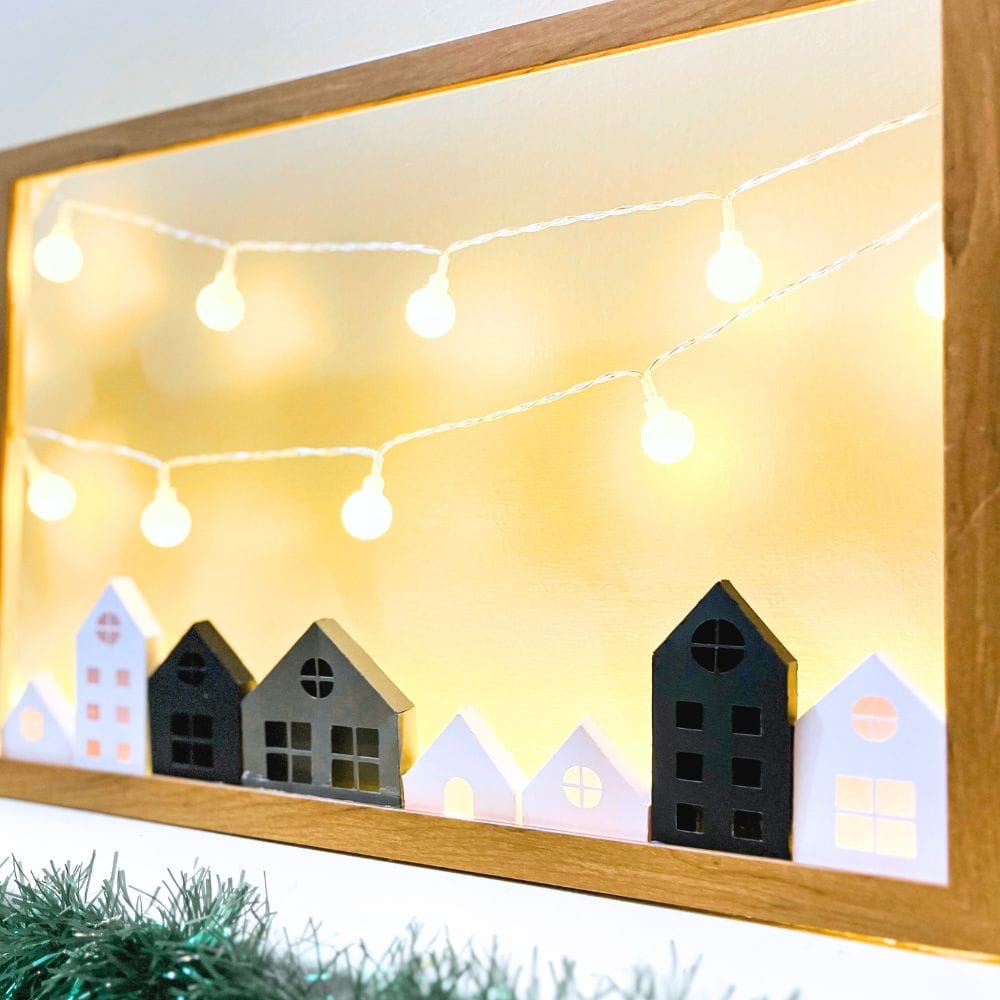
With your Christmas village set up, it’s time to add some festive decorations! You can add a sprinkle of glittery snow on the roofs for a wintry effect.
Miniature trees and figurines can be placed around the houses to create a charming atmosphere.
Check out this homemade DIY Christmas village for more inspiration.
Another fun idea is to create a backdrop for your Christmas village. This could be a painted or printed winter landscape, or even a large sheet of colored paper with stenciled snowflakes.
Here are wooden Christmas village houses to give you creative ways how to incorporate them into your festive displays.
It will not only add depth and dimension to your village, but it will also make for great photo opportunities.
Check out these Christmas village houses if you want more tips on how to make your own Christmas Village houses.
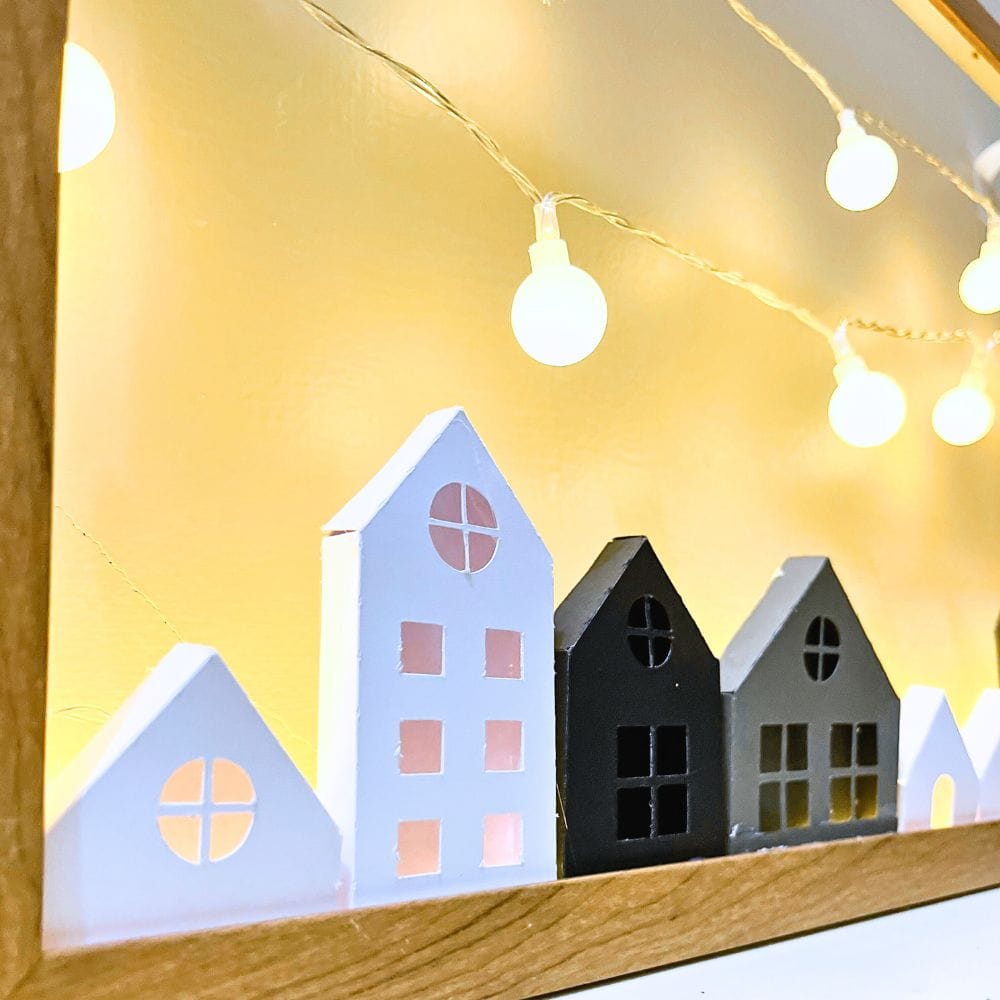
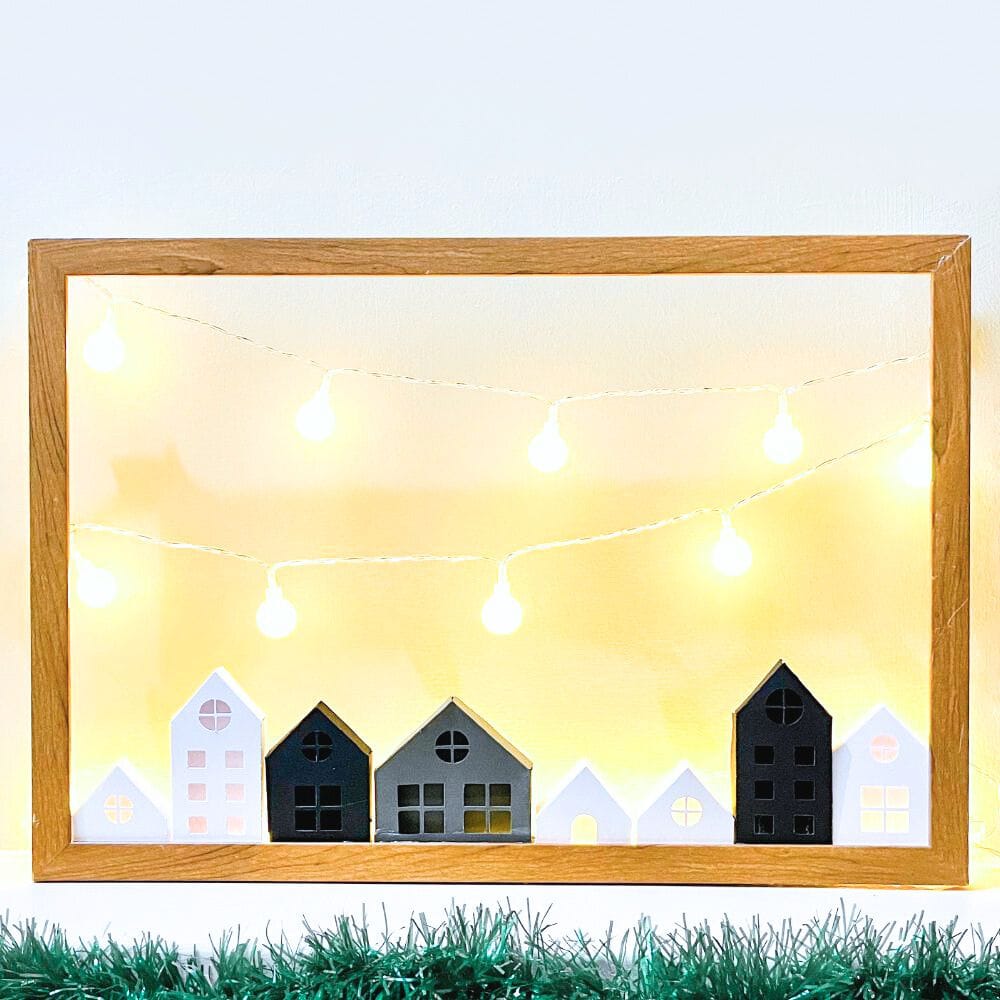
And the final touch – Christmas lights! These can be placed around the frame or throughout the village for that warm and magical glow.
You can choose colorful string lights or stick to classic white ones. Use battery-operated lights for safety and convenience.
There are so many options and inspirations for your DIY Christmas village decorations that are festive but still affordable.

Yay, you have successfully built your own Christmas village! It’s now time to sit back and admire your creation while sipping on some hot cocoa.
Not only did you create a beautiful holiday decoration, but you also made lasting memories with your loved ones.
Go ahead and add your own personal touches and get creative with your village. You can even make it a yearly tradition and add new houses or decorations each year.
We’ve got another template for a DIY Christmas village that you can use for years to come. Consider these Christmas village houses to paint for a fun activity and unleash your creativity.
If you want to have a festive atmosphere for your home, check out these rustic Christmas decor ideas!
And who knows, maybe one day your children or grandchildren will continue the tradition and create their own Christmas villages.
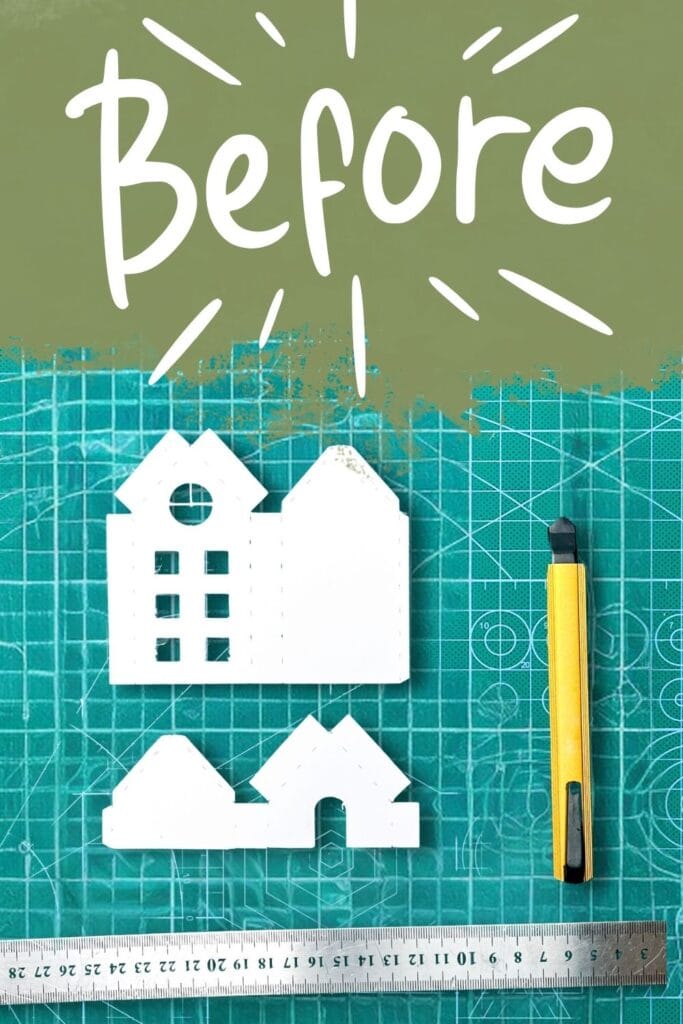
More Before and After Makeovers
See All >
Click any of these “before” photos below to view the “after” of that makeover.


Build Your Own Christmas Village
To build your own Christmas village is to not only create beautiful holiday decor but to also make lasting memories with your loved ones.
Materials
Instructions
- Download and print house templates on sturdy card stock. It's important to have clear templates for precise cutting and assembly of the houses.
- Cut out the templates using a craft cutter, making sure to use a metal ruler as a guide for straight edges. Score cut along the broken lines for easier folding and assembly.
- Assemble the houses by attaching corresponding tabs with a glue gun. Let them dry completely before moving on to the next house.
- Use a wooden frame to create the base of the village. Attach the houses to the frame using a glue gun, making sure to position them in a visually pleasing way.
- Add festive decorations such as glittery snow, miniature trees, and figurines for a charming atmosphere. Place Christmas lights around the village for a warm and magical glow.
- Congratulations, you have successfully built your own Christmas village!
Recommended Products
As an Amazon Associate and member of other affiliate programs, I earn from qualifying purchases.


More Christmas Decor Ideas
- Large Christmas Signs
- DIY Farmhouse Christmas Wreath
- 33 Best Wooden Christmas Decorations
- Merry Christmas Wall Sign
- Homemade Wooden Christmas Tree

Follow us on YouTube to get more tips for painting furniture. Or share your project with us on our Facebook Group and be part of our community. See you there!