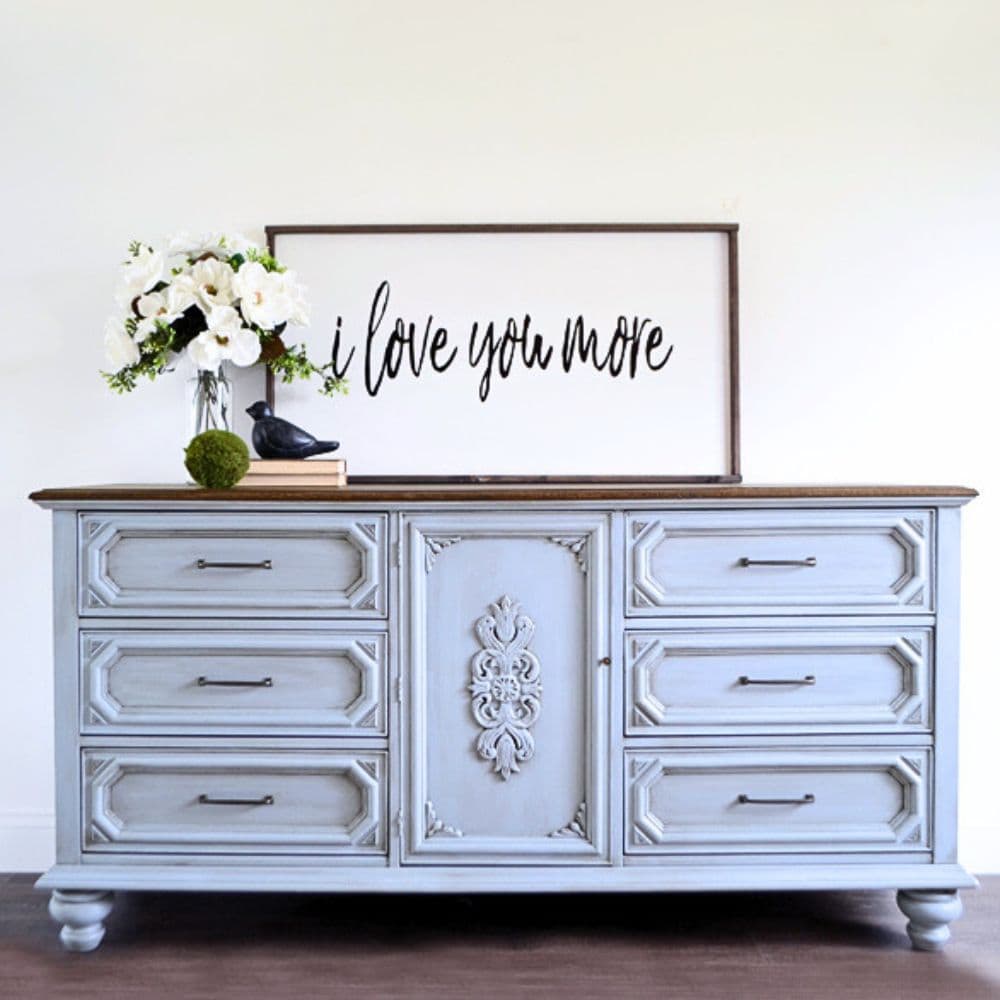
Painted Light Blue Dresser


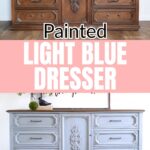
If you love these blue painted furniture ideas and are looking for some inspiration for your next project, then you have come to the right place! We’ll be sharing all the details on how we transformed a plain old piece into a beautiful painted light blue dresser.
This project is perfect for those looking to add a pop of color and personality to their home decor. This dresser makeover is sure to catch your eye!
When it comes to decorating your home, furniture plays a huge role in setting the tone and style of a room. One way to add some interest and personality to your pieces is by giving them a fresh coat of paint.

So why choose light blue for your furniture? This color not only adds a touch of elegance and charm, but it also has a calming effect that can bring balance to any space. Plus, the soft pastel tones make it a versatile option that can pair well with both modern and traditional decor styles.
If you want this same style on your piece, it’s simple and totally doable, even for first time DIYers! If you want to brighten up your home or add a personal touch to your space, keep reading to get all the details on how we brought this dresser to life. Let’s dive in!

Supplies Used for Painted Light Blue Dresser
As an Amazon Associate, I earn from qualifying purchases. I also may earn from other qualifying purchases with other companies or get free product to review and use. All opinions are my own.
- Electric Screwdriver
- Krud Kutter
- 220 Grit Sandpaper
- Clear Shellac
- Painters Tape
- Pre Taped Plastic
- Latex Paint
- Paint Sprayer
- Waterbased Polyurethane
- Country Chic Paint White Glaze
- Country Chic Paint in Dark Roast
- Cheap Paintbrush
- Baby Wipes
- Dark Walnut Stain
- New Hardware
Adding Legs and Removing Hardware
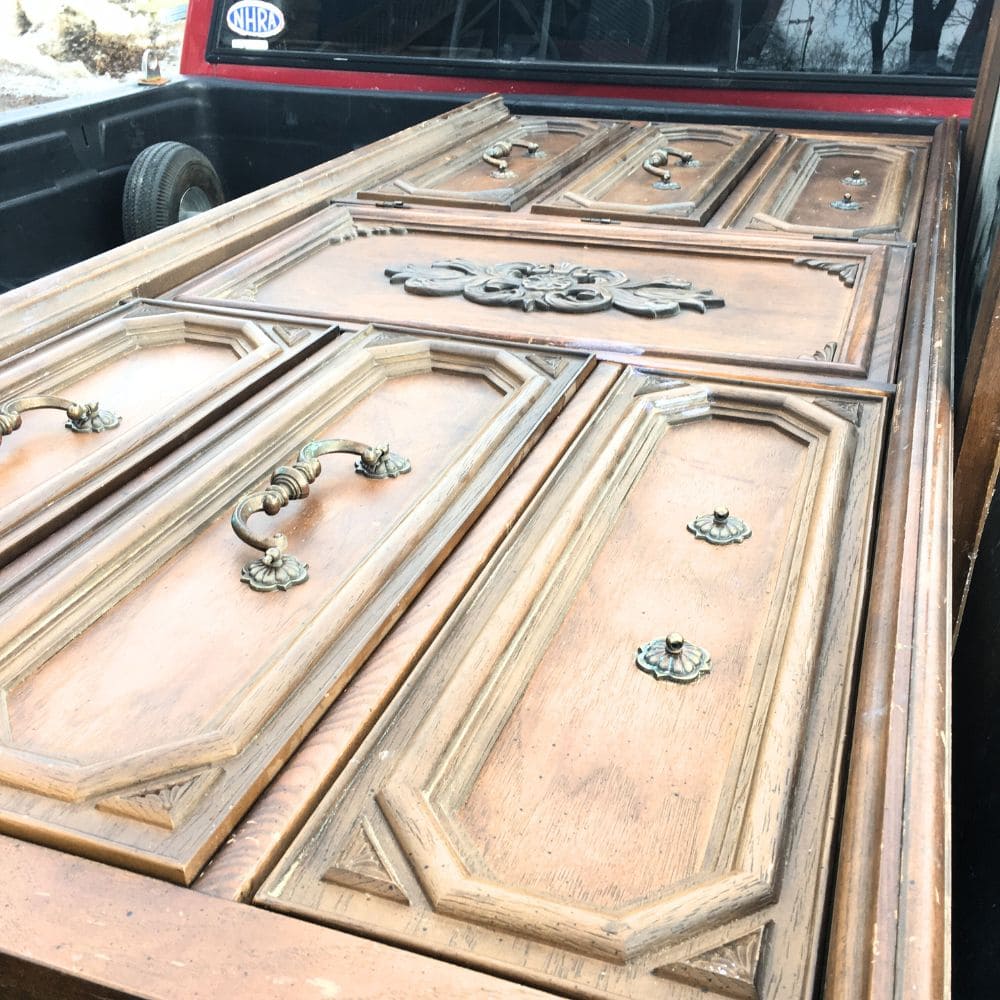
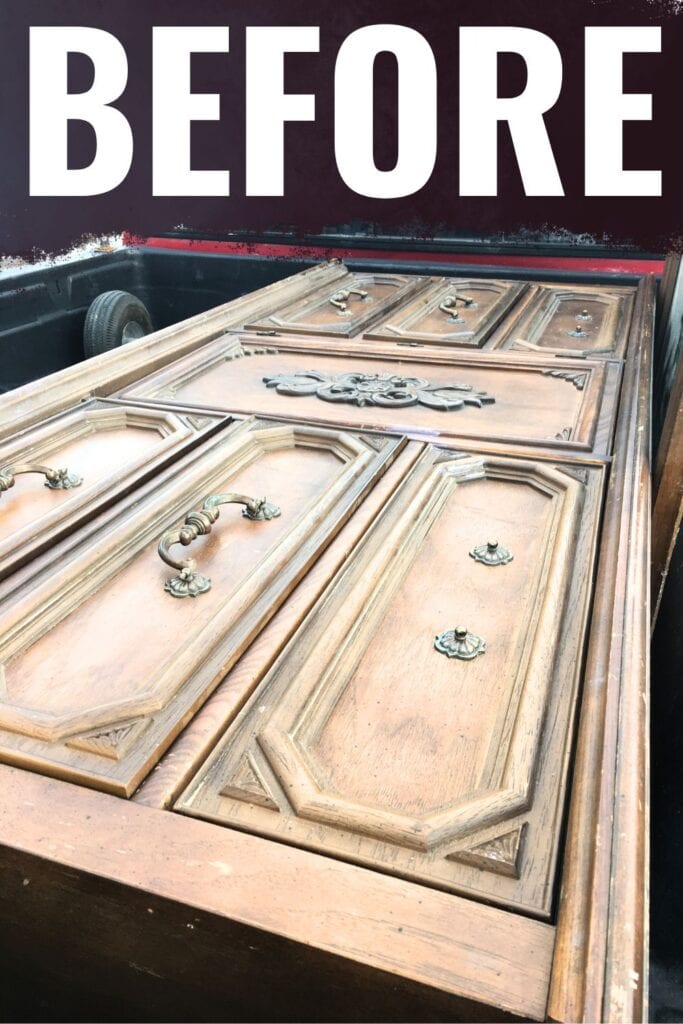
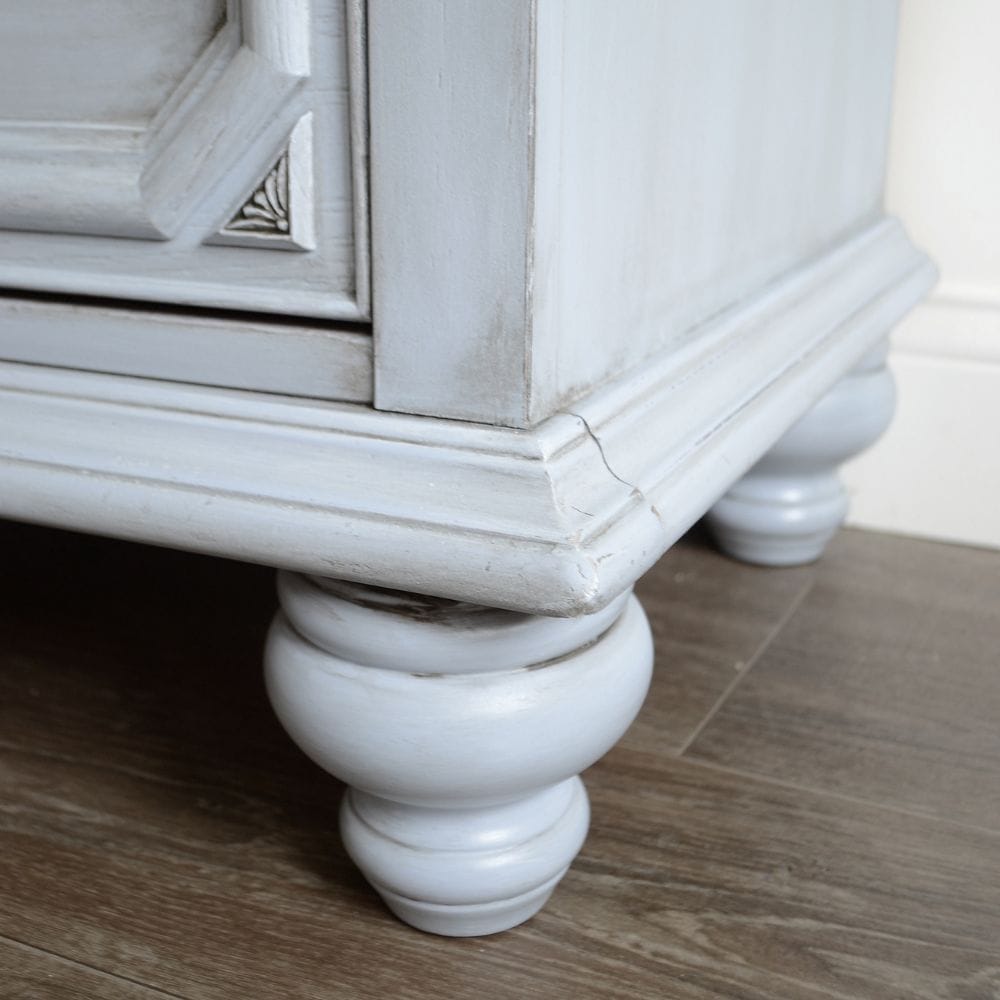
We started by adding legs to the bottom of the dresser. After flipping it upside down, we cut off the skirting and added new legs. This step was necessary to give the piece a more modern look. For more information on this process, check out our tutorial on adding legs to a dresser.
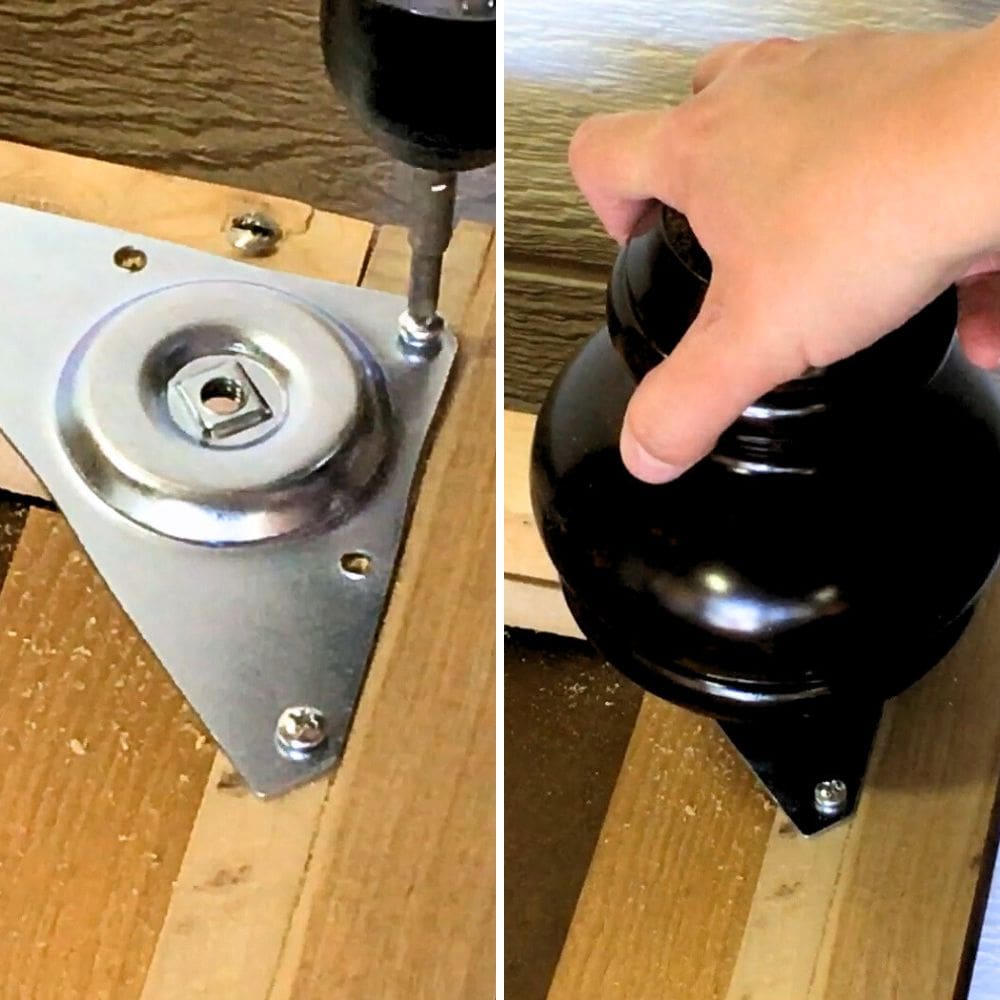
Using an electric screwdriver, we then removed the old hardware and filled in the holes so we could replace it with new hardware. This not only updates the look but also gives you the opportunity to choose hardware that better fits your style. Learn how to change hardware on a dresser here.
Cleaning, Sanding, and Priming Dresser
Next, we thoroughly cleaned the dresser with Krud Kutter to remove any dirt or grime that may have built up over time. Cleaning your furniture is important for a smooth and clean surface for the paint to adhere to. Here’s our guide on how to clean furniture before painting.
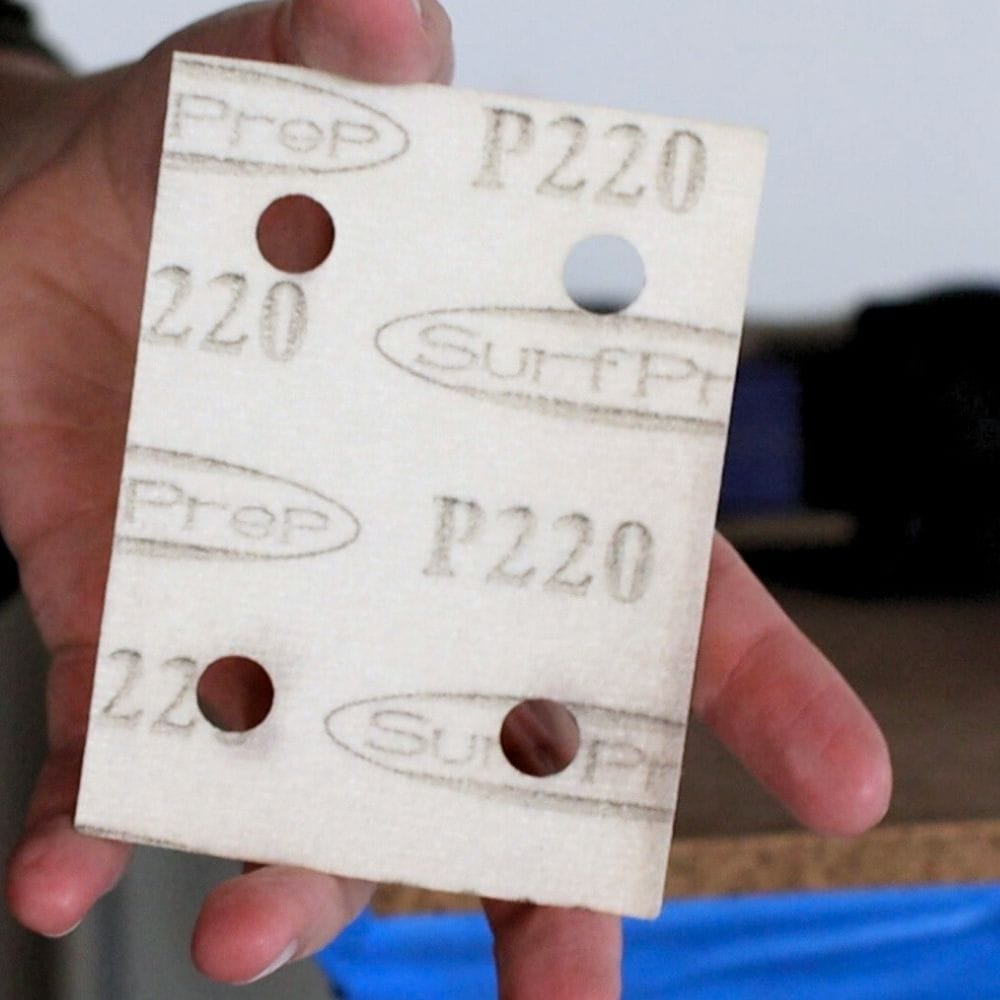
We grabbed some 220 grit sandpaper and gave the whole piece a light sanding to get it ready. Sanding before painting furniture also helps paint stick better and results in a more professional finish.
We sanded the top of the dresser all the way down to bare wood since we wanted to stain it later on. Get more tips on how to sand down wood in this post.
We skipped priming, thinking it would save us time. However, after painting and topcoating, we experienced bleed through. So lesson learned: never skip priming! Use clear shellac to prime and allow it to dry overnight.
Painting Dresser Light Blue
After doing these steps on how to prepare furniture for painting, we taped off the top of the piece with pre taped plastic and painter’s tape. This prevented any paint from getting on it while we worked on the rest of the piece. Learn what is the best painters tape for your project here.
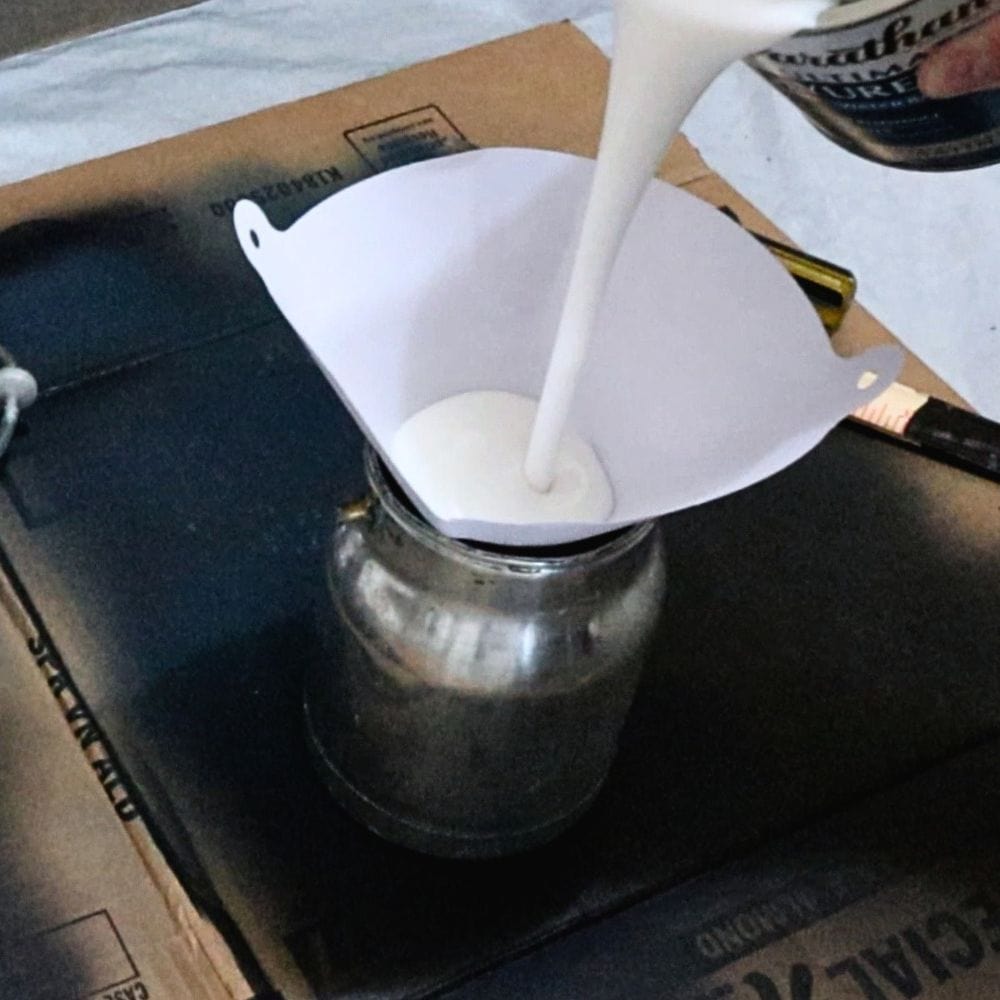
We wanted a soft and creamy light blue color, so we mixed a custom latex paint color into our homemade chalk paint recipe. The specific color code for this color is shown below.
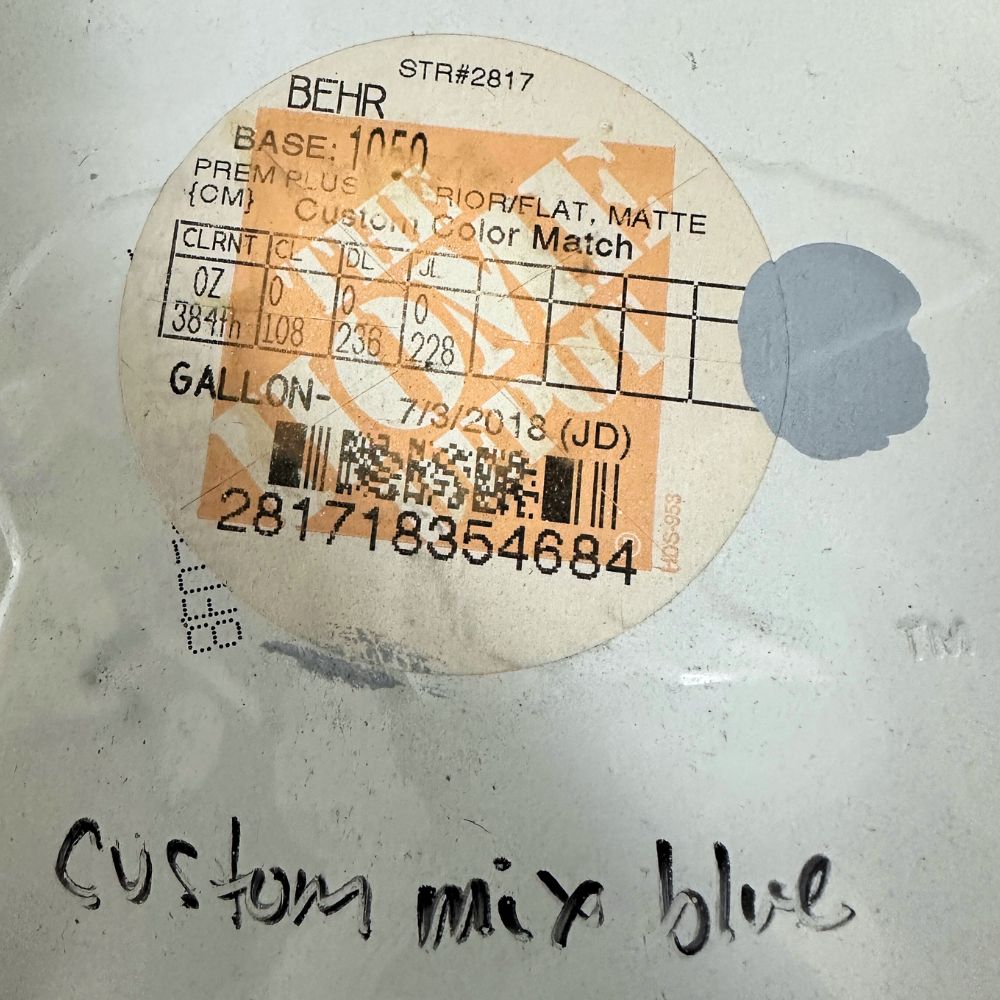
This is a great option for those who want more control over the color they use and want to save money. Here’s our homemade chalk paint dresser makeover, where you can see this DIY recipe in action.
After mixing, we sprayed the dresser with 3 coats, allowing each one to dry before applying the next. We highly recommend using a sprayer – here are your options for the best HVLP paint sprayers for furniture. Our top recommendation is the FLEXiO 595!
Sealing Painted Dresser
Then, we sealed it with a coat of clear waterbased polyurethane. Using these topcoats for painting furniture not only keeps the finish from chipping or wearing off but also makes the light blue color pop. It also helps with the next step.
Would you like to save this?
After sealing it, we let it dry for at least 24 hours. This is important to make sure the polyurethane fully dries and hardens before the next step.
But this is where we experienced bleedthrough on our first coat, so we had to fix it. Our post on how to stop stains from coming through paint covers tips on fixing bleedthrough if you’ve also already sealed with poly.
Adding A Glaze
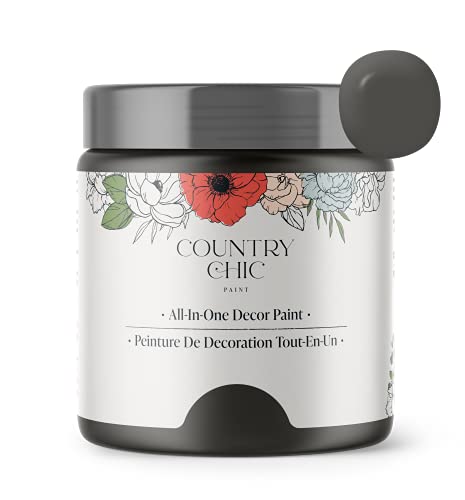
Then, we moved to glazing! For this step, we used white glaze and brown glaze, which is clear glaze tinted with Dark Roast paint, both from Country Chic. We also had some blue chalk paint mixed with clear glaze on hand to layer with the other glazes.
For applying the glaze, we started with a layer of brown using a cheap paintbrush. Then we lightly and randomly dry brushed the blue and white glazes. We wiped off any excess with baby wipes.

For the crevices, we left them with brown glaze. For more detailed instructions, here’s our post on how to glaze over chalk paint.

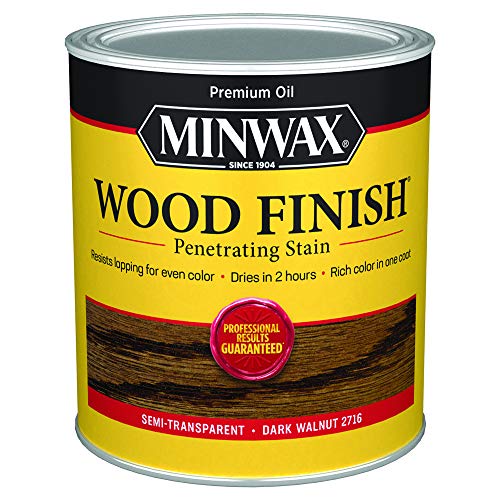
Staining Wood Top
We decided to stain the top with a dark walnut wood stain. This adds contrast and depth to the piece while also giving it a more classic look. If you’re not sure how to stain wood furniture or want to see how we did it, our tutorial will guide you through the process.
After letting the stain dry for 48 hours, we applied waterbased poly to protect and seal the wood.
And to protect the paint and stain, we sprayed 3 coats of waterbased polyurethane all over. This adds an extra layer of protection and durability to the whole piece.
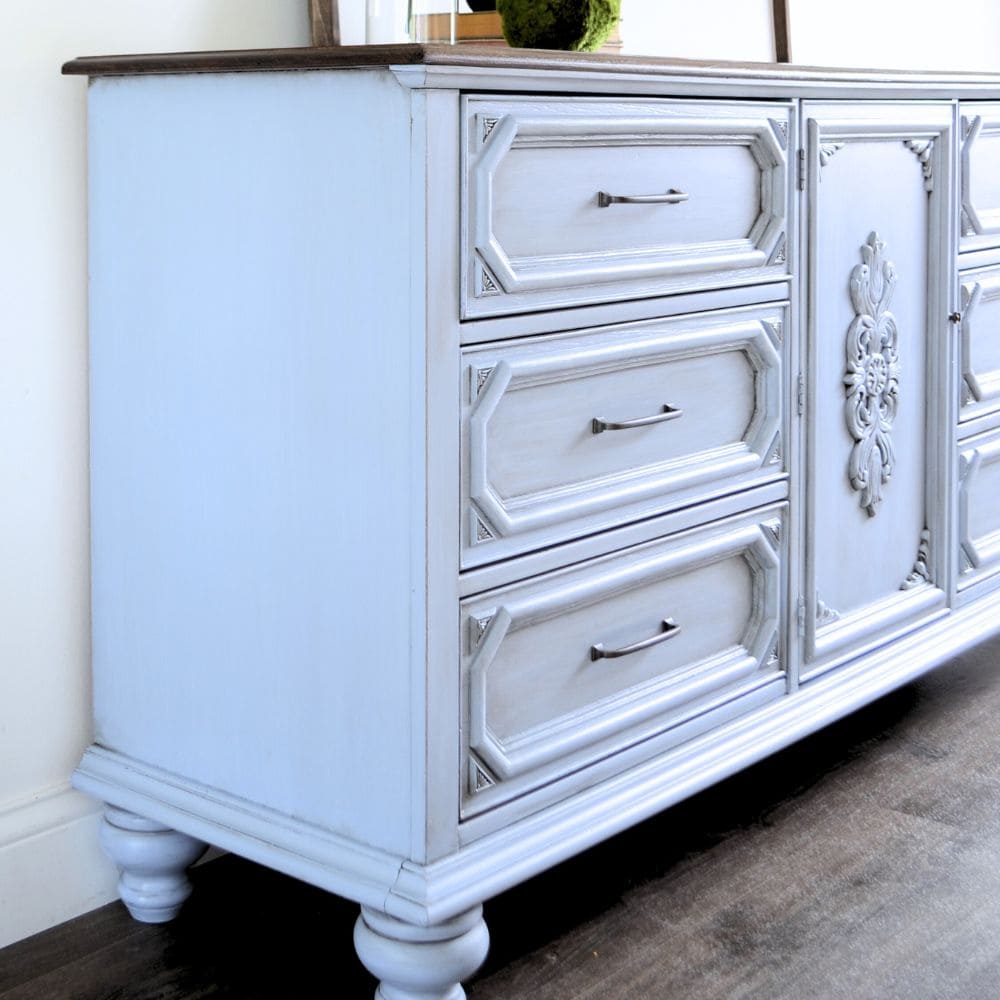
Finally, we attached our newly chosen hardware to complete the look. And voila, our light blue painted dresser was complete!
More Before and After Makeovers
See All >
Click any of these “before” photos below to view the “after” of that makeover.


Transforming a plain wooden piece can be easily done with the right tools and techniques. Whether you’re looking to update an old piece or create a unique statement piece, this painted light blue dresser is a fun and easy project that anyone can do!
Get more tips and tricks on how to paint a dresser here. For similar makeovers, check out these two tone dresser ideas. And here are more DIY dresser makeover ideas you can do on your next project!


Painted Light Blue Dresser
Materials
Instructions
- Prepare the dresser by thoroughly cleaning it and giving it a light sanding to create a smooth surface for paint to adhere to.
- Prime the dresser with clear shellac, allowing it to dry overnight, to prevent bleed through of any stains or previous finishes.
- Mix custom colors into homemade chalk paint and apply 3 coats using a paint sprayer, allowing each coat to dry before applying the next.
- Seal the light blue painted dresser with a water-based polyurethane topcoat, letting it dry for at least 24 hours to fully harden.
- Apply layers of white, blue, and brown glaze onto the painted dresser, using baby wipes to wipe off any excess.
- Stain the dresser top with a dark walnut stain for contrast and depth, then protect and seal it with water-based polyurethane.
- Complete the look by applying 3 coats of water-based polyurethane all over the dresser to protect the paint and stain and attaching new hardware.
Recommended Products
As an Amazon Associate and member of other affiliate programs, I earn from qualifying purchases.


More Blue Painted Furniture Ideas
- Teal Chalk Painted Dresser
- Dusty Blue Floral Painted Dresser
- Navy Blue Milk Painted Dresser
- Antique Blue Sideboard Buffet
- DIY Teal Blue Nightstands
Learn the Art of Updating Furniture!
If painting furniture feels overwhelming or your past attempts didn’t go as planned, this course will guide you step by step.

Follow us on YouTube to get more tips for painting furniture. Or share your project with us on our Facebook Group and be part of our community. See you there!