How to Use Waverly Chalk Paint and Wax
Waverly chalk paint and wax can help you create the look you’re after with minimal effort. In this blog post, we’ll show you how to use Waverly chalk paint and wax to transform any piece of furniture into something special.
With just a few simple steps, you can create these best painted furniture ideas that will last for years to come. So grab your supplies, and let’s get started!

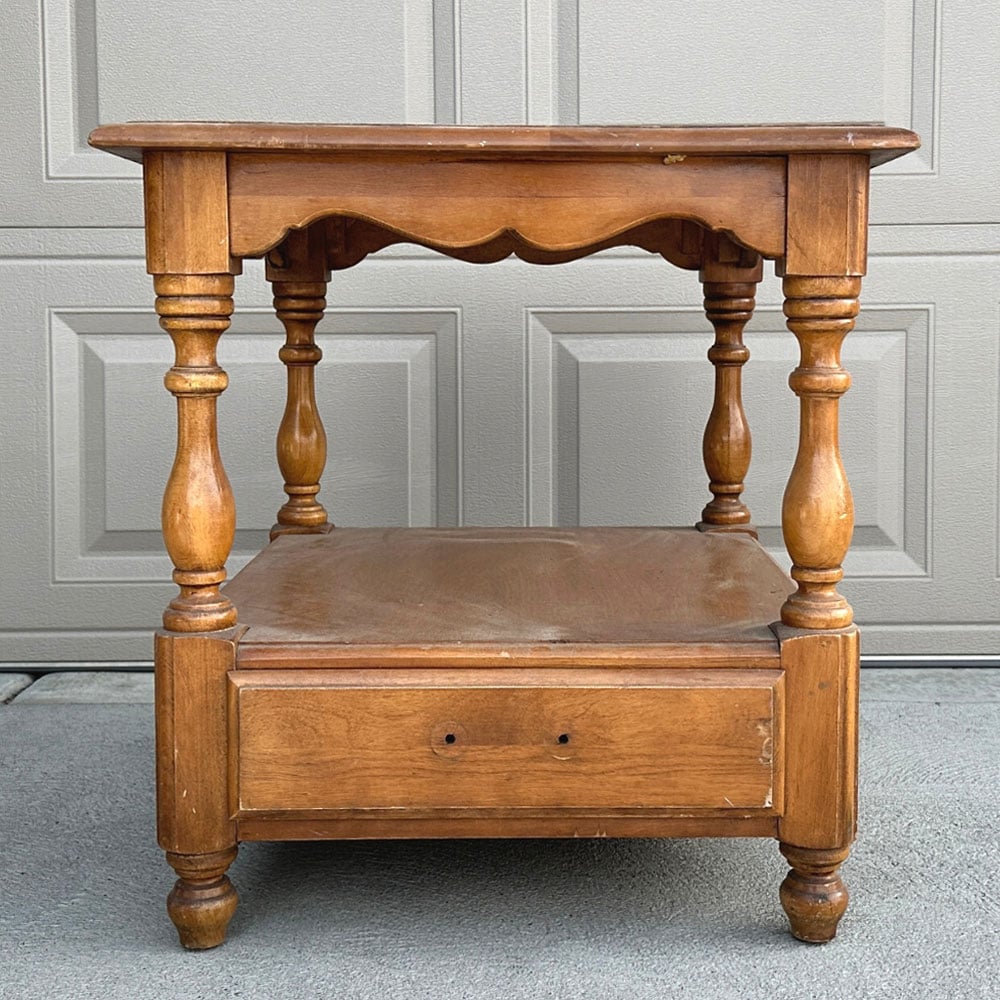
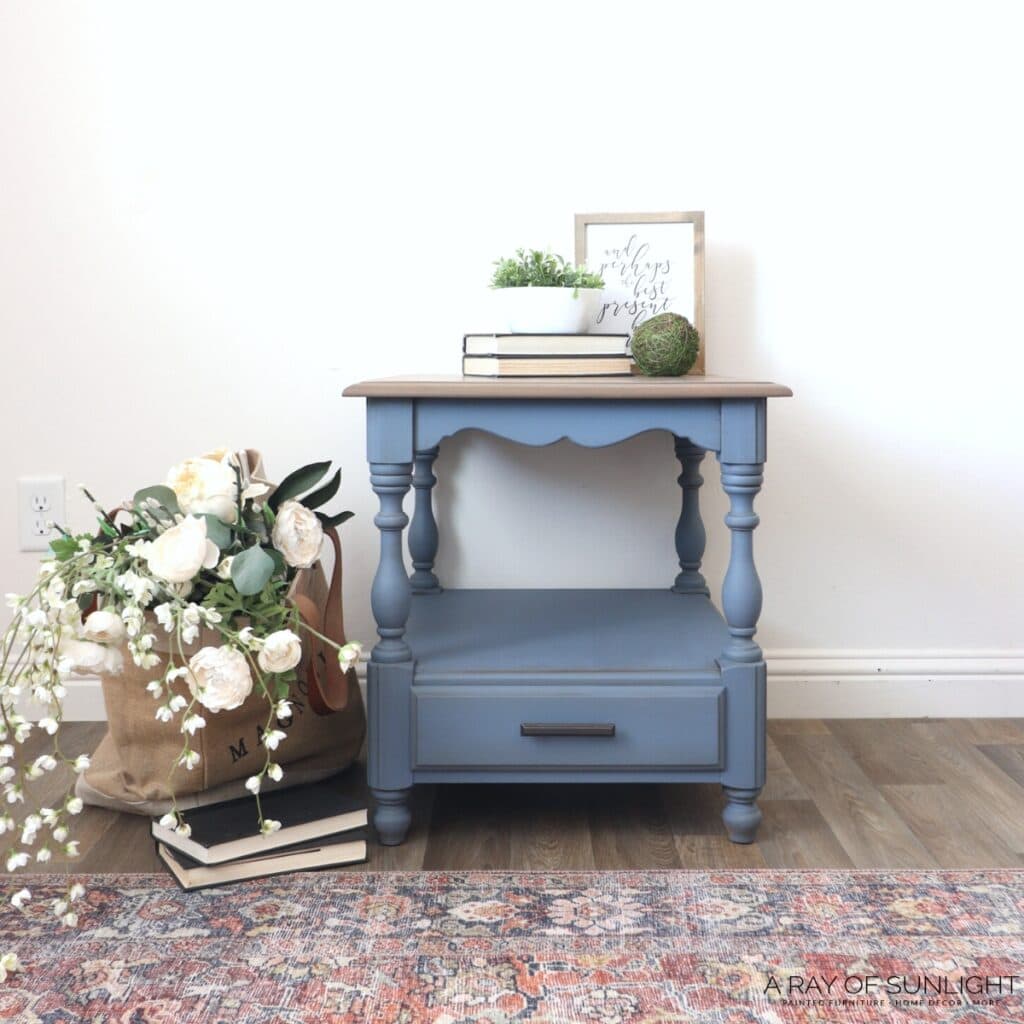
This beat up end table is getting a CHEAP makeover to fit its French style. We bought it from the thrift store, and it was a solid wood piece of furniture – it just needed an update to give it more life and color.

You can use Waverly chalk paint and antique wax for a fresh, new look on a budget, with minimal effort. In this blog post, we’ll show you how to use these two products together to create a stunning transformation.
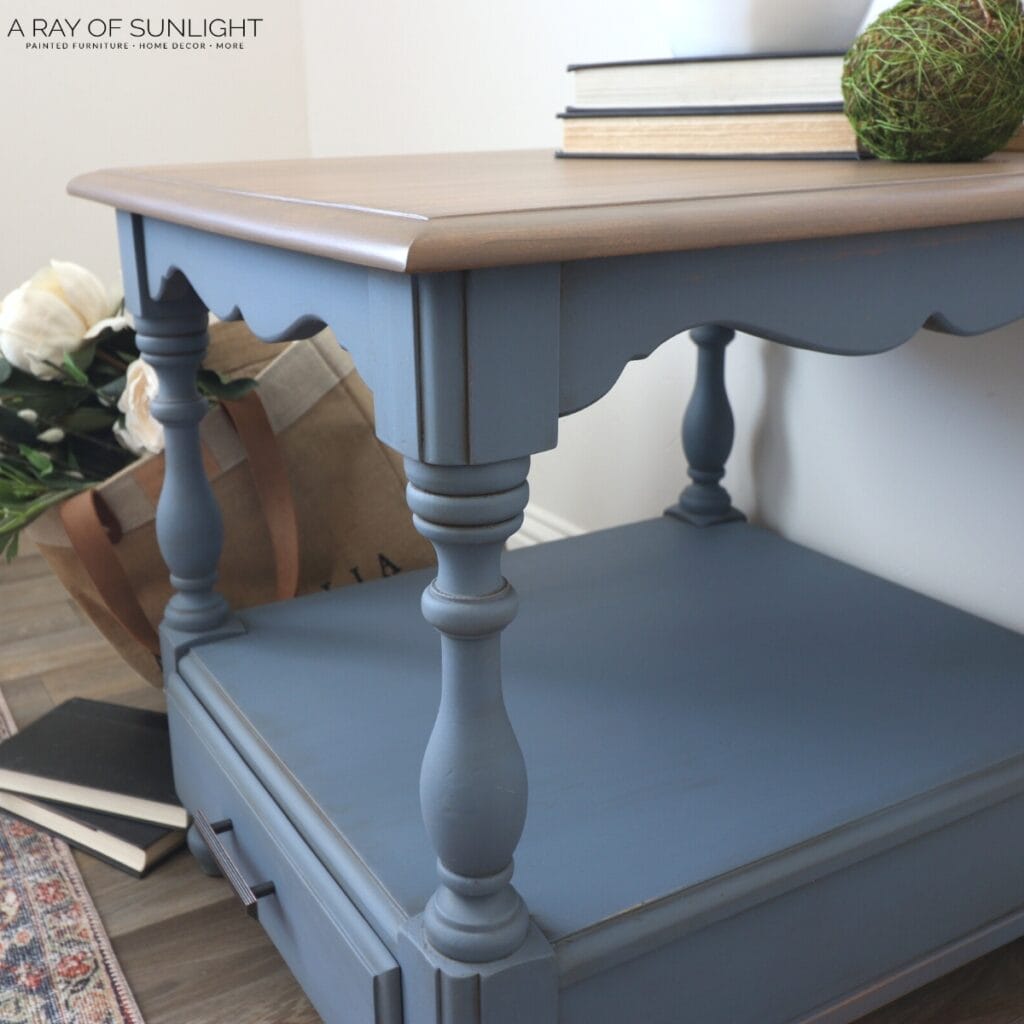
We’re also doing a two tone look by leaving the top of the table wood to give the whole piece some character and visual interest. Here’s is two-toned furniture in style? if you’re wondering. Now, let’s dive into the steps of using Waverly chalk paint and wax!

Supplies Used for Waverly Chalk Paint and Wax Makeover
As an Amazon Associate, I earn from qualifying purchases. I also may earn from other qualifying purchases with other companies or get free product to review and use. All opinions are my own.
- Krud Kutter
- Medium and Fine Grit Pro Foam Pads (Use code RAY10 to get 10% off your order)
- SurfPrep Sander (Use code RAY10 to get 10% off your order)
- Carbide Scraper
- Interface Foam Pad (Use code RAY10 to get 10% off your order)
- 80, 120, 150 Grit Sandpaper (Use code RAY10 to get 10% off your order)
- Sanding Contour Grip
- Pre Taped Plastic
- Painter’s Tape
- Waverly Chalk Paint in Night Sky
- Paint Sprayer
- Waverly Clear Wax
- Chip Brush
- Lint Free Rag
- Waverly Antique Wax
- Lilly Moon Smoky Gel Stain – Old Fashioned
- Topcoat Brush
- Waterbased Polyurethane
Prep Furniture for Paint and Wax
If any piece of furniture needed to be cleaned first, this one did. After spraying Krud Kutter on it, I used a metal scraper to remove the splattered paint and sticker.
Then I wiped the rest down and went back over everything with a clean wet rag to make sure it was all clean. It already looked so much better at this point!! Learn everything you need to know about how to clean furniture before painting here.
Then, I put a medium grit pro foam pad onto the sander and lightly scuff sanded the end table to remove the glossy sheen, making a surface that the new coating will be better able to stick to. Learn about the importance of sanding before painting furniture here.
Typically, I would also suggest that you need to prime first, even with chalk paint. This time, I decided to see how well this product would really hold up without a primer underneath.
Let’s just say that I would strongly recommend spraying a coat or two of clear shellac before using Waverly paint if you want it to stick well! Here are more best primers for painting furniture (and how to choose the right one).
Sanding Old Finish From Wood Furniture
The top was pretty scratched up, though, so I used our carbide scraper to scrape off most of the old finish before sanding the rest off.
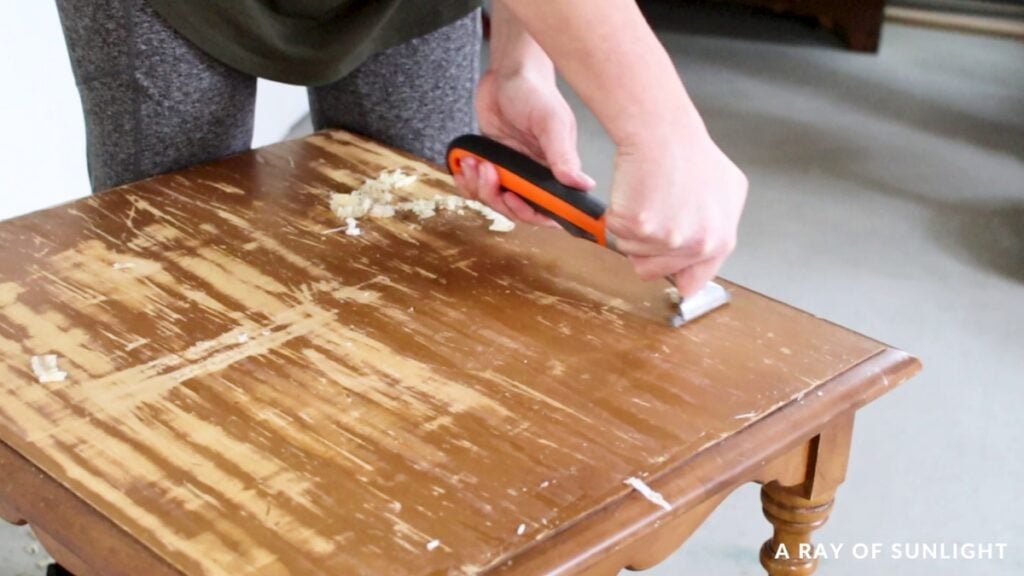
I don’t know if the blade is getting dull or if this finish was thick, but it wasn’t as easy as normal to scratch off. But still, I completely believe that it made the whole process go faster than if I had only sanded or used a chemical stripper. Learn how to remove wood stain with a chemical stripper here.
For the edges, I put a thick interface foam pad onto my sander with my 80 grit sandpaper to easily sand the curves. To get into the corner of the edges, I wrapped some sandpaper around a sanding contour grip. Learn more about how to sand in tight spaces here.
And then, I ran through everything a couple of more times with 120 grit sandpaper and 150 grit sandpaper to make it all feel smoother. This whole process took about 30 minutes from start to finish on this little top.
The inside of the drawer looked extra dirty as well, so I sanded the inside of the drawer with 150 grit to remove the pretty drawings and the stains. And now, the drawer looks SO fresh and clean. Check out the best sandpaper for furniture painting options here.
From here, you can protect the inside and make it look much better with these options for best material to line dresser drawers. If your drawers were already lined, here’s how to remove contact paper from wood before updating.
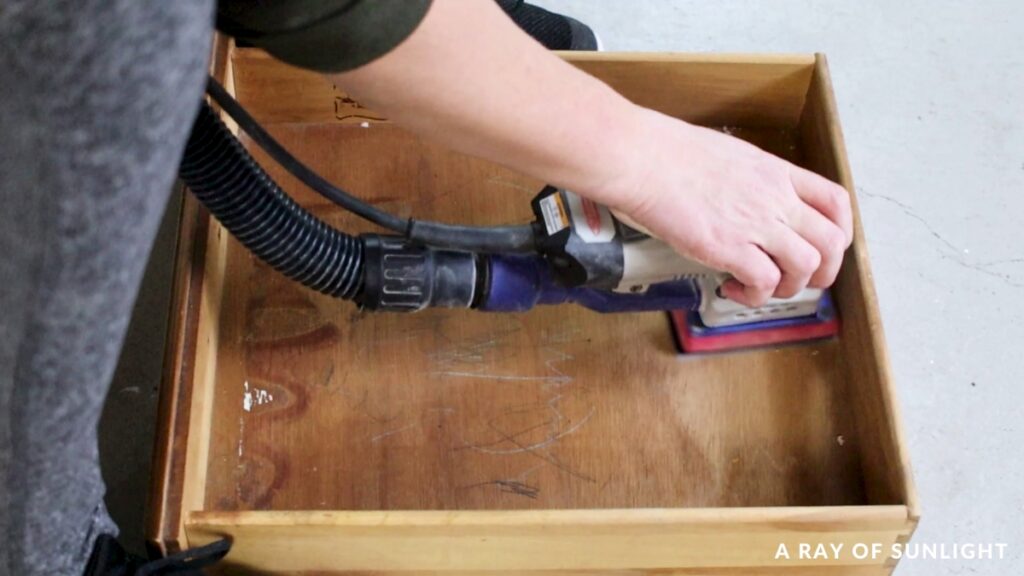
This right here is a huge reason why I love this SurfPrep sander. The small profile and the rectangle shape made it easy to work on this tight space, clear up into the corners. Read our SurfPrep sander review for more about this tool.
Then, I cleaned off all of the dust, and I taped off the raw wood top to protect it from overspray. I used a roll of pretaped plastic and some painters tape for this. And then I set up my spray booth by laying some plastic on the ground and some old cardboard on top of it.. and then my handy 5 gallon buckets for the table to sit on top of.
Learn more tricks in this post on how to prevent overspray when painting furniture and how to prevent paint bleed through painter’s tape.
How to Use Waverly Chalk Paint
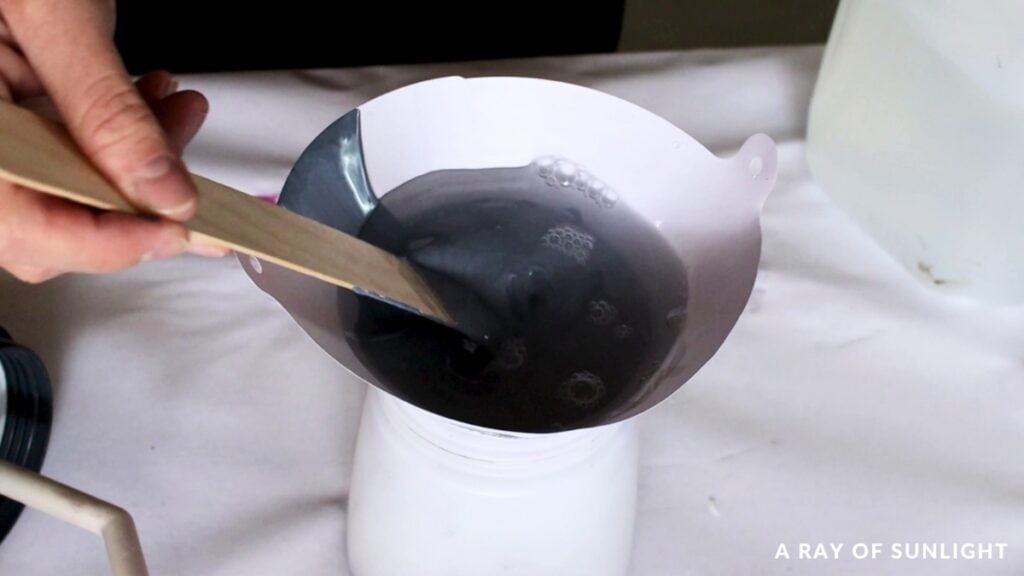
This time, I wanted to quickly work on this end table, so I put the Night Sky color into my paint sprayer. This coating is THICK! So, I added quite a bit of water to it. I would guess at least a 20% water to paint ratio here. Here’s more on how to thin paint for Wagner FLEXiO sprayer.
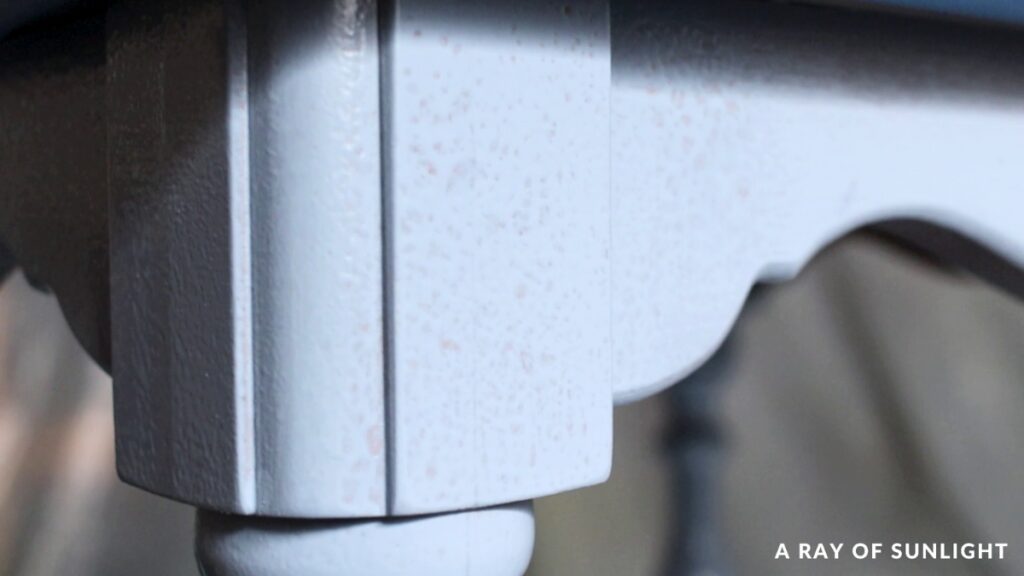
When I sprayed it, it had a lot of fish eye texture in it. If I had primed beforehand, I would have gotten better results in the end.
Would you like to save this?
Even though I used a sprayer here, this paint is one of my favorites to brush on. It’s acrylic based and so it self levels, leaving behind a brush free finish. Especially if you add a little bit of water to the coating before brushing it on. So don’t be afraid to brush it on if that’s what your situation warrants.
I added another coat, and then I let it all dry for about 24 hours.
How to Use Waverly Antique Wax
It’s very important to let the Waverly paint dry for at least 24 hours to let it start to cure. Otherwise, it will easily rub off when you rub on the wax… especially if you don’t prime it beforehand.
Then, working in small sections at a time, I applied a coat of clear wax with a chip brush. I made sure to get it all over.. and then I wiped off the excess with a lint free rag. Here’s our honest Waverly clear wax review for more details about this product, including its pros and cons.
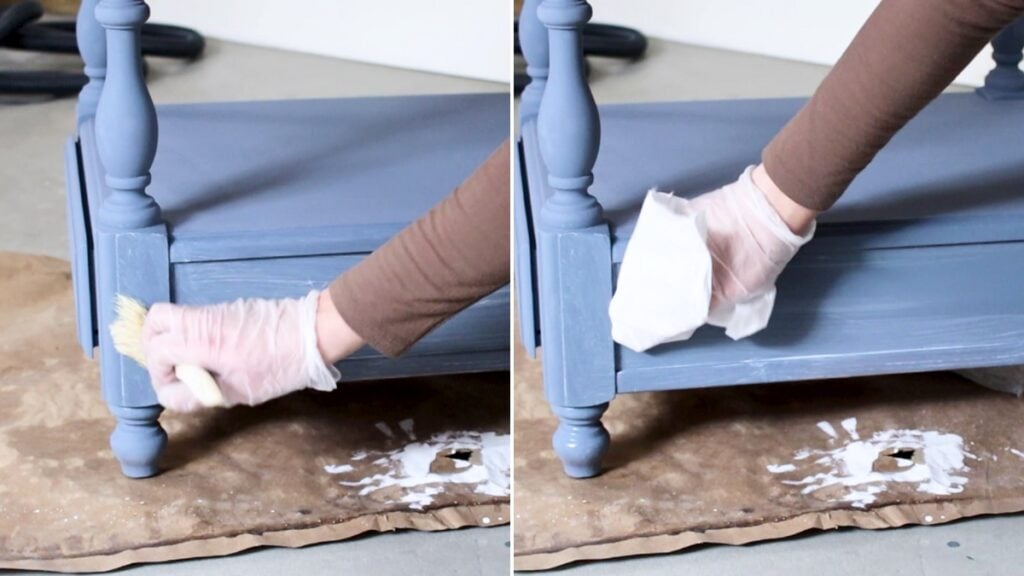
Immediately after, I brushed the antique wax on with a different brush in the corners and details. And then, I wiped the excess away with the same cloth. When there was too much of it for my liking, I brushed on some clear wax, and it wiped the dark areas away.
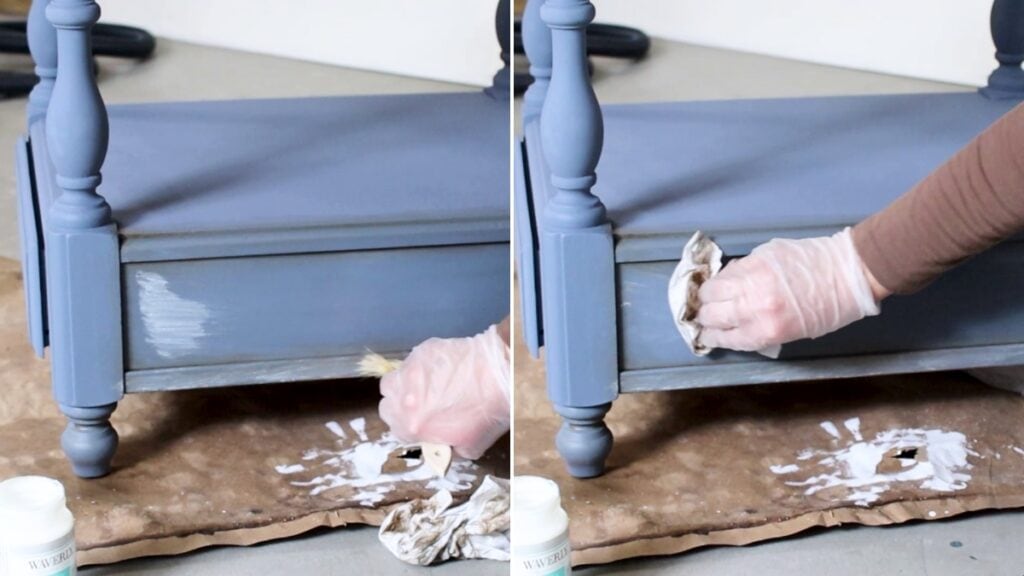
I did this technique on all of the blue areas. Check out my detailed guide on how to apply Waverly wax over chalk paint here and how to use Waverly antique wax here.
Usually, wax feels really tacky to me for at least a few days, but this combination dried quickly. And I was really pleased with the thin consistency of this. Learn about wax for chalk paint here, and see the difference between wax vs polyurethane here if you’re considering both options.


Staining Wood with Lilly Moon Gel Stain
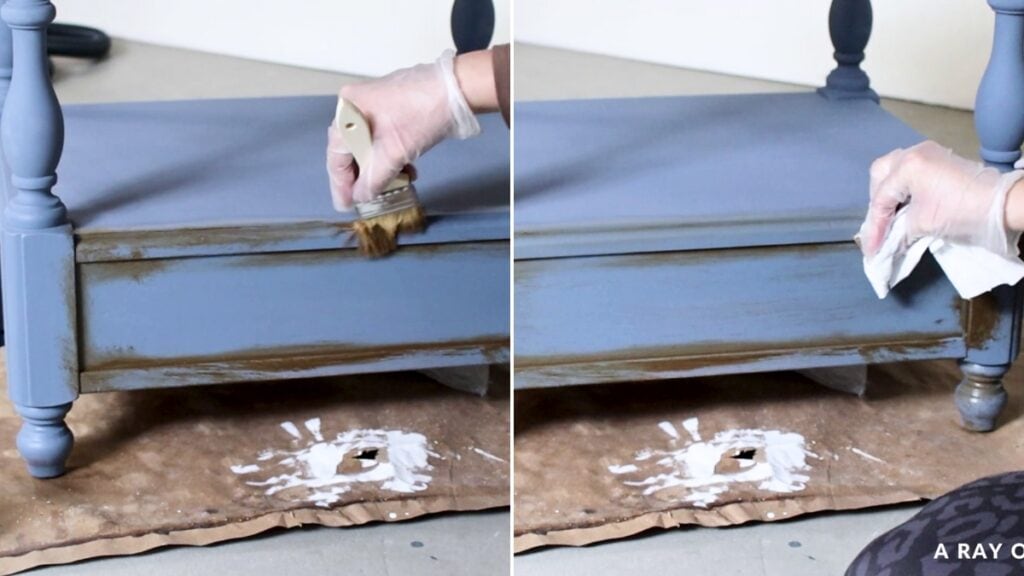
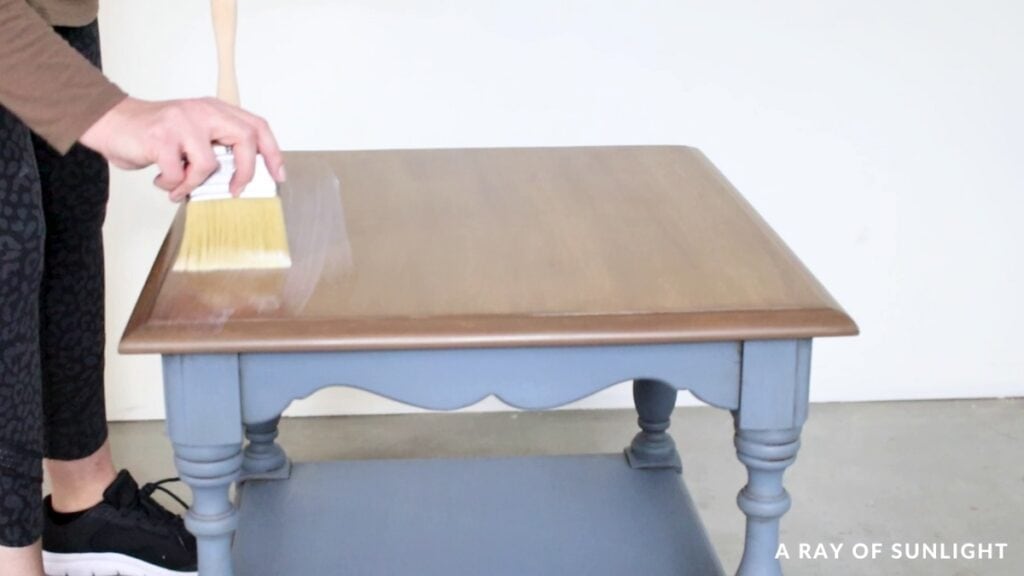
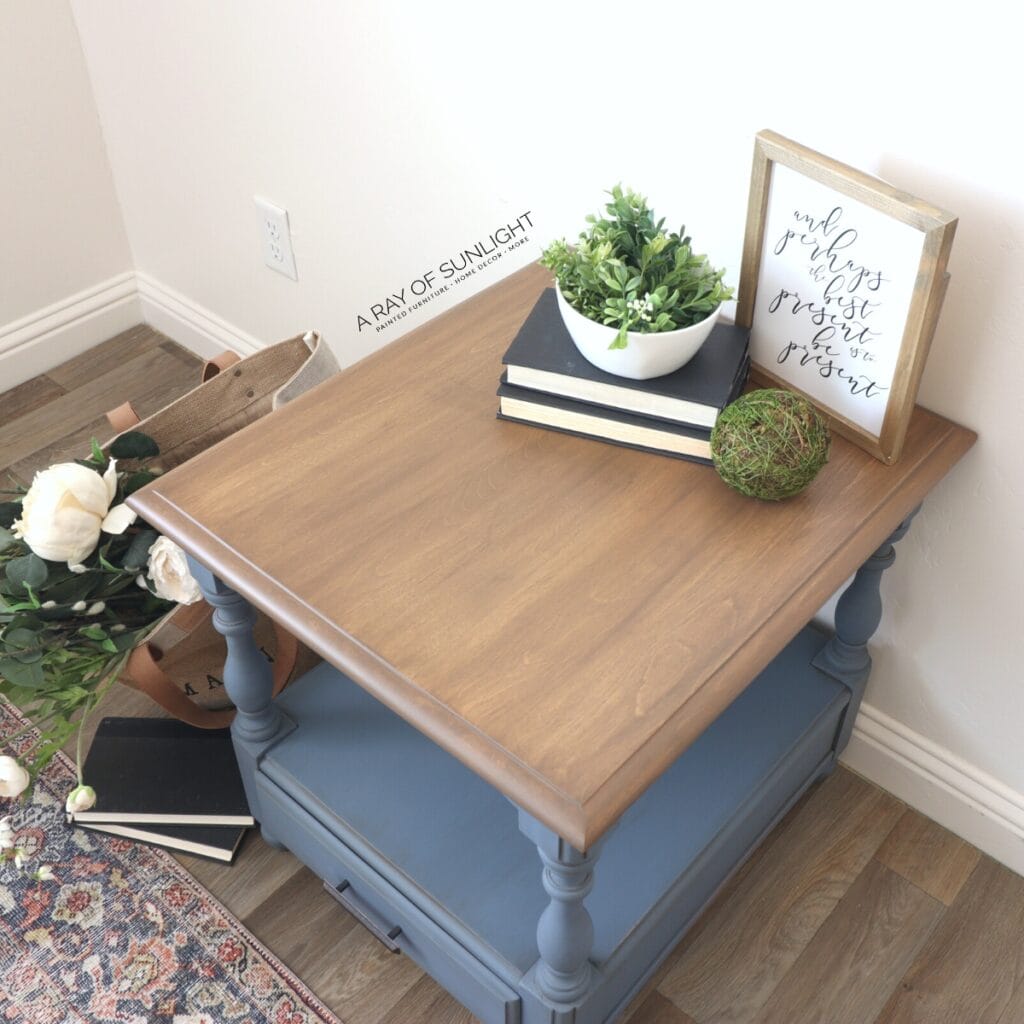
Then I removed the plastic from the top of the table and applied some Lilly Moon smoky gel stain onto the raw wood with another lint free rag. I’ve never used this stuff before, and it was given to me. But I thought the color would go perfectly with the base of the piece.
Since I applied it onto raw wood, it soaked in and dried really quickly, so it ended up looking kind of splotchy and uneven. I tried putting some more on in the places that were darker to remove some of it. I don’t know if it helped or made it worse.

So I stopped and let it dry. If it was terrible, I could sand it off and try again. When it was dry, it didn’t look terrible, so I just lightly softened the streaks with a fine grit pro foam pad. Then, I put on another coat of the gel stain, trying to work faster this time.
After that was dry, I brushed on a few coats of waterbased polyurethane to give it a durable finish. Since I have multiple sheens in my workshop, I used satin first and then finished with the matte sheen so it would match the rest of the matte looking table.
Satin is more durable than a matte finish, so the first coat of satin gave it a slightly more durable finish than if I had just used matte for all of the coats.
Last but not least, I found an old drawer pull in my stash of hardware, so I attached it to the drawer, and here’s what it looks like now!
More Before and After Makeovers
See All >
Click any of these “before” photos below to view the “after” of that makeover.


This French looking finish isn’t necessarily my style for my home right now, but I love the look of it on this table. What do you think of the new look? Does it match the decor in your home?


How to Use Waverly Chalk Paint and Wax
Transform any piece of furniture with simple steps. Here's how to use Waverly Chalk Paint and Wax for your next makeover project.
Materials
- Krud Kutter
- Medium and Fine Grit Pro Foam Pads (Use code RAY10 to get 10% off your order)
- Interface Foam Pad (Use code RAY10 to get 10% off your order)
- 80, 120, 150 Grit Sandpaper (Use code RAY10 to get 10% off your order)
- Sanding Contour Grip
- Pre Taped Plastic
- Painters Tape
- Waverly Chalk Paint in Night Sky
- Clear Wax
- Lint Free Rag
- Antique Wax
- Lilly Moon Smoky Gel Stain – Old Fashioned
- Waterbased Polyurethane
Tools
Instructions
- Clean the furniture with a degreaser, scuff sand the surface, and apply a few coats of primer to prep for paint.
- Scrape the old finish off the top then sand to raw wood then tape off the raw wood top to prevent getting paint on it.
- Put the Waverly chalk paint into the paint sprayer and add a bit of water to it (at least 20% water to paint ratio). Apply 2 coats of paint to furniture then let dry for 24 hours.
- Brush a coat of clear wax all over then wipe the excess off with a lint free rag. Work in small sections at a time.
- With a different brush, apply antique wax in the corners and details of the furniture and wipe the excess away.
- Remove the plastic from the top of the table and apply some gel stain onto the raw wood with another lint free rag. After the stain dries, brush on a few coats of waterbased polyurethane to give it a durable finish.
- Add hardware to painted and stained furniture!
Notes
Use code RAY10 to get 10% off your SurfPrep order.
Recommended Products
As an Amazon Associate and member of other affiliate programs, I earn from qualifying purchases.


More Waverly Chalk Paint Resources
- Waverly Chalk Paint Review
- Chalk Painting Furniture Black
- Waverly Chalk Paint: Everything You Need to Know
Learn the Art of Updating Furniture!
If painting furniture feels overwhelming or your past attempts didn’t go as planned, this course will guide you step by step.

Follow us on YouTube to get more tips for painting furniture. Or share your project with us on our Facebook Group and be part of our community. See you there!