Repurpose an MCM Desk into Nightstands
Today, I’m sharing how to repurpose an MCM desk into nightstands… one of my favorite things to do with old desks from the thrift store. I love this trick because you can get a quality piece for a fraction of the cost and make it more functional.
If you’re looking for some inspiration on how to do this transformation, this is one of the painted nightstands ideas that you can do. So, keep reading to look into the details of repurposing furniture for your space!
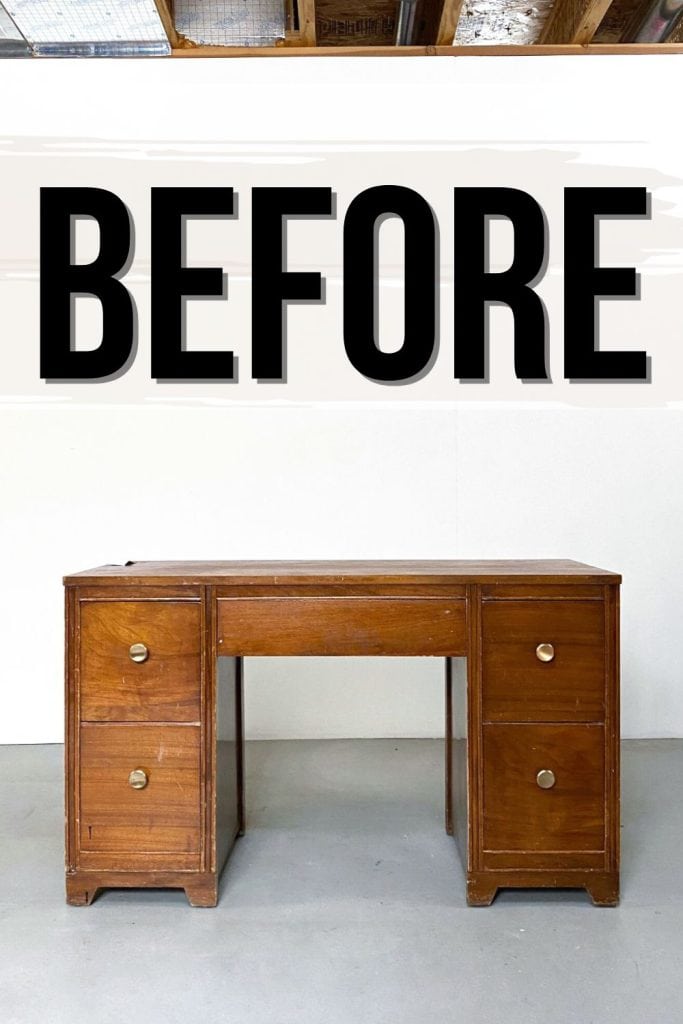
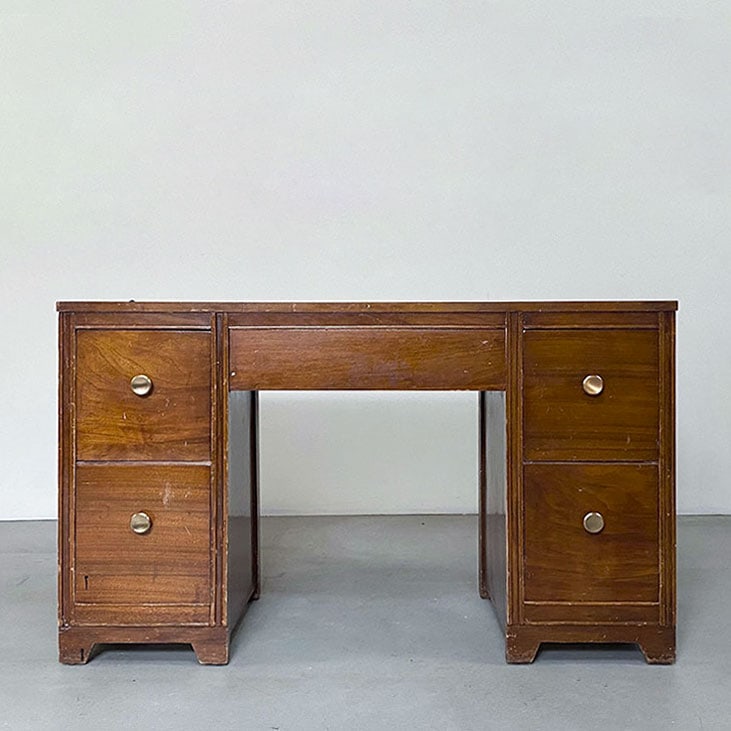
This MCM desk was only $20 at the thrift store! It was made very well, and it was in great shape, other than some chipped veneer here and there. I don’t get how they price things sometimes. But hey, I’ll take the good deal!

And I think it’s going to be perfect to turn into some nightstands! Yes, you can make any piece more functional and better fit your needs. Maybe a TV stand, a bathroom vanity, or even a kitchen island – be creative and make the most out of what you have!
For now, let’s focus on repurposing an MCM desk into nightstands. I’m excited to walk you through the process step by step and inspire you to try it yourself! If you just want to update the color of your piece, get inspiration from these painted secretary desk ideas.

Supplies Used to repurpose a desk into nightstands
As an Amazon Associate, I earn from qualifying purchases. I also may earn from other qualifying purchases with other companies or get free product to review and use. All opinions are my own.
- Krud Kutter
- Scraper
- Screwdriver
- Dremel Multi Tool
- Hammer
- KwikWood
- 150 Grit Sandpaper
- 220 Grit Sandpaper
- SurfPrep Sander (Use code RAY10 to get 10% off your order)
- Fine Grit Foam Sanding Pads (Use RAY10 to get 10% off your order)
- Shop Vac hooked to the SurfPrep Sander
- Tack Cloth
- Gorilla Glue
- Wood Filler
- Table Saw
- Tape
- Nail Gun
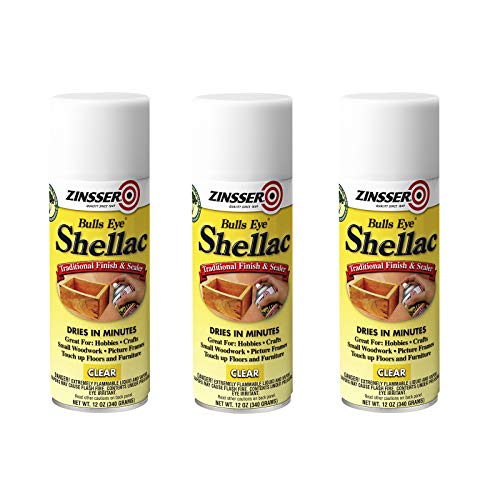
- Clear Shellac
- House and Canvas Paint in Industrial Blue
- Respirator
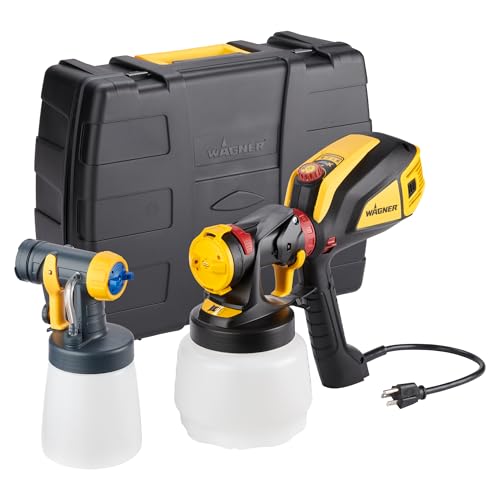
- Wagner FLEXiO 3000/595 Paint Sprayer (updated version of the one I used)
- Caulking
- Spackling
- Minwax Waterbased Polycrylic Spray Can
- 400 Grit Sandpaper
- Satin Waterbased Polyurethane
- Hardware (Hobby Lobby)
Grab our list of 10 must have painting furniture supplies here, too!
Remove Hardware and Clean Desk
First, I started with how I always start makeovers. I removed the hardware and cleaned everything off with some Krud Kutter and a damp rag. I used a scraper to get some extra stubborn things off… and the old finish scraped off pretty easily! Learn more about how to clean furniture before painting here.
How to Remove the Top of a Desk
With all of that out of the way, I got started on the fun part: I took off the top. Typically, tops are held on with some screws or nails. This one had screws in the front and nails in the back, so it was pretty easy.
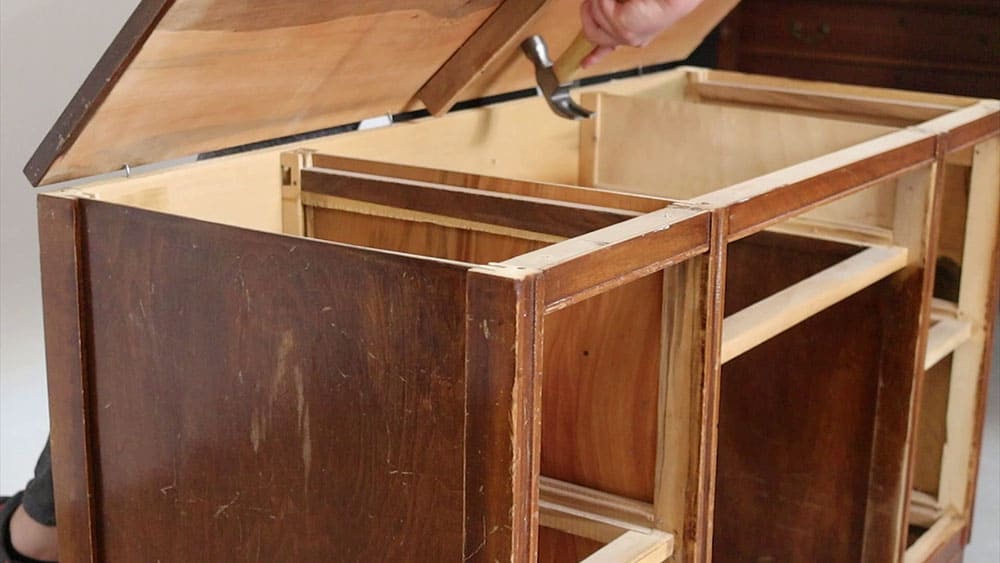
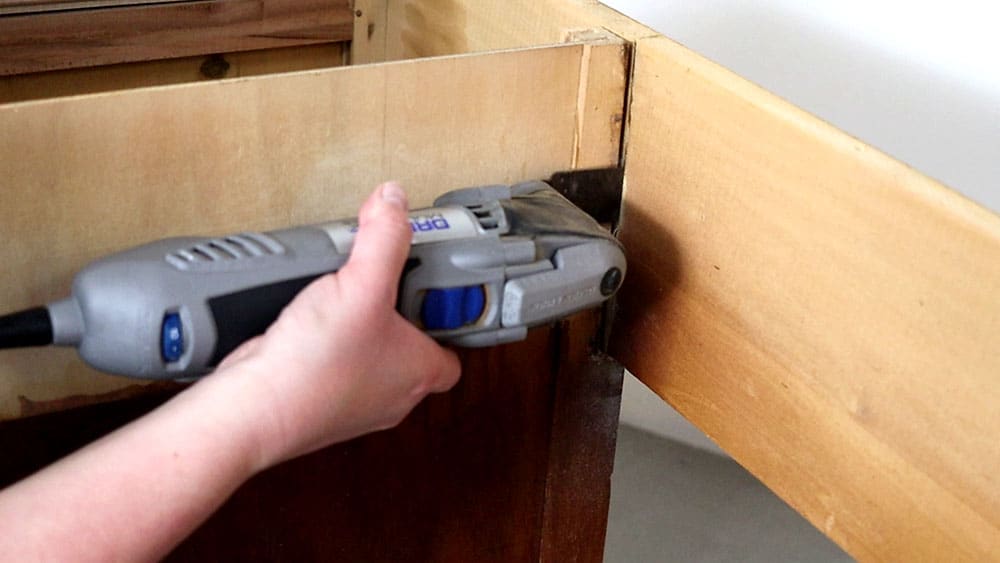
Then, I had to figure out how to get rid of the middle part. I ended up using my Dremel multi tool to cut the wood.
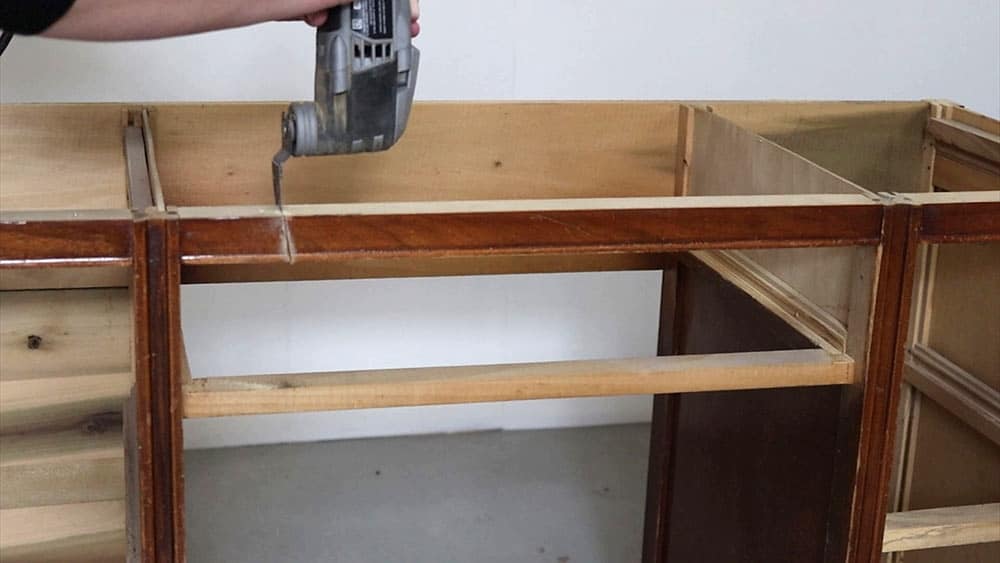
I got it a few years ago, and it comes in handy for these projects where you want to completely transform something. Just plug it in, flip the switch to turn it on, and then push the blade into the wood to start cutting. (This is the project that I originally got the multi tool for… adding legs to a dresser.)
Then I pried the wood out… trying to be careful not to break anything else. These were nailed in pretty well, but eventually, I was able to wiggle them out. I hammered the drawer tracks off… And then for the back brace, I had to do some more cutting.
And then I cleaned up my mess.
Fix Damage and Sand Desk
Closeup you can see all of the damage that I did. So I had to glue a piece of wood back on and then fill in all of the holes.
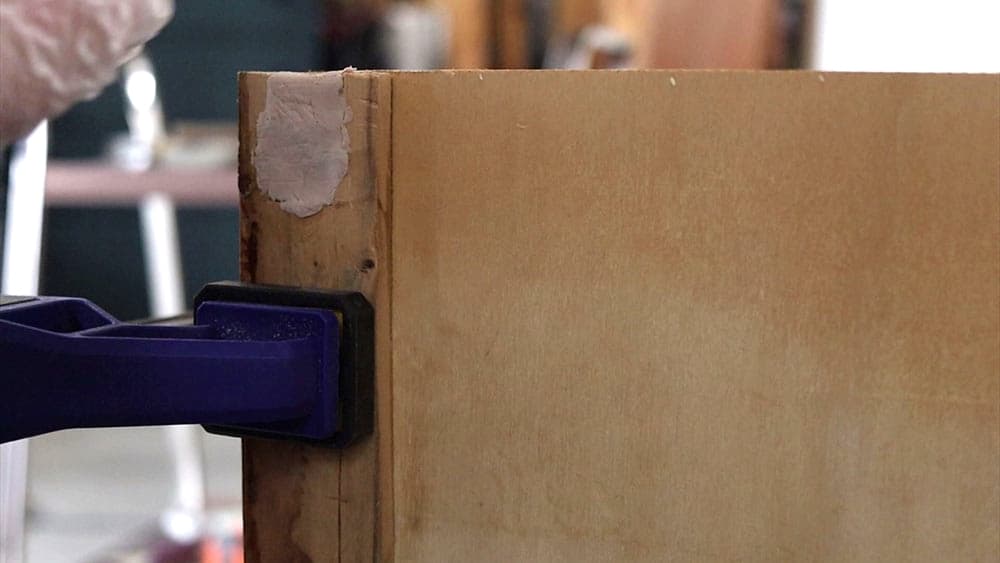
This would usually be a great time to use Bondo if you can work outside. I am still stuck inside, so I filled it all in with Kwikwood. Yeah… I went through a lot of it. But I know that I can trust it to hold strong and not sink or crack. (This is why I love it for filling holes when replacing furniture hardware.)
Oh, and I filled the chipped veneer in with some Kwikwood, too. Here’s our guide on how to use KwikWood. For any chips and nicks, check out our guides on how to repair chipped veneer furniture and how to fix nicks in wood furniture!
Get Our Secrets!
Grab this super convenient How to Repair Furniture Ebook with all of our secrets on how to repair furniture for only $14.
You can print it out and have instant access whenever you come across damaged furniture, and know exactly how to fix it!
Click on the picture of the book to purchase!

While I waited for the Kwikwood to dry, I sanded the drawers down to raw wood with 150 grit and then 220 grit sandpaper. Learn more about the best sandpaper for furniture painting here.
And I sanded everything else to make sure the old finish wasn’t going to come right off… and then the KwikWood as well. Read this post to learn more about the importance of sanding before painting furniture.
I didn’t fill them well enough, so I had a few shallow spots where I applied wood filler. Check out the best wood fillers for furniture you can use here.
Cut New Tops
Before I could start painting, I needed to figure out the new tops. The old top was easy enough to cut with the table saw.
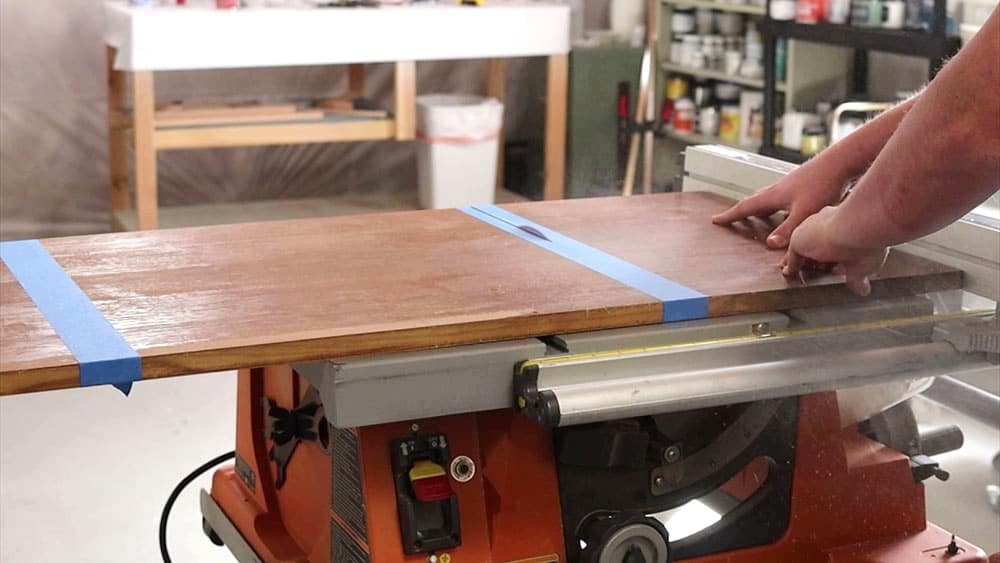
I put tape where we cut the wood so the veneer wouldn’t crack or split on the ends. The edges were all straight, so I didn’t need to router new edges either.
And then I flipped the nightstands over onto the new tops and screwed them on, using the original screws and holes. I used my nail gun to nail the back into place.
Oh, and while I had it on my mind, I replaced the drawer stoppers that were missing. Now that drawer stops right where it’s supposed to stop. If your drawers are dropping, learn how to fix old dresser drawers from falling out here.
Then I sanded all the filler down again and cleaned them all up so I could prime. Check out these best sanders for furniture to make the process quick and easy!
Prime Before Painting
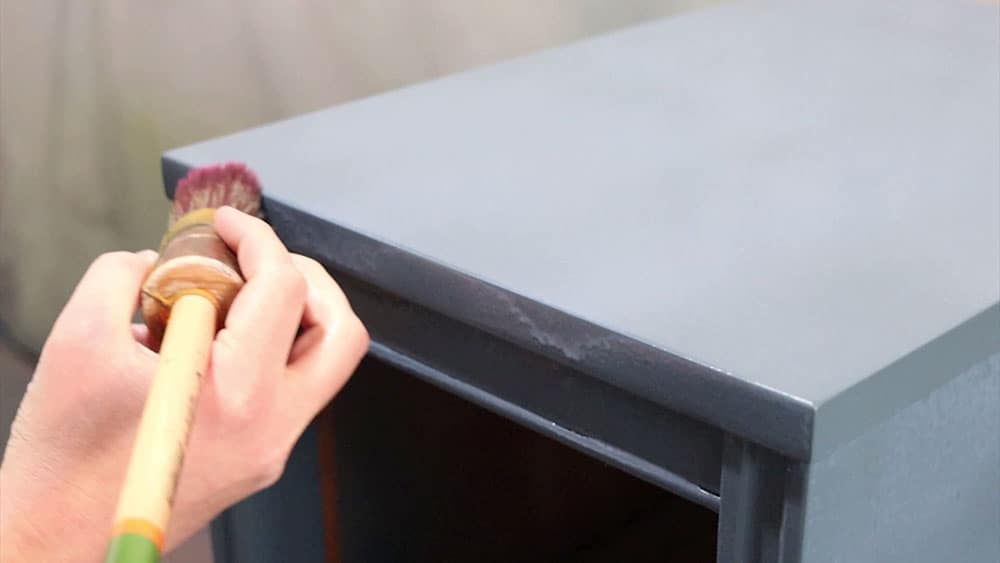
If you’ve watched my videos before, you’ve probably seen me using clear shellac as a primer. This makeover is no different. I sprayed 2 coats of clear shellac, letting it dry for an hour in between and then overnight.
The clear shellac just prevents the wood tannins from staining my finish, and it helps the new coating stick better! Get more tips on how to stop stains from coming through paint here. Check out more best primers for painting furniture (and how to choose the right one) here!
Would you like to save this?
Paint Nightstands Blue
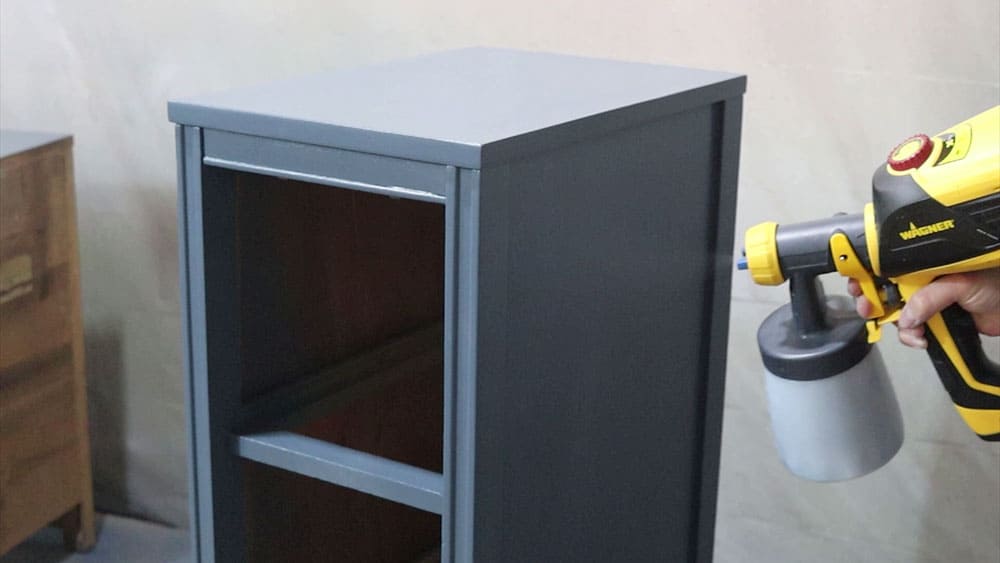
The next day, I mixed up some House and Canvas in the color Industrial Blue, and added some water to it to thin it out enough for the sprayer.
I used this Wagner FLEXiO 3000/595 (The newest model is called the FLEXiO 3500, but they are pretty much the same). I think it is one of the best beginner sprayers out there.
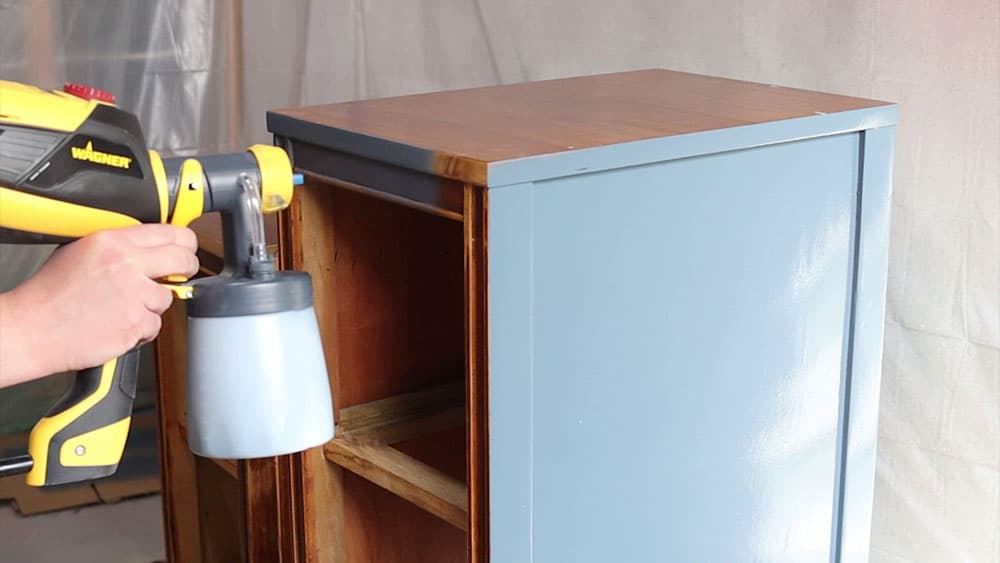
And it could totally spray this paint without thinning, but the finish would have had a lot of texture in it. Adding water helps the HVLP gun apply it, but it also helps the coating level out better. Here’s how to thin paint for Wagner FLEXiO sprayer to guide you.
So then I tested it to make sure I was happy with the settings, and then I applied a coat of blue. It sprayed SO good! The finish was that perfectly fine finish that I’m always looking for, so I was super happy! Learn more about how to use the Wagner FLEXiO 3000 in this post.
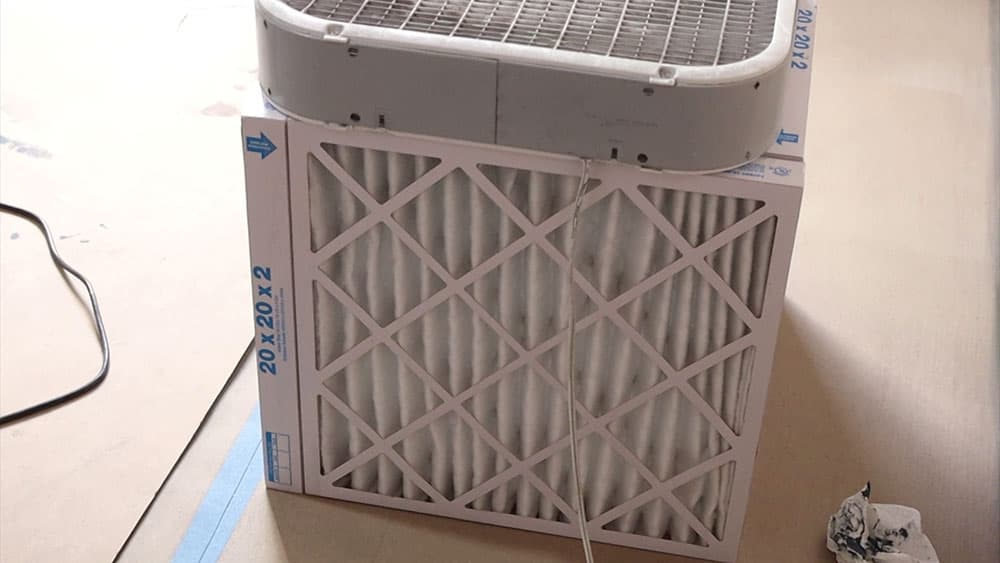
By the way, I saw this idea for a paint booth filter on Instagram from Phillip or Flop. It’s 4 thick filters and a box fan taped together. It did a great job at keeping the paint cloud out of the air while I worked!
After the first coat was dry, I decided to fill and hide the grain since I had sanded the tops all the way down to bare wood. Get more tips on how to hide wood grain when painting here.
And I also wood filled some spots that I had missed… and caulked the seams.

After I sanded the wood filler and spackling down, I applied another coat of shellac all over. I’ve had issues with bleedthrough after filling in the grain, and I could see some bleedthrough in the spackling because I sanded it down.
So, I didn’t want to chance having those stains show up in my final finish. This time, I only let it dry for an hour or so. Then Taylor sprayed the 2nd and 3rd blue coats. After the 3rd one dried, there were a couple of very small runs, so I sanded those away and hit them really quickly with more paint.
Topcoat Repurposed Nightstands
While all of those coats were drying, Taylor sprayed the drawers with some poly. The can of poly was dripping, so he wiped those away… and then ran through them with 400 grit sandpaper when the poly dried. Then he added 2 more coats, repeating the process.
When those dried, we emptied out the sprayer container, so there was only a teeny tiny bit of coating left in there. And then, we added some satin waterbased polyurethane and a little bit of water to it. And then mixed everything together really well.
Learn more about the best polyurethane for furniture here and the best topcoats for painting furniture here.
I adjusted the settings to where I thought they should go… tested it out, and thought it was good. It was way too much, though. And I had drips ALL OVER. So I brushed them out before they dried…
I didn’t want to have to repaint these, but I wanted to make the texture smooth again. So when the poly was all the way dry, I sanded it lightly with 220 grit and 400 grit sandpaper.. and even a sanding sponge to smooth it out.
Then I cleaned everything up and sprayed again. I adjusted the settings, but a lot was still coming out! But I hoped it would be fine…
But nope… The poly ended up dripping, and so I had to brush it out and sand everything again. I was seriously so frustrated and confused.
But when I adjusted and tested the settings, I realized that I had my fluid settings almost all of the way up! This sprayer is backward from my other one, so I get confused sometimes. Ugh! Nothing but user error here! We have more tips and tricks on how to spray polyurethane here!
So, with a lot less of a spray, I applied the 3rd coat.
And it worked perfectly!! Maybe I should listen to my own advice and make sure my settings are where they are supposed to be before spraying! haha
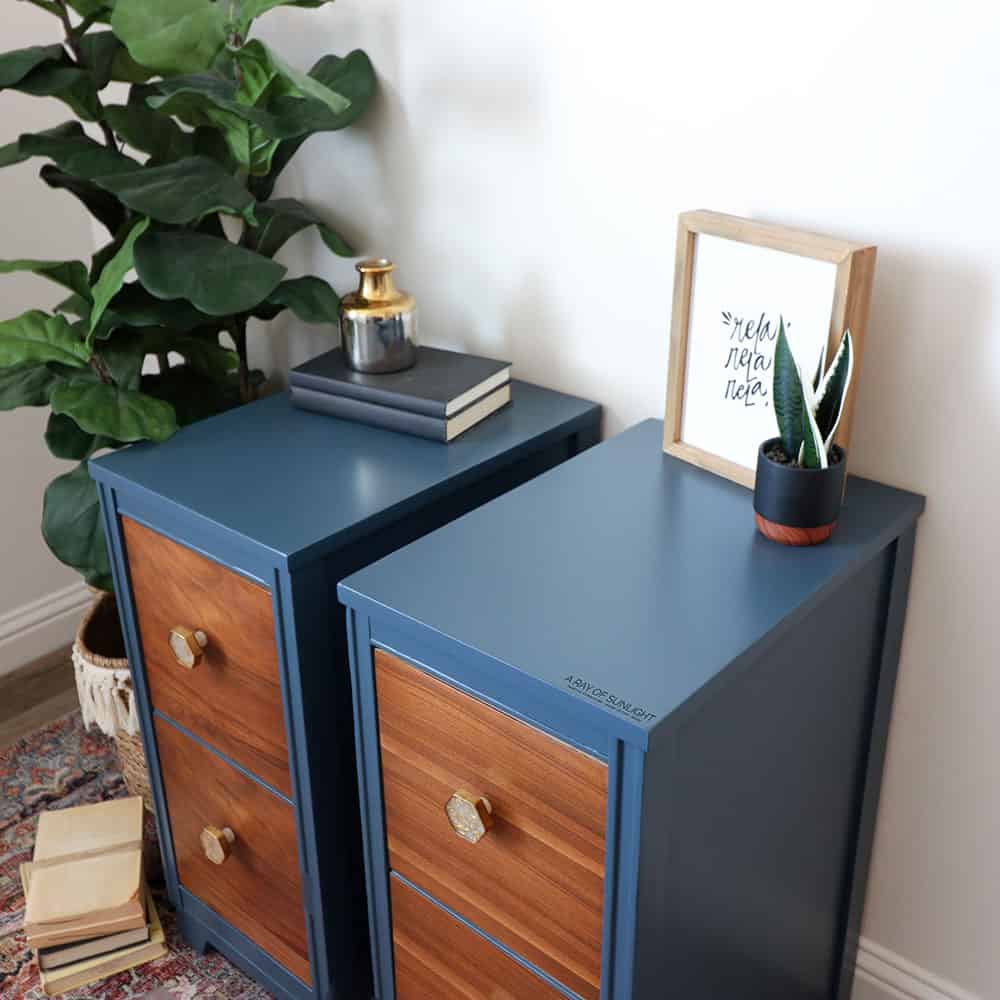
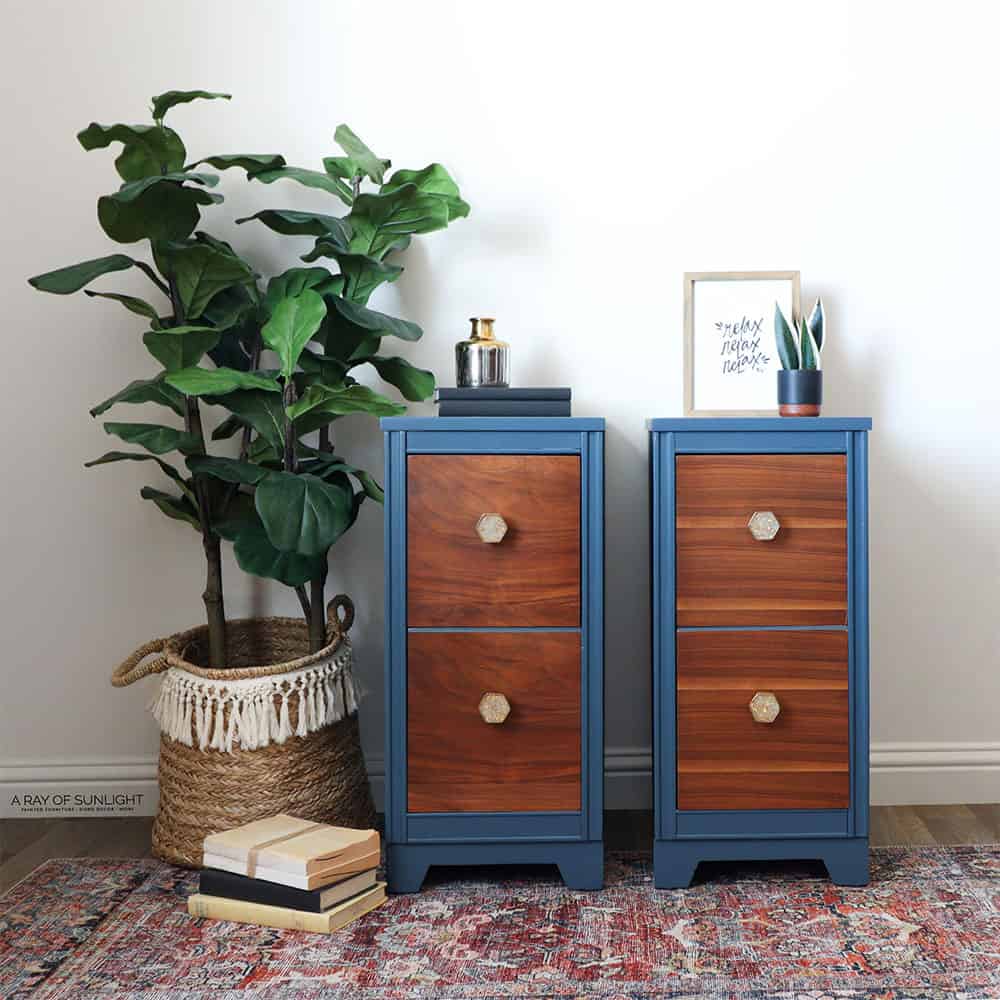
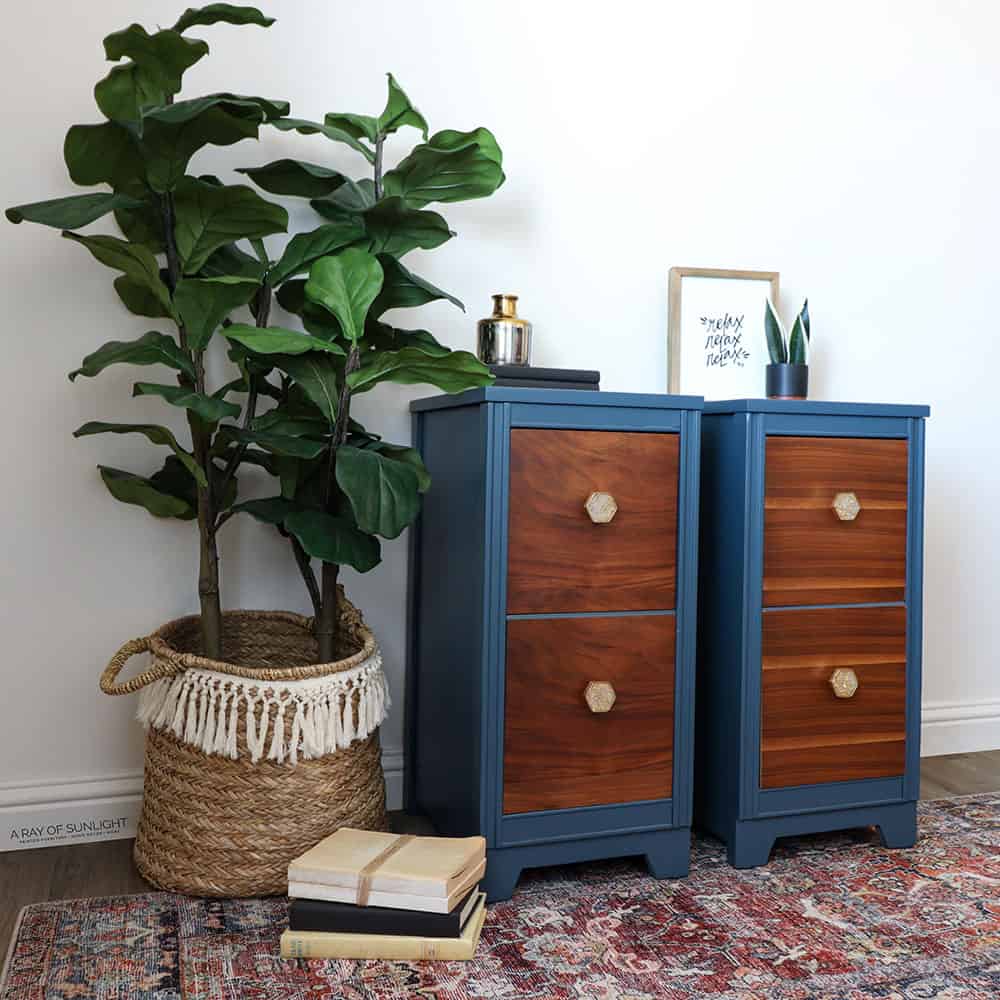
And here’s what it looks like now! A pair of matching, tall nightstands! Perfect for a small bedroom. If you want more makeovers like this, check out these small nightstand ideas and upcycled nightstand ideas! Check out these DIY nightstand ideas and chalk paint nightstand ideas for more inspiration.
More Before and After Makeovers
See All >
Click any of these “before” photos below to view the “after” of that makeover.


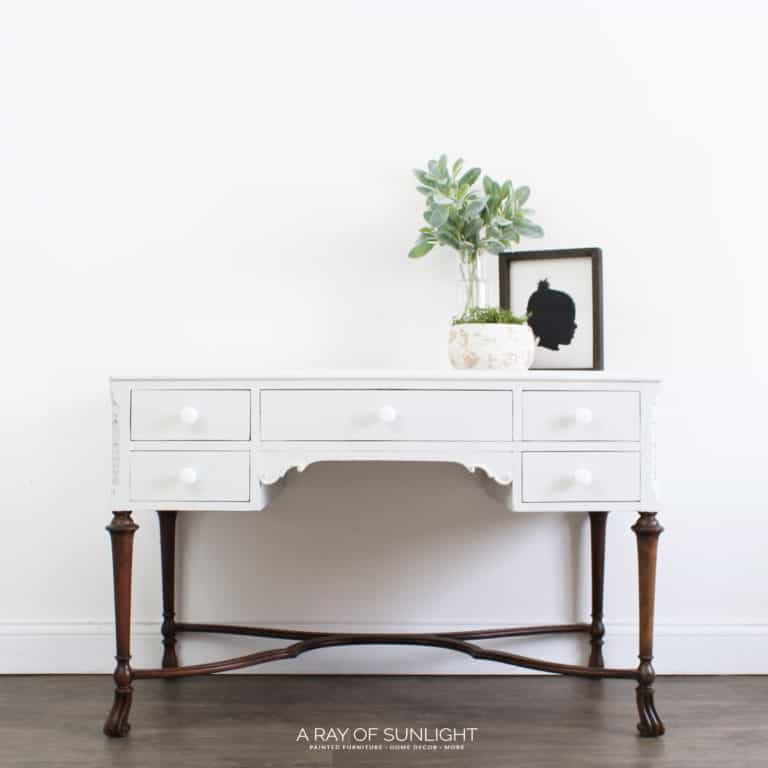

For more modern style pieces, here are modern nightstand ideas and mid century modern painted furniture. Explore these modern chalk painted furniture ideas and chalk painted desk ideas using the same type of paint.
Here’s our post on is two-toned furniture in style if you’re wondering if it’s still trendy to try yourself. Check out these mismatched nightstands ideas for more ways to style mismatched pieces. And for more repurposing inspiration, here are dresser as nightstand ideas and DIY repurposed nightstand ideas.
What do you think of this hardware? We wanted something a little bit funky for these. But the good news is that they can be easily switched out to different knobs for whoever buys these.

Speaking of, I’ve sold these types of nightstands for anywhere between $300 and $550 before. They do take a lot of work, though. If you want to know how to price flipped furniture, check out my handy furniture painting price list guide for more information!


Repurpose an MCM Desk into Nightstands
The best thing to do with old desks is to transform them into something new. Here's how to repurpose a desk into nightstands.
Materials
Tools
Instructions
- Remove the old hardware and clean the desk with some Krud Kutter and a damp rag to prep for paint. You can use a scraper to get some extra stubborn things off.
- Take the top of the desk off and cut the middle part of the desk. Then fix all the damage from taking the desk apart and fill in any holes with KwikWood.
- While waiting for the Kwikwood to dry, sand the drawers down to raw wood with 150-grit sandpaper and then 220-grit sandpaper. Proceed to sand everything down.
- Cut new tops, flip the nightstands over then screw the new tops on.
- Prime by spraying 2 coats of clear shellac on the nightstands, letting it dry for an hour between coats, and letting it dry overnight before painting.
- Mix up the paint with some water to it to thin it out enough for the paint sprayer. Spray the 1st coat of paint onto the nightstands. After the paint dries, you can fill and hide any wood grain. You can also caulk the seams. Sand the wood filler then spray another coat of shellac onto the nightstands.
- After the new primer dries for an hour or so, spray the 2nd and 3rd coats of paint on the nightstands.
- While the paint dries, you can now seal the wood drawers with poly. And when the paint dries on the nightstands, seal them with water based polyurethane as well.
- Attach your hardware to your new nightstands!
Recommended Products
As an Amazon Associate and member of other affiliate programs, I earn from qualifying purchases.


More Nightstand Makeovers
- How to Repurpose Desks
- Repurpose Sewing Machine Tables
- Vintage Nightstands Makeover
- DIY Dark Green Nightstands Makeover
- Vanity Turned into Nightstands
Learn the Art of Updating Furniture!
If painting furniture feels overwhelming or your past attempts didn’t go as planned, this course will guide you step by step.

Follow us on YouTube to get more tips for painting furniture. Or share your project with us on our Facebook Group and be part of our community. See you there!
You make any thing look so good. The furniture looks amazing just like brand new.
Ahh thank you so much!