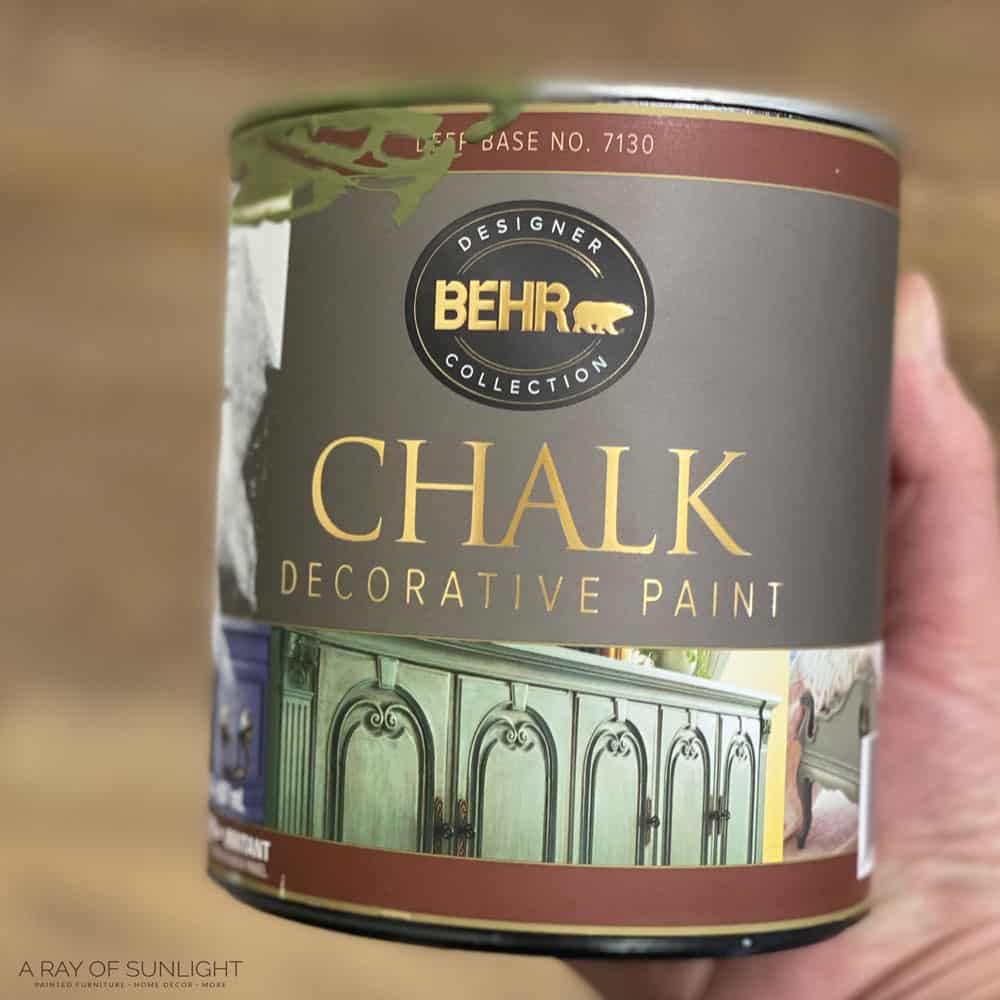
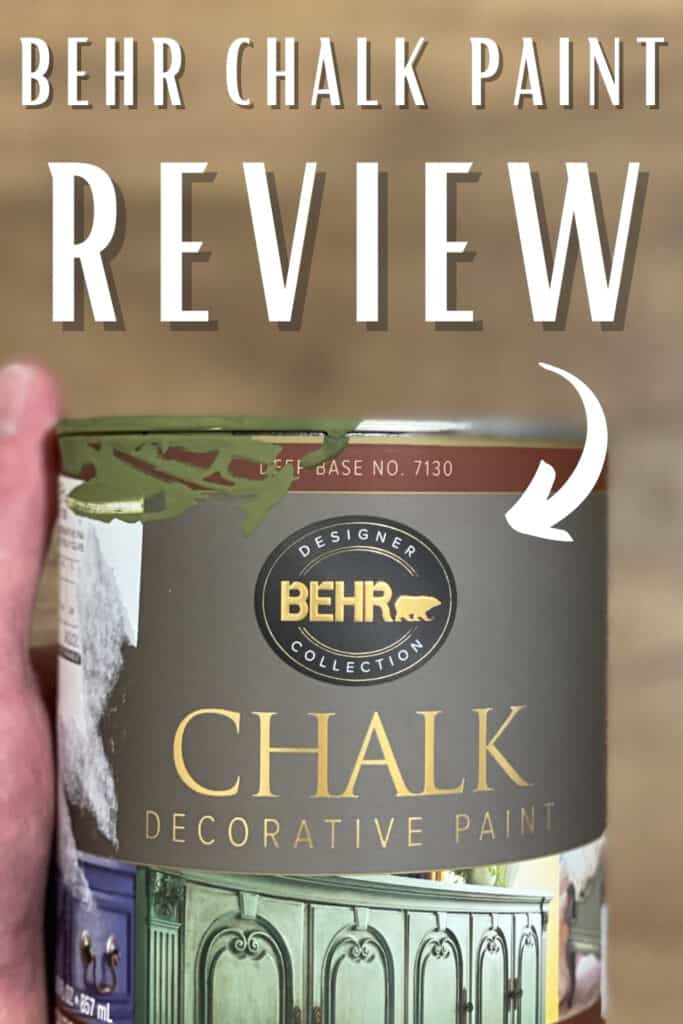
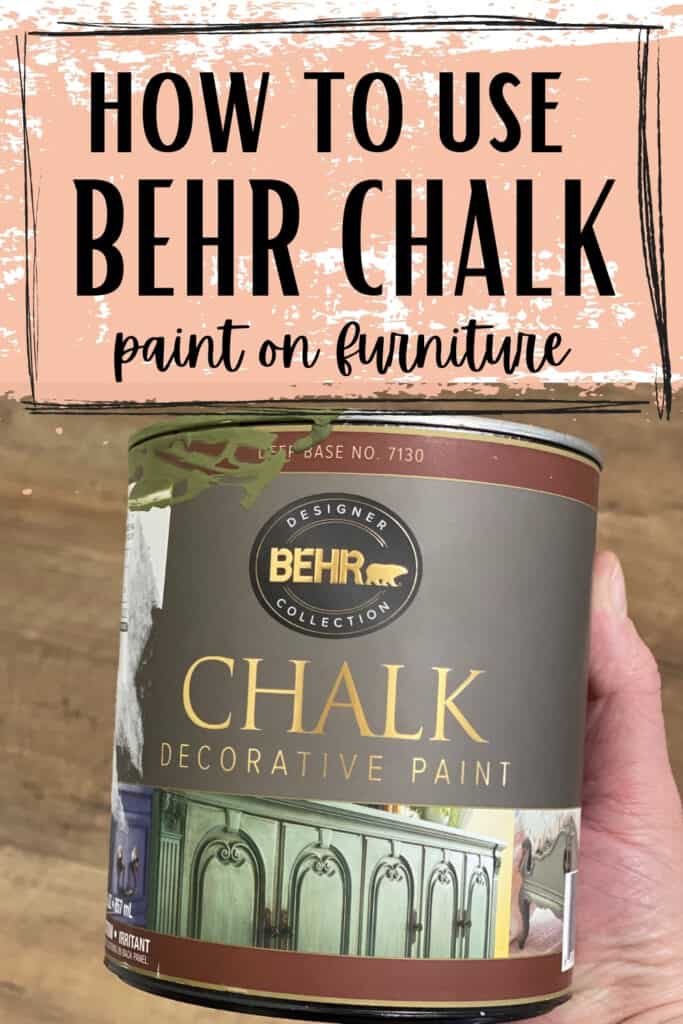
Behr Chalk Paint Review
Is the Behr chalk paint and Behr decorative wax any good?! If you’re curious about them, here’s our Behr chalk paint review! We tested them out on this mini buffet makeover, and we’ll share the details of how we used them and how they performed for us.
Chalk paint is one of the popular types of paint for furniture, and among many brands, let’s see if this one is worth considering for your next DIY project!
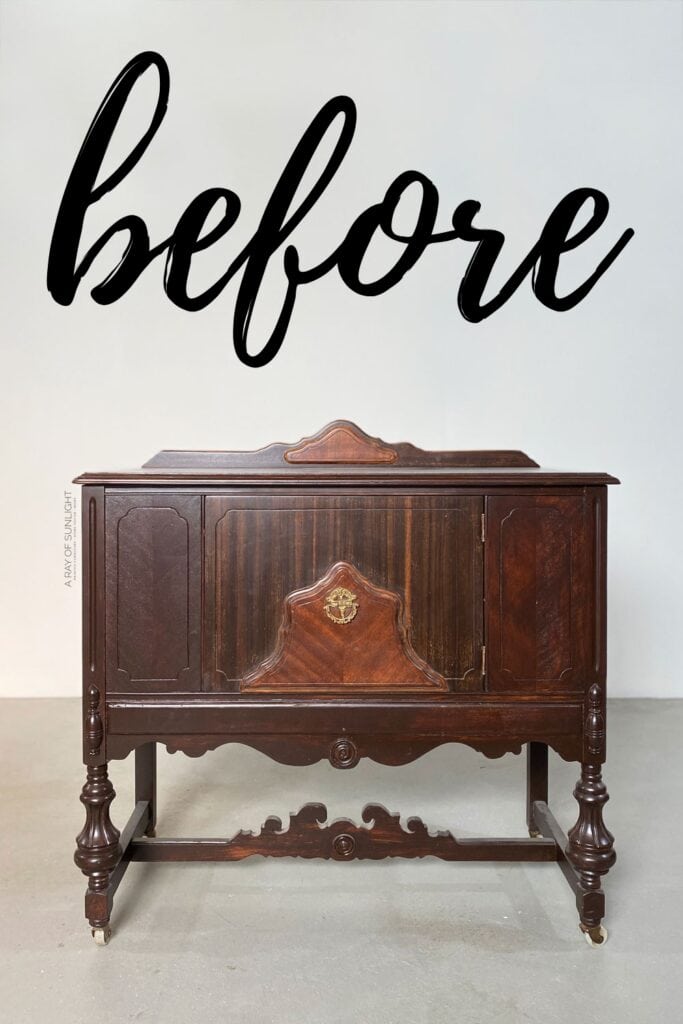
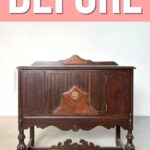
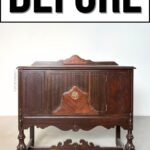
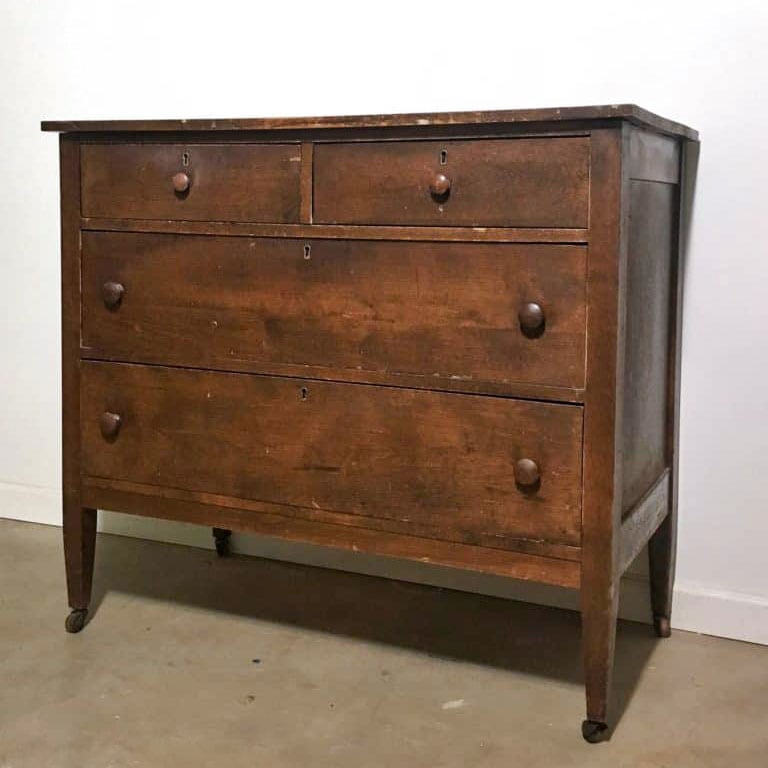
This week, I tried these Behr products for the first time, and here is my quick little review if they’re any good. I tried them out on this mini buffet that I started working on in this YouTube video on how to remove wood stain.

It’s totally normal to have questions if you haven’t tried a product yet, so I wanted to give my honest thoughts and impressions on using it. I’ve tried many top chalk paint brands, and it’s exciting to see how Behr’s version would compare!
If you’re not familiar with it, our posts on what is chalk paint? and what is so great about chalk paint? can help fill you in. Then, let’s dive into this makeover and see for ourselves what the Behr chalk paint and wax can do!

Supplies Used For Buffet Makeover with Behr Chalk Paint
As an Amazon Associate, I earn from qualifying purchases. I also may earn from other qualifying purchases with other companies or get free product to review and use. All opinions are my own.
- Krud Kutter
- Wood Filler
- Shop Vac
- Tack Cloth
- Clear Shellac
- Paint Filters
- Paint Sprayer
- Truly Olive Behr Chalk Paint
- Behr Decorative Wax
- Wax Brush
- Lint Free Rags
- 3×4 Vacuum Compatible SurfPrep Sander (Use code RAY10 to get 10% off your order)
- Foam Pads (Use code RAY10 to get 10% off your order)
Prepping and Repairing Buffet
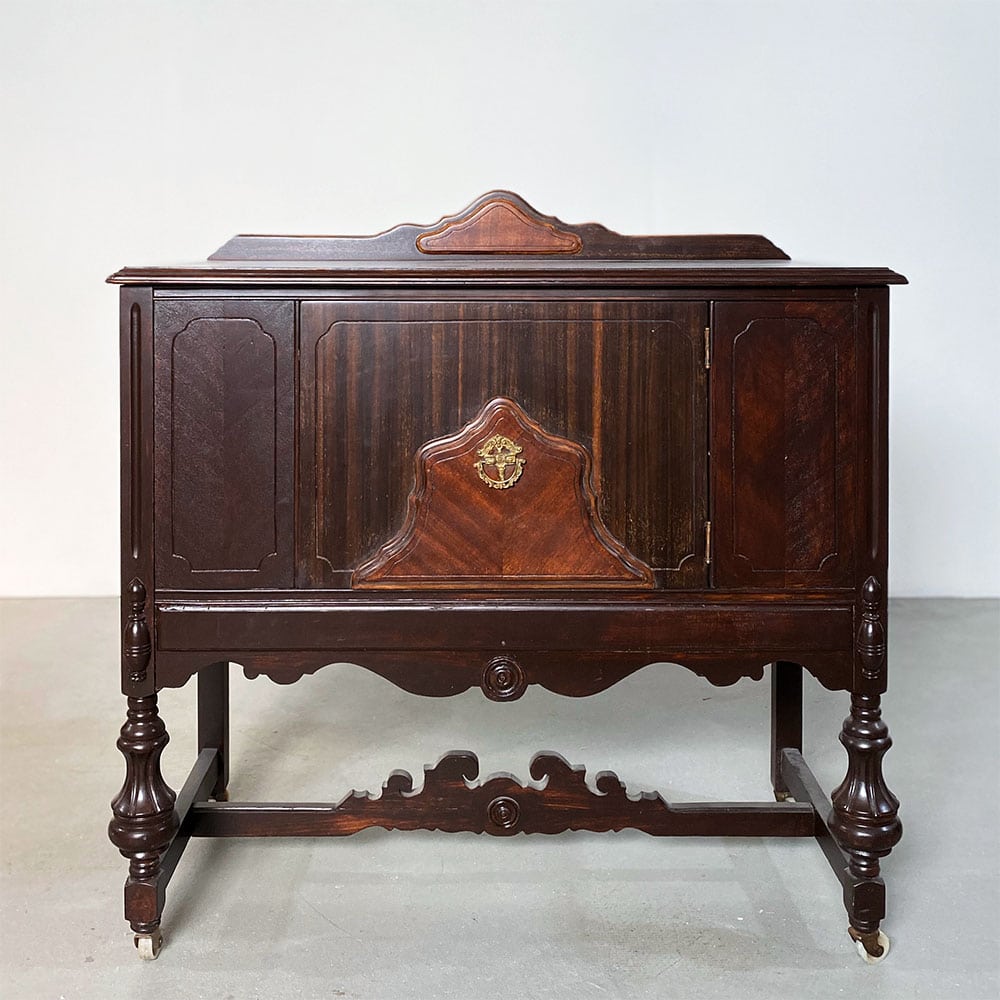
Before anything else, I had to make a few repairs to the veneer and prep the buffet.
I started by cleaning the whole piece with my favorite cleaner, Krud Kutter. This not only makes it easier for the paint to stick, but it also gives me a chance to look over the piece really well. Learn more about how to clean furniture before painting properly here!
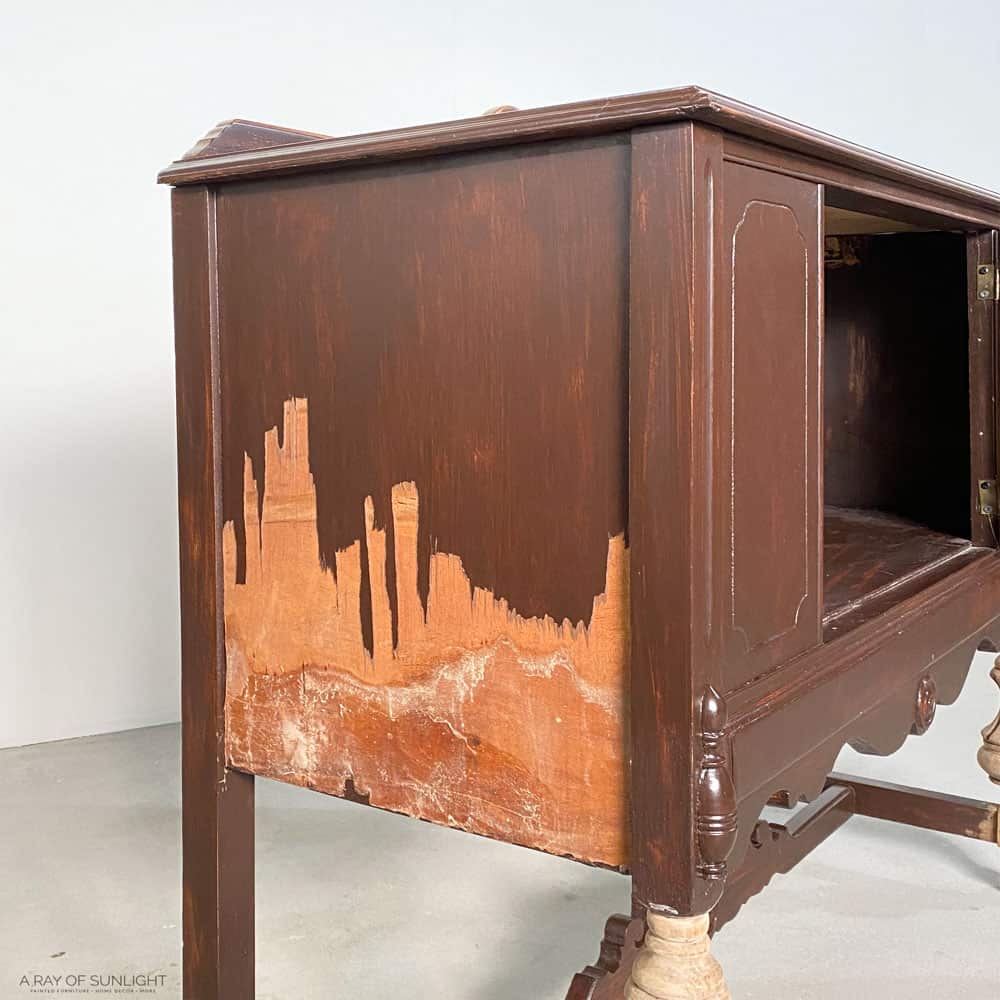
And that’s when I saw how bad the veneer really was on one side.
Get Our Secrets!
Grab this super convenient How to Repair Furniture Ebook with all of our secrets on how to repair furniture for only $14.
You can print it out and have instant access whenever you come across damaged furniture, and know exactly how to fix it!
Click on the picture of the book to purchase!

So I removed the veneer on the one side, and the veneer on the backside of the door as well. Some of it came off really easily with just my scraper, but for the really stuck on parts, I called in reinforcements to get it off. Check out our post on the easiest way to remove veneer if you’re having the same issues!
Then I wood filled, scuff sanded the whole buffet, vacuumed off the dust, and wiped it all down with a tack cloth to remove any remaining dust.
Priming Buffet to Prevent Bleedthrough
One last thing: I primed the piece with my favorite clear primer (clear shellac) that blocks the wood and stain from bleeding through the finish. This is one thing that I definitely never skip on! Learn more about the best primers for painting furniture here.
But especially after removing the veneer from the side and the door, I knew there was a big potential that I could have bleedthrough issues. (See below!)
So we took the buffet out to the garage and sprayed 2 coats of clear shellac all over the piece, but especially over the door and side. Then, I let the shellac dry overnight.
Repairing and prepping this piece was a beast!! Learn more about how to prepare furniture for painting in this post.
Painting A Buffet with Behr Chalk Paint
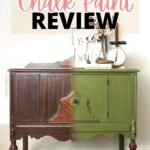
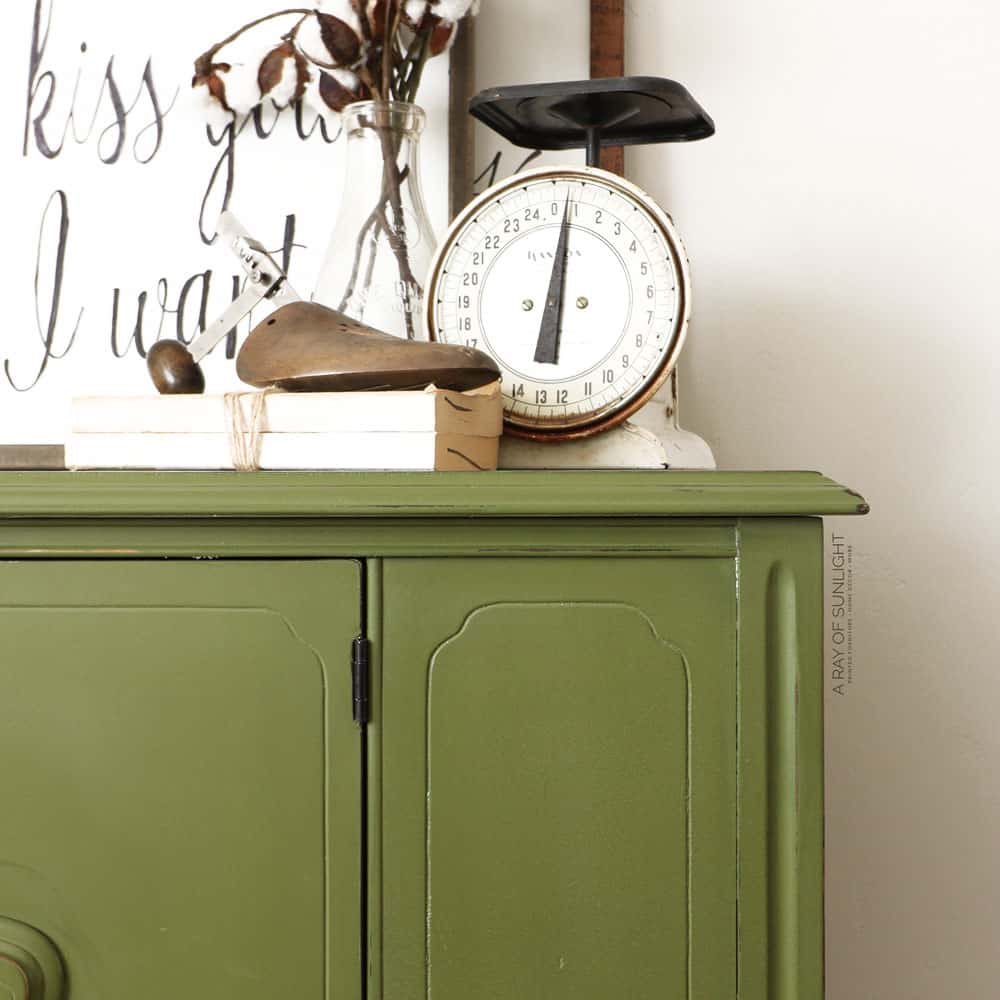
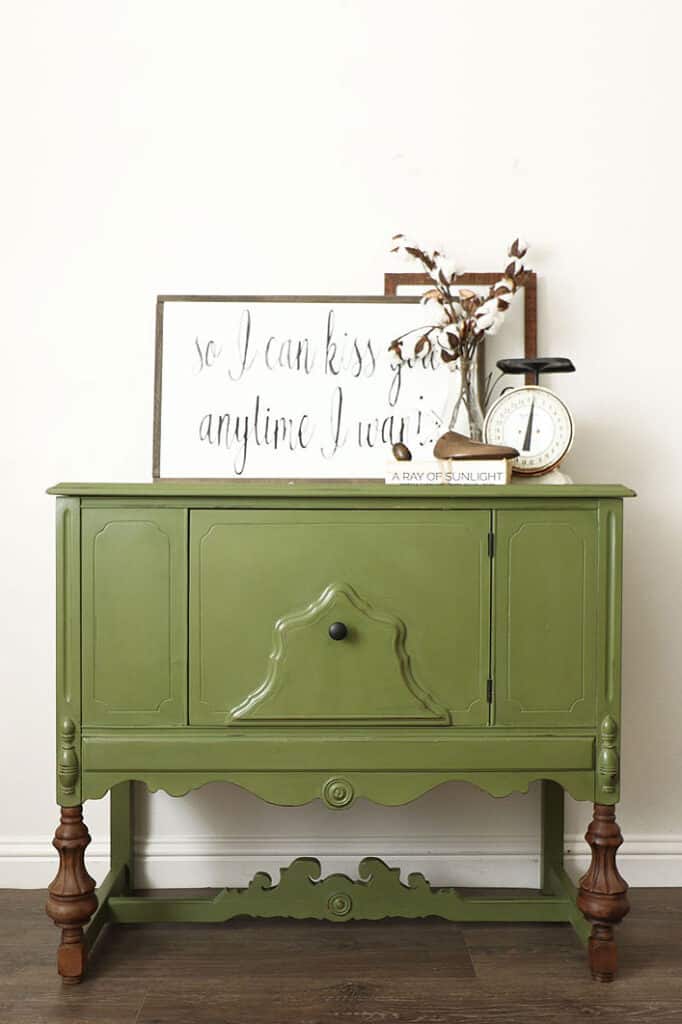
I decided to try spraying the chalk paint, so I mixed it up and then dumped it through a filter and into my paint sprayer container. The color I used is this gorgeous olive green called Truly Olive. Then I poured a little bit of water into it and mixed them really well. I ended up using about half of the quart on this project.
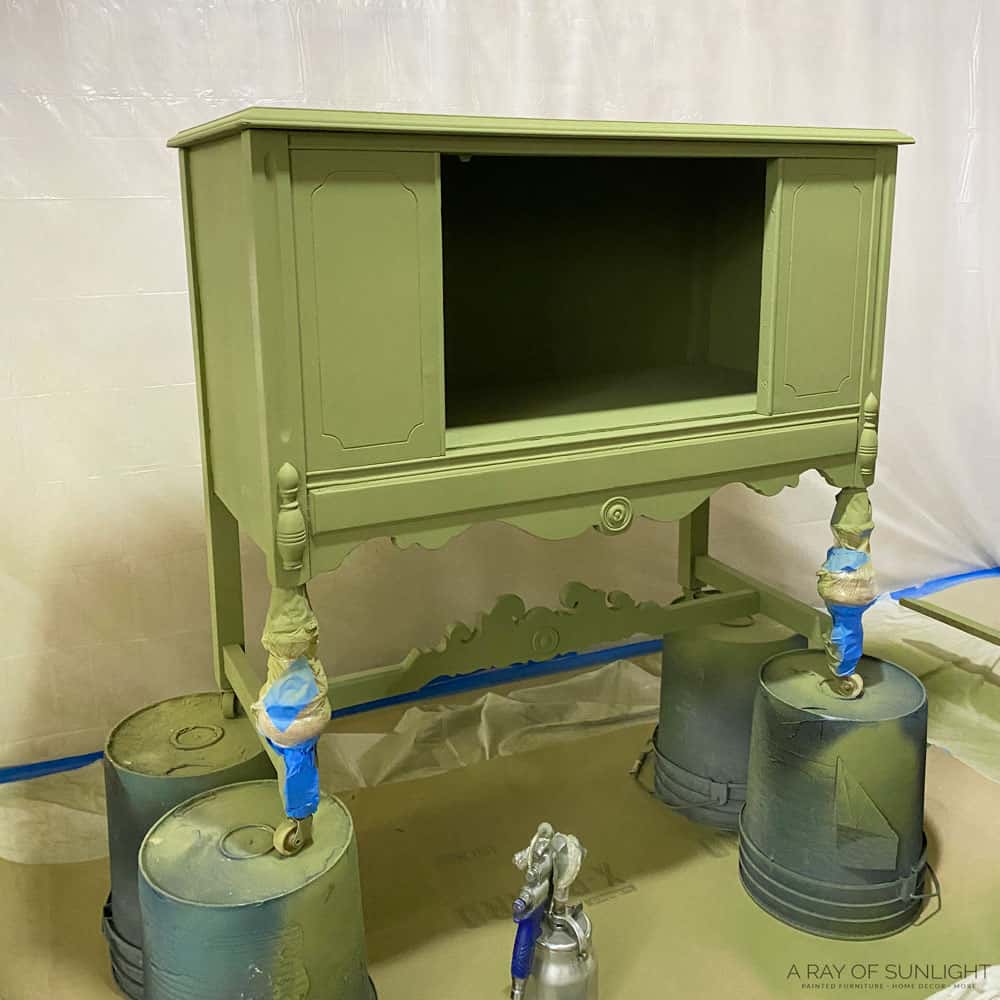
I applied a few even, thin coats all over and inside the piece, and then I let it dry for about an hour or two in between coats. Learn more about painting furniture with a sprayer in this post.
When I checked on it after the first coat, the back of the door where I had removed the veneer had some bleedthrough issues still, so I took the door back out to the garage and added another 2 coats of shellac to block the stains.
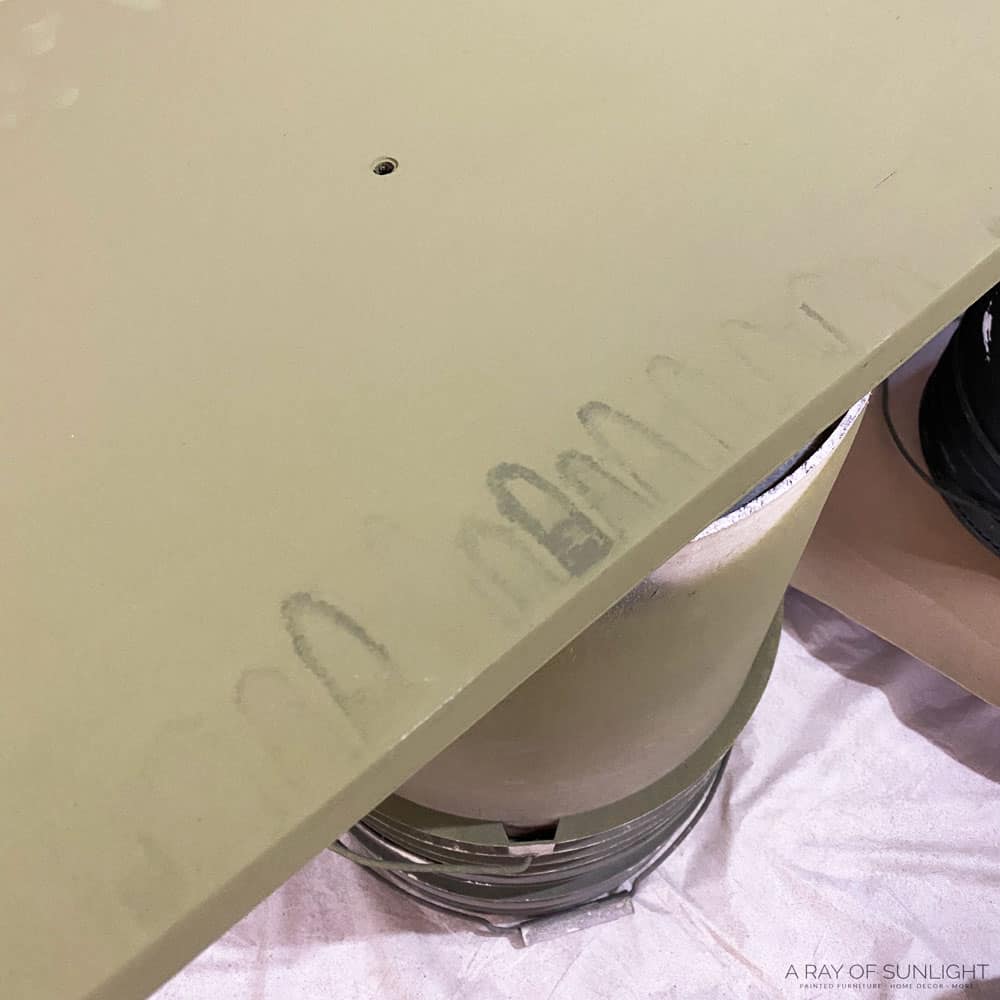
Learn more about how to stop stains from coming through paint and other ways to prevent them from ruining your finish! After the shellac was dry, I brought the door back in to finish spraying everything with a couple of coats.
Distressing Painted Buffet
After everything had a chance to dry for a couple of hours, I brought it out of my spray booth to sand and distress it.
I used my favorite sander, the SurfPrep sander, with the SurfPrep foam pads that make it possible to use a power sander on curves. Here’s our SurfPrep Sander review for more on this tool, and check out more best sanders for furniture here!
The goal was to distress the edges a little bit so I could see the wood on the details, but I also wanted to sand everything down just a little bit to make it even more smooth.
I used the ½” foam pads in fine grit to distress and sand everything down. Or, if sanding isn’t your thing, read this post about 6 different distressing furniture techniques! Then, I vacuumed off all of the dust and used a tack cloth to finish getting off any remaining dust.
How to Use Behr Wax Decorative Finish
To really test out the Behr chalk paint, I decided to test out the Behr wax to seal it. I used a wax brush that I had on hand to brush a small amount of wax all over. After I brushed it onto a smaller area, I applied it in the same direction to help avoid weird streaks when it dried.
Would you like to save this?
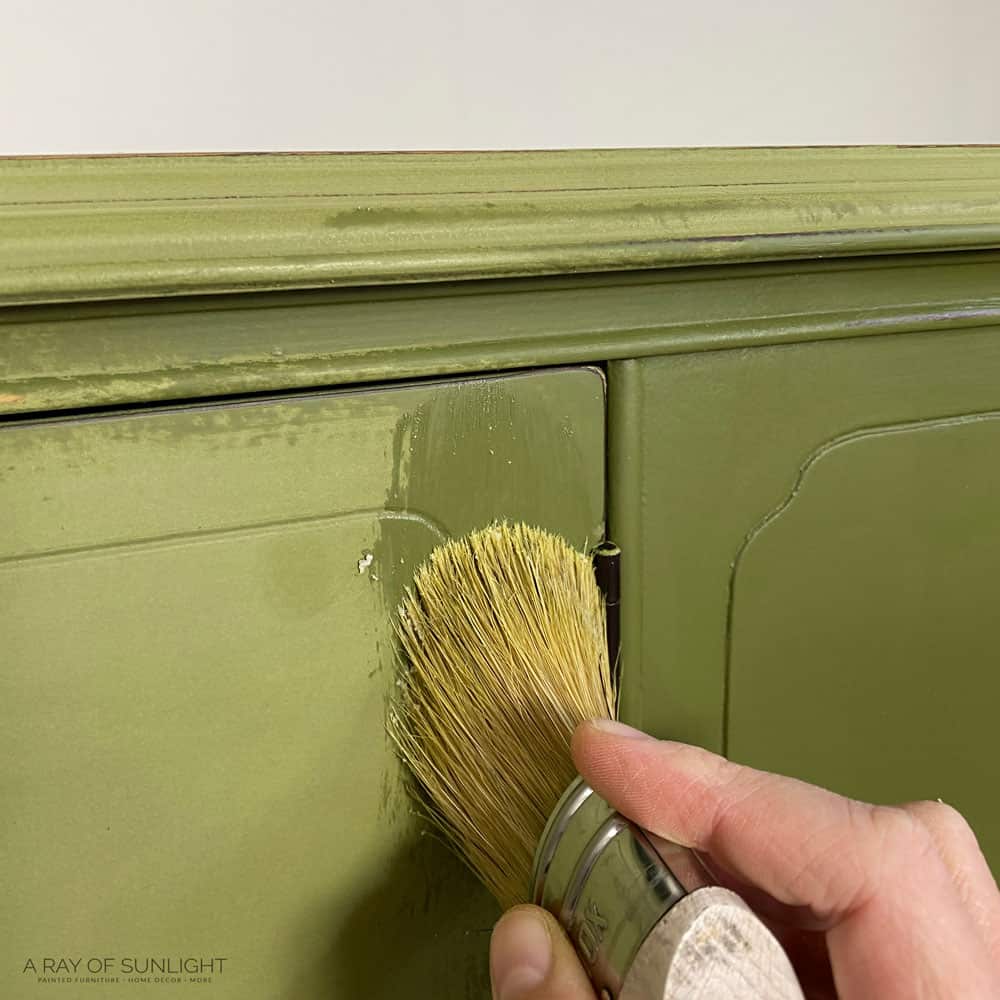
By the time I was done staining the legs, the wax on the rest of the piece was dry and ready to “buff”. I just used a lint free rag to rub over it a couple of times. You can feel it go from being a little bit sticky to being nice and smooth.
I also tried to rub it in the same direction to help avoid streaks again. Read more about waxing and other topcoats for painting furniture in this post!
Staining Raw Wood Legs
To stain the legs, I used some Annie Sloan dark wax and another wax brush that I had on hand. I love using dark wax to stain raw wood, especially legs like this!
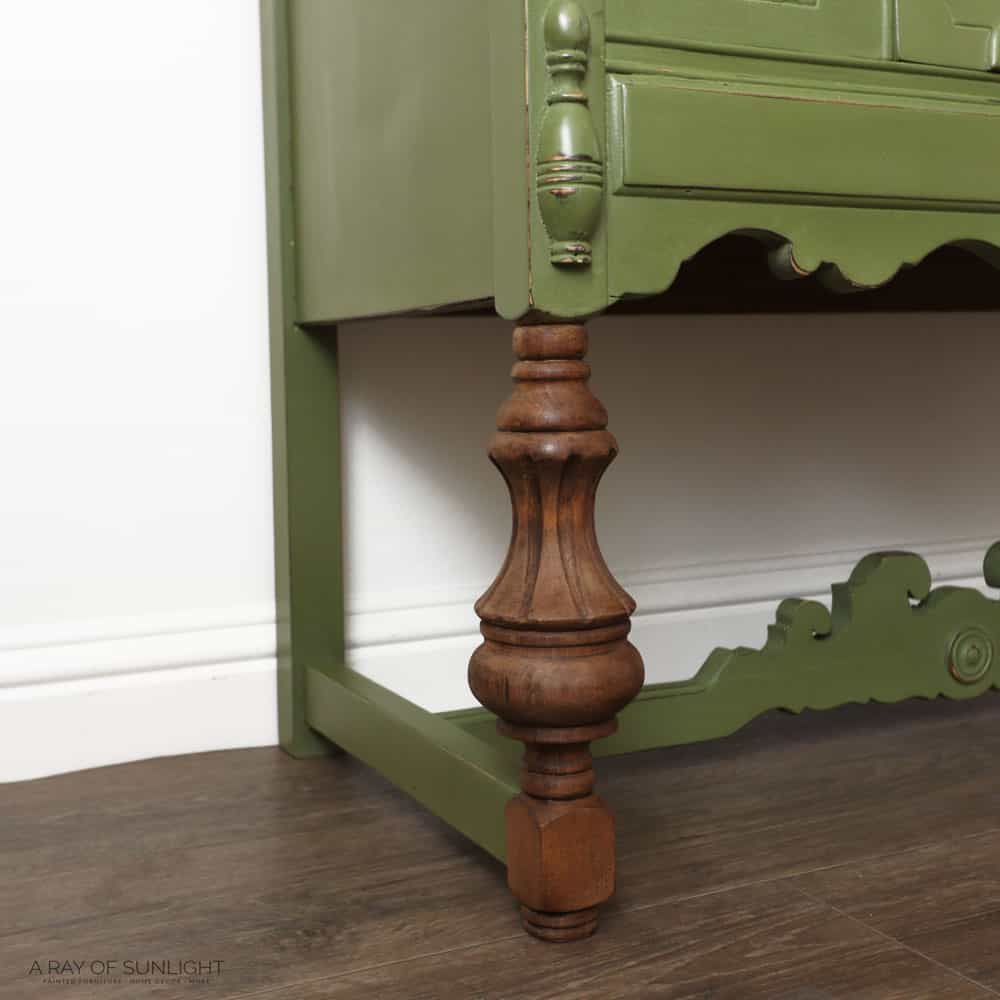
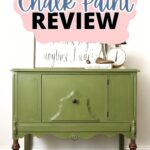
Then I added a new bronze knob to the door and removed the wheels from the bottom of the legs. I love the contrast of the stained legs with the olive green! Check out more green chalk painted furniture ideas here. Get more painted buffet ideas and chalk paint buffet ideas from these posts for inspiration.
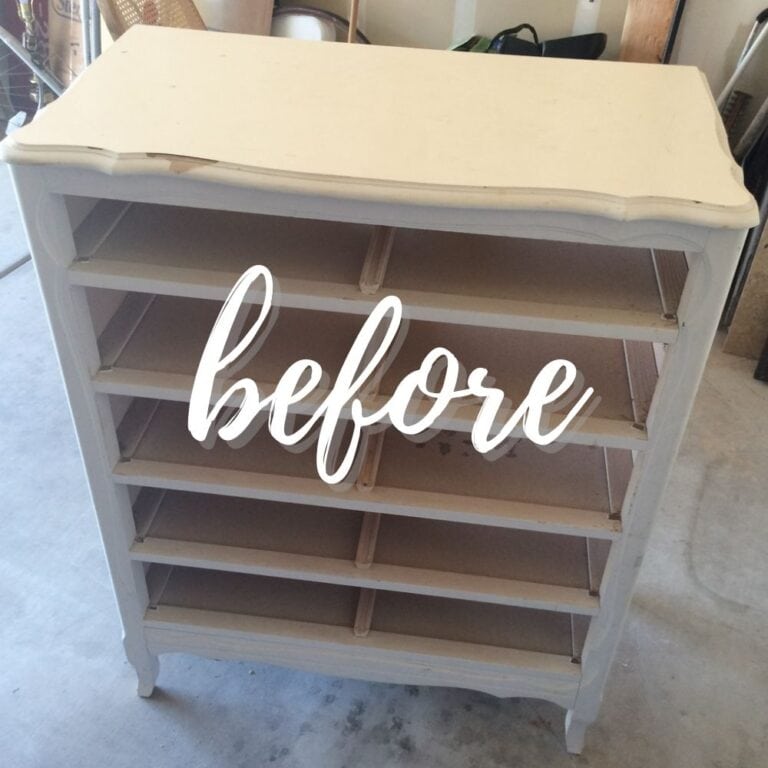
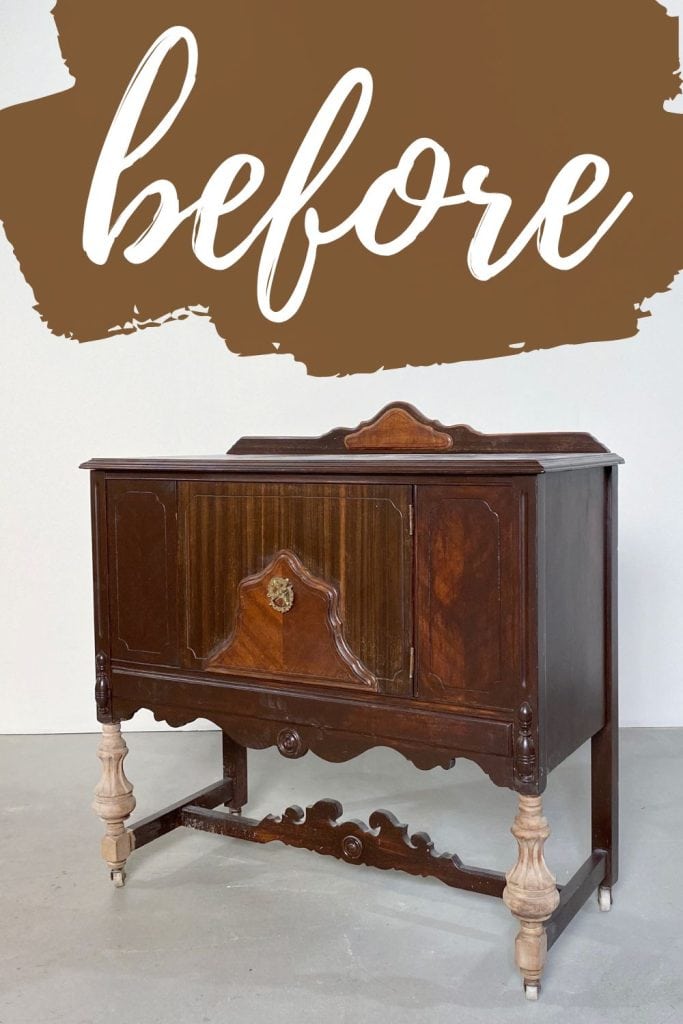
More Before and After Makeovers
See All >
Click any of these “before” photos below to view the “after” of that makeover.


Behr Chalk Paint Review
It sprayed on beautifully and leveled out nicely! I didn’t have any issues with how it sprayed at all. It also dried pretty quickly like you would expect a chalk paint to do, and it had good coverage as well! I love how it feels when it’s all dry. It feels softer and less gritty than most brands.
When I sanded it down, I didn’t have any durability issues with it scratching off, so it looks like it will be a really durable finish! Honestly, I can’t wait to use it again!
**Update: I used it again on this Behr chalk painted dresser makeover. I brushed it, and I honestly didn’t care for it. It left a lot of brush marks behind, and it took more coats.
It’s a great option, especially when you can save 10-15 bucks per quart compared to some of my favorite brands.
Behr Chalk Paint Wax Review
The decorative wax brushed on easily and really added some depth to the chalk finish. It is a little harder than some of my favorite soft waxes, but it definitely isn’t too hard by any means. But my favorite thing about it is that it doesn’t have a strong smell like some other brands!


Behr Furniture Paint Colors
Choosing the right paint color for your furniture is such an important decision. It can completely transform a piece, and you have to choose one that will match or complement the rest of your decor. You also want to choose one that you will love and won’t get tired of quickly.
If you’re looking for another color besides this green shade I used, Behr has a great and wide selection to choose from! From the classics to the latest trends, the brand has a color for every taste and style.
And if you have a specific shade in mind, no problem! Behr chalk decorative paint is tintable, so you can have it custom mixed to get exactly the shade you’re looking for. It’s perfect if you have a specific color scheme at home that you just can’t compromise on.
If you don’t have anything in mind, check out these best painted furniture colors! If you’re thinking of selling a finished piece, here’s what color furniture sells best? to give you ideas on what to use.
So no matter if you’re into a cozy farmhouse look or a sleek modern aesthetic, there’s a color for you. And if you ever feel like switching things up, just pick a new one for a totally fresh style! Here’s our guide on repainting furniture if you decide to do so.


Behr Chalk Paint Review
Is Behr chalk paint any good for painting furniture? Let's find out! Here's our Behr Chalk Paint review and how to use it.
Materials
Instructions
- Start prepping the buffet for paint by cleaning it with Krud Kutter. Remove veneers and fill in any holes with wood filler. Scuff sand the whole buffet and vacuum and wipe all the dust.
- Prime the buffet with 2 coats of shellac to block the wood and stain from bleeding through the paint. Let primer dry overnight.
- Spray a few coats of chalk paint all over and inside the buffet and then let it dry for about an hour or two in between coats.
- Once dry, distress the edges of the buffet a little bit with the sander.
- Brush and seal everything with wax. Brush the wax in the same direction to help avoid weird streaks when it dried. Use the lint-free rag to rub over the wax a couple of times for it to be nice and smooth.
- Stain the raw wood legs of the buffet with dark wax then attach new hardware.
Recommended Products
As an Amazon Associate and member of other affiliate programs, I earn from qualifying purchases.


More Furniture Paint Resources
- Rethunk Junk Paint Review
- Melange One Paint Review
- Rustoleum Chalk Paint Review
- Behr Spray Paint Review
- Benjamin Moore Advance Paint Review
Follow us on YouTube to get more tips for painting furniture. Or share your project with us on our Facebook Group and be part of our community. See you there!
Great question. The water doesn’t change the color at all, so for touch ups you don’t have to add water. The way you apply the paint will change the sheen though, so you can see a sheen difference if you touch up paint with a brush.
Hi Natalie!
Nice makeover over on this buffet table. I LOVE the green and wood combo you did. I’ve never used BEHR paint but I just might have to try it. Thanks for sharing your experience . PINNED! xo ?
I’ve never used Behr Chalk Paint so good to know… and your buffet is gorgeous Natalie! 🙂
Beautiful! I appreciate you sharing your review of Behr Chalk Paint with Sweet tea & Friend’s this month.
Ahh thanks Paula! So grateful for the love on our Behr Chalk Paint Review!