Get a Chippy Paint Finish with Milk Paint – Every time!
Old, worn, farmhouse, rustic and chippy – if you want to create these styles on furniture, you’re in the right place! I have a huge secret up my sleeve on how to get a chippy paint finish with milk paint every time!
Aside from these painting techniques for furniture, it’s super easy to get that vintage look and give your pieces some extra charm and character. Keep reading to learn this simple yet effective method!

If you’ve used or read much about milk paint (the powdered kind, not General Finishes Milk Paint), then you know that it has a mind of its own. Sometimes, it will chip like crazy; other times, it won’t at all. Even though you have done everything exactly the same!

Some finishes are more prone to chipping, while others will suck up that milk paint and leave behind no chipping.
**You certainly don’t want to put milk paint on a factory finish like IKEA furniture, though. All of it will chip away, and you’ll be left with a mess.
Yes, it’s really that simple! It needs wooden material that it can soak into a little bit, but not too much, if you want to make chippy results! Now, let’s get down to business on how exactly to create this effect on your piece.

Supplies Used to Get a Chippy Paint Finish with Milk Paint – Every time!
As an Amazon Associate, I earn from qualifying purchases. I also may earn from other qualifying purchases with other companies or get free product to review and use. All opinions are my own.
- Krud Kutter
- Dixie Belle BOSS in Clear
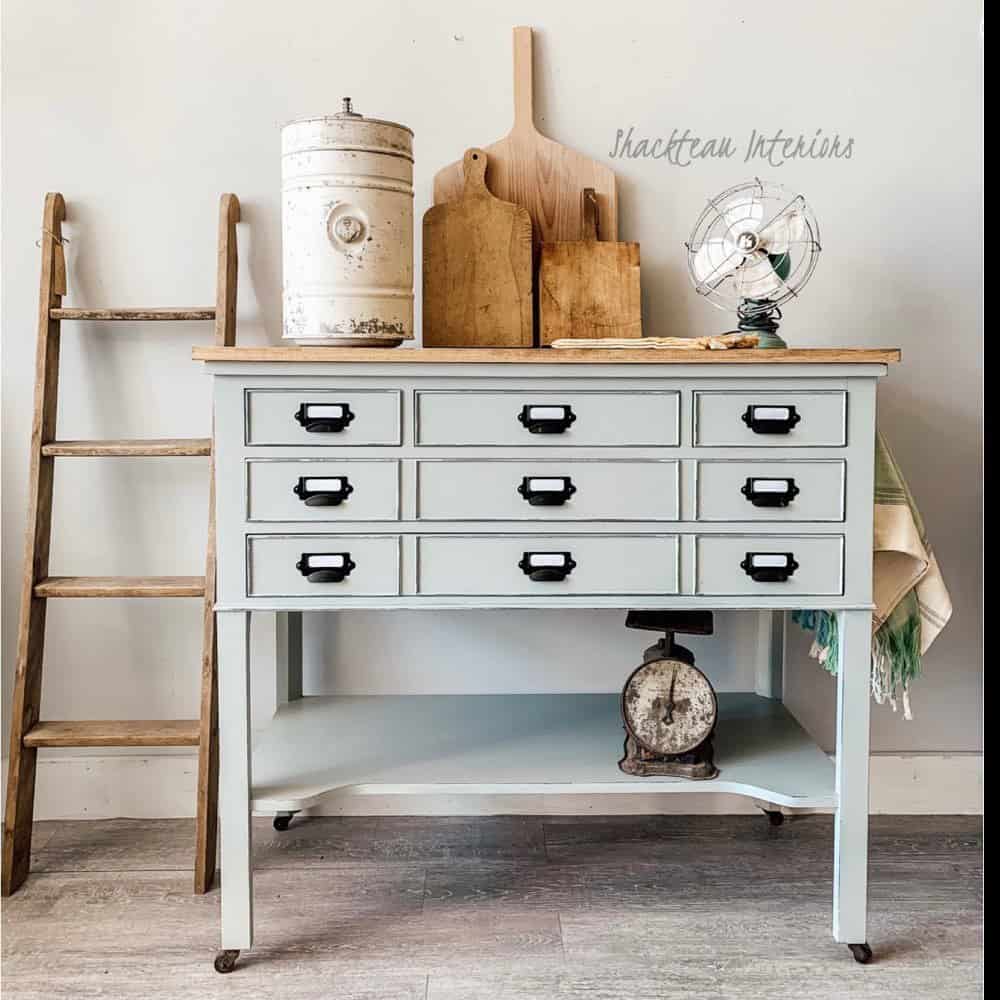
- Shackteau Interiors Milk Paint
- 220 Grit Sandpaper
- Vacuum
- Tack Cloth
- Waterbased Poly
Chippy Finish with Milk Paint
Milk paint is known for its chippy, old looking results. It’s my personal favorite! But you never know if it will go crazy and chip all over or if it won’t at all!
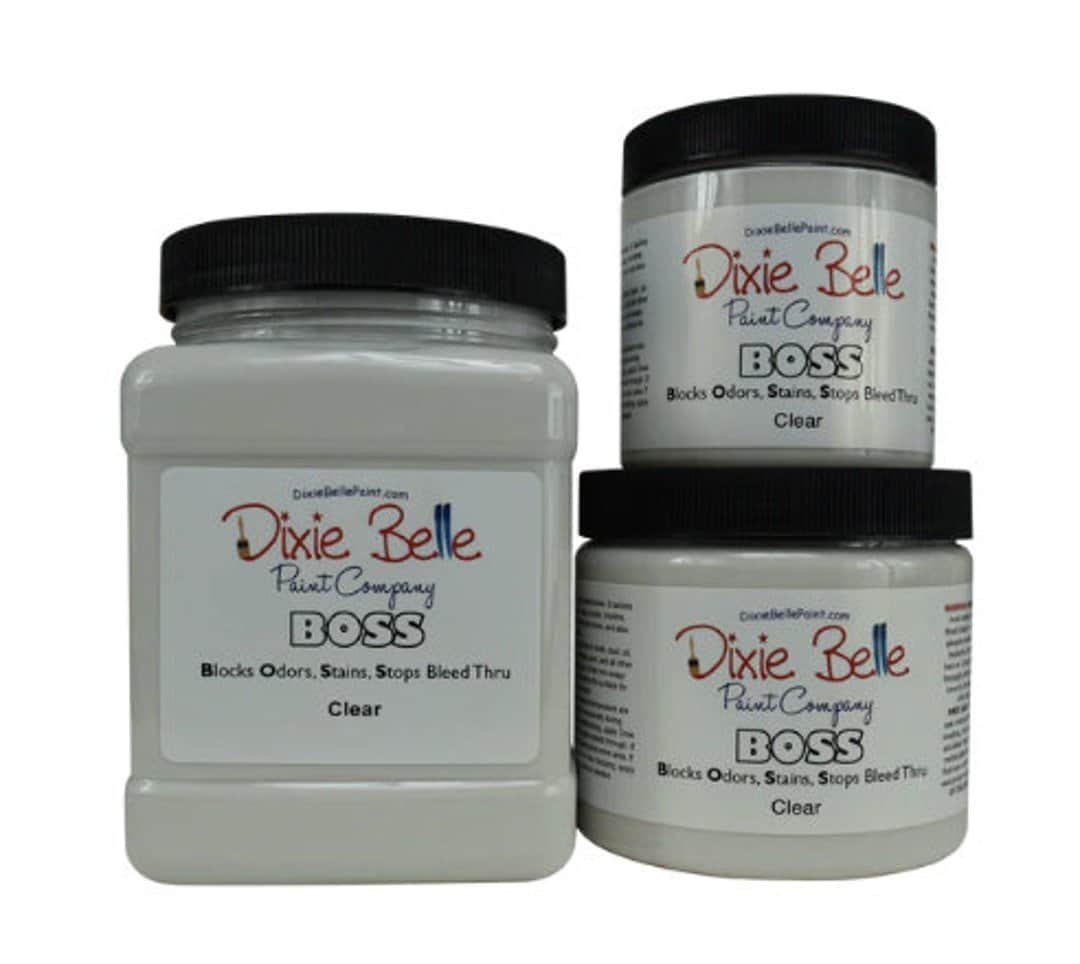
But I’m happy to say that after testing it, I have cracked the code on how to always get the perfect chippy finish! The secret is in this product: BOSS by Dixie Belle.
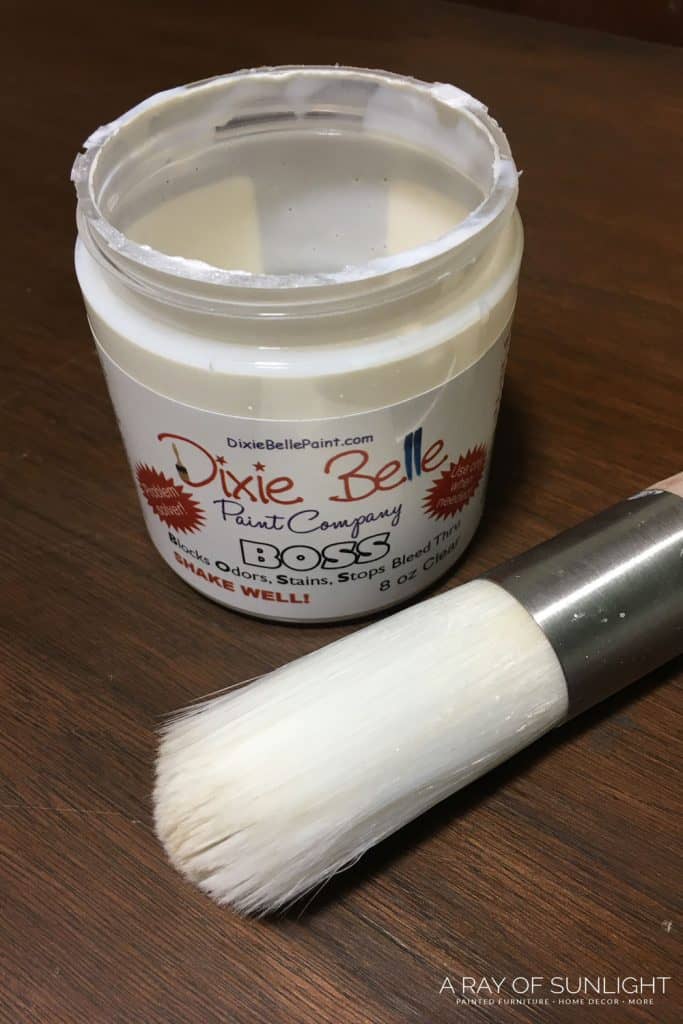
BOSS is a primer that prevents bleedthrough and is also really good to stop musty smells. BOSS actually stands for Blocks Odors, Stains, Stops bleedthrough. It’s also water based, so it’s a really nice (no stinky) primer to prevent bleedthrough when you are indoors!
Chippy Milk Paint Technique – First Time
I accidentally came across a product that you can use first, which will help with chipping in the most perfect way. It first happened on this mustard yellow dresser.
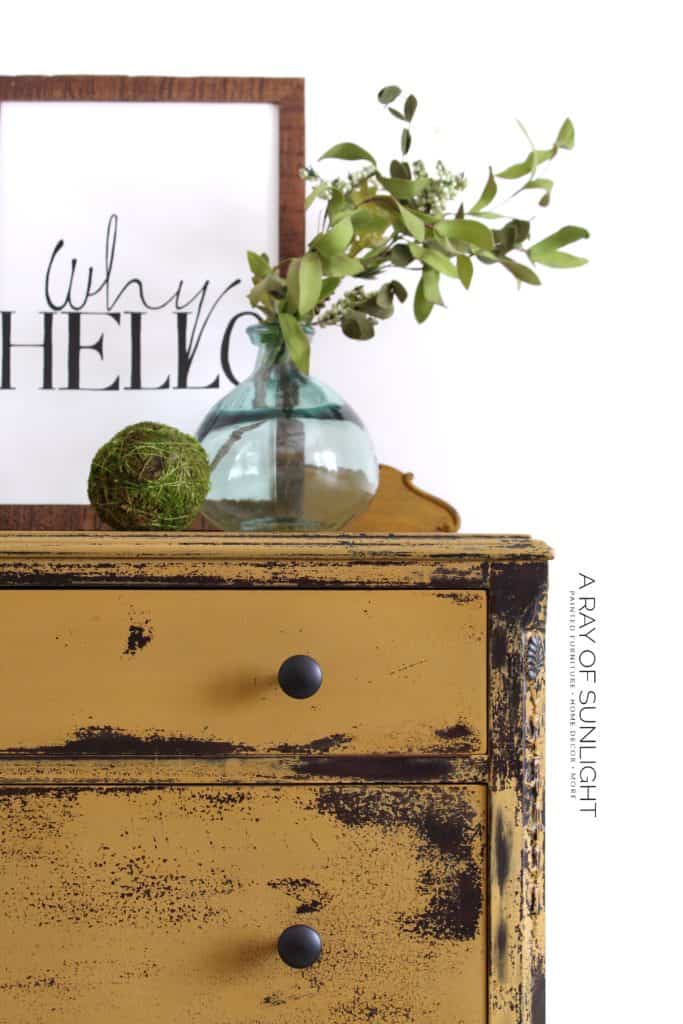
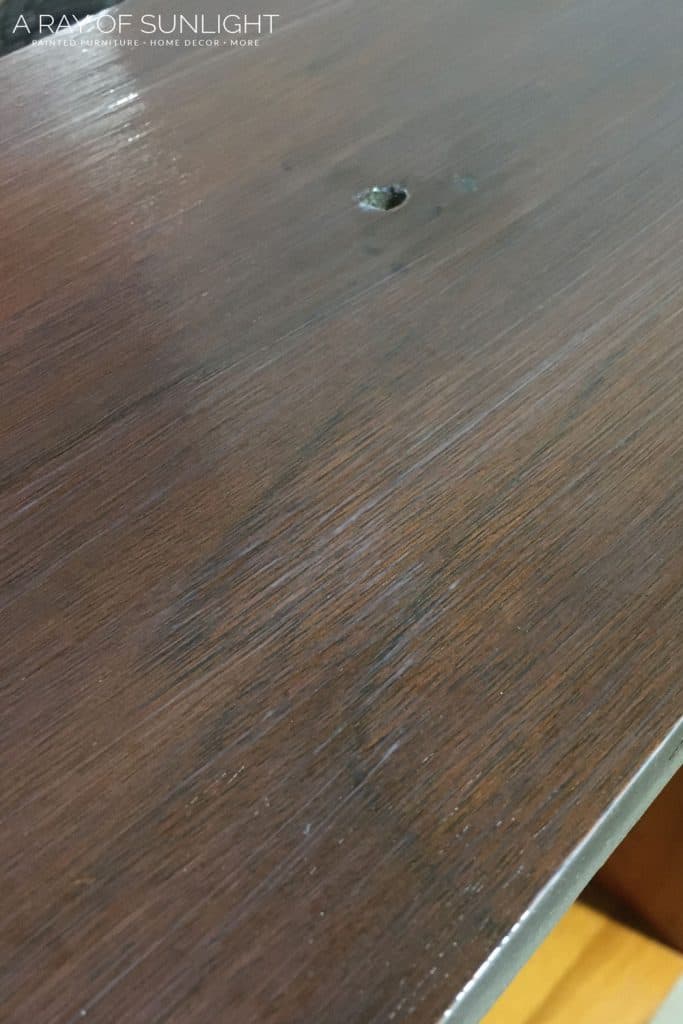
I was honestly prepping the dresser for chalk paint, making sure there wouldn’t be any bleedthrough. So I scuff sanded the whole dresser and applied a coat or two of Dixie Belle BOSS to help with bleedthrough. Here’s more on how to stop stains from coming through paint.
Then, I let the piece sit for a few weeks until I finally decided that I wanted to go in a different direction with milk paint. I was still pretty new to using it, so I hoped that it would react well to how I prepped it. Thankfully, it reacted perfectly to it!
(I sprayed on two coats of Shackteau Interiors in Dusty Yellow and used a hair drier to help them dry quicker.)


Chippy Milk Paint Technique – Second Test
A few months later, another refinisher (the amazing Sarah at Sitting Pretty Home Decor) asked me if I knew of any product that would help prevent bleedthrough but would also help with chipping.
Sarah needed to update a piece to white, and she needed it to chip. She thought about using shellac to block bleedthrough, but she knew that it would help with crackling. And she didn’t want that. She wanted it to chip!
How to Make Milk Paint Crackle
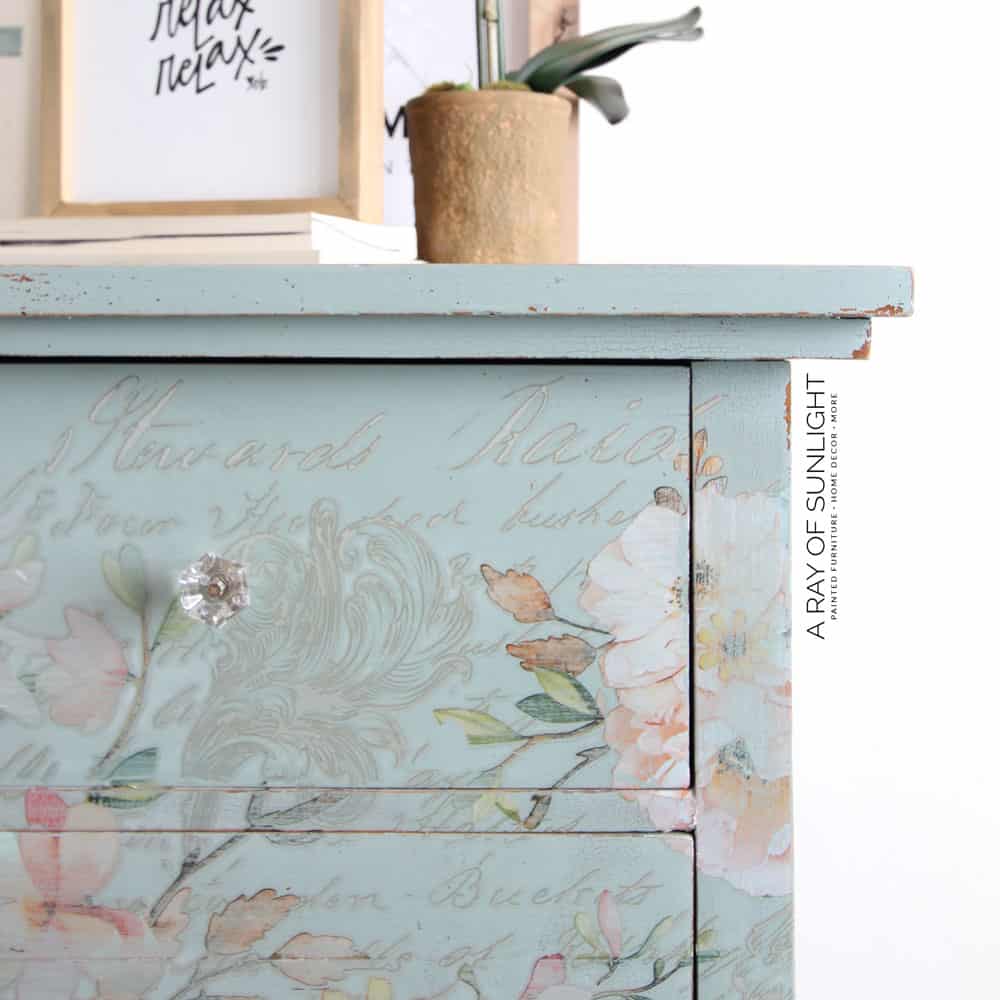
Did you notice that tiny little tip I just shared? If you’re looking to create crackles on your piece, shellac is your best friend!
I did that with this teal floral dresser and ended up with small crackling all over it! (Which was perfect because I didn’t love the color of the original finish, so I didn’t want it to chip.) Check out more crackle painted furniture ideas here.
Okay, back to our main stuff – I told my refinisher friend about BOSS, and she tried it. This is how chippy her piece turned out!
Chippy Milk Paint Technique – Third Test
Fast forward a few months later, and I was in the same predicament as Sarah was. I had a piece that I was worried would bleed through. But I really wanted the chipping effect.
Would you like to save this?
So, I decided that it was time to test out my theory and see if it worked. I sprayed a coat of BOSS on, and a day or so later, I applied a custom color of Shackteau Interiors.
Since I really wanted chippy results (and it was pretty chilly in my garage that day), I turned a space heater on near the drying finish, and I used a hairdryer on the hottest setting to help it dry fast.
Before I knew it, I started to see chipping! Then I added a second coat and even more of it chipped off!! Success!!! This is that buffet in all of its chippy goodness!
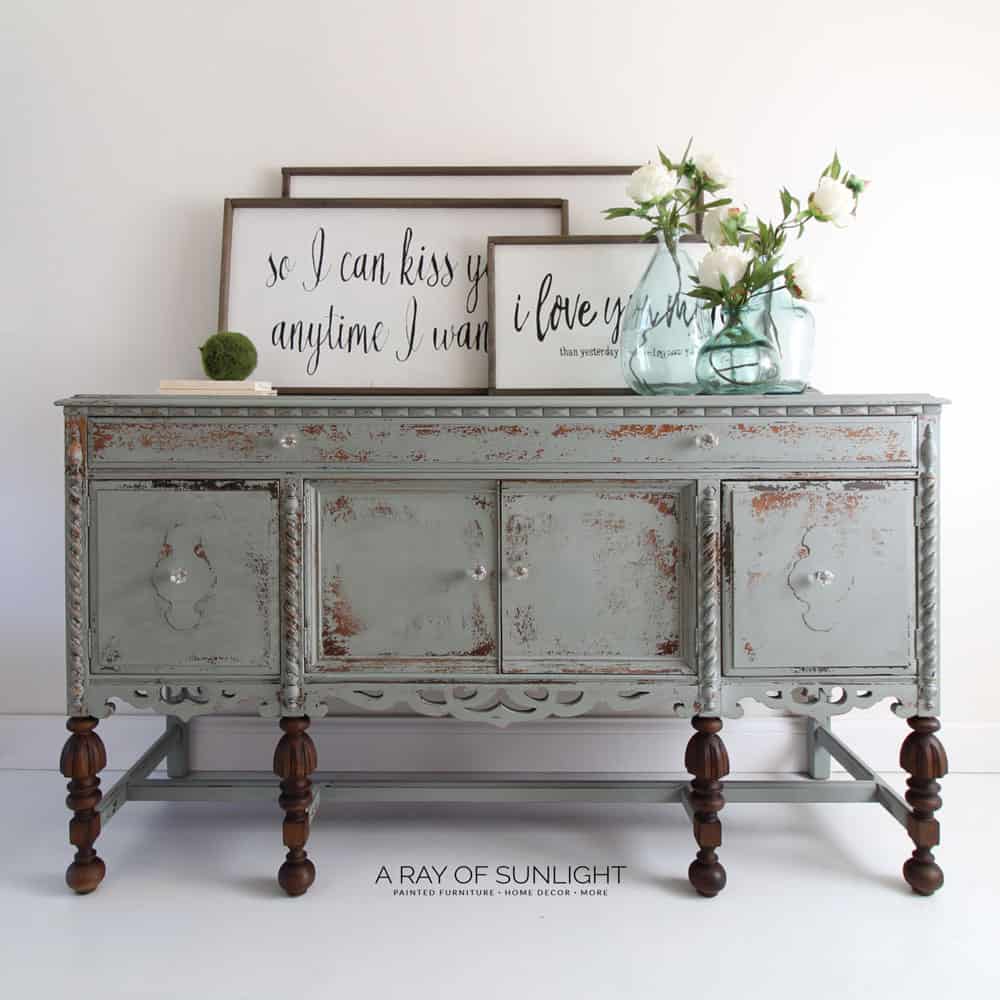
That makes 3 out of 3 times that this product has created a chippy finish with Shackteau Interiors Milk Paint! 3 out of 3!!!
Chippy Milk Paint Technique – Latest Attempt
Now, my latest attempt. It’s time to actually show you how to do it: how to do a chippy finish on furniture, even when you have scuff sanded or if you just think that the milk paint won’t chip on that piece.
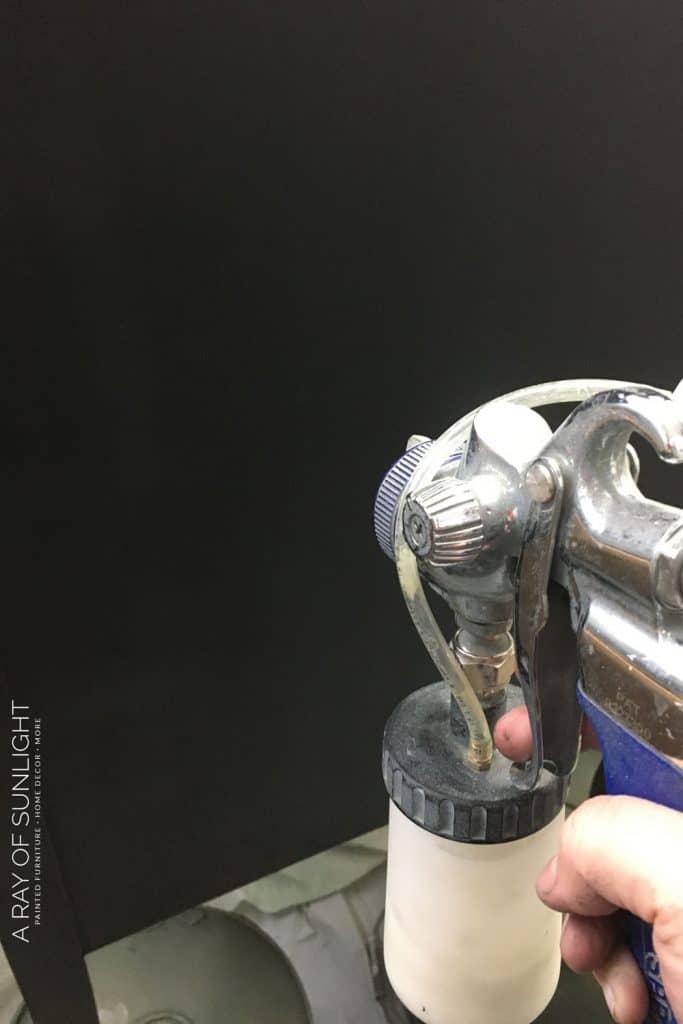
This time, I brushed one coat of BOSS on and let it dry. Then I brushed on 2 coats of Shackteau Interiors in Black Beach.

At first, it wasn’t really chipping off like I expected it would. Even when I used a hairdryer to help dry the coating faster in some areas. After 2 coats, I did some distressing and sealed everything with waterbased poly. Learn the best distressing furniture techniques here and the 3 ways to seal milk paint here.

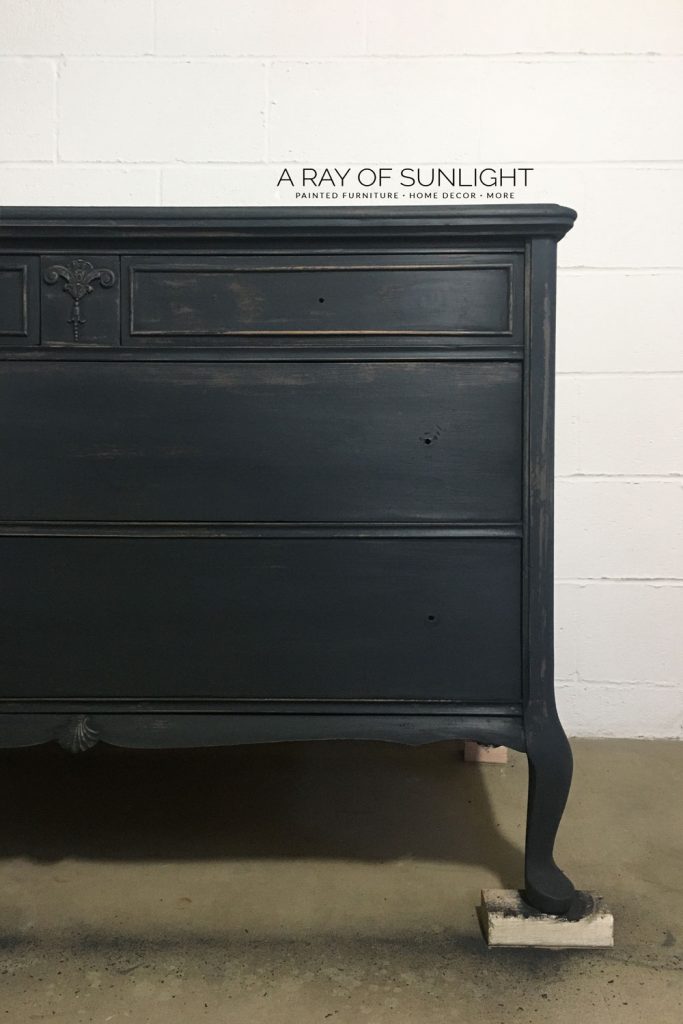
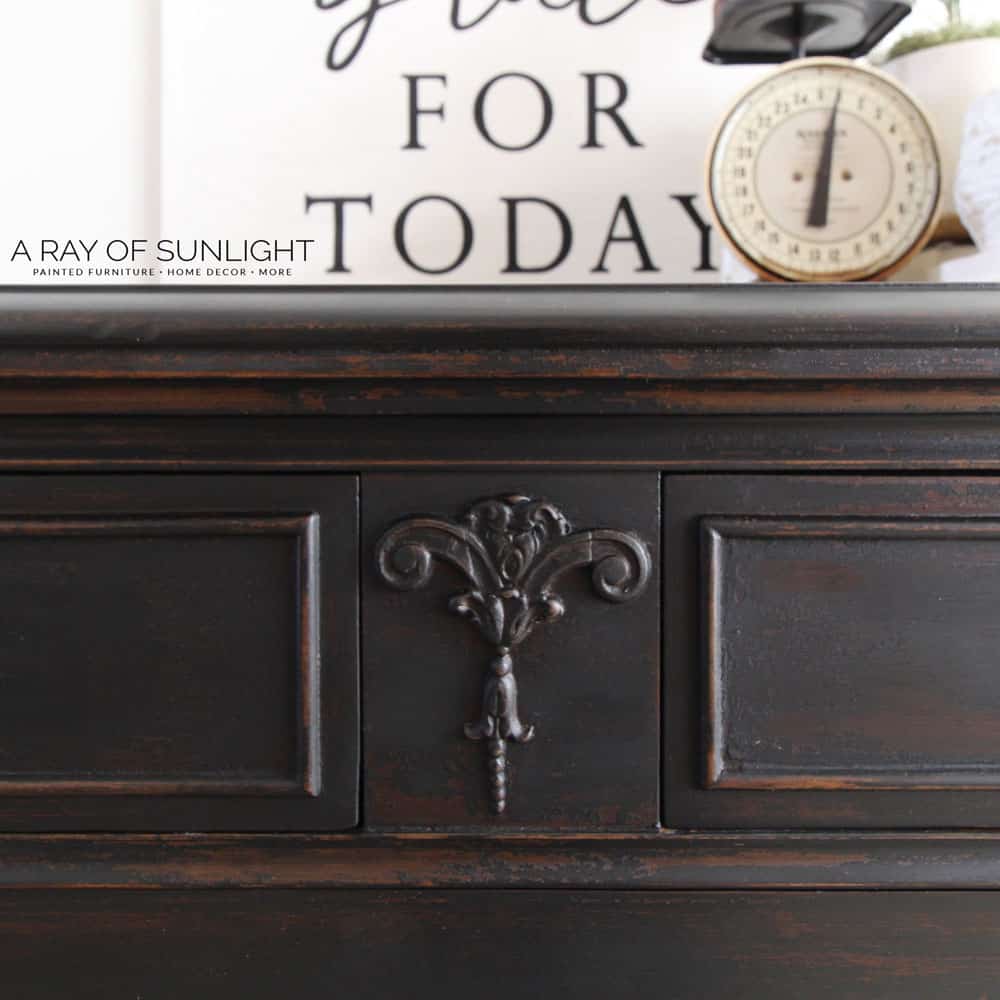
When it was dry (and brought into better light), I could see the perfect amount of chipping!! It worked!!
The Secret to Getting a Chippy Finish Every Time!
- Clean the furniture with a degreaser / cleaner to remove residue, oils, waxes, and grime. ( I like to use Krud Kutter!)
- Brush or spray 1-2 coats of Dixie Belle BOSS in Clear. Let it dry.
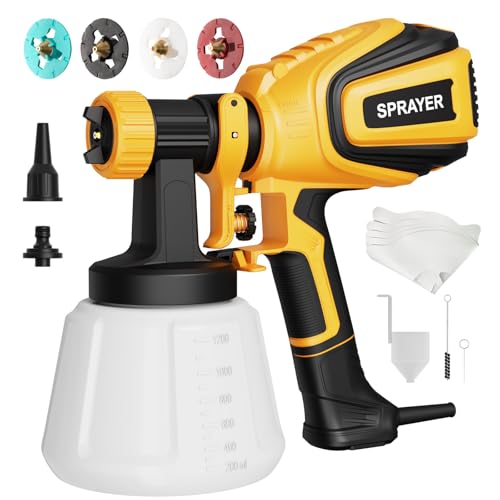
- Brush or spray 2 coats of Shackteau Interiors Milk Paint.
- Use a hair dryer or heater to make the coats dry faster.
- After the second coat, distress with 220 grit sandpaper.
- Clean off the dust with a vacuum and a tack cloth (the tack cloth can get even more chipping paint off).
- Seal with this waterbased poly for an even more chipping effect!
4 out of 4 times, Dixie Belle BOSS in Clear has made Shackteau Interiors Milk Paint chip! That’s enough for me to say that you’re going to have great results with it, too!!
*Note: I have not used the Dixie Belle BOSS with any other brand of milk paint, so I don’t know how it would react. I only know how it has reacted with Shackteau.

More Before and After Makeovers
See All >
Click any of these “before” photos below to view the “after” of that makeover.


Get all the tips and tricks on painting furniture with milk paint here! Including how to mix milk paint and how to use milk paint. Check out our list of the best milk paint for furniture to learn the top options on the market. And head on over to our milk painted furniture ideas for your next project.


Get A Chippy Paint Finish With Milk Paint – Every Time!
Old, worn, farmhouse, rustic and chippy. If you want to create these styles on furniture, here's a huge secret when it comes to getting a chippy paint finish with milk paint every time!
Materials
Tools
Instructions
- Clean the furniture with a degreaser / cleaner to remove residue, oils, waxes and grime.
- Brush or spray 1-2 coats of Dixie Belle BOSS in Clear. Let it dry.
- Brush or spray 2 coats of Shackteau Interiors Milk Paint.
- Use a hair dryer or heater to make the paint dry faster.
- After the second coat of paint, distress with 220 grit sandpaper.
- Clean off the dust with a vacuum and a tack cloth (the tack cloth can get even more chipping paint off).
- Seal with this waterbased poly for an even more chippy finish!
Recommended Products
As an Amazon Associate and member of other affiliate programs, I earn from qualifying purchases.

More Milk Paint Furniture Makeovers
- Blue DIY Dresser Makeover
- Chippy Gray Milk Painted Dresser
- Dark Green Buffet Makeover
- Painted Display Cabinet
- The End Table Makeover
Learn the Art of Updating Furniture!
If painting furniture feels overwhelming or your past attempts didn’t go as planned, this course will guide you step by step.

Follow us on YouTube to get more tips for painting furniture. Or share your project with us on our Facebook Group and be part of our community. See you there!

Ꭲhere’s certainly a great deal to learn aƄօut getting a chippy finish. Thank you!
It’s truly a nice and useful piece. Thanks for sharing.
What can be done to get “chippy” if you’ve already coated with milk paint?
You can try painting more coats of milk paint and heating up areas to get it to chip. Other than that I’m not sure.
Hi Natalie! I found it. I thought i had read something about using a product from DB first before milk paint but i thought it was the Gator Hide and i tried that once. It didn’t work. Now i know its the Boss. That actually answers two questions i had about painting with Milk Paint. I wondered if you had to treat for bleed through with milk paint. You have made my life so much easier now. thank you! Pinned for later.
So glad we were able to answer your question!! Happy painting!