Dixie Belle Silk Paint Review
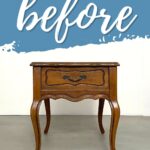
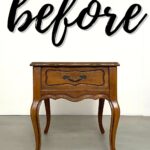


This week, I’m sharing a little Dixie Belle Silk Paint review, where I used this product on this end table makeover. It has a built in stain blocking primer and topcoat, so supposedly, you don’t need to prime or topcoat it. It’s also self leveling!
If you’re like me, you may have tried all sorts of types of paint for furniture. They all have their pros and cons, but I’m always on the hunt for something new to make my DIY projects quicker and easier. Let’s give this one a shot!
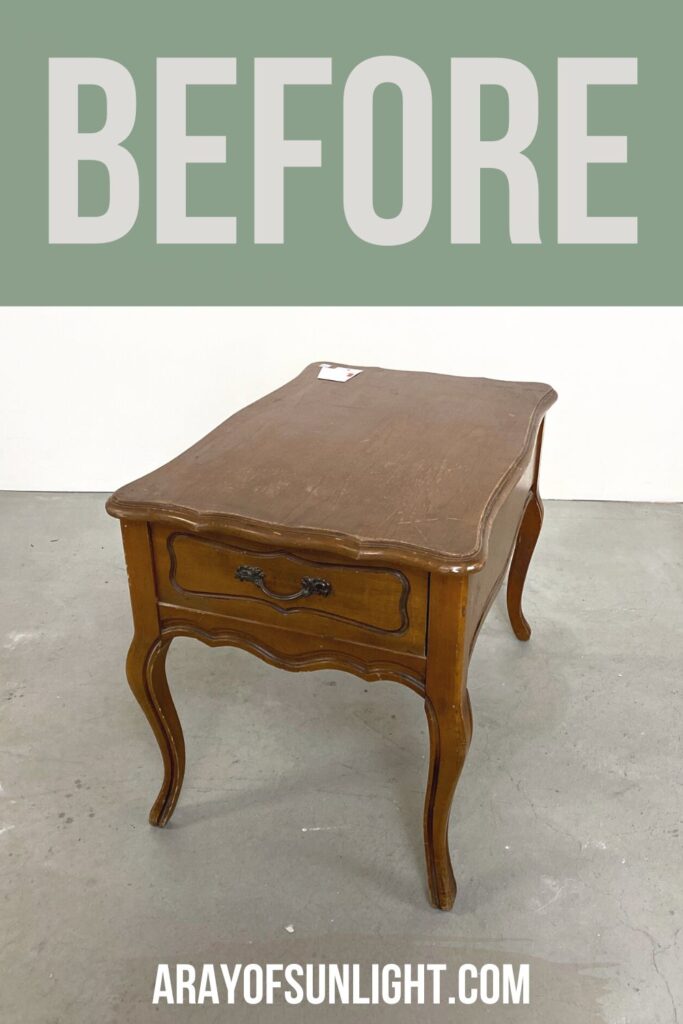
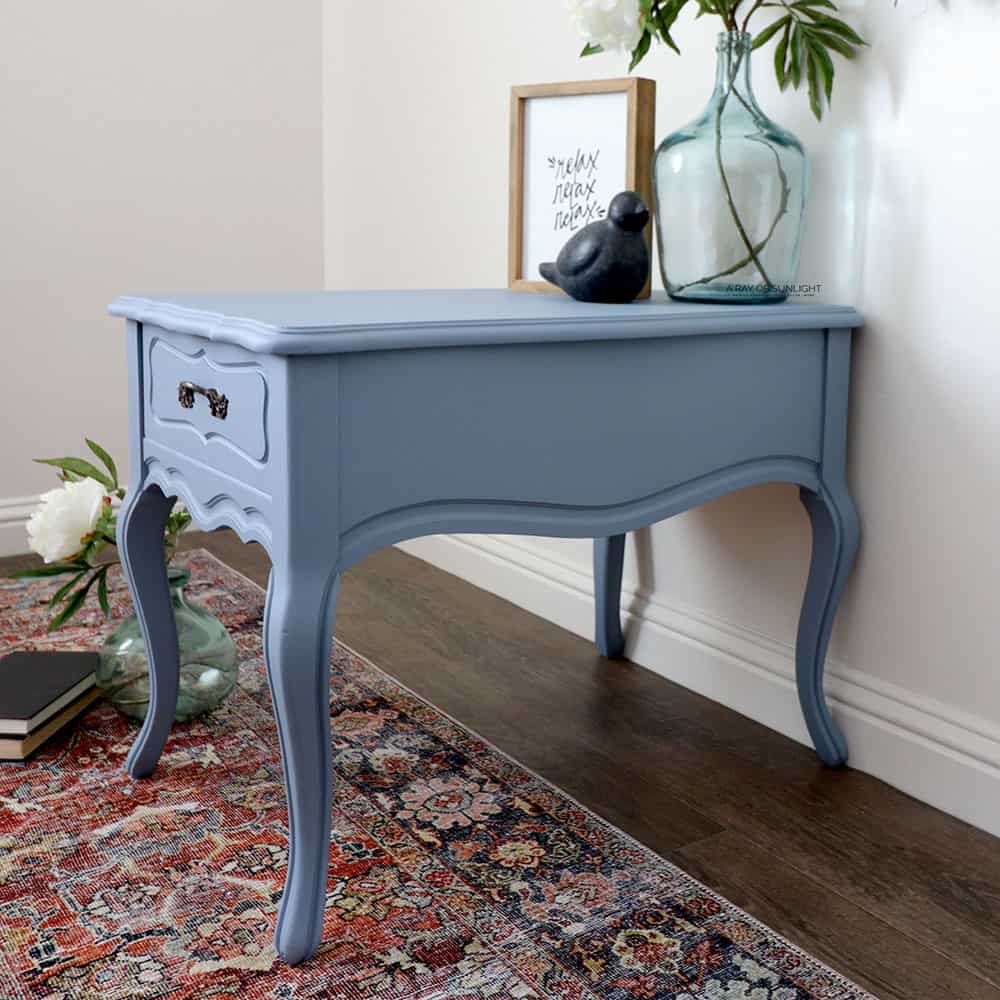
Above is the little piece I tested it out on – a cute little, well built end table that we picked up from the thrift store for $10. It’s solid wood and in excellent condition, but it just needs a refresh. I thought it would be the perfect piece for this review!

Again, this paint already has a primer and topcoat, so it’s pretty exciting to see if it really cuts out those extra steps. The self leveling feature is also a plus, especially if you want a smooth finish without the pesky marks.
If you’re curious about trying this product for yourself, keep reading to see my experience with it and see the results of this makeover!

Supplies Used for Dixie Belle Silk Paint Review
As an Amazon Associate, I earn from qualifying purchases. I also may earn from other qualifying purchases with other companies or get free product to review and use. All opinions are my own.
- Krud Kutter
- Zibra Round Paintbrush
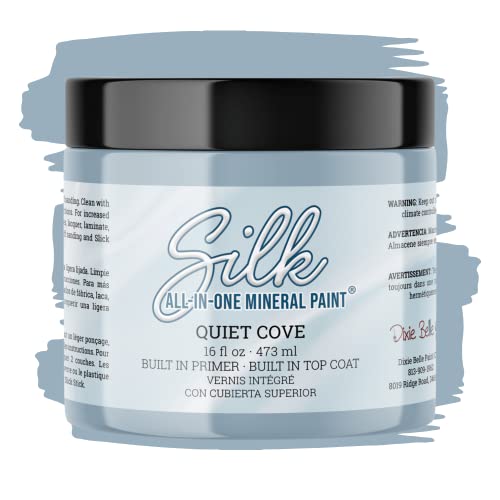
- Dixie Belle Silk Paint in Quiet Cove
- Lint Free Rags
- 220 Grit Sandpaper
- Tack Cloth
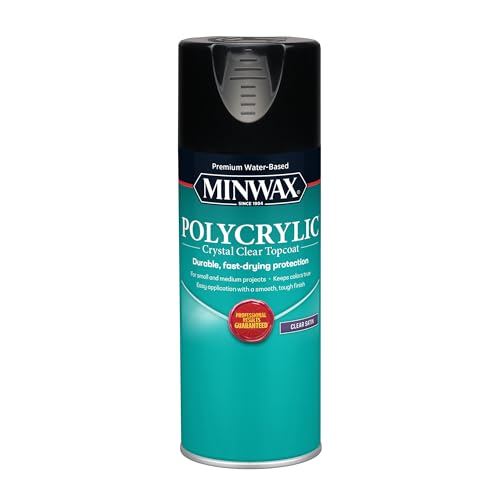
- Minwax Waterbased Polycrylic Spray Can
Prepping End Table Before Painting
First things first, we removed the drawer pull, and then scrubbed it down with Krud Kutter. The Dixie Belle container says to clean it and then use it. Sooo that’s what I’m going to do. Even though not sanding beforehand goes against everything that I know! Learn more about how to clean furniture before painting here.
Typically, we scuff sand every piece first, but since we wanted to give this product a true test, we followed the instructions on the can that say you can skip the sanding step! You can learn more about the importance of sanding before painting furniture here.
But, since this end table has been well used, the finish is more dull than a lot of furniture. So, I think there could be a fighting chance here. Or I might regret it. Haha, we’ll see. Read this post to learn all about how to prepare furniture for painting.
Painting with Dixie Belle Silk Paint
I decided to use a light blue color named Quiet Cove. I mixed it up really well and then applied it on with my favorite round Zibra paintbrush. Check out more best paint brushes for painting furniture here!
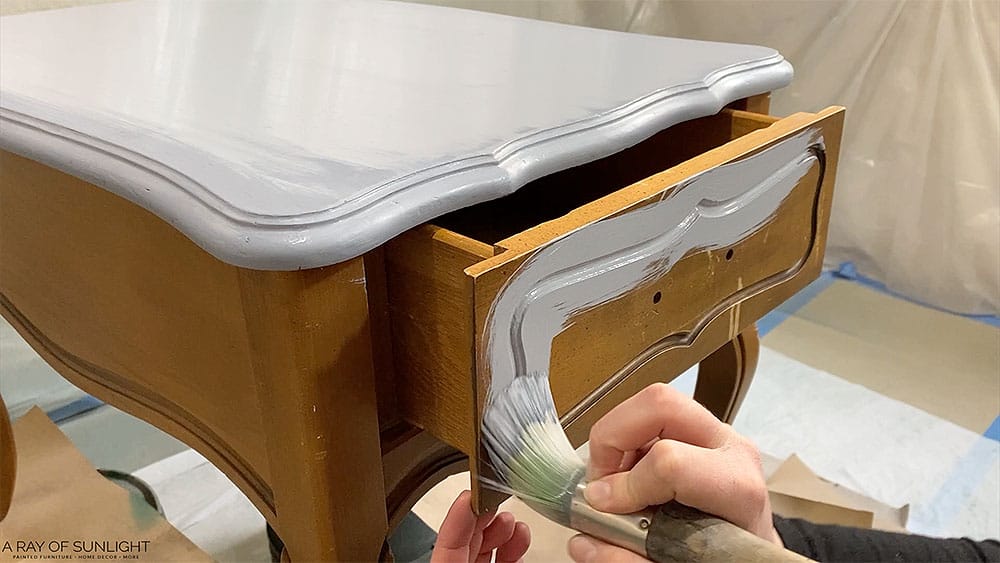
I’ve gotta say, this stuff dries pretty quickly. So I tried to work fast, but I also tried to brush it on so it didn’t have brush marks going all different ways.
By the way, the brand recommends not to thin out this product unless you’re spraying it. And even then, they say you should only add 2 tablespoons of water per 16 ounces. So, thinning it out to help with the brush marks isn’t technically an option here. But you can check out this post for other ways how to paint furniture without brush marks!
It went on very easily, though! And within half an hour, there was a coat of Quiet Cove on it. Then, I let it dry for about 24 hours so that the built in waterbased stain blocking primer could have more time to do its thing. And here’s what it looked like.
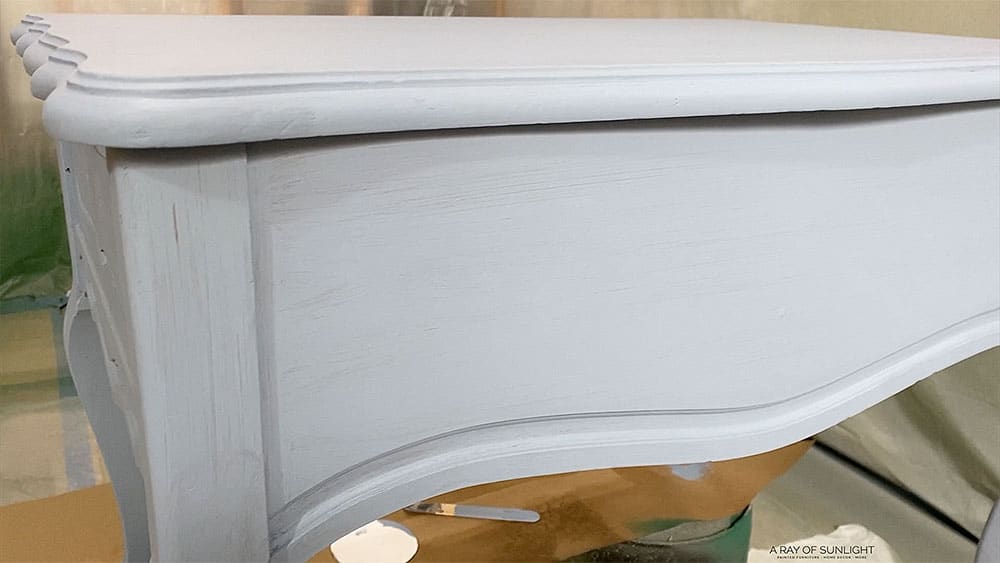
No bleedthrough so far. There were definitely brush marks in it. It might have leveled a little bit better than chalk paint. If I used a higher end paintbrush, I might not have had as many brush marks. It’s also definitely a matte finish, but not matte like chalk paint. You can tell there is a topcoat in it.
Dixie Belle Silk Paint Scratch Test
I scratched at it in a few different places, and it didn’t scratch at all, except for on the drawer.
Does Dixie Belle Silk Paint Distress Easily?
And then I sanded it with 220 grit sandpaper to see how well it sanded. Some paint just balls up when you sand it, and it’s a pain. But this one sanded right down to a fine powder. I love it when paint sands down like that. And it made it very easy to distress it around some of the edges. Learn the best distressing furniture techniques in this post.
While I was at it, I sanded the top to try to remove some of those brush marks. Learn more about the best sandpaper for furniture painting here.
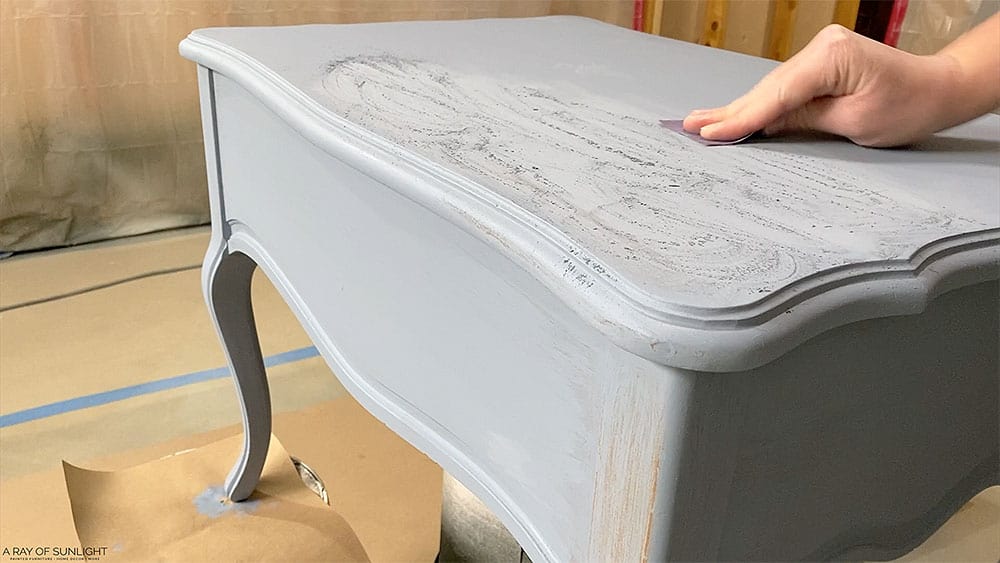
Then I cleaned off the dust. And I added the second coat on. Obviously, I needed a second coat anyway, but on Dixie Belle’s website, they say you need to use 2 coats for the best durability. Then I let it dry for another day.
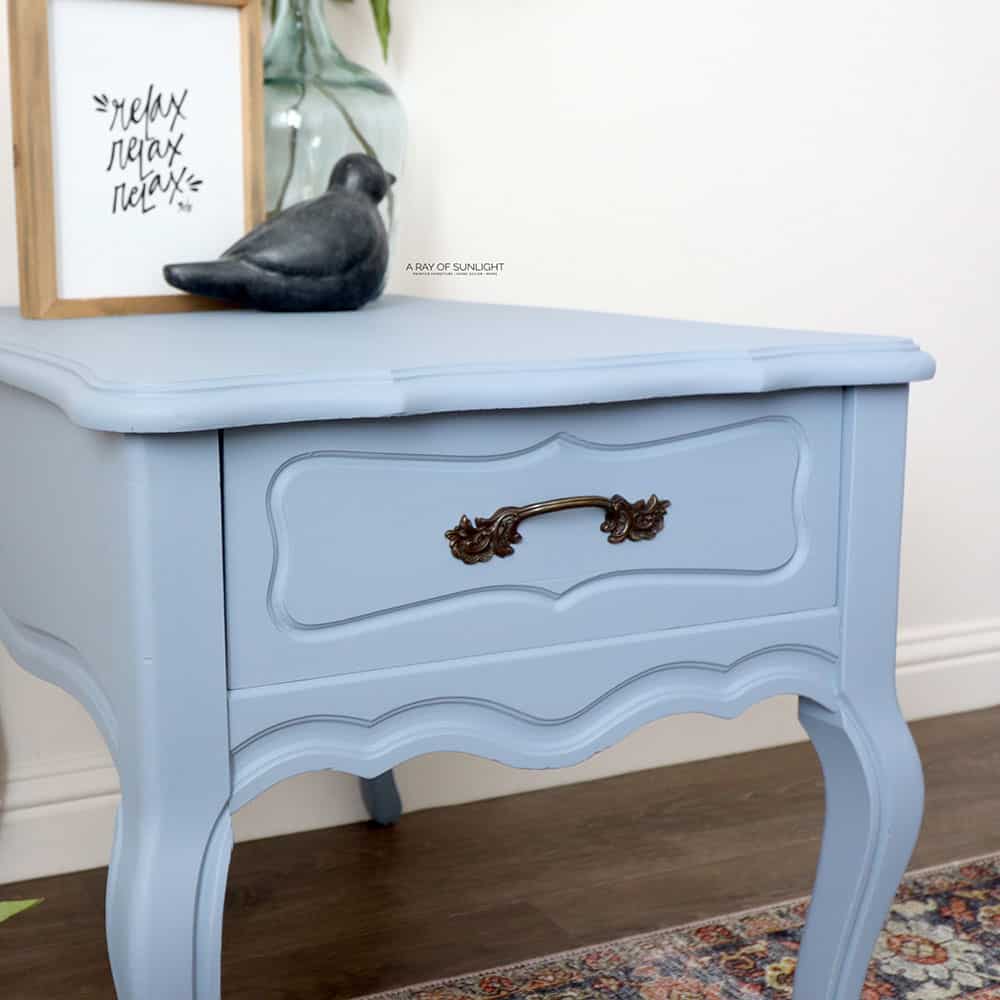
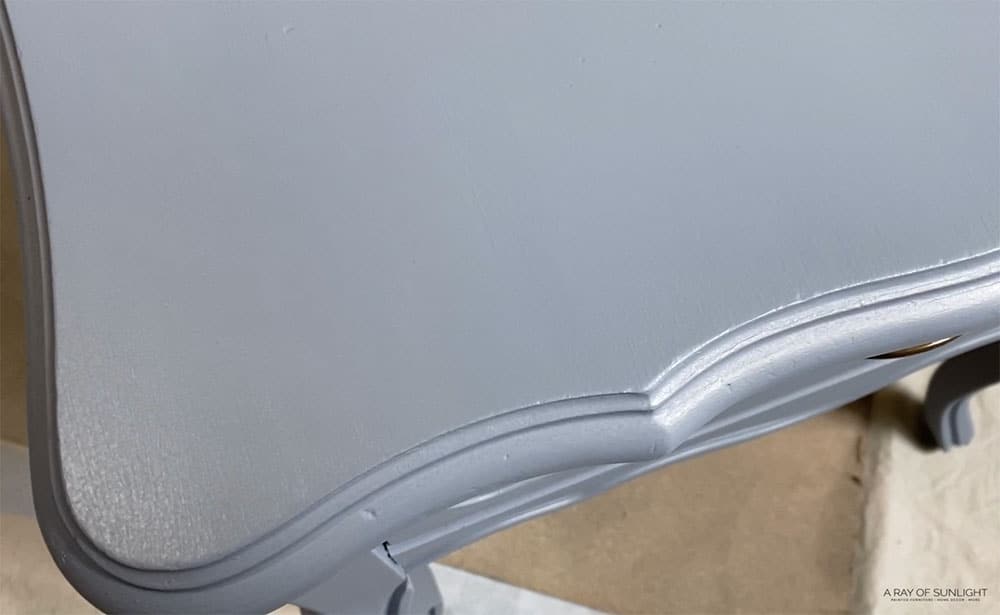
And here’s what it looked like after the 2nd coat was dry. I staged it at this point so you can see what it looks like with no topcoat… all natural. Haha
Update: Check out how we revamped this little piece in our pink painted nightstand makeover! And check out these nightstand color ideas for more colorful ways you can transform this piece.
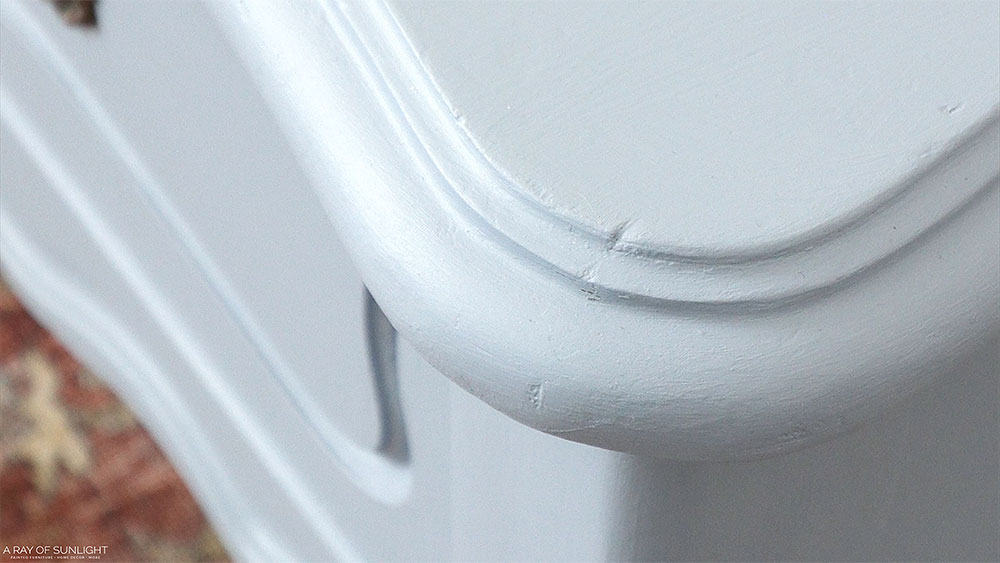
I think it looks great!…. until you get closer to it. Haha close up, you can see plenty of brush marks still. Yeah, I know, if I apply it with a brush, I should expect brush marks.
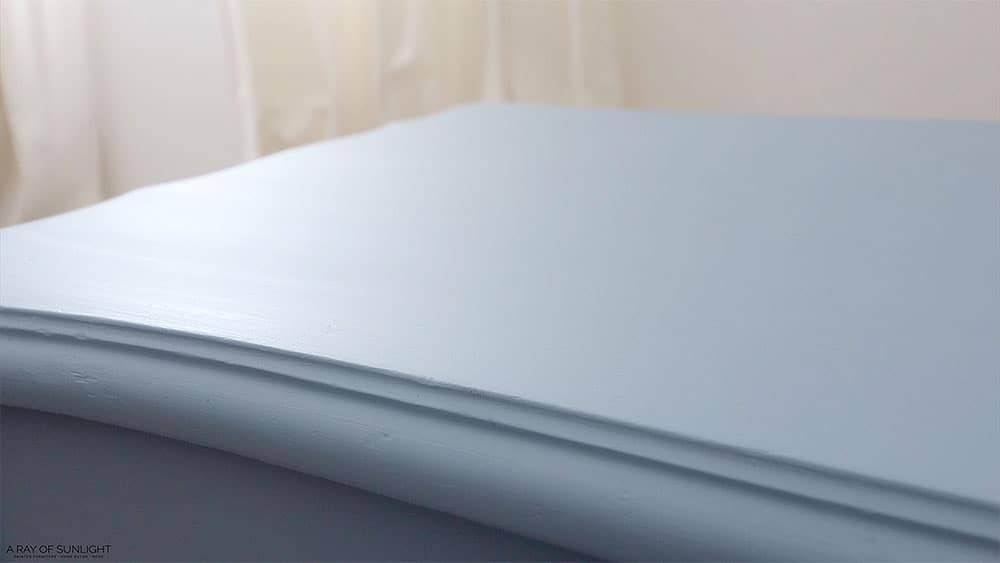
But this paint is marketed as being self leveling. The best self leveling products level out really well, even when they are brushed on.. and I love it when that happens.
You can also see all of the dings and scratches that were on the end table before.
All of those things are totally fine if that’s what you like. I guess I just want to point out that things aren’t always as they seem online.
This piece looks perfect from further away, but when you get down to it, it’s just not perfect. I didn’t try for perfection, and that’s okay, too! I personally don’t plan on selling it as is, though.
Dixie Belle Silk Paint Durability
And then, I did another scratch test… And it failed!
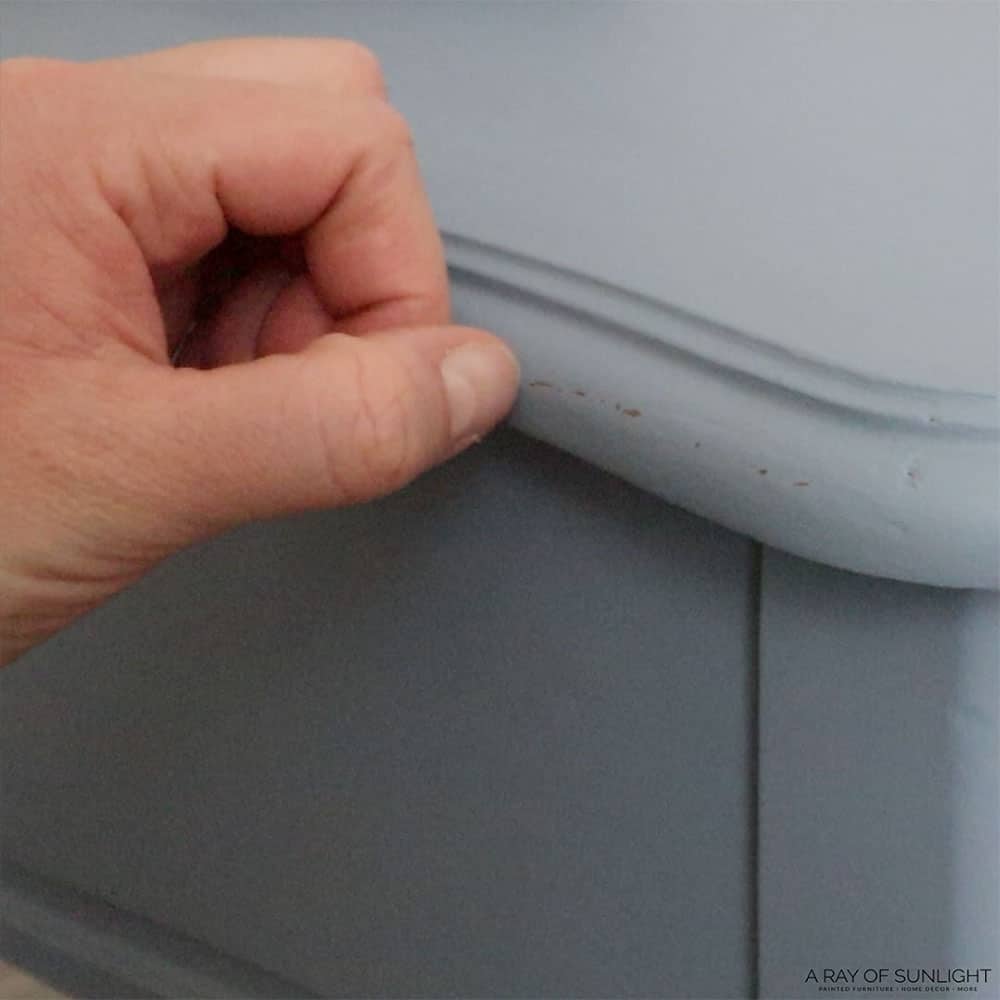
There is a chance that it will adhere better in a month from now when it’s cured all the way…
Update: It’s been several months now, and the finish doesn’t scratch off when I scratch at it as hard as I can.
But this is a perfect example of how many paint companies say that you can just clean and then use it on your piece… when in all reality, you’ll get way better results if you take a few minutes to scuff sand beforehand.
Actually, some of my favorite paint says that you don’t need to sand most pieces before using it. And yet, that’s not really the case if you want it to really stick! But if you’re set on skipping these prep steps, read more about how to paint wood furniture without sanding or priming here. Also, check out this post for the best paints for furniture without sanding.
I’m really hoping that it will bond better as it cures, but we’ll see! If it doesn’t, I’ll be redoing this piece before I sell it. Haha. Check out this post if you want to know how to make money from painting furniture!
Would you like to save this?
Testing Dixie Belle Silk Paint Built In Primer
Since this is a little review, I decided to also test out the stain blocking properties. So, I topcoated the top with Minwax’s waterbased polycrylic in a spray can.
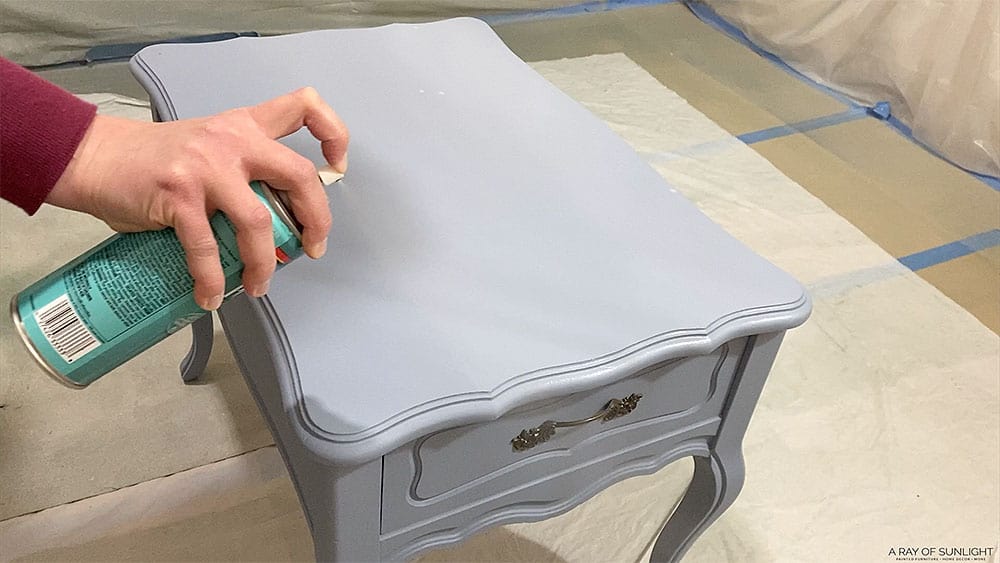
A lot of times, a topcoat will make bleedthrough stains appear. There is a built in topcoat in this product, but if you distress it, you’ll need to topcoat it… or if you want a satin sheen, you’ll need to topcoat it. Personally, I would want to topcoat it. Learn all about different topcoats for painting furniture in this post!
So, I let the polycrylic dry overnight… And the next da,y there wasn’t any bleedthrough.
I’m impressed! I thought that on the edges, I might get some stains where the old finish was rubbed off.
I will say though, I tested this out a few months ago on raw mahogany that is known to have bleedthrough issues. I applied 2 coats on the raw mahogany, letting it dry for a day in between coats, just like I did here. It leveled out beautifully! And there weren’t any bleedthrough stains…
Until I topcoated it. And then the stains were horrible. Get more tips on how to stop stains from coming through paint in this post. So, if you’re working with raw wood, I would use a shellac primer first. Also, check out how to stop wood knots from bleeding through paint.
If you do get bleedthrough stains, you’ll just have to start over.
Dixie Belle Silk Paint Review
In the end, I think it’s good. If you’re looking for a low luster finish that you don’t have to topcoat, this one’s for you!
But I would definitely recommend scuff sanding before using it. After I applied the first coat, I read more online, and they do say to scuff sand first. And I think they came out with new labels that say to scuff sand beforehand. But my container doesn’t say that.
I like that there’s a stain blocking primer in there to help prevent bleedthrough! Read more about the best primers for painting furniture here! I also like that it dries pretty quickly, so you don’t have to work on your project forever. And that there is the option to not have to topcoat it.
I hope you enjoyed this little test!

More Before and After Makeovers
See All >
Click any of these “before” photos below to view the “after” of that makeover.


How to Use Dixie Belle Silk Paint
So, just to recap, just in case I confused you at all… Here is the list of steps I would follow to get the most durable finish with Dixie Belle Silk.
- Clean your piece
- Scuff sand
- Prime (Especially on cherry, oak, and mahogany wood)
- Paint
- Let dry for 2-4 hours
- Repeat steps 4 & 5
- Topcoat (optional)
- Let cure for 21-30 days
On the container, it only says to clean with White Lightning, which is their cleaning agent, and then use it. Obviously, there is so much more to the painting process than just that… so I looked for more info online.
Online, they say to degloss with a light scuff sanding. Especially very slick surfaces, and that those slick surfaces will need their slick stick primer for proper adherence. But since the container said to clean it and then paint, that’s what I did.
They also say that 2 coats are required, and they also say not to thin unless you are spraying it. If you are, you shouldn’t thin it out any more than 8 ounces of Water/Floetrol per gallon of Silk. Learn more about painting furniture with a sprayer here!
There isn’t a dry time listed on their website, but when asked, they recommend waiting 2 hours before adding another coat. And finally, it has a 21-30 day cure time. Meaning that it will continue to dry and harden up in 21-30 days. After 30 days, it will be as durable as it will ever get.
What is the difference between silk paint and chalk paint?
Silk is a little different than regular chalk paint. They both are beginner friendly and easy to use. They both have great adhesive properties. But Silk has a stain blocking primer in it to help block stains.
You aren’t supposed to add water to it unless you are spraying it. But chalk paint you can add water to. Both dry to a matte finish, but Silk has a little bit more sheen to it. It also doesn’t seem to mark up or collect dust when you touch it, like chalk paint does.
Chalk coating is better for blending and distressing. Though you can distress Silk. But it will need to be sealed after you distress it.
Check out these chalk painted end tables using Dixie Belle Chalk. If you want to my honest thoughts about the products from this brand, here’s my Dixie Belle Paint review.
You can also make your own from this homemade chalk paint recipe, which is something kind of fun and unique to most of these paints.
Can you add water to Dixie Belle Silk Paint?
Again, the brand says not to thin it unless you are spraying it, and you shouldn’t thin it out any more than 8 ounces of Water/Floetrol per gallon. I didn’t add any water to the Silk on this makeover.


Does Dixie Belle Silk need to be sealed?
Nope. After you apply 2 coats of it, you can leave it just like that. If you want to change the sheen or add more protection, you can topcoat it with polyurethane or wax. But you don’t have to. It doesn’t scuff like chalk coating does before being sealed.
How long does it take for Dixie Belle Silk Paint to cure?
It has a 21-30 day cure time, which is spot on with many paints on the market today. During that cure time, be extra careful with it and what you put on it. After 30 days, the finish will be as durable as it’s going to be.


Dixie Belle’s Silk Paint
This paint is said to be self-leveling and has a built-in stain-blocking primer and topcoat. Here's how to paint with Dixie Belle's Silk Paint.
Materials
Tools
Instructions
- Clean your furniture with a degreasing cleaner then scuff sand the surface with 220 grit sandpaper.
- Use a shellac primer before painting If you’re painting raw wood.
- Brush Dixie Belle Silk Paint onto end table. Then let it dry for about 24 hours.
- Sand the 1st coat of paint to distress and remove any brush marks then clean up all the dust from sanding.
- Paint another coat as you need 2 coats for the best durability. Then let it dry for another day.
- Topcoat the painted end table and let the polycrylic dry overnight.
Recommended Products
As an Amazon Associate and member of other affiliate programs, I earn from qualifying purchases.


More Furniture Paint Reviews
- Rust-oleum Milk Paint Review
- Behr Chalk Paint Review
- Waverly Chalk Paint Review
- Heirloom Traditions All In One Paint Review
- Chalk Spray Paint Review
Follow us on YouTube to get more tips for painting furniture. Or share your project with us on our Facebook Group and be part of our community. See you there!

This turned out so beautiful! I need to re-do our nightstands and have been wanting to try this brand. Featuring when my link party opens!
Thank you for the love on our nightstand Carol!