Blue Painted Antique Nightstand Makeover
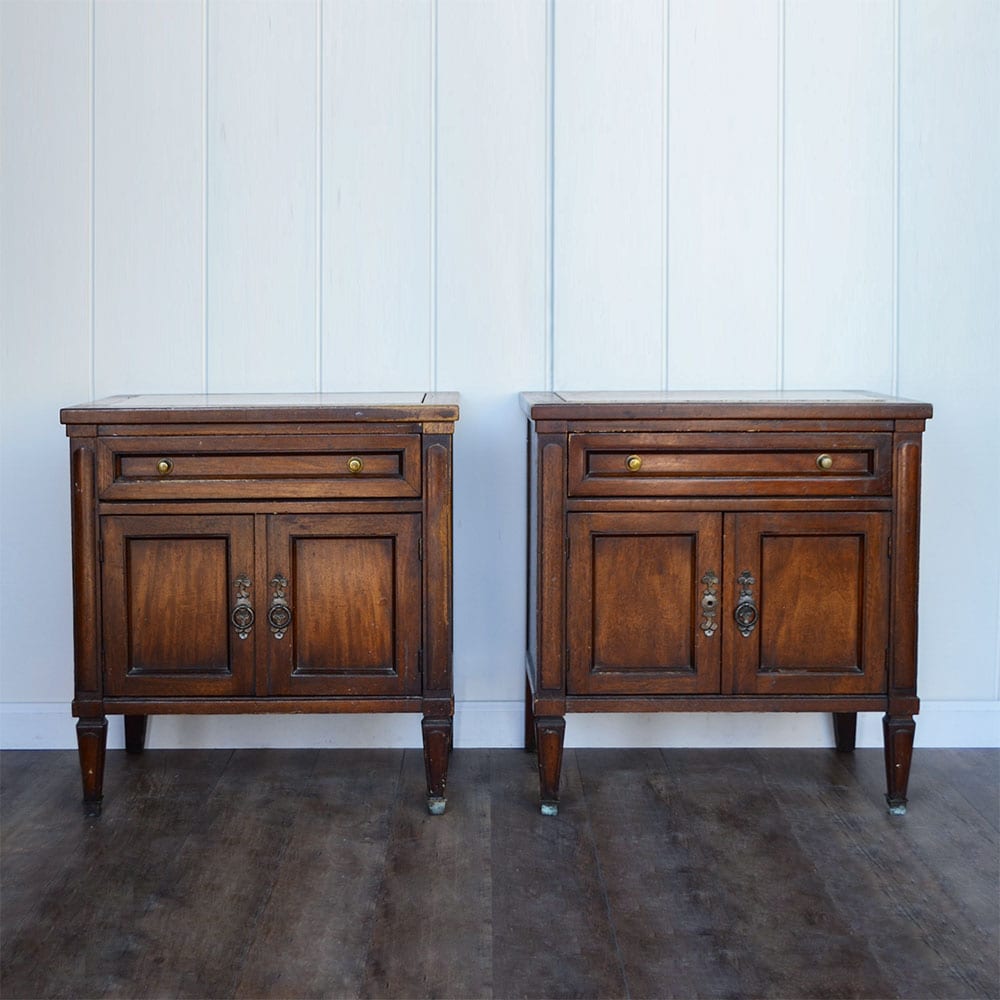
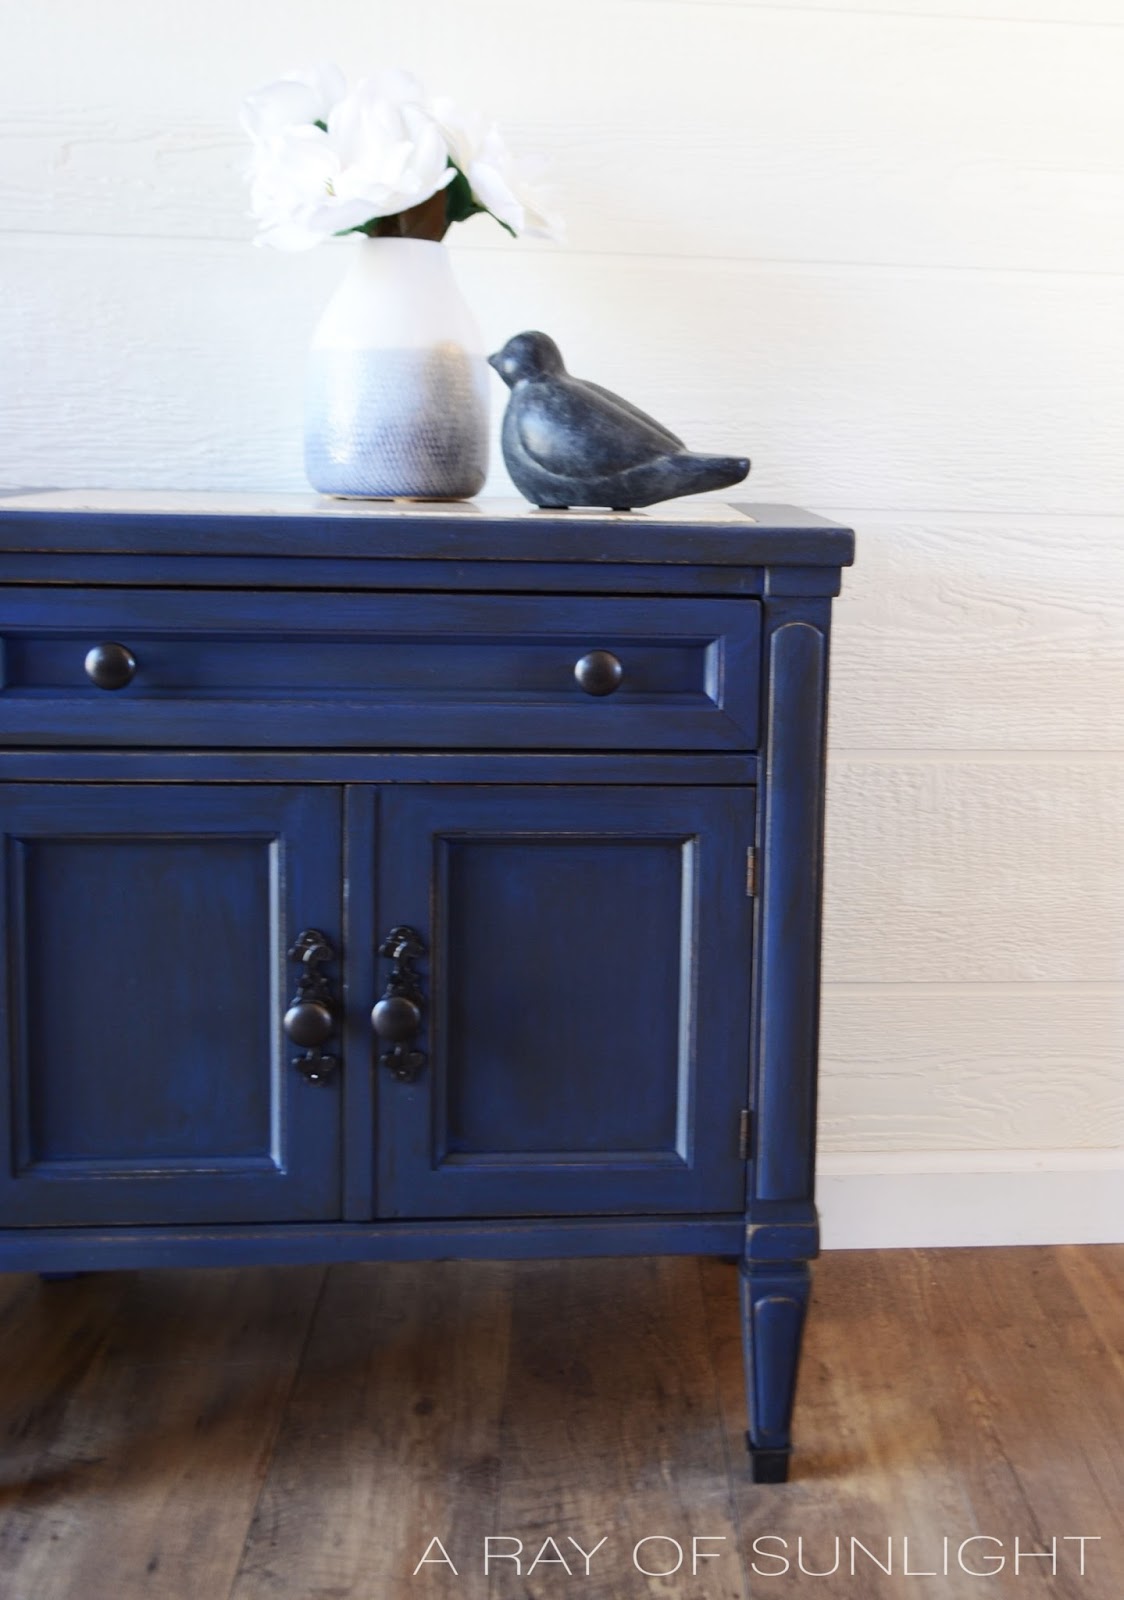
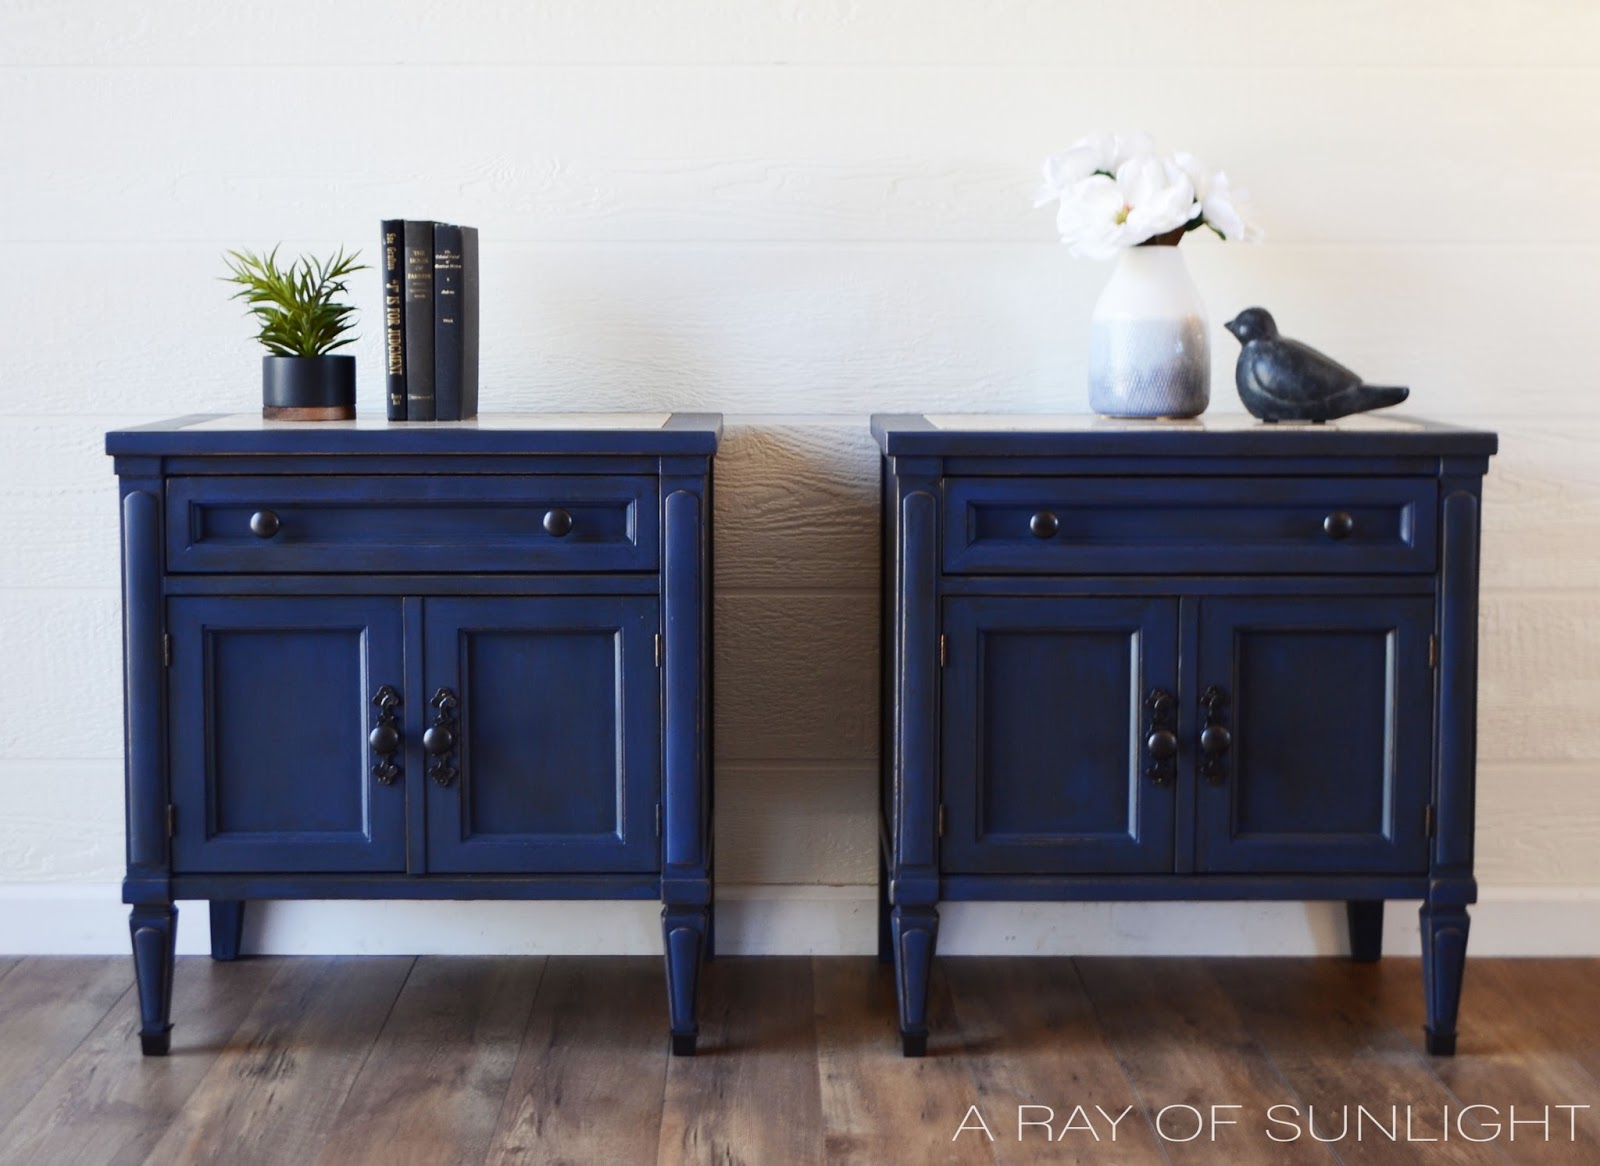
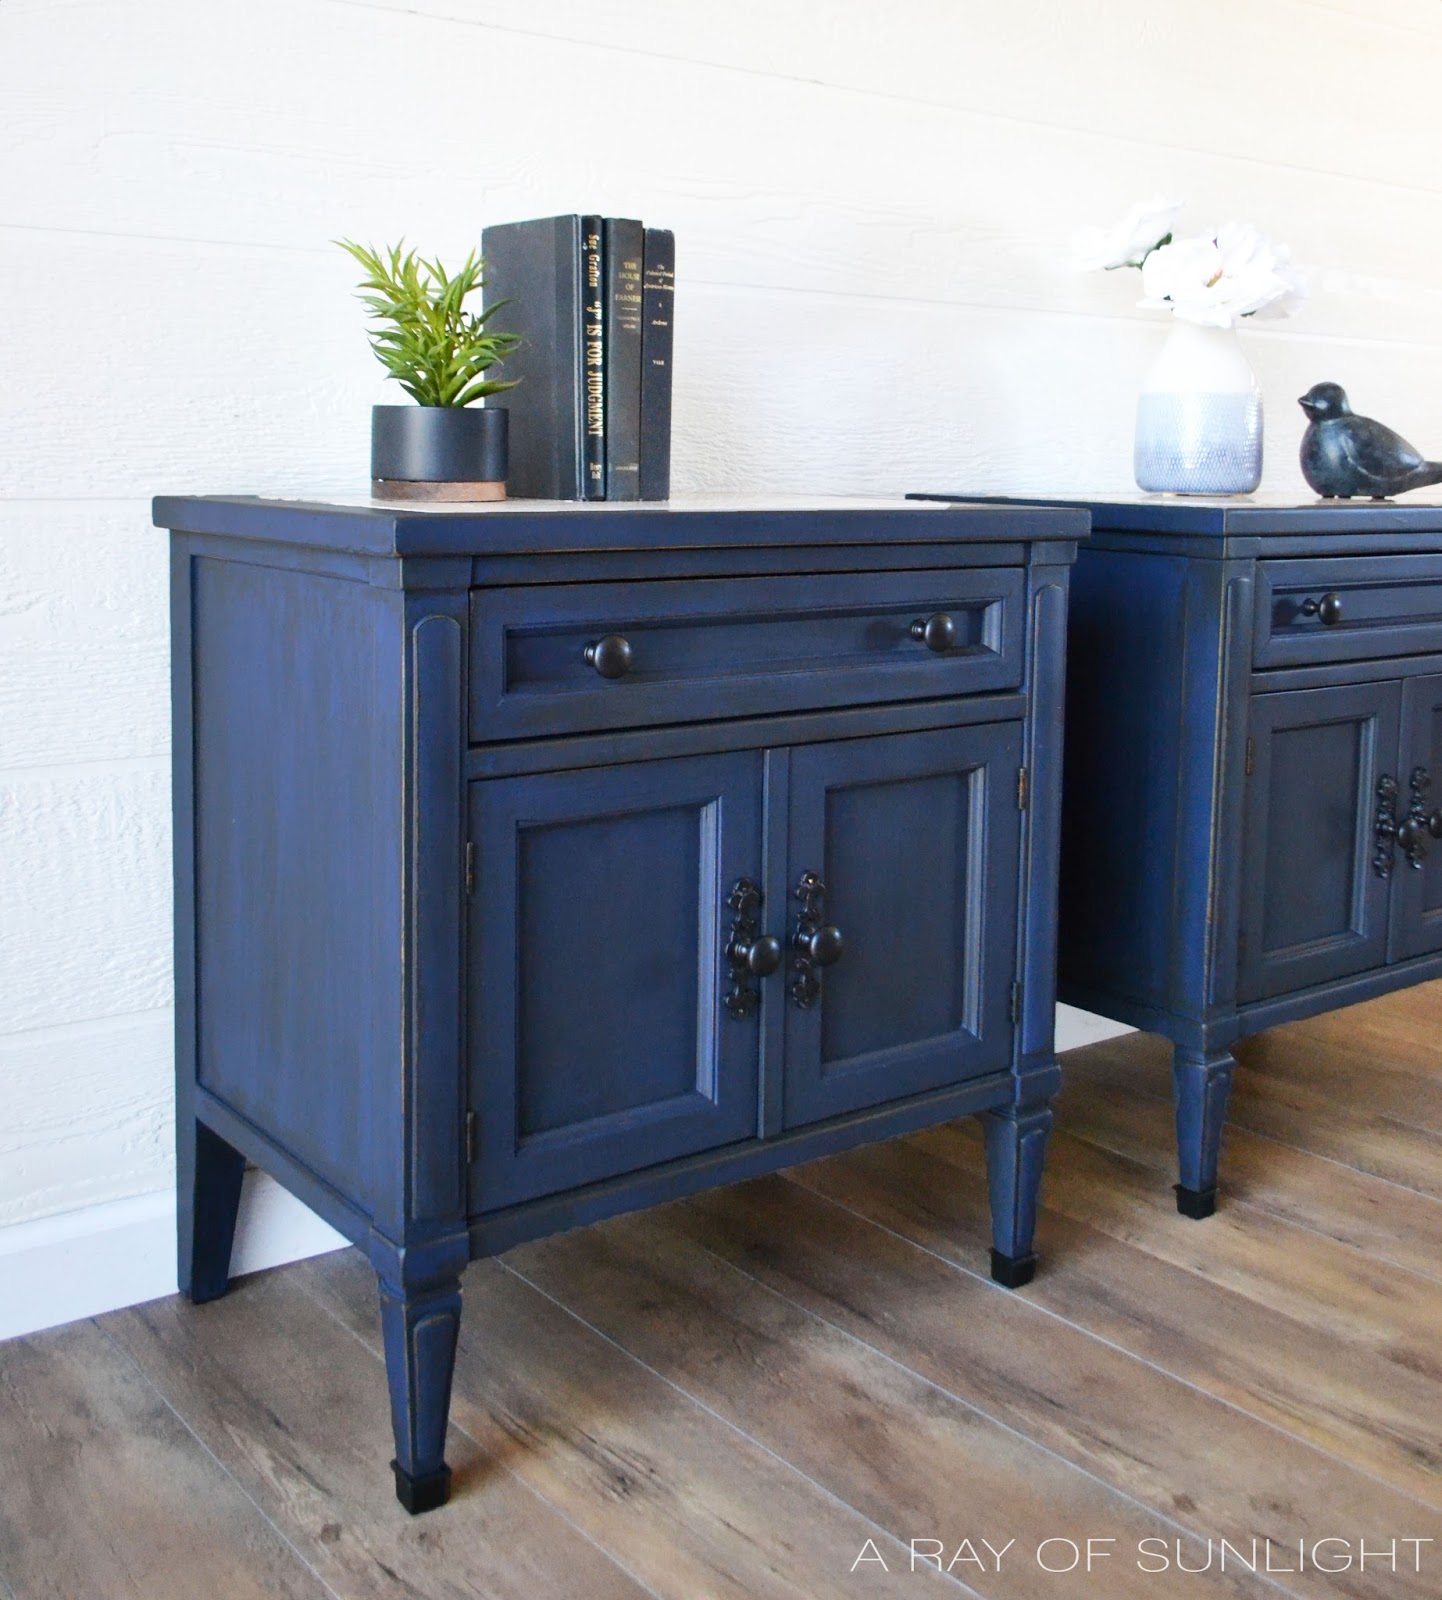
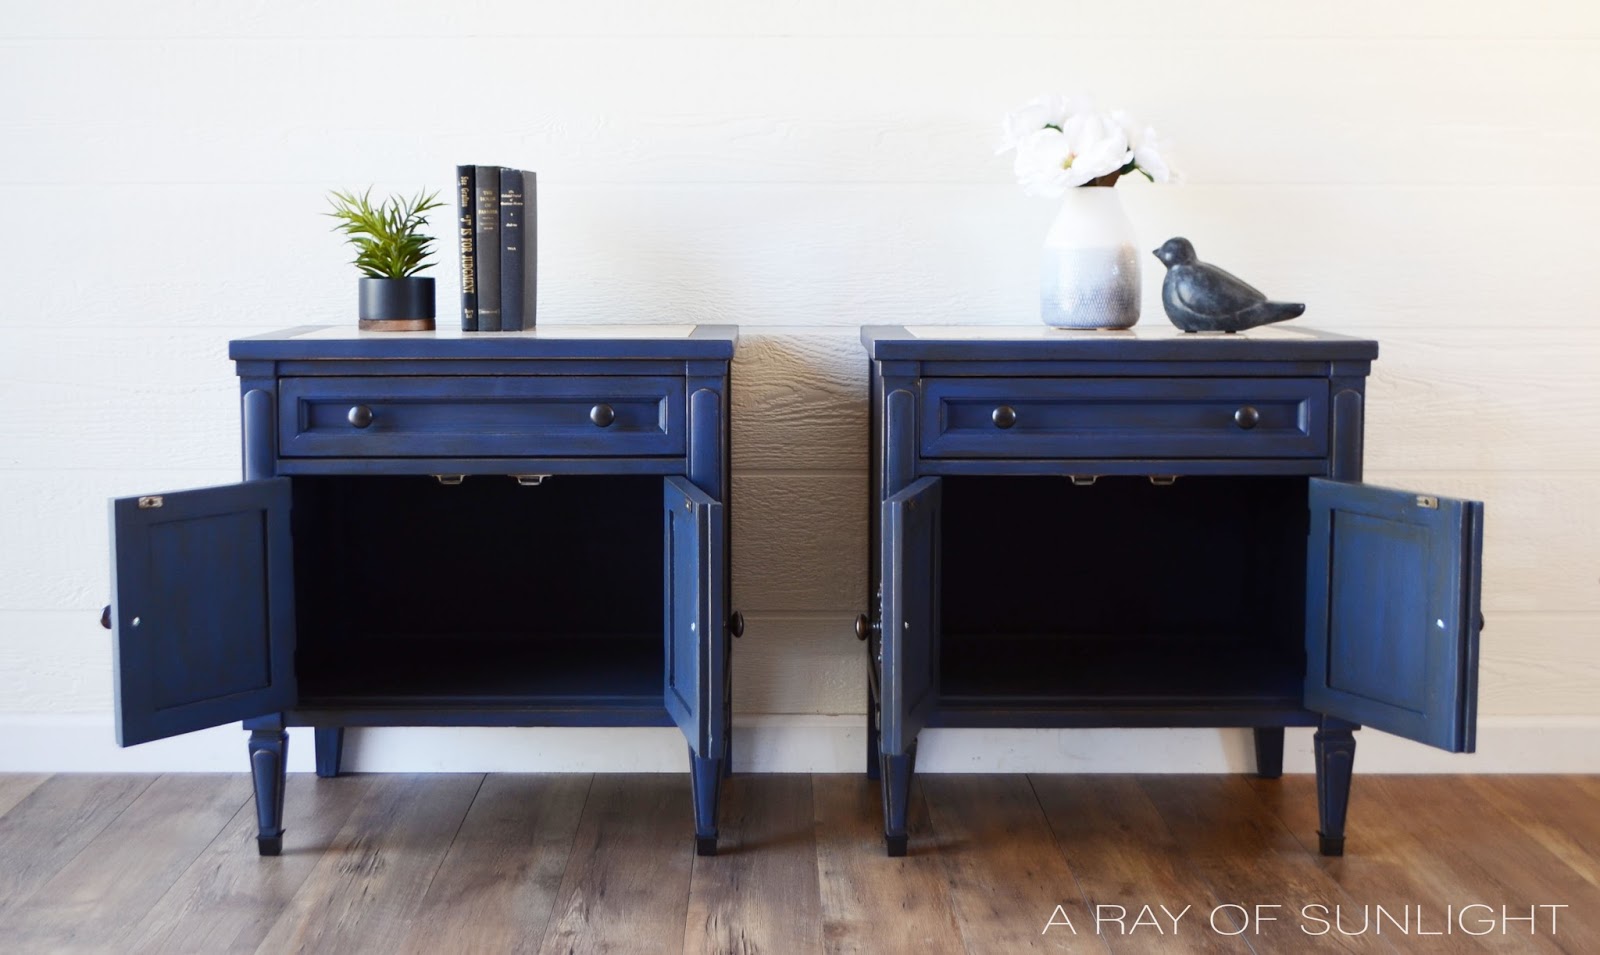
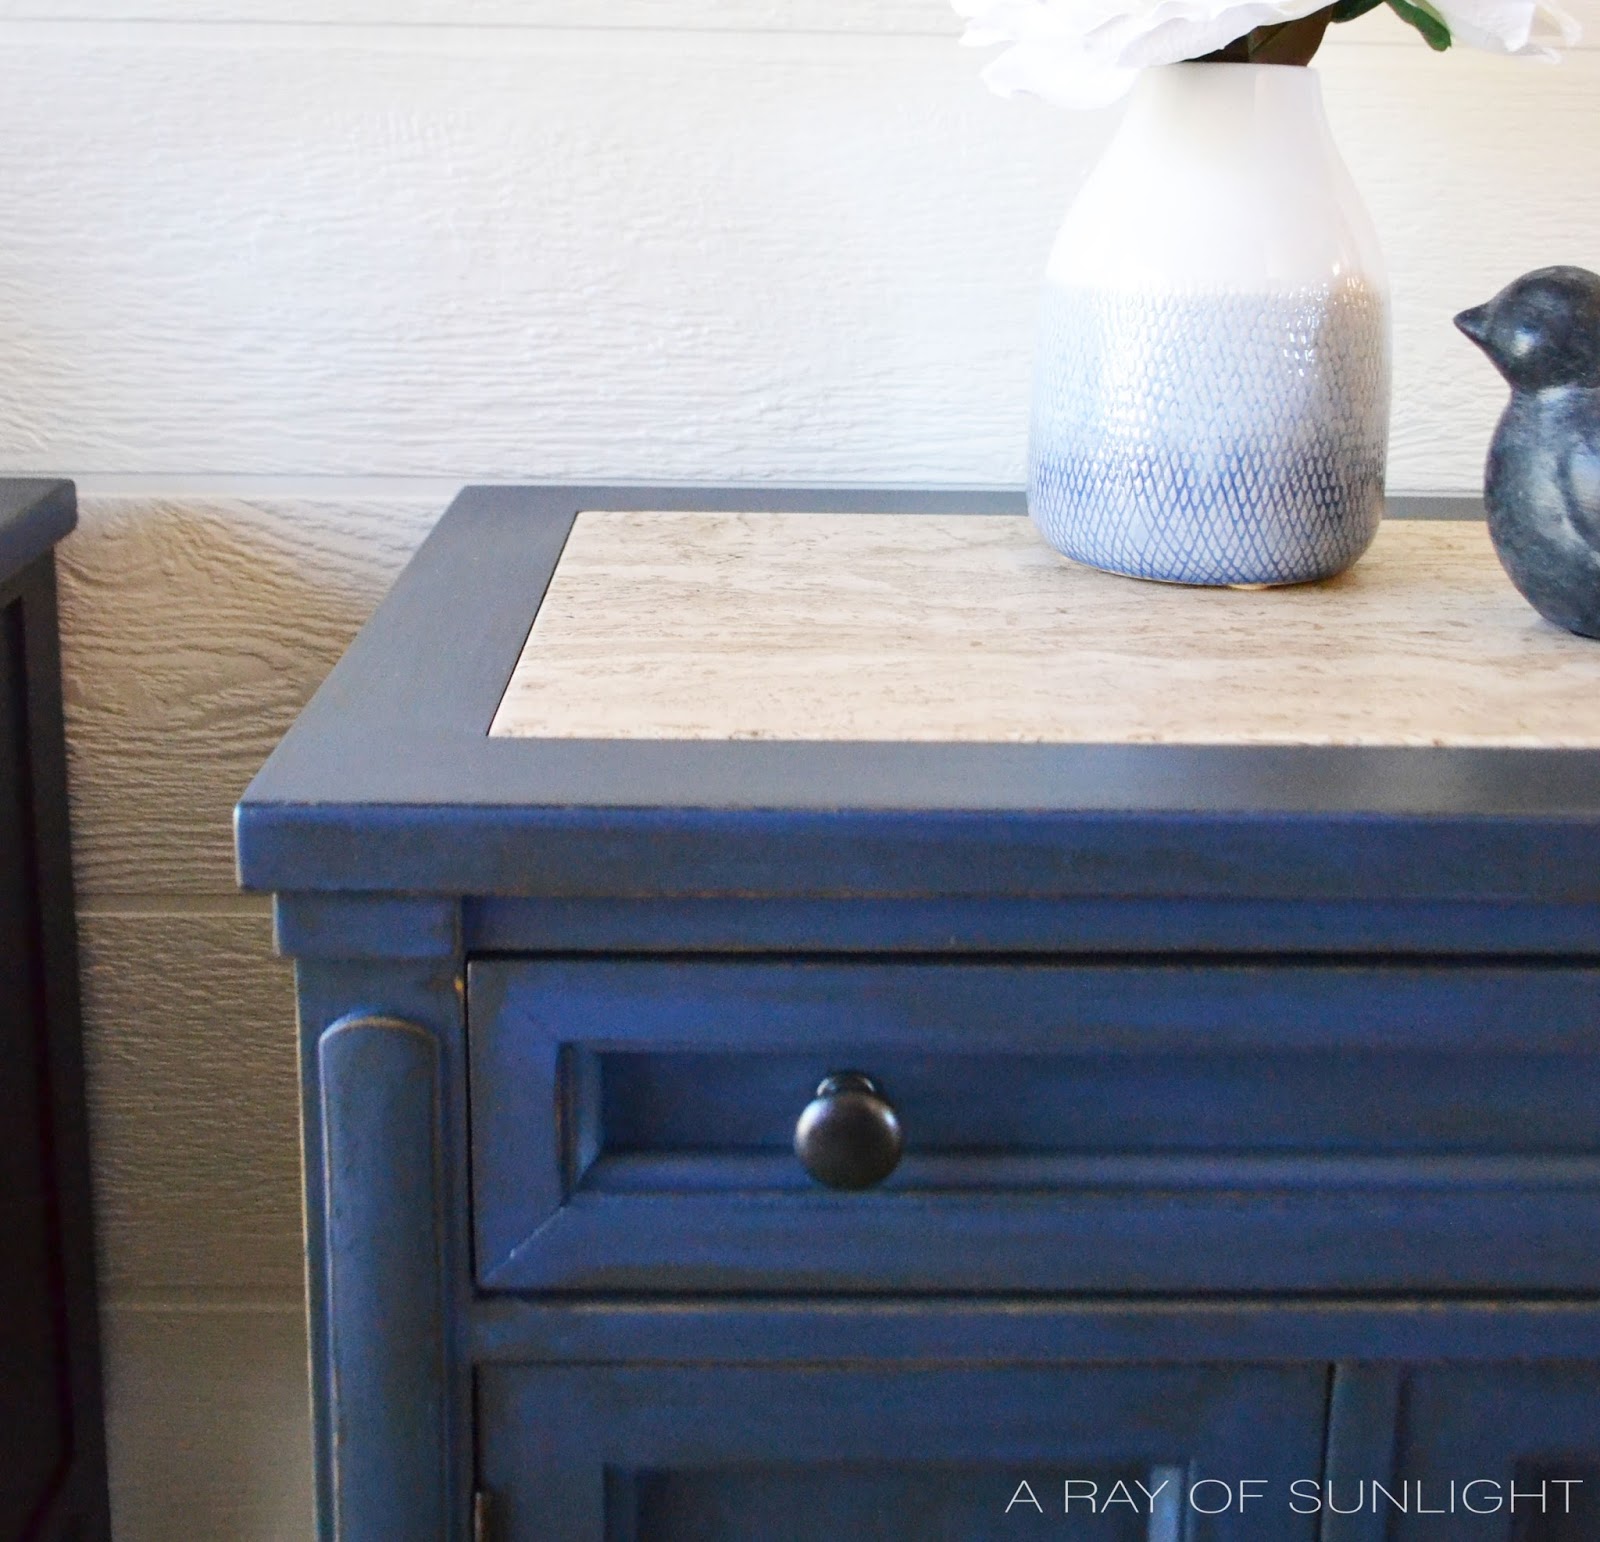
These old nightstands had plenty of dings, scratches, and built up grime, but underneath it all, we knew they had so much potential. This blue painted antique nightstand makeover shows how a fresh coat of color can make worn furniture beautiful again and give it a much needed update.
If you have an old bedside table waiting for a second chance, we have these painted nightstand ideas for even more inspiration. Keep reading to see how we gave this pair a new look!
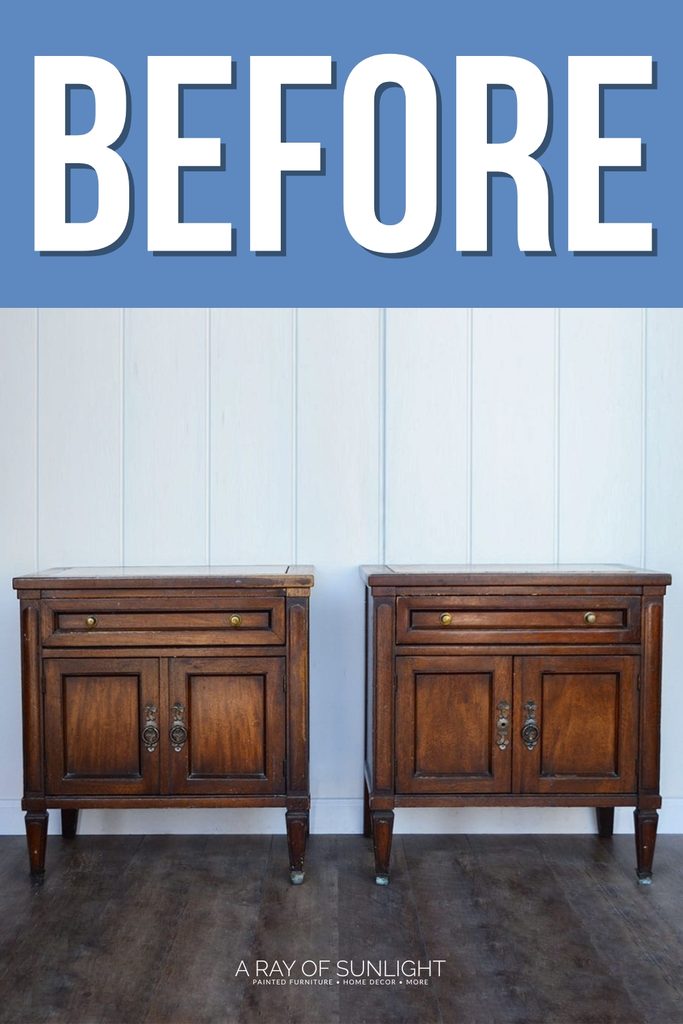
These pieces may have seen better days, but we saw the potential for a beautiful transformation. With some time and effort, we were able to completely update them, and you can do the same with your own!
One of the best things about adding fresh coating is that it’s a cost effective way to update your space. Rather than spending hundreds of dollars on new ones, you can give your existing pieces a fresh new look for a fraction of the cost.

In this antique blue nightstand makeover, we’re going for a rustic and distressed look that will add charm to any bedroom. The blue adds a pop of color, while the distressed finish gives it a vintage feel.

Supplies Used for Blue Painted Antique Nightstand Makeover
As an Amazon Associate, I earn from qualifying purchases. I also may earn from other qualifying purchases with other companies or get free product to review and use. All opinions are my own.
- Krud Kutter
- Electric Screwdriver
- 220 Grit Sandpaper
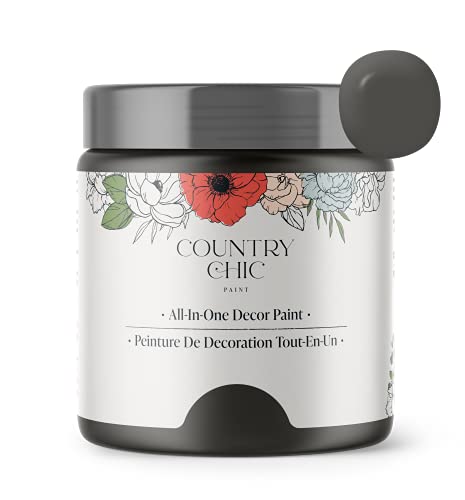
- Country Chic in Midnight Sky
- Country Chic in Dark Roast
- Country Chic Clear Glaze
- Waterbased Polyurethane
- Cheap Brush
- Lint Free Cloth
Blue Nightstand Makeover with Chalk Paint
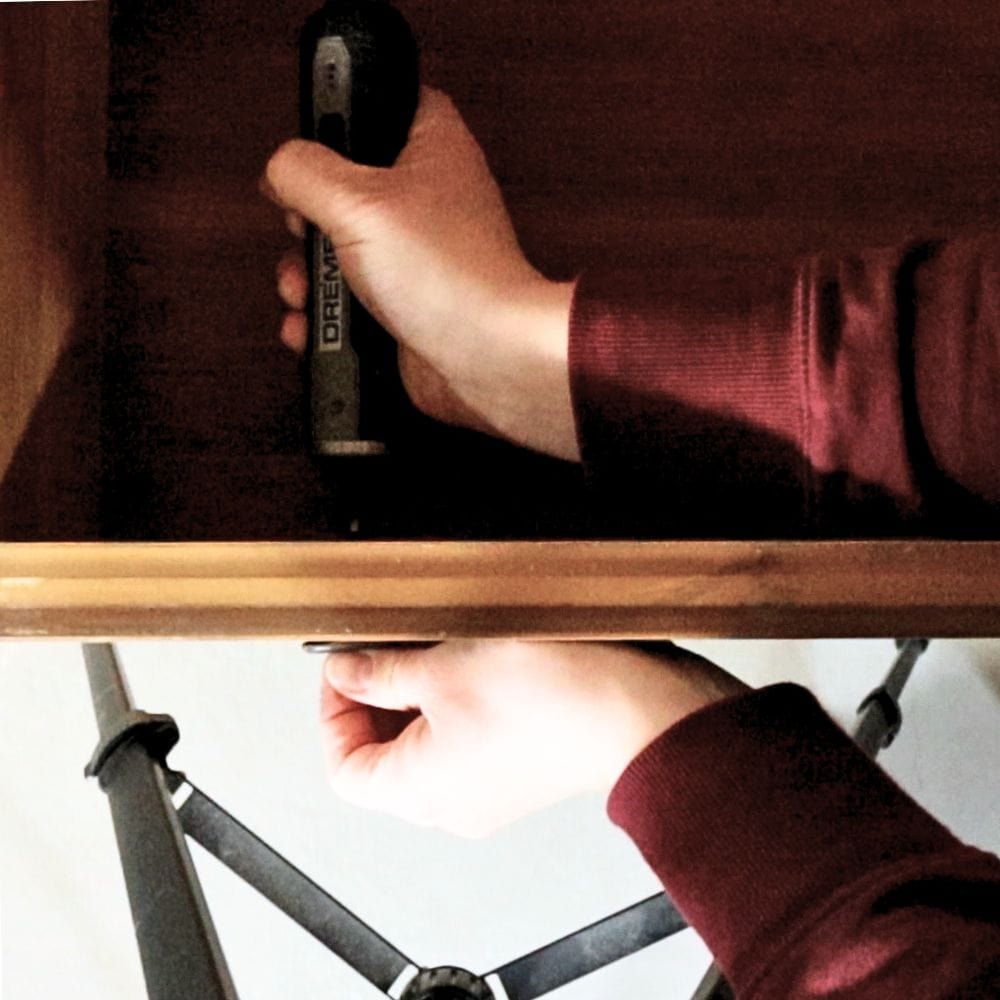
First, I removed all hardware, including the pulls, hinges, and metal feet plates. Then, I scrubbed the dirt and grime away.
Learn more here about how to clean furniture before painting and how to prep furniture before painting to make sure the finish is smooth and durable!
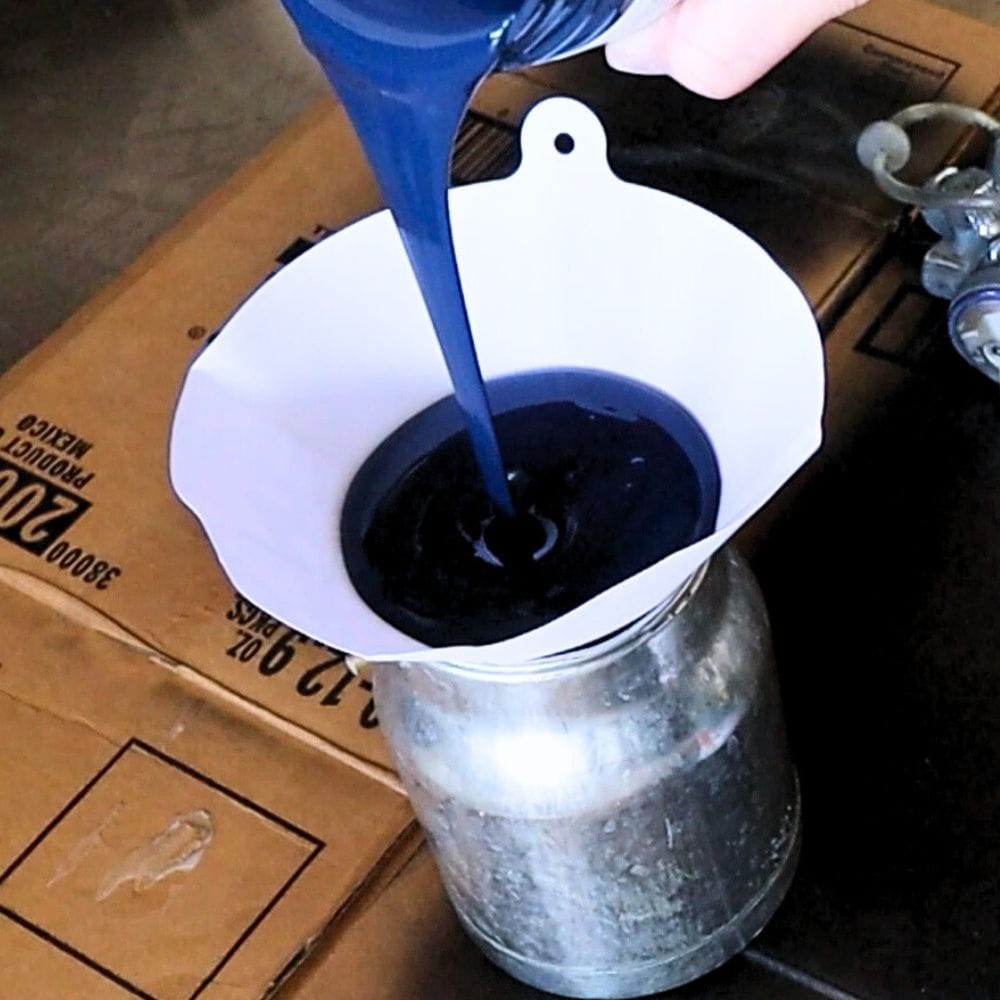
Then, each piece received two coats of the beautiful Midnight Sky. This deep royal blue is such a stunning bold shade, and the coverage is amazing! Check out my honest and detailed Country Chic Paint review here for more on this brand.
Check out the best blue chalk paint for furniture here and get more navy painted furniture and dark blue painted furniture inspiration here. For more shades to use, here’s our list of nightstand color ideas. And for more creative transformations, try out these unique nightstand ideas!
Antique Blue Nightstand Makeover with Glaze
While the base coats dried, I created a custom dark glaze of 1 ounce Dark Roast mixed with 4 ounces Clear Glaze. Then, I added the smallest amount of water, just to thin the mixture down a bit.
I distressed the edges with 220 grit sandpaper, then wiped off any leftover dust with a damp rag. Read this post to learn about the 6 best distressing furniture techniques, aside from sanding.
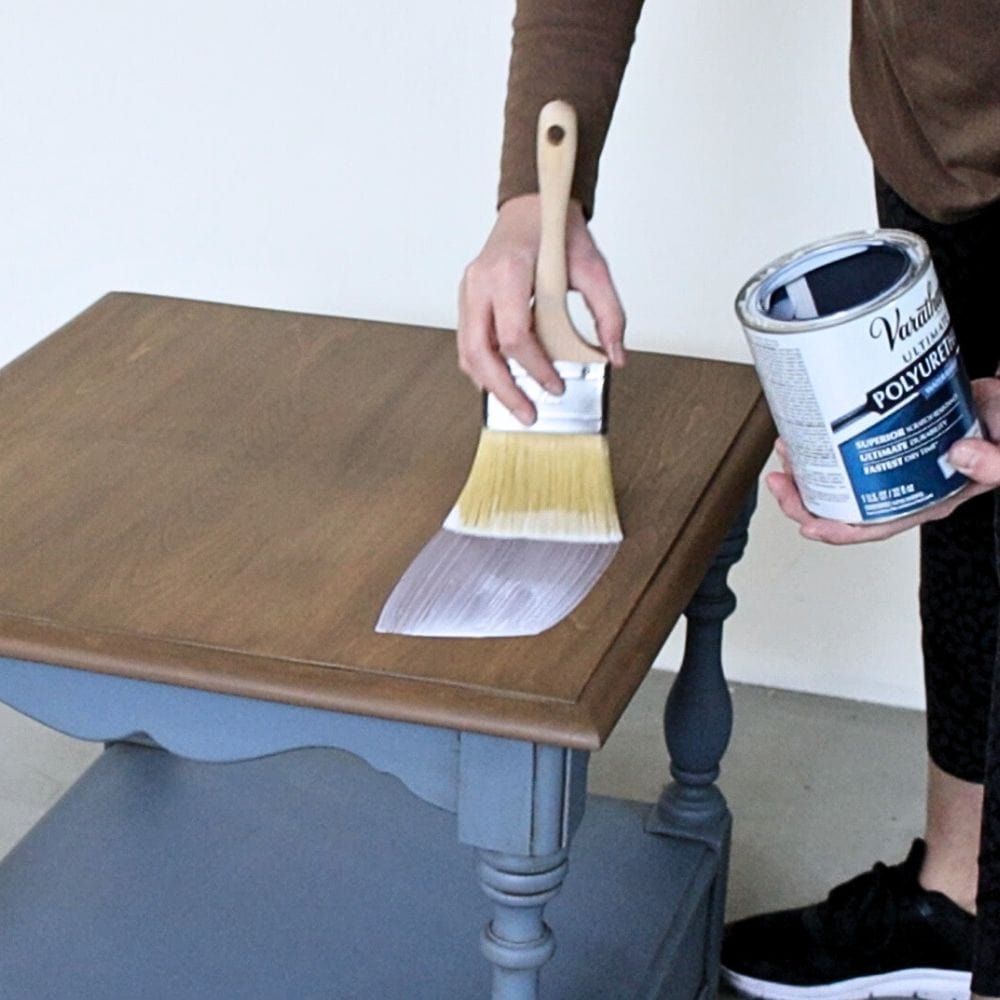
Then, I applied a layer of satin top coat to make it easier to work with the finish. Using a cheap chip brush I lightly brushed on the Dark Roast mixture, making sure to get it into every corner and detail. When the mixture is watered down ever so slightly, it becomes much easier to get a very thin, even layer.
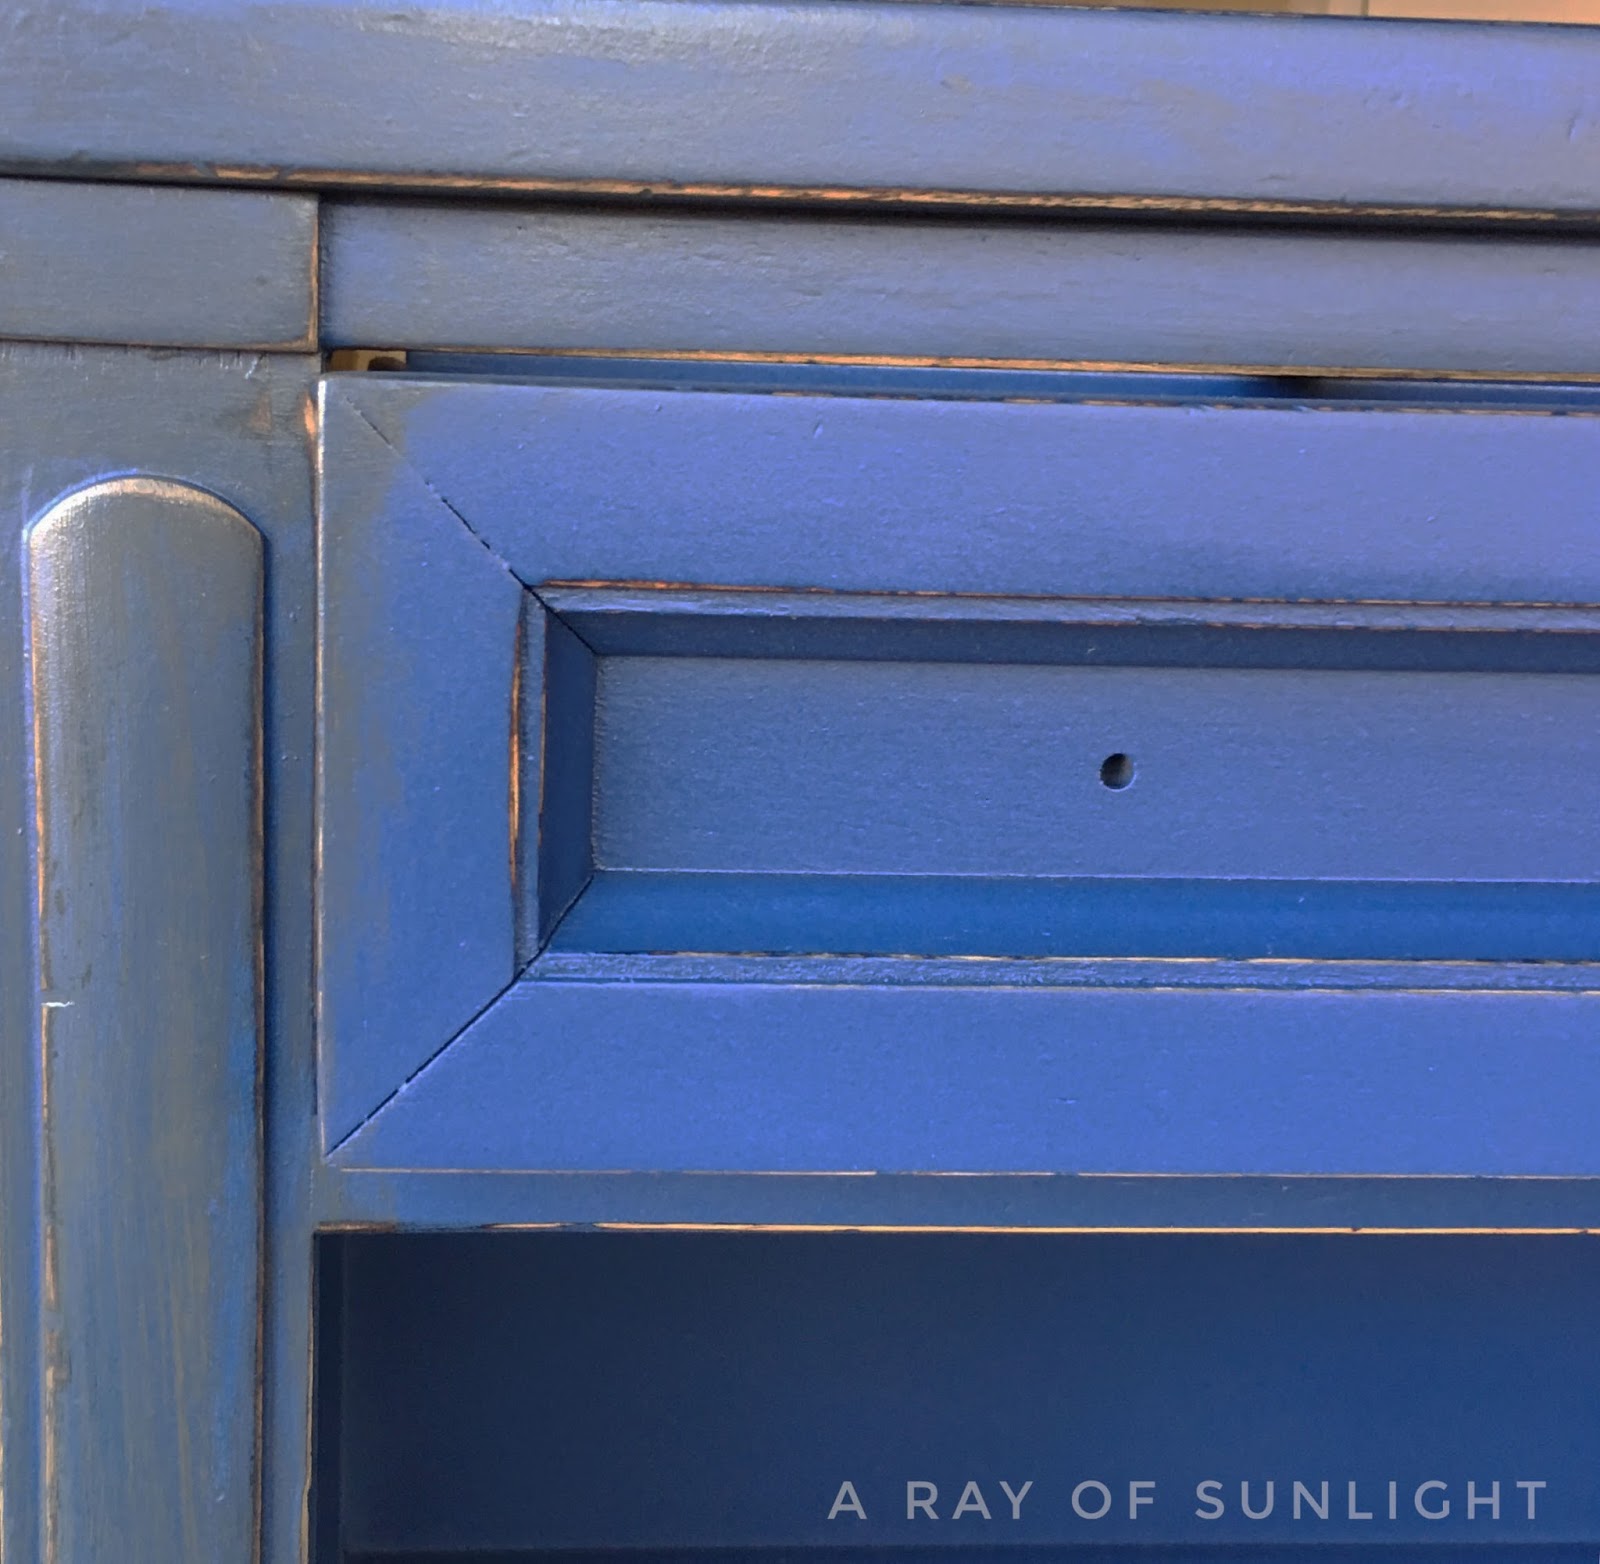
Once the antiquing finish started to dry, I very lightly wiped it off with a wet lint free cloth (a cut up old tshirt works great!) to create a worn feel. And because we wanted more of a sheen, we sealed the finish with another layer of satin top coat.
More Before and After Makeovers
See All >
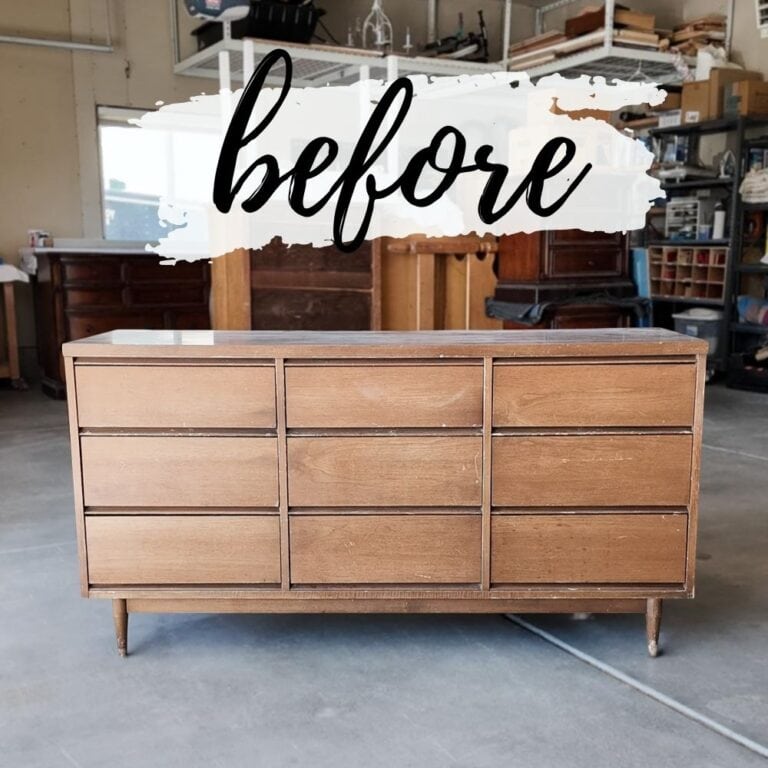
Click any of these “before” photos below to view the “after” of that makeover.



Would you like to save this?
Learn more tips and tricks on how to glaze over chalk paint here. Need to SEE how to apply it? Check out this video:
Check out my comparison between glaze vs wax over chalk paint to learn more about these 2 options, side by side.
What is the purpose of glazing furniture?
Glazing is a technique used to enhance the look of a piece and add depth and dimension. It creates an aged or distressed appearance by highlighting the details and creating a worn, vintage feel. It can also be used to tone down bright shades or create a custom one on top of a base color.
Another purpose of applying this finish is to protect the surface and add durability. When top coat is applied over this layer, it seals it into the paint and creates a protective barrier against wear and tear.
This makes this method a great option for high traffic areas or pieces that will be frequently used. So not only does it add character and style, but it also serves as a practical way of finishing and protecting the colored piece.


Can you apply glaze directly to wood without painting it first?
Yes, you can. This method is often used for stainable wood surfaces with a natural finish. It adds depth and dimension to the wood while still allowing the natural grain to show through. It also helps to highlight any intricate details in the woodwork.
However, if you are using it over raw wood, it’s still important to seal the wood with a clear top coat beforehand. This way, it won’t soak in and create an uneven or blotchy look.
Once the top coat is dry, go ahead and apply the antiquing finish as you like. Just keep in mind that since there’s no base color, the final result might be more subtle. But if you want a natural, rustic vibe, applying it directly onto raw wood is a cool option.
Can you mix different colors of glaze?
Yes, you can do this to create a custom shade. Just remember to add small amounts at a time and test on a scrap piece of wood or an inconspicuous area before applying it to the whole piece. It’s also helpful to keep track of the ratios used in case you need to mix more later on.
Another tip is to start with a base color that is similar to the one you want to create. For example, if you want dark brown, start with a base coat of dark brown before adding in your desired tint. This will help to create a more cohesive and consistent look throughout your piece.
Is glazing necessary for antiquing furniture?
No, it’s not necessary, but it does help create a more authentic, aged look. It can help enhance the antiquing effect by adding depth and dimension to the piece.
If you prefer a simpler method, distressing with sandpaper or using dark wax can also create this effect. However, using a glaze gives you more control over where the dark color goes and can be wiped off easily to adjust the intensity.


Blue Painted Antique Nightstand Makeover
Our blue painted antique nightstand makeover shows how blue paint can refresh worn furniture while bringing out its beautiful vintage details.
Materials
Tools
Instructions
- Prepare by removing hardware and cleaning the nightstand.
- Paint the nightstand with 2 coats of blue paint.
- While the base coats dries, create a custom dark glaze of 1 ounce Dark Roast mixed with 4 ounces Clear Glaze. Once it's mixed, add the smallest amount of water, just to thin the glaze down a bit.
- You can distress the edges of the painted dresser with 220 grit sandpaper, then wipe off any leftover dust with a damp rag.
- Apply a layer of satin top coat on the dresser then lightly brush on the Dark Roast glaze, making sure to get it into every corner and detail.
- Once the glaze starts to dry, lightly wipe it off with a wet cloth to create a worn feel.
- Topcoat the glaze with more water-based polyurethane.
Recommended Products
As an Amazon Associate and member of other affiliate programs, I earn from qualifying purchases.


More Nightstand Makeover Ideas
- Repurpose a Desk into Nightstands
- French Provincial Nightstands Makeover
- DIY Dark Green Nightstands
- Pink Painted Nightstand
- DIY Teal Blue Nightstands
Follow us on YouTube to get more tips for painting furniture. Or share your project with us on our Facebook Group and be part of our community. See you there!