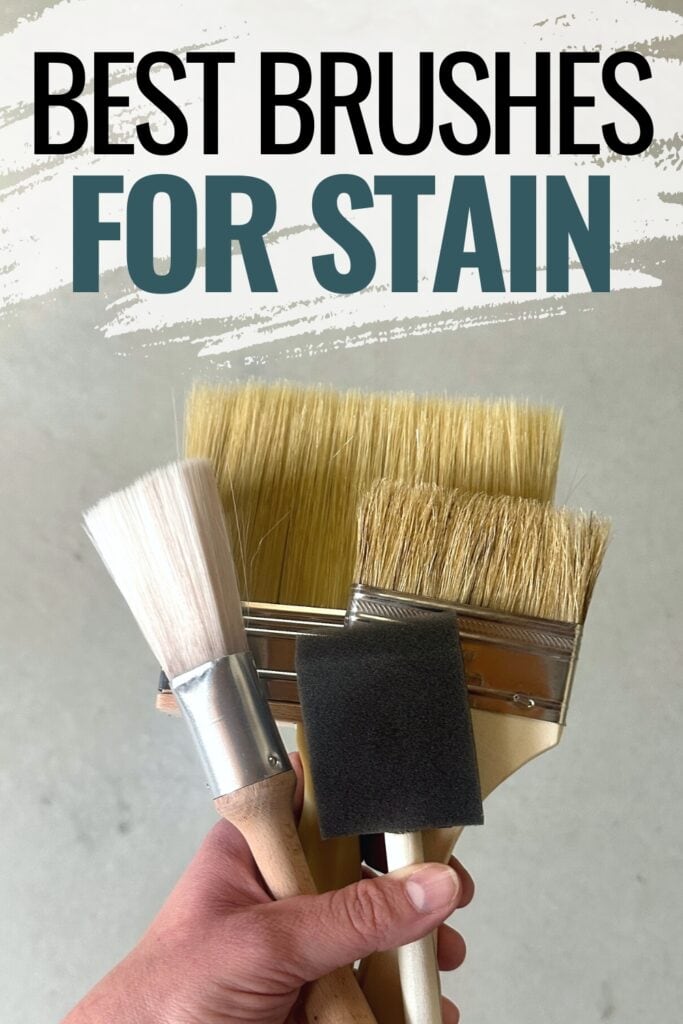
Best Brushes For Staining Wood
Staining wood can be a tricky process, but with one of these best brushes for staining wood and the right refinishing furniture techniques, you can create beautiful results. There are many different types available, from budget friendly chip brushes to specialty triangle ones that help you get into details.
In this article, we will explore some of the best brushes for refinishing furniture so you can find one that fits your needs perfectly. We will also provide some more tips on how to stain wood for the best results.
Staining can be a great way to give new life to an old piece of furniture or enhance the beauty of a freshly built project. And one of the ways you can do this is by using a brush. But you can’t just use any kind.

When choosing one that works well for staining, you need to consider factors such as size, bristle material, shape, and budget. You’ll want a quality one that will not ruin your project, as well as break the bank.
So, we will look at some of the best brushes available so you can find one that suits your needs and helps you create the results you want. Keep on reading to know your options and learn how to use it for a good stained finish.
As an Amazon Associate, I earn from qualifying purchases. I also may earn from other qualifying purchases with other companies or get free product to review and use. All opinions are my own.
Best Brushes for Staining Wood
There are many different types available, and it can be challenging to choose the right one for your specific project. So let’s look at the top picks for the best brushes for staining wood, and why each type is best suited for a specific task.
Best Brush for Large Projects
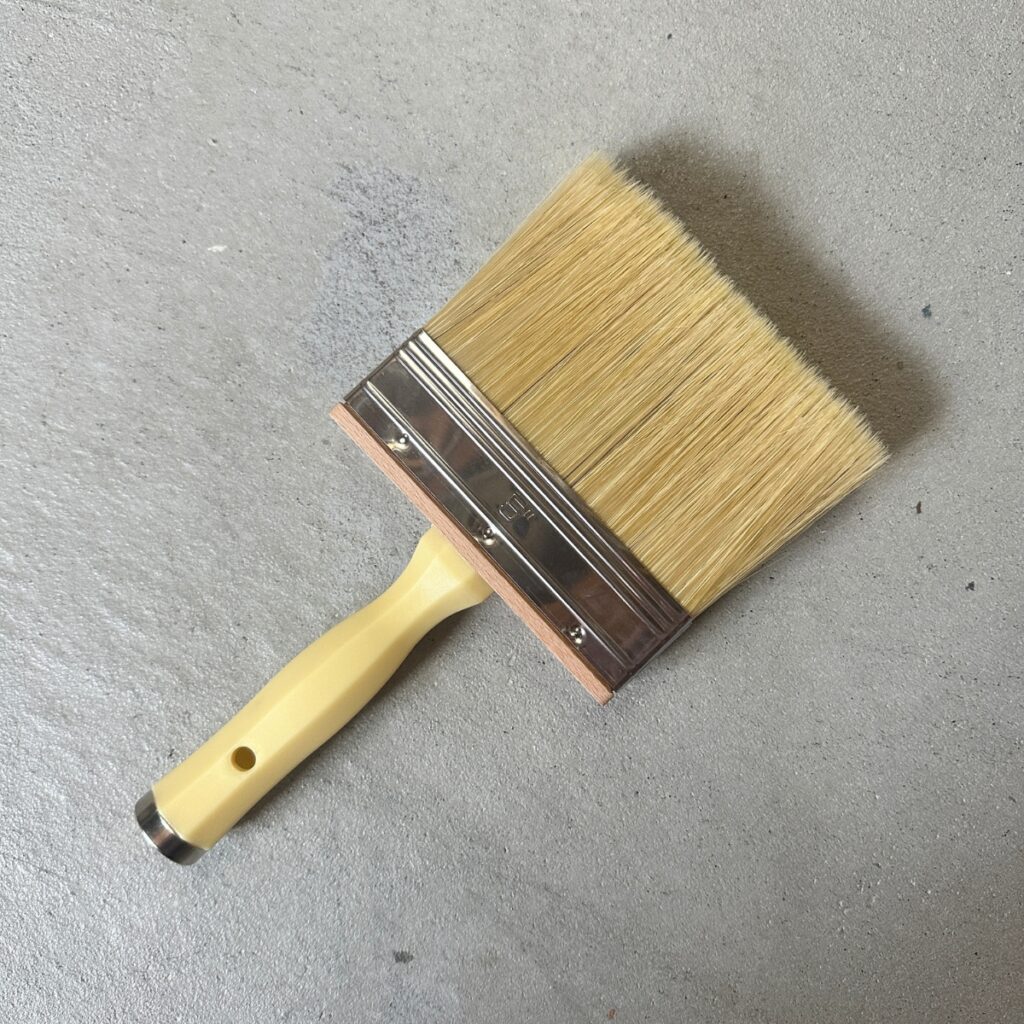
Linzer 5” Brush
The Linzer 5” brush is the perfect choice for large staining projects, offering maximum coverage and easy handling. It is designed with a comfortable grip to make it easier to use, allowing you to hold it for long periods of time without fatigue.
Its 5” size also allows it to hold more product, so you can cover more area in less time. This size is overkill for staining furniture, but it is perfect for large projects like fences and decks.

Pros:
- Comfortable grip for easy handling
- Large size covers more area in less time
- Holds more stain than smaller brushes
Cons:
- Too large for staining furniture and small projects
Best Budget Friendly Brush
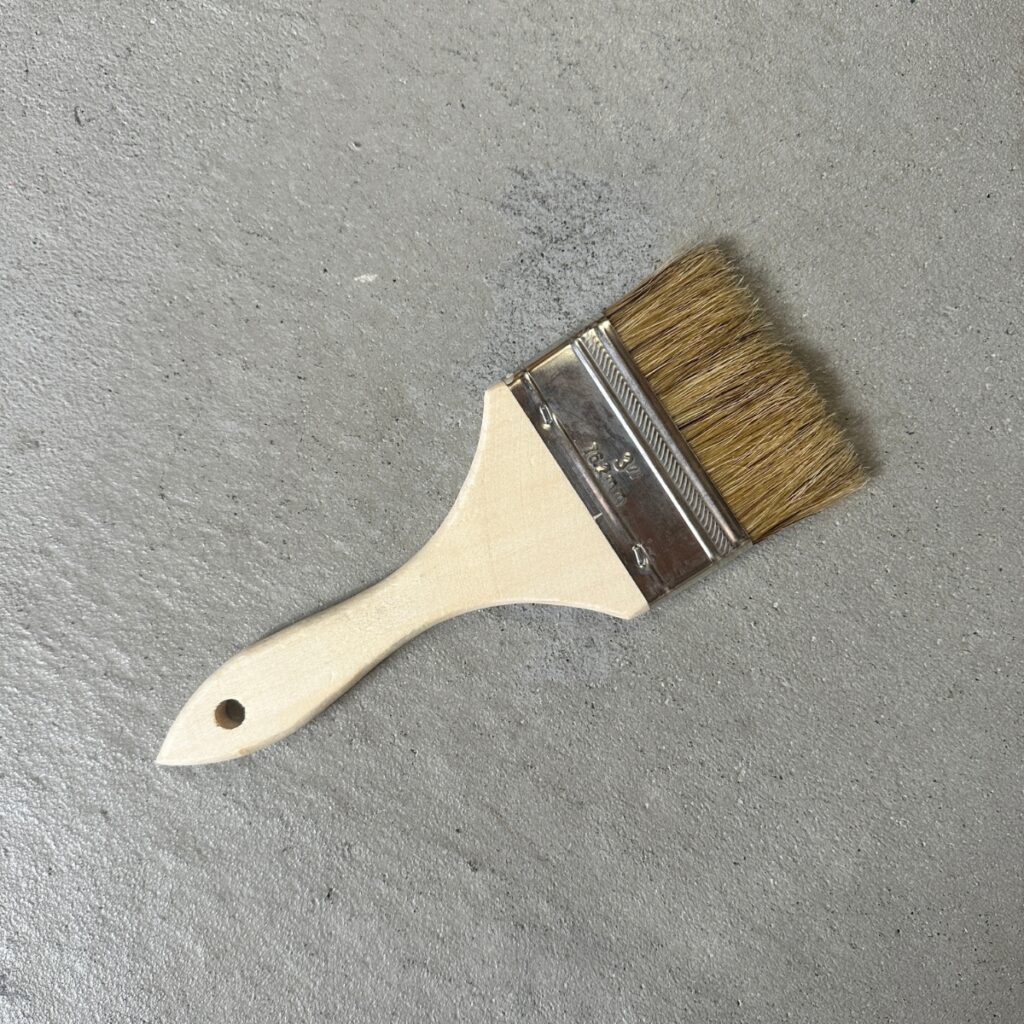
3” Chip Brush
The 3″ chip brush is a great option for those on a budget, as it is one of the most affordable options available. The smaller size makes it perfect for reaching into tight corners and crevices, making it ideal for detailed work.
It is also best suited for smaller projects, such as refinishing furniture or staining trim. It’s not as thick as the 5″ brush above, so it won’t hold as much product, though.

Pros:
- Affordable
- Perfect for detailed work
- Ideal for small projects like refinishing furniture or staining trim
Cons:
- Not as thick as larger brushes, so it holds less stain
Best for Cheapest Option
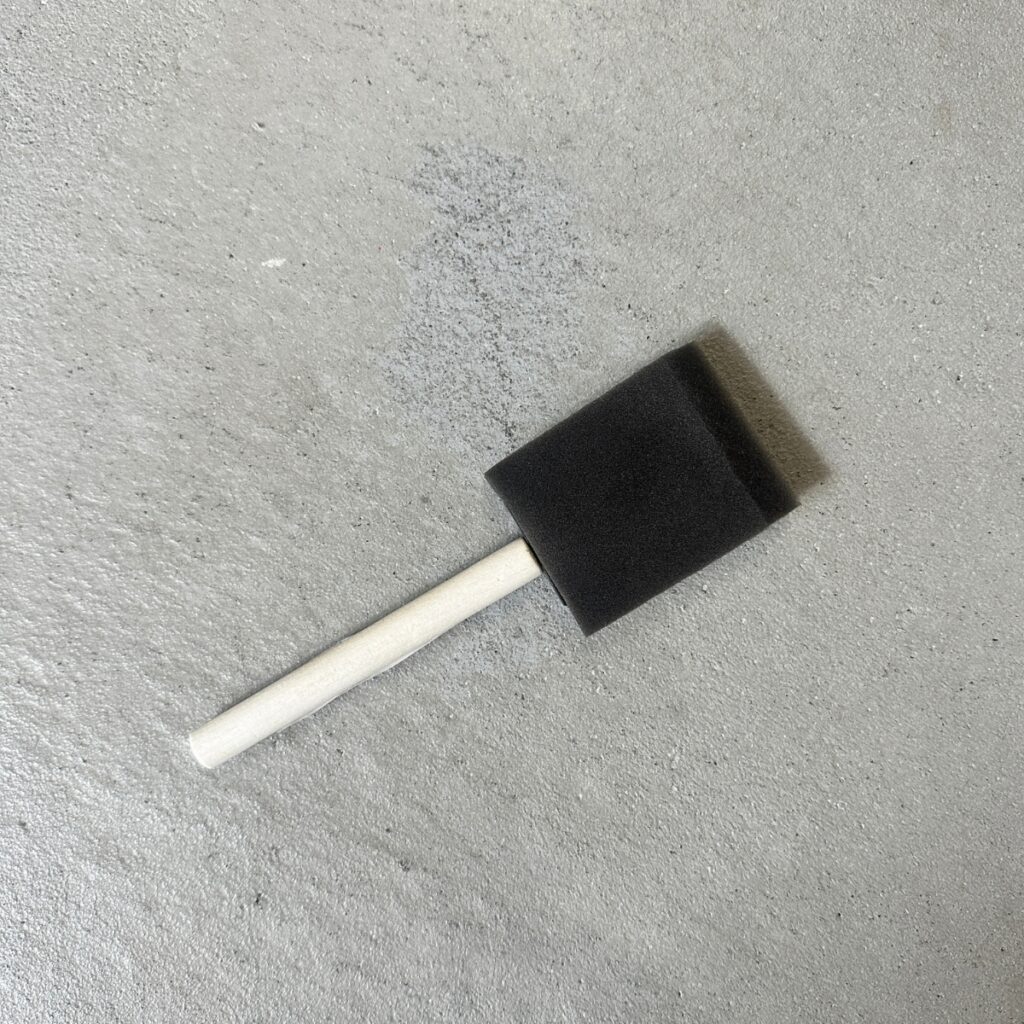
2” Foam Brush
The 2” foam brush is a great choice for anyone looking for an affordable option. Its foam material makes it perfect for smooth application. Additionally, its small size allows you to get into tight corners and crevices that larger ones may not be able to reach.
Since it is made of foam, it will easily fall apart if you use it on rough wood or use it a lot. But these are great for one use, small projects.

Pros:
- Affordable
- Great for staining smooth surfaces
- Small size allows you to get into tight corners and crevices
Cons:
- Will easily fall apart if used on rough wood or with heavy use
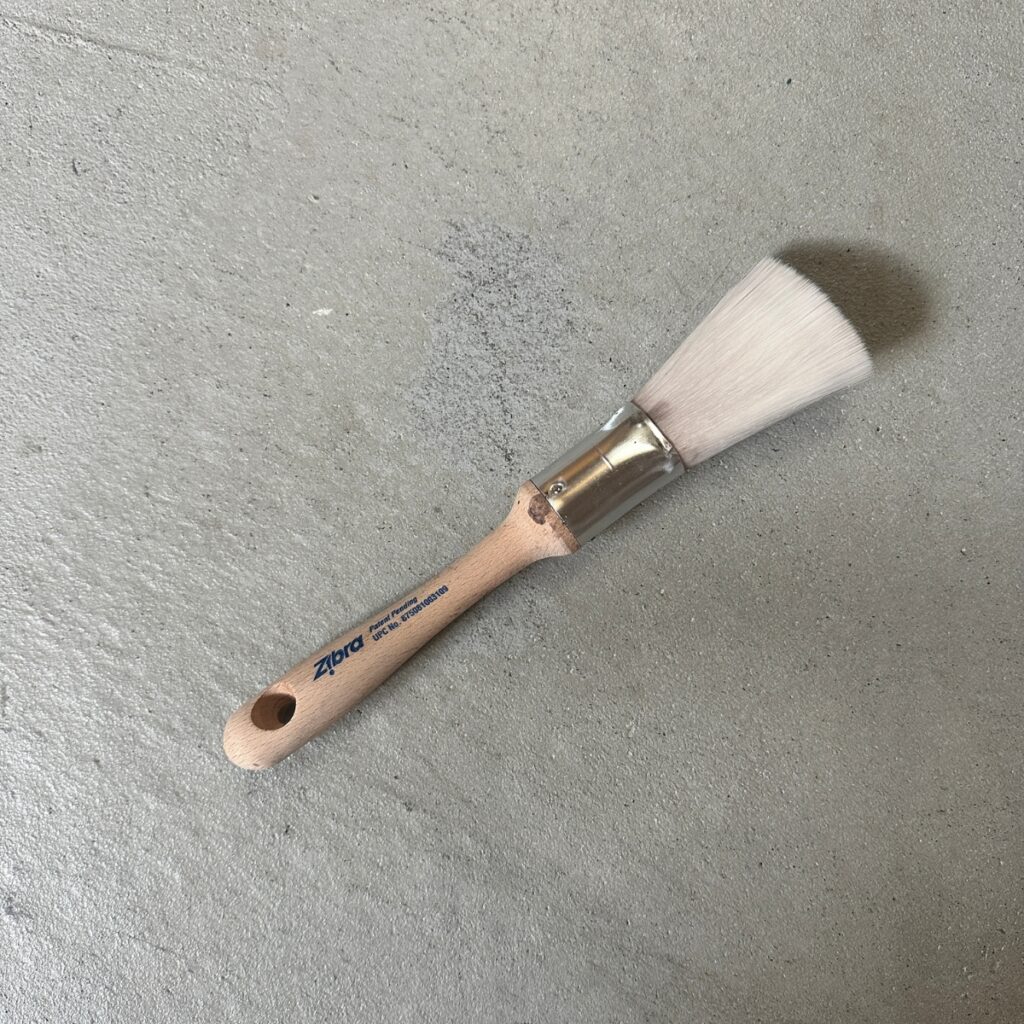
Best for Getting Into Details
Would you like to save this?
Zibra Paint Brush
The Zibra paint brush is perfect for getting into details. Its uniquely shaped head has bristles angled into the shape of a triangle, allowing it to fit into corners.
The high quality bristles also guarantee a smooth and even finish, making it perfect for staining intricate details on furniture and other woodworking projects. It also does not shed bristles like the other options do.
It is more expensive than the chip or foam brushes, but its superior design makes it worth the cost for detailed work.


Check out how to refinish wood furniture with the Zibra brush and gel stain here.
Pros:
- Uniquely shaped head with bristles angled into a triangle for getting into details.
- High quality bristles make for a smooth, even finish.
- Does not shed bristles like other brushes do.
Cons:
- More expensive than the chip or foam brushes.
Check PriceCheck PriceCheck PriceCheck Price
Is it better to stain wood with a brush or a rag?
You can use both, and each method has its advantages and disadvantages depending on the project and personal preferences.
Brushes are ideal for applying a consistent coat to a large surface area. The bristles can help spread the stain evenly and can reach tight corners and rough areas that a rag might not.
Rags can be a good option for smaller surfaces or quick projects if you don’t have an extra brush lying around. It’s easier to throw a rag out after, too.
Note: When using oil based stain, let your rag or brush dry outside in a safe area, laid flat to dry to avoid combustion.
Ultimately, the choice comes down to personal preference, project scope, and the desired finish. Some people prefer brushes for larger projects, while others prefer rags.
Check our blog post to learn how to stain wood with a rag. I also used this method in this farmhouse cabinet makeover.
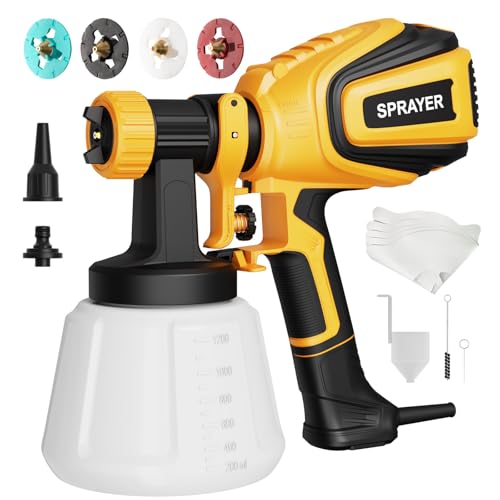
If you’re working with a larger area and wondering, “Can you spray wood stain with a paint sprayer?”, read through this post to get answers!
Tips for Staining Wood
It is important to take the time to stain wood correctly in order to create the desired result. Check out the best wood stains for refinishing furniture you can use here, and check out my step by step post on how to stain wood furniture to guide you.
Here are some more tips that will help you get the best possible finish:
Prepare your surface
Sand your piece with sandpaper (150 grit to 220 grit sandpaper) to create a smooth surface before you stain. Be sure to sand in the direction of the wood grain to avoid leaving unsightly scratches in the surface. Learn more about the best sandpaper for furniture painting here.
But if you want to skip this step, learn how to stain furniture without sanding in this post.
Choose the right brush for your project
Different brushes are best for different jobs. Select one that is sized appropriately for your project and suited to the type of finish you’re aiming for.
Apply the stain evenly
Avoid applying too little pressure, and make sure you apply enough stain to soak into the wood. Then wipe it off in the direction of the wood grain to prevent unwanted streaks going in different directions.
Let the stain dry completely
Allow it to dry completely before you apply a top coat or sealer. This will make sure that you don’t have issues with the stain or topcoat drying. Learn more about topcoats for painting furniture here.
How to Clean Wood Stain Off Brush
Cleaning your brushes after using is a small step that makes a big difference. It keeps them in good condition and ready for your next project. Now, the kind of stain you used matters when it comes to cleanup.
If you worked with a waterbased product, dish soap and warm water should do the trick. Start by rinsing the brush really well to get rid of any leftover stain. Then, toss it into some soapy warm water and let it soak for a few hours. This helps loosen up the product hiding in the bristles.
Oil based products are a bit more high maintenance, but nothing you can’t handle. Grab some mineral spirits and fill a disposable container with about an inch or two, and then swirl the brush around, pressing it against the bottom to remove most of the stain.
Once that’s done, dump the dirty spirits and replace them with a clean batch. Let the bristles soak in for a few more hours. After that, you can rinse it with warm, soapy water to get rid of any leftover residue.
Either way, always lay them flat to dry. This helps keep the bristles in good shape and form. Using the right cleaning method makes your life so much easier and keeps your tools ready for action. Plus, it saves you time and money in the long run! Get more tips on how to clean paint brushes in this guide.
Follow these tips and use the best brushes for staining wood above to get a beautiful, professional finish on your project! It can be a complicated process, but it is worth taking the time to do it right. Best of luck!
More Refinishing Furniture Resources
- How to Restain Wood
- How to Refinish a Dresser
- How to Stain Wood Darker
- How To Stain Wood With Paint
- Restaining Furniture
Follow us on YouTube to get more tips for painting furniture. Or share your project with us on our Facebook Group and be part of our community. See you there!