Heirloom Traditions Paint Before and Afters
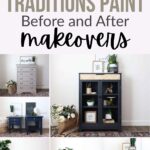
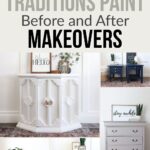
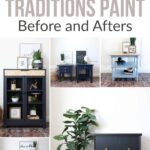

If you’re looking to transform an old piece of furniture or update the color you’ve painted before, Heirloom Traditions Paint is a great option. Here are some great Heirloom Traditions Paint before and afters for your inspiration! These before and after photos of painted furniture will show you the power of this versatile paint.
So if you’re curious how Heirloom Traditions Paint looks on different types of furniture, keep reading! You might find a furniture makeover or two that inspires your next project.
This paint is specifically designed for furniture and cabinets. It’s a one-step, all-in-one paint that has a built-in topcoat, so you don’t have to worry about sealing your paint job. Best of all, it has AMAZING adhesion and durability! Even on laminate! And it comes in a wide range of colors.

So with all these features, you might be interested in giving Heirloom Traditions Paint a try on your next furniture project. And it definitely helps if you get to see how the furniture looks when you paint it with Heirloom Traditions Paint.
That’s why you should check out these before and after makeovers to see the transformation that’s possible with this paint! Don’t stress if you’re new to painting furniture or just getting started with Heirloom Traditions Paint. We’ve got makeovers here complete with instructions and guides to help you nail those same stunning results on your own furniture.
Plus, you can get ideas on how to use this paint in different ways. Whether you’re going for a distressed look, a smooth modern finish, or something in between, we will show you the possibilities.
Painting Furniture With Heirloom Traditions Paint
Painting with Heirloom Traditions Paint is super easy. It has great adhesion on even laminate furniture so you don’t have to worry about scuff sanding and priming. You should still clean your furniture before painting it, though.
If you do want to skip sanding, here’s our list of the best no sand furniture paint you can use.
And then you can brush, roll, or spray Heirloom Traditions Paint onto your furniture. Check out this guide for painting furniture with Heirloom Traditions Paint. Make sure you don’t miss this tutorial! It will show you how to work with Heirloom Traditions Paint so you can have a beautiful finished piece.
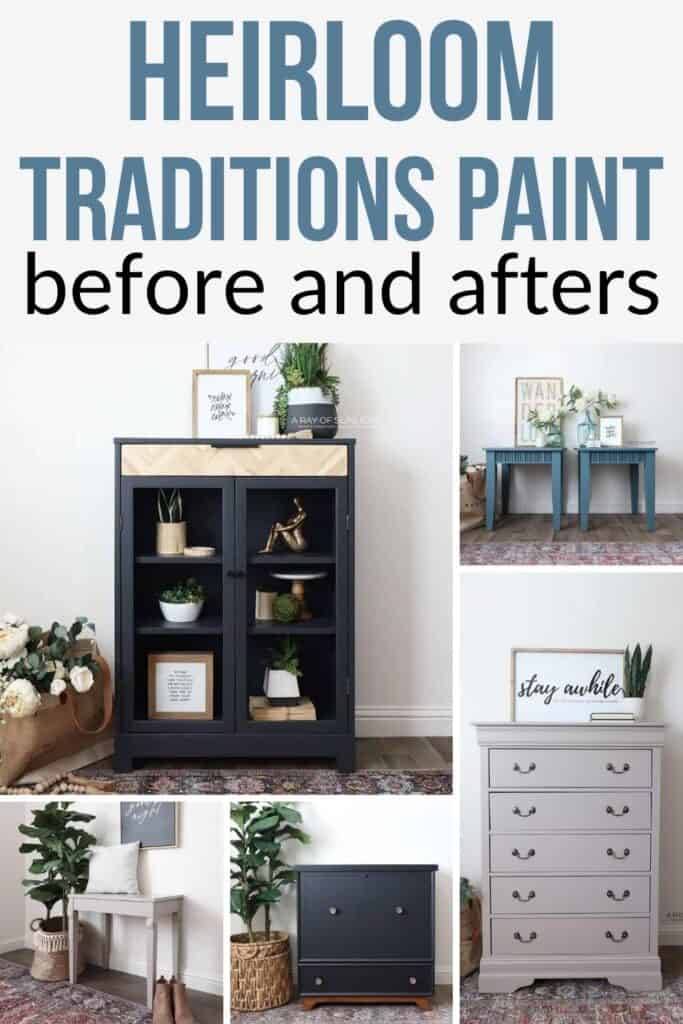
Heirloom Traditions Paint Before and Afters
See how easy it is to give your furniture and cabinets a beautiful makeover with these Heirloom Traditions paint before and afters. No sanding, priming, or topcoat required! See the transformations for yourself in these amazing before and after photos.

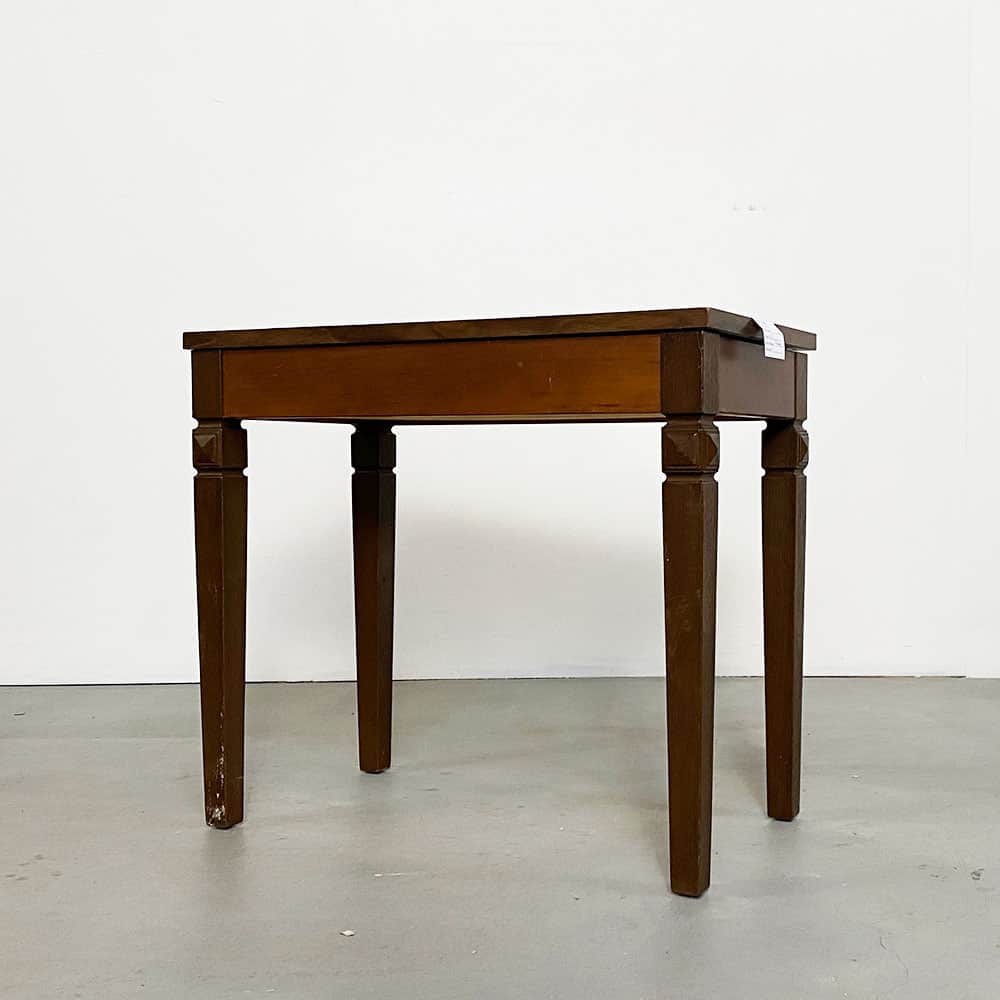
Painting a Side Table
Follow this simple step of painting a side table with beautiful Heirloom Traditions paint in Irish garden shade and a stained wood top for a whole new look.
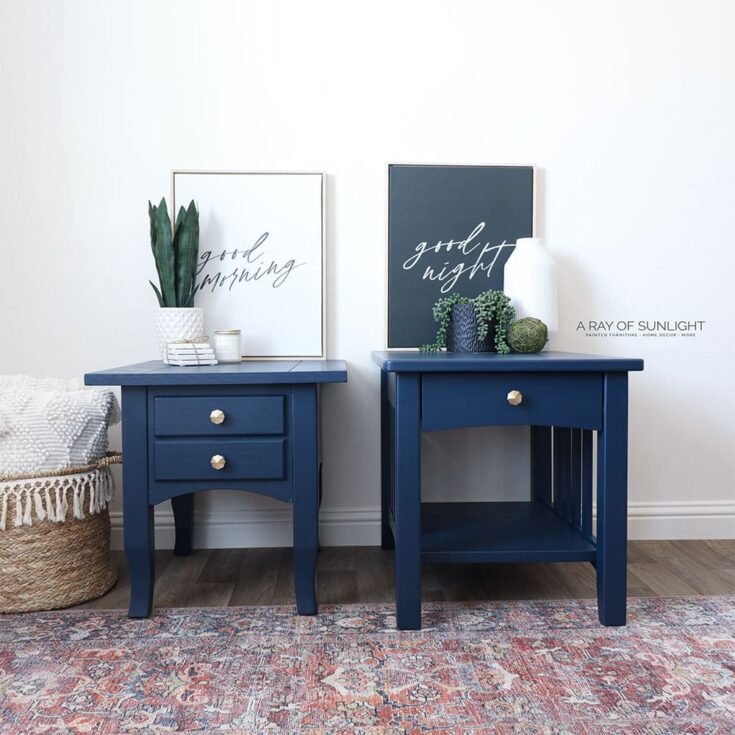
Redoing End Tables
Check out how to transform end tables with some blue Heirloom Traditions Paint.
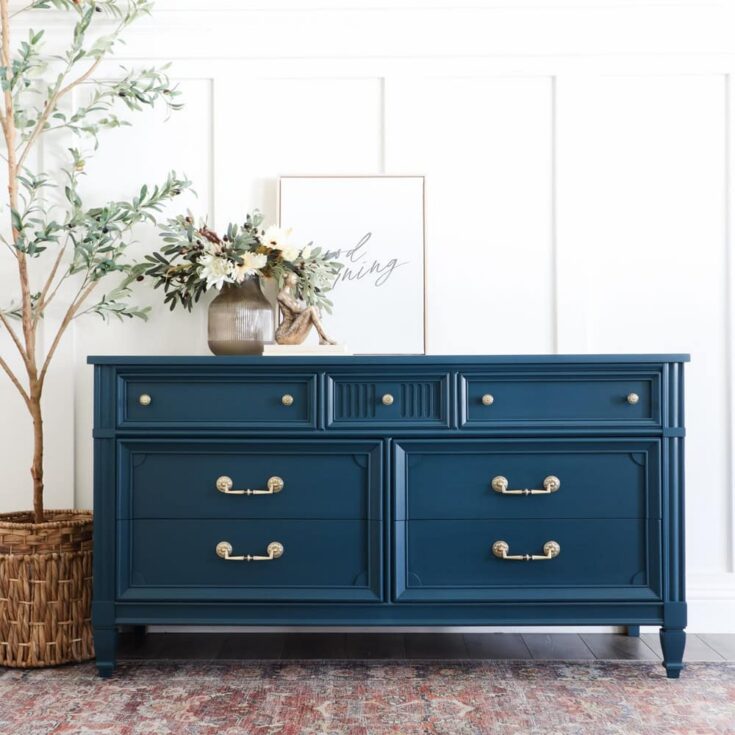
How to Paint a Dresser in One Day (Beginner Friendly DIY)
This beginner friendly DIY dresser makeover will show you how to paint a dresser in one day with Heirloom Traditions Paint in Mediterranean and get a smooth, long lasting finish.
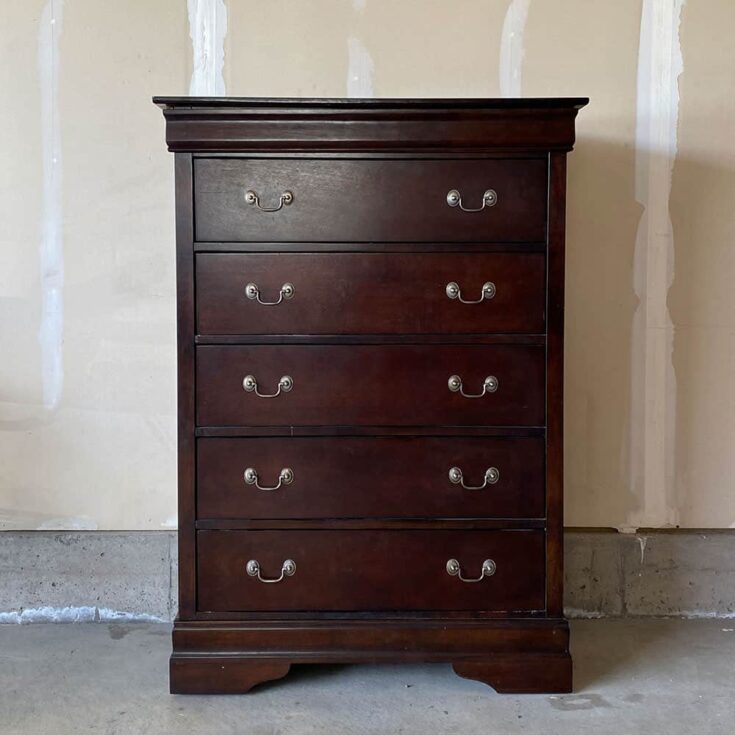
Painting Furniture Without Sanding or Priming
No sanding, priming, or topcoating needed! Check out this before and after dresser makeover with Heirloom Traditions Paint.

No Sanding Furniture Paint Hack
Learn this no sanding furniture paint hack so you can skip this messy, time consuming step without sacrificing results.
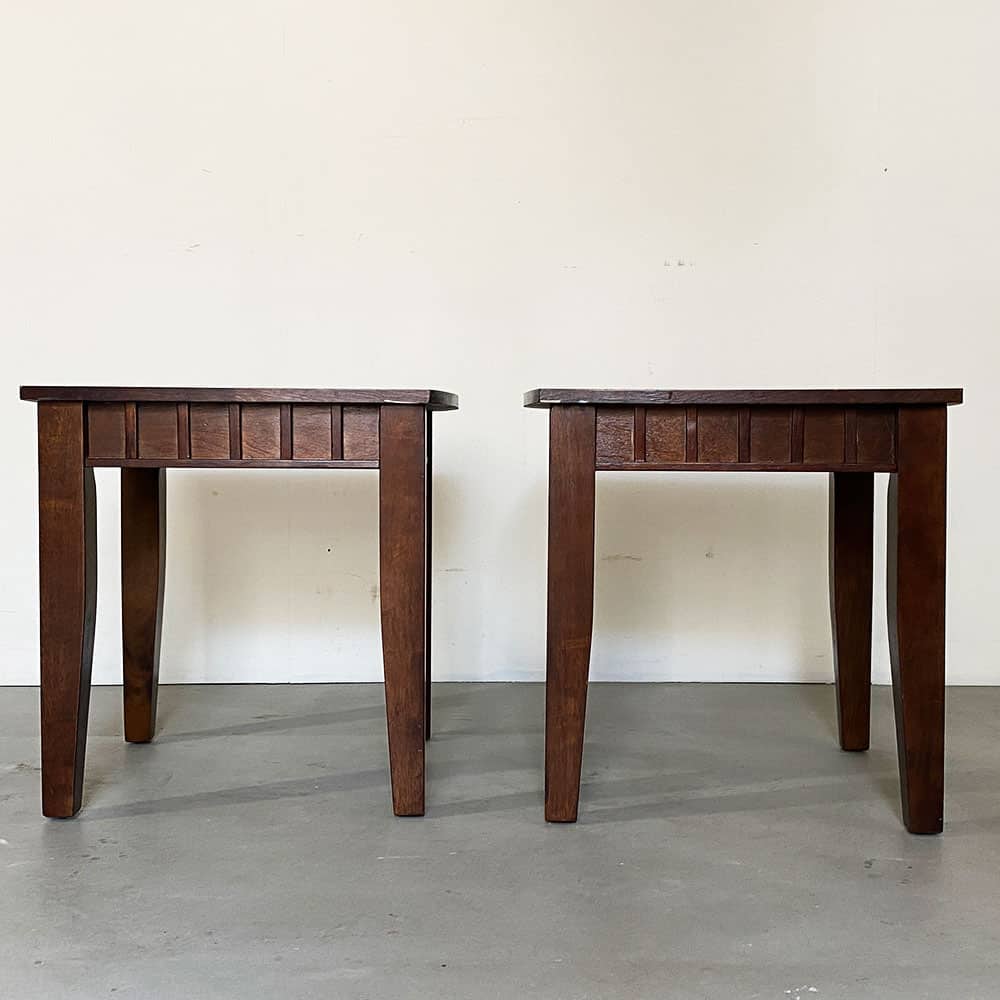
Painting Wood End Tables
Painting wood end tables couldn't be easier than painting them with Heirloom Traditions Paint. Check out how we modernized these end tables!
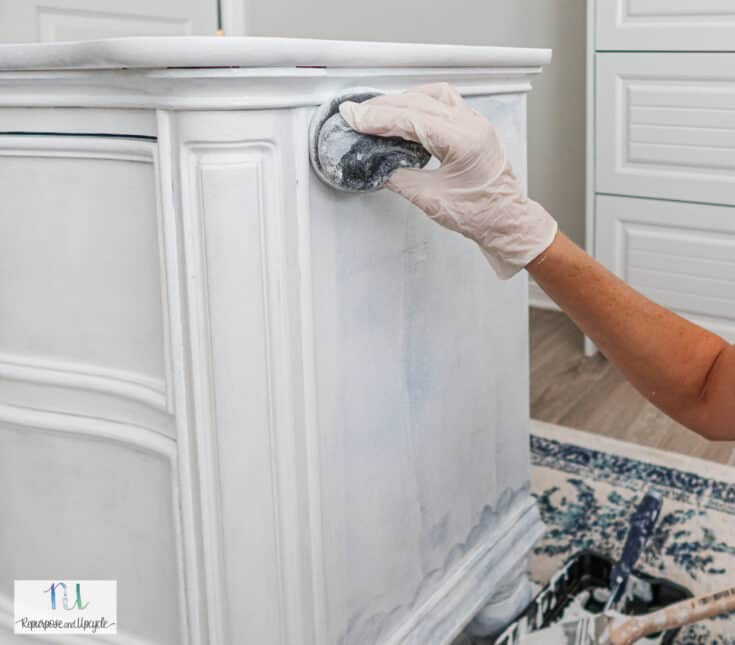
White Nightstand with Heirloom Traditions Paint
Lindsey from Repurpose and Upcycle walks through everything she has learned when using Heirloom Traditions Paint.
Painting Furniture Black
This cedar chest before and after is so good! The finish is perfect because the Heirloom Traditions Paint was sprayed with our Wagner Paint Sprayer. Click over to check out the after!
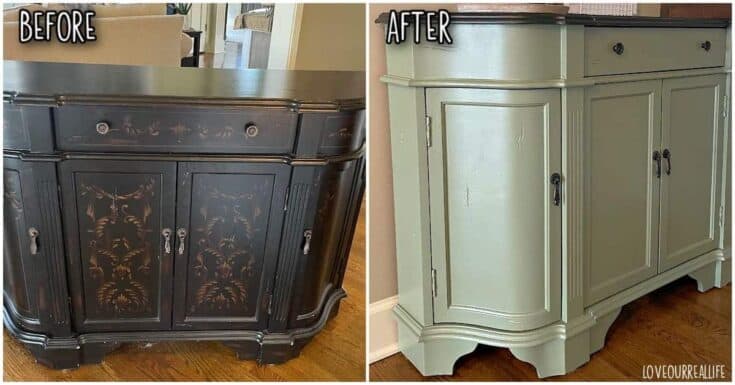
Green Painted Cabinet using Heirloom Traditions Paint
Listed as number 24 on April at Love Our Real Life's list of furniture ideas, this console table looks sooo good in Heirloom Traditions Paint!

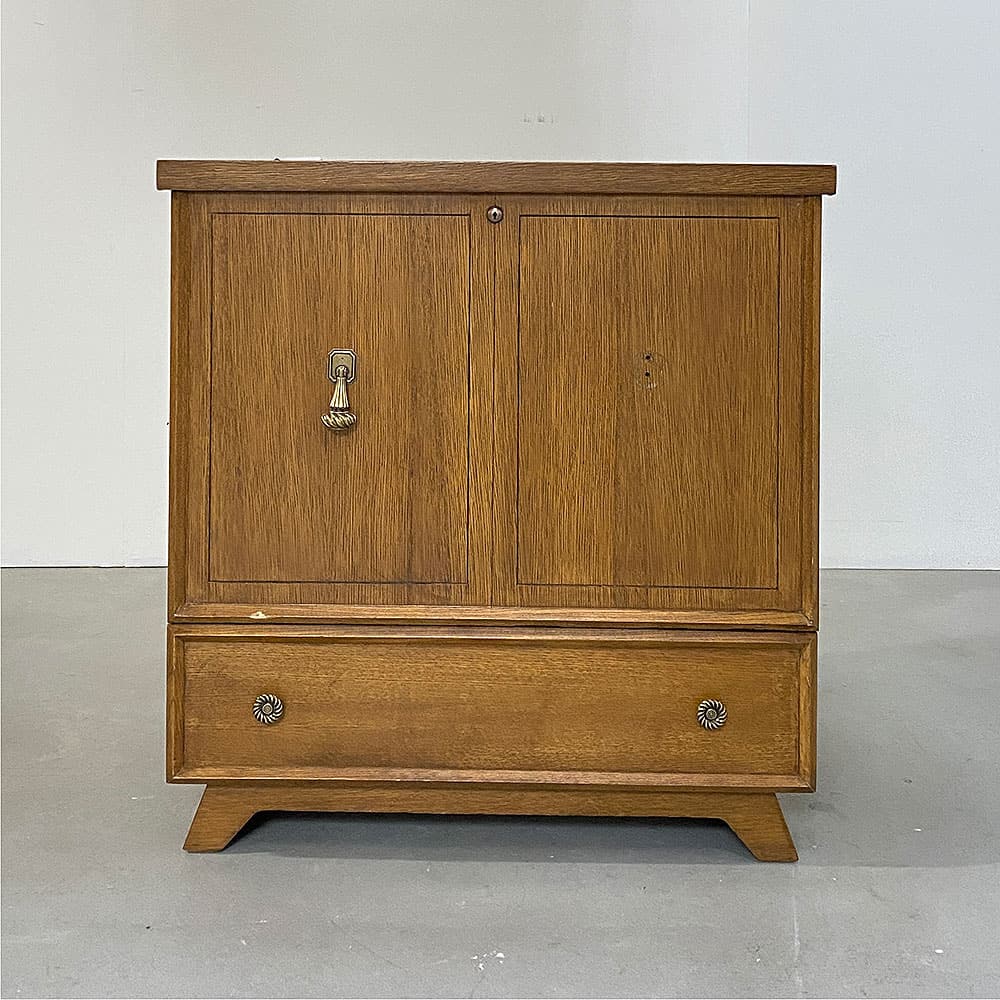
All in One Paint for Furniture - Homemade Cabinet Makeover
This white homemade cabinet got a makeover with Heirloom Traditions paint in Iron Gate and an extra surprise on the drawer! Click over to see the after!
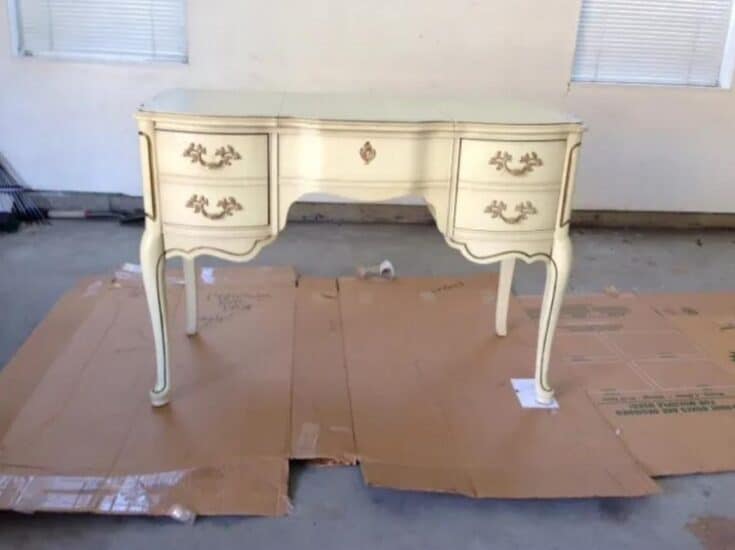
Bedroom Furniture Makeover with Heirloom Traditions Paint
Check out how to transform bedroom furniture with some white Heirloom Traditions Paint.
Heirloom Traditions All In One Paint Review
This piano bench was painted with Heirloom Traditions Paint, and it was eye opening! Check it out for our Heirloom Traditions All in One Paint Review!
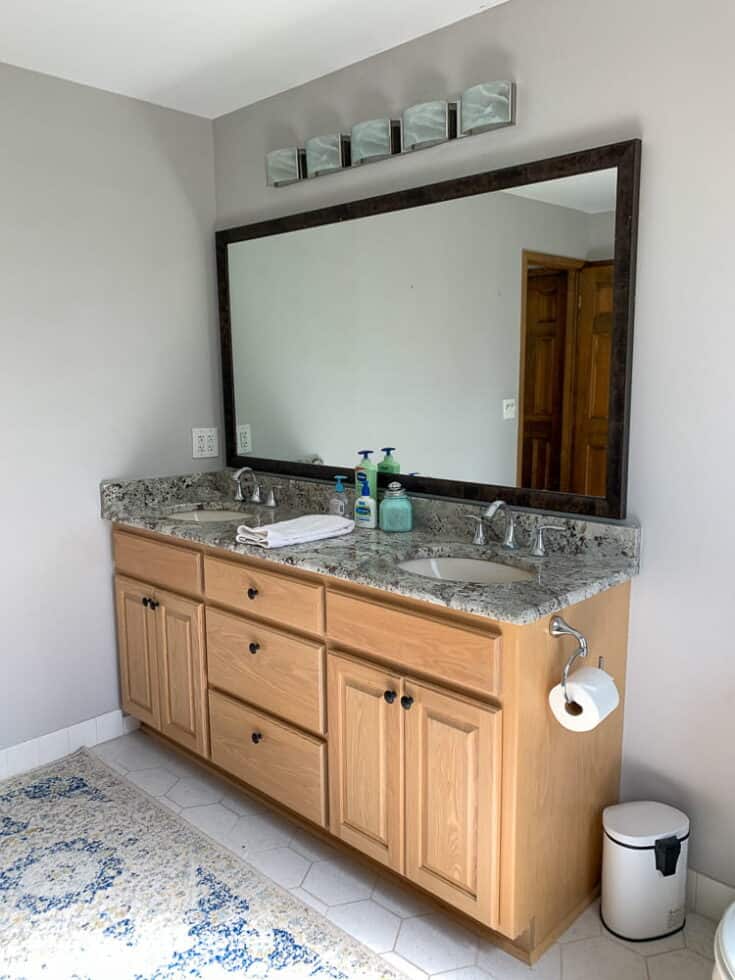
Modern Vintage Bathroom Makeover
Heirloom Traditions Paint isn't just for furniture, it's great for bathroom cabinets and kitchen cabinets too! Check out how Bre at Average but Inspired Transformed her bathroom!
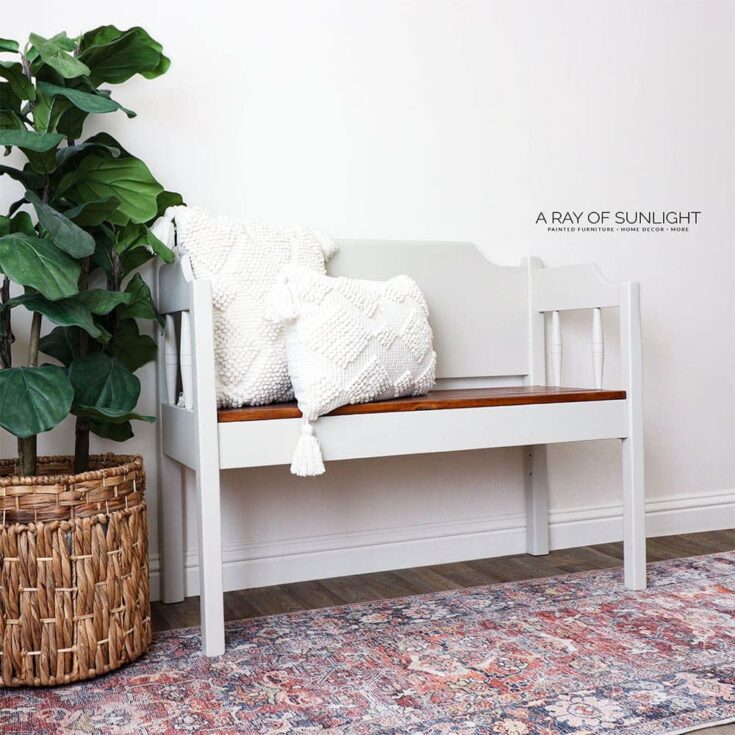
How to Paint a Wooden Bench
Learn how to paint outdoor furniture properly for a professional-looking and durable finish. Can you believe I built this bench out of a headboard and footboard and some pine wood?
I hope you enjoyed these Heirloom Traditions Paint before and afters! We’ll be adding more and more as we find and create them!
Does Heirloom Traditions Paint need to be sealed?
Heirloom Traditions Paint is one of the best all-in-one paints for furniture, and that means you don’t have to worry about sealing it after painting. You can skip the extra step of sealing painted furniture once you’re done painting. This makes it a great option for those who are new to painting or want a simpler process.
However, if you want to add an extra layer of protection or sheen to your furniture, you can still choose to seal Heirloom Traditions Paint. Some people prefer this for high traffic areas or for added shine. Check out these topcoats for painting furniture for your best options.
Would you like to save this?
So while sealing Heirloom Traditions Paint is not necessary, it’s still an option if you want to customize your finish. Just wait for the paint to fully dry before applying any topcoat. And let the topcoat dry and cure before using the furniture.


Overall, Heirloom Traditions Paint has great adhesion and durability even without sealing, making it a convenient choice for furniture painting projects. I would take advantage of that and make the most out of the all in one formula. Here’s my Heirloom Traditions All In One Paint review for my full thoughts on the paint.
More Painted Furniture Resources
- Black Painted Furniture
- Best Green Painted Furniture Ideas
- Blue Painted Furniture
- More Before and Afters on Heirloom Traditions Paint Instagram
- Beyond Paint vs Heirloom Traditions Paint

Follow us on YouTube to get more tips for painting furniture. Or share your project with us on our Facebook Group and be part of our community. See you there!