Repainting Furniture White


Thinking about repainting furniture white, but not sure where to start? For freshening up an old piece or matching your decor with a clean, crisp look, this process is easier than you might think.
From prep tips to these painting furniture ideas, we’ll help make repainting simple and fun for you! This makeover will leave your piece looking like new and your room feeling brighter. Keep reading to see the transformation!
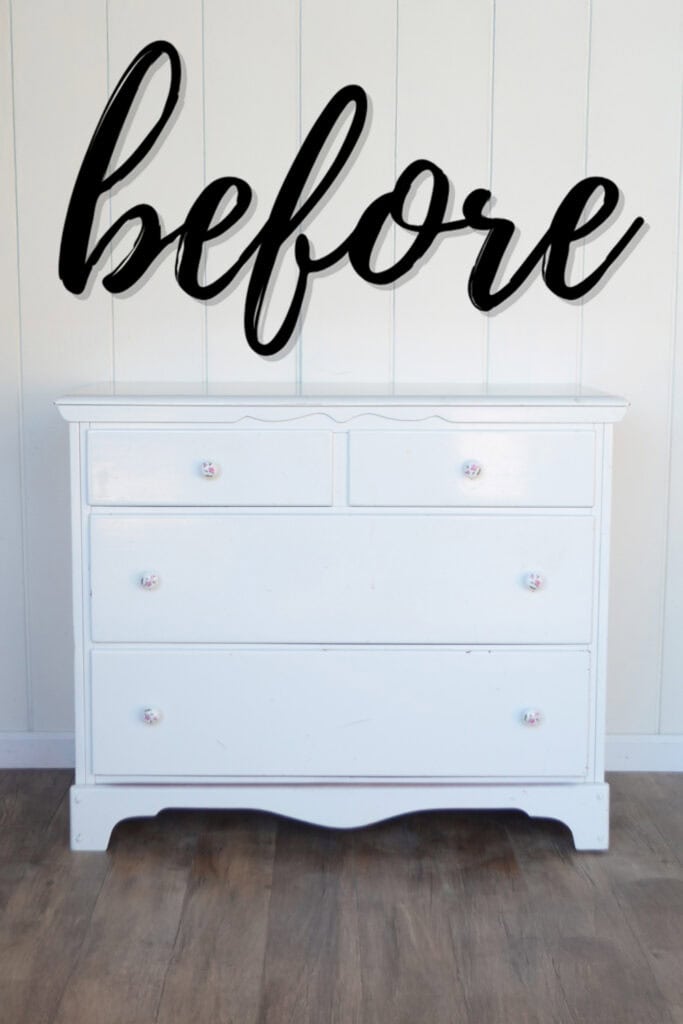
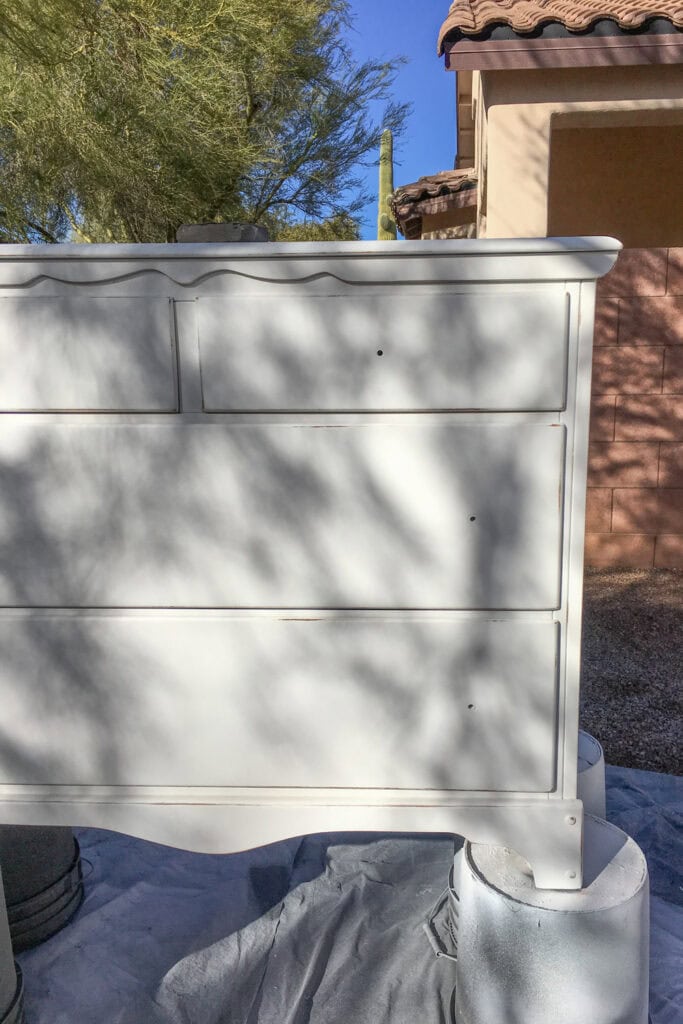
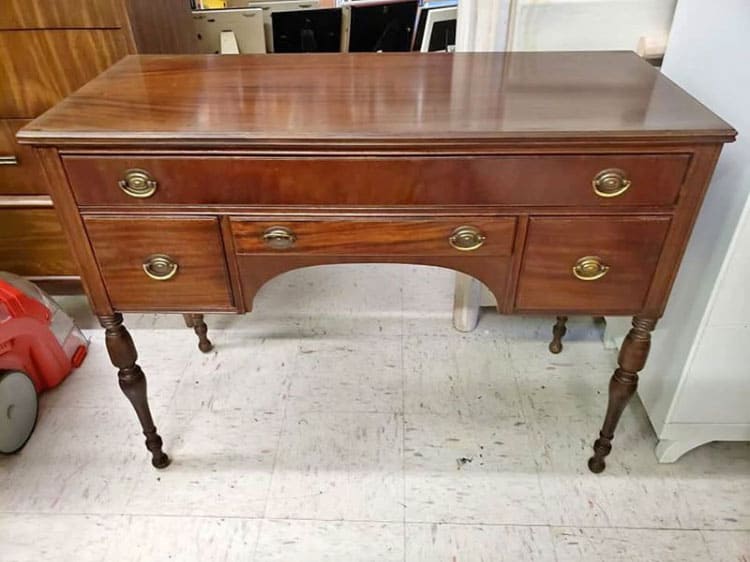
This one is a pretty simple makeover. We picked it up for a pretty cheap price, and someone had already painted it white like this. But if you look really closely, there were quite a few chips, dings, and scuffs.

I also didn’t want the same super glossy finish on it – I wanted a fresh, clean paint job. So, we’re repainting this piece to give it a more updated look! And we’re repainting it using white paint to create the same timeless look.
We’ll show you how we transformed this painted dresser, from prep to finish, in this tutorial. So if you have a similar piece that needs some love, follow along and let’s get started!

Supplies Used for Repainting Furniture White
As an Amazon Associate, I earn from qualifying purchases. I also may earn from other qualifying purchases with other companies or get free product to review and use. All opinions are my own.
- Krud Kutter
- Sandpaper
- Shop Vac With Hose
- Tack Cloth
- BIN Shellac Primer
- Behr Latex Paint
- Calcium Carbonate Powder
- Paint Filters
- Respirator
- Paint Sprayer
- Varathane Waterbased Polyurethane
- New Hardware
Clean and Sand Painted Dresser
We first cleaned it with Krud Kutter. We always clean to remove any grease, grime, and oils, as well as any stickers or gunk. It makes the finish look nicer in the end, but it also helps all of the paint and products adhere properly to the surface. For more on this step, here’s how to clean furniture before painting.
This dresser was already painted, most likely with oil based paint because of how glossy it looks. Honestly, the old finish was holding on pretty well – it’s not that weird for it to be chipping just a little bit. So we didn’t have to remove all of the paint.
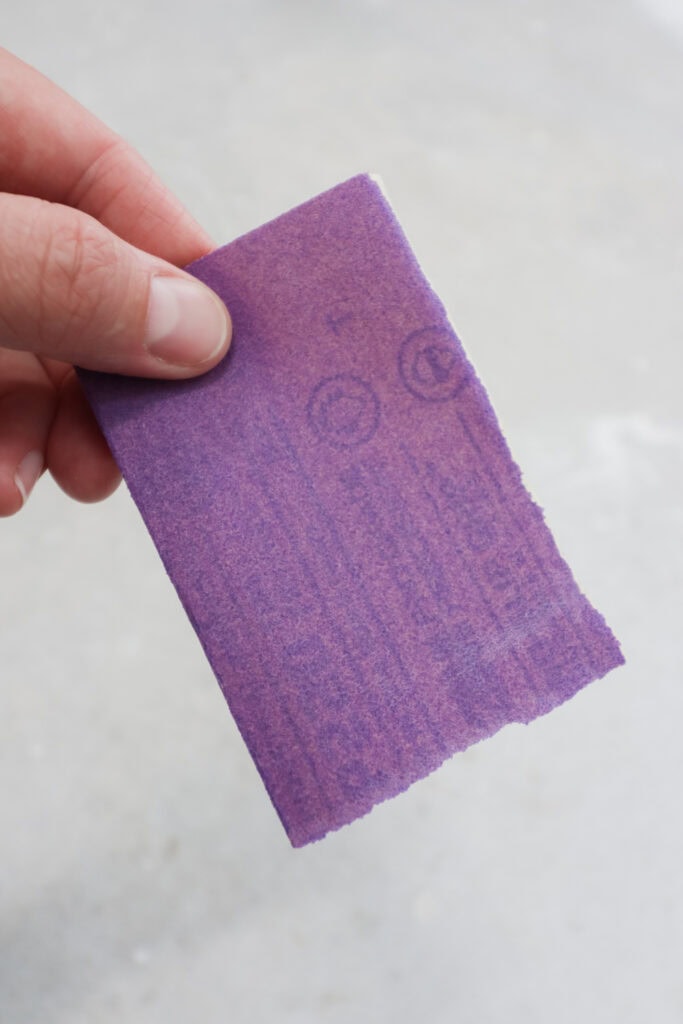
We just needed to scuff sand it to help the new paint adhere. So we scuff sanded the piece with fine grit sandpaper, and after, we removed the dust because obviously, we don’t want it to be on the surface when we paint.
I like to remove dust by vacuuming it up with a shop vac with a hose and then wiping everything down with a tack cloth. The tack cloth picks up the dust really nicely, so there’s no dust left behind. Get more tips on how to clean wood after sanding here.
If the paint is not in good condition, you might want to remove it instead. Learn how to remove paint from wood furniture in this guide.
Prime Before Repainting
Then, it is best, especially if you’re repainting furniture, to apply a primer to the surface to help the paint stick. Especially if it’s a glossy surface, yes, scuff sanding does help with adhesion, but adding a primer on top of that can help the paint stick even better.
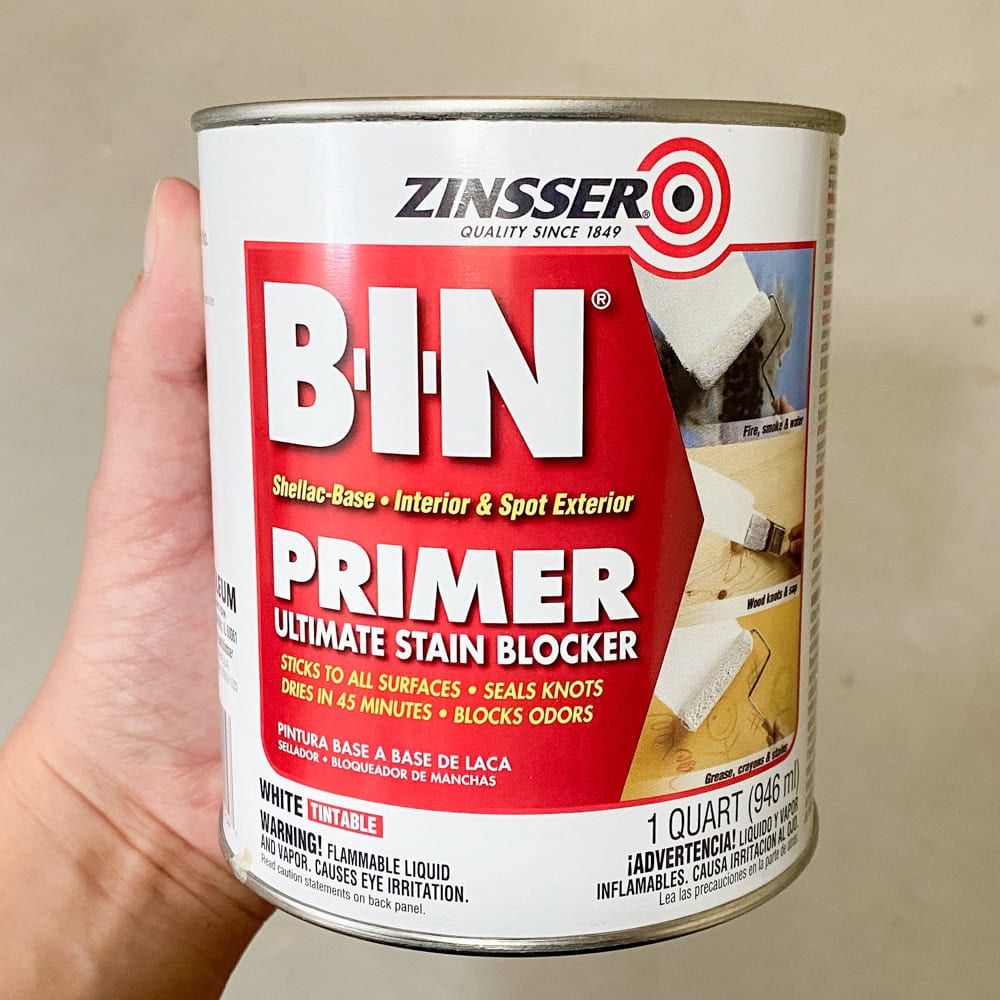
For something like this, I recommend BIN Shellac primer. It’s white tinted, so it will also block potential issues like bleedthrough. Here’s more on how to stop stains from coming through paint. You can roll it on or spray it on with the spray can, but don’t put it into a paint sprayer.
I primed with two coats of primer. Learn more about priming wood for painting in this post, plus the pros and cons of different primers, including BIN Shellac.
Repainting Dresser White
For repainting, I mixed Behr latex paint in the color pure white and calcium carbonate powder to make my homemade chalk paint recipe. You can also check out more best chalk paint recipes here for alternative ingredients.
Would you like to save this?
All of this paint was sprayed on with one of these best paint sprayers for beginners. The Vonforn is such a great beginner friendly sprayer, and it comes with everything you need to get started for spraying.
Plus, the paint looks fantastic and professional. Learn all about how to use Vonforn paint sprayer here, and read more about my thoughts and experience with it in my Vonforn paint sprayer review here.
Then I lightly distressed the edges. Yes, I know, the paint was chipping on the one before, but this looks more intentional than just the chips everywhere. You can definitely skip this option if you don’t like this style!
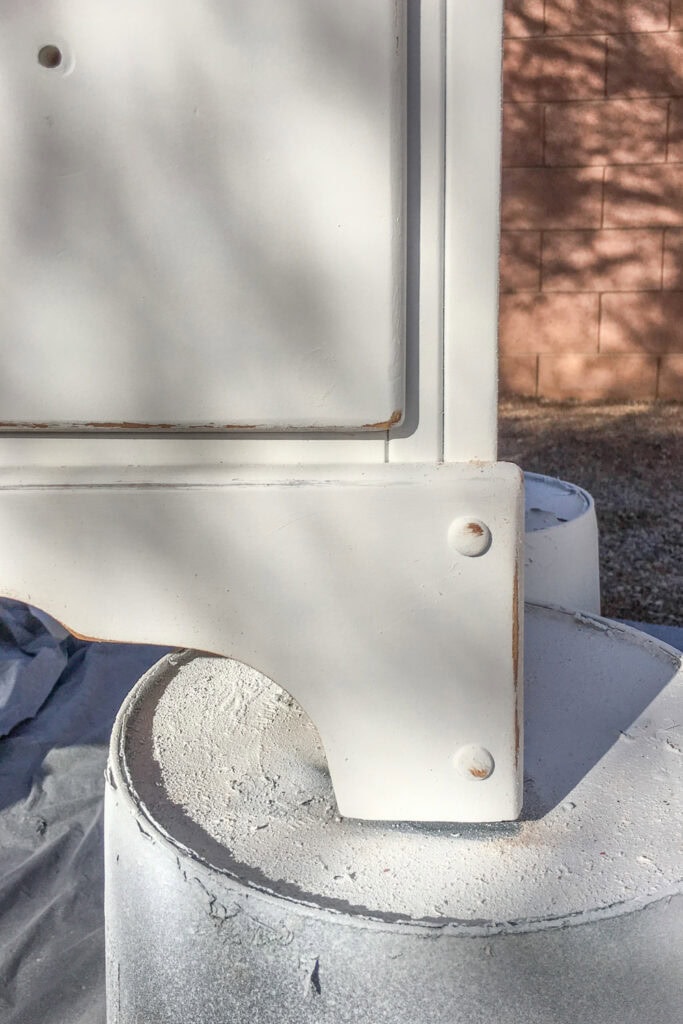
However, if you do, head on over to our blog posts on how to distress chalk paint and how to distress furniture with sandpaper. After distressing, we cleaned up the dust again.

Add Topcoat to Chalk Paint
Since we used chalk paint, it needs a topcoat. We like to topcoat with Varathane waterbased polyurethane, and we applied three coats of it to this piece. I have a more detailed guide on how to seal chalk paint here.
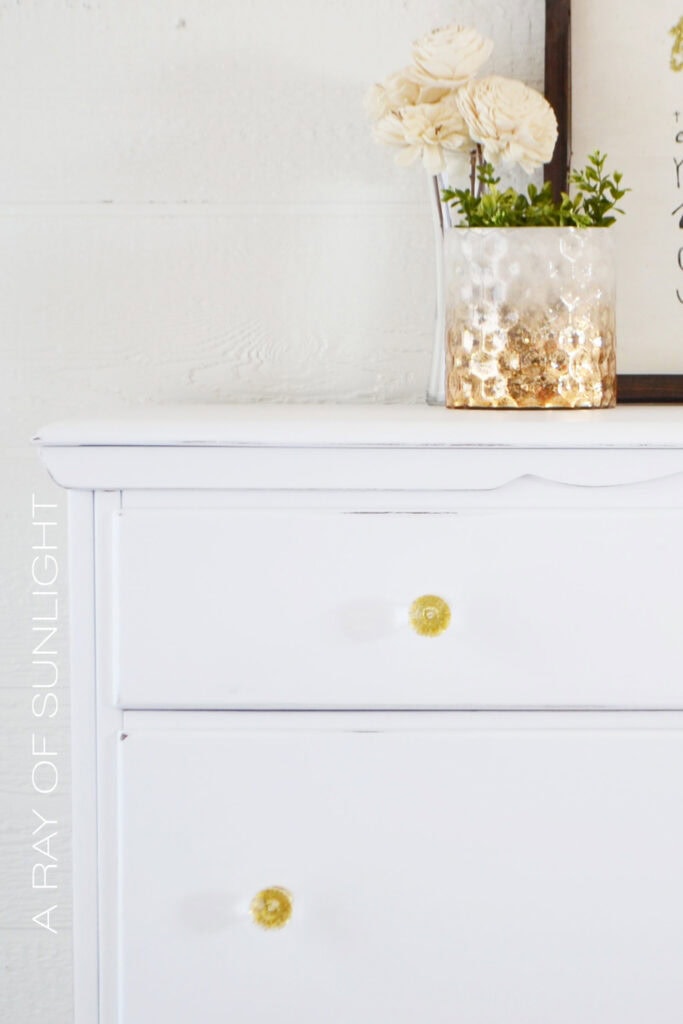
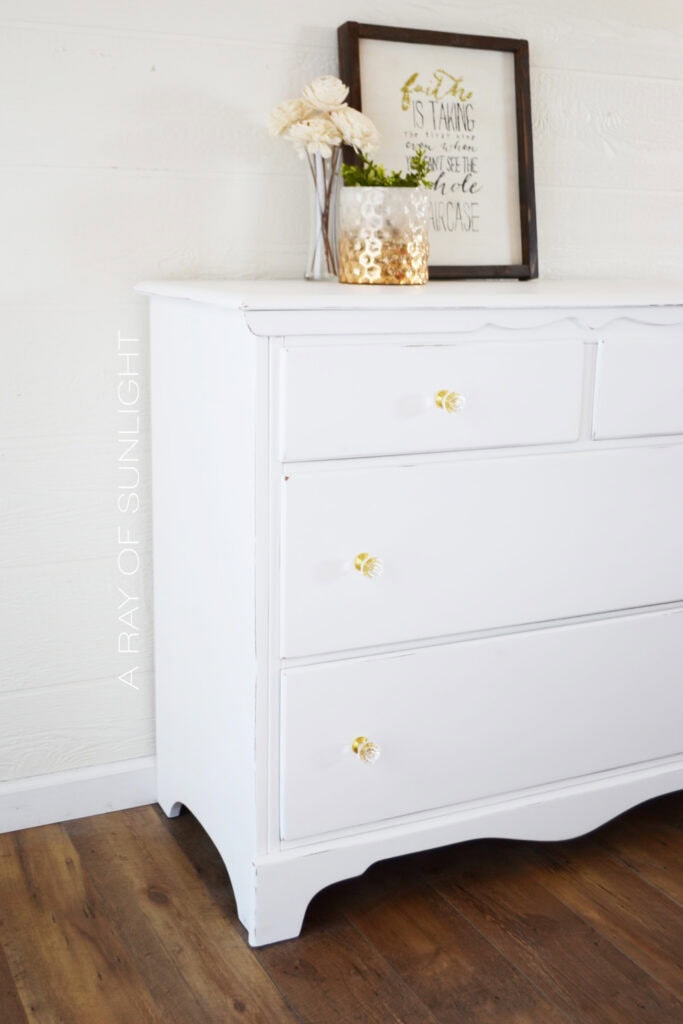
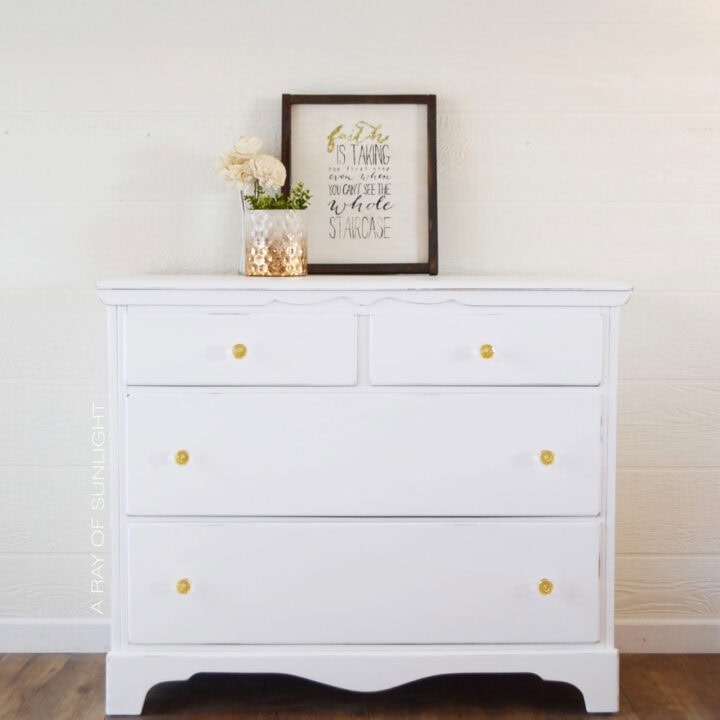
And then we replaced the old hardware with some fresh new gold and clear knobs. Learn more about how to change hardware on a dresser in this post. If you want to use the same ones, here’s how to clean old furniture hardware. And here’s what it looks like now!
And that’s how to repaint furniture white! Make sure to check the existing paint or finish before starting the process, and sand or even remove it completely if necessary. And remember, always use a topcoat afterwards to protect your hard work.

More Before and After Makeovers
See All >
Click any of these “before” photos below to view the “after” of that makeover.


Repainting furniture doesn’t have to be limited to just white. You can use this same process to give your piece any color or finish you want! Check out more repainting dresser ideas here for inspiration.

Repainting Furniture White
Materials
Instructions
- Start by cleaning the surface with Krud Kutter to remove grease, grime, and gunk. A clean surface helps for better adhesion and a smoother finish.
- If the existing paint is in good condition with some chips, use sandpaper to lightly scuff the surface. Vacuum up the sanding dust using a shop vac with a hose, then wipe the surface with a tack cloth.
- Use BIN Shellac primer to help your paint stick and block potential issues like bleedthrough. Apply two coats.
- Create your chalk paint by mixing latex paint with calcium carbonate powder. Apply it with a beginner friendly sprayer, like the VonForn, for a smooth, professional finish.
- Lightly distress the edges using sandpaper for an intentional, worn look if you like that style. Skip this step if you prefer a clean, modern finish.
- Seal the chalk paint with three coats of Varathane waterbased polyurethane. This protects the paint and helps it become durable for a long time.
- Swap out the old hardware with fresh new ones to complete the updated look!
Recommended Products
As an Amazon Associate and member of other affiliate programs, I earn from qualifying purchases.


More Painting Furniture Tips
- How To Tape Off Drawers For Painting With A Paint Sprayer
- Painting Oak Furniture White
- Can You Really Skip Sanding? Let’s Test It.
- How To Scrape Paint Off Wood
- 3 Painting Furniture Hacks You’ll Wish You Knew Sooner
Learn the Art of Updating Furniture!
If painting furniture feels overwhelming or your past attempts didn’t go as planned, this course will guide you step by step.

Follow us on YouTube to get more tips for painting furniture. Or share your project with us on our Facebook Group and be part of our community. See you there!