Can You Really Skip Sanding? Let’s Test It.

Sanding furniture might be the least glamorous part of any DIY project. It’s dusty, tedious, and often makes you question if the effort is even worth it. But here’s the big question: can you really skip sanding? Let’s test it!
So if you’ve got a furniture makeover in mind but dread the prep work, let’s see how you can create these painting furniture ideas without sanding and priming, but still get beautiful and long lasting results.

One of the biggest reasons people don’t start painting furniture is this idea that it’s a ton of work. You have to sand, you have to prime, and it’s going to take forever. And that is true with some products.

After 10 years of messing up and trying everything under the sun and making more mistakes, I have learned that it matters more what products you use than spending lots of time on prepping your furniture.
And when you’ve got a piece that has a lot of grooves and details, sanding every nook and cranny is a nightmare. I mean, I love painting furniture, but I don’t love having to sand and prime and sand and do all of the things on all of these nooks and crannies.
They say you have to sand and prime before painting furniture, but I skipped both. Keep reading, and let’s see what happened!
Testing No Sanding Furniture Paint
So, let’s test some paint that claims to stick to anything. All you have to do is clean your furniture before you paint it. I tested it on this ornate cabinet. I bought it for $30 from the thrift store. And guess what? It looks like it’s real wood, but it’s more plastic, MDF, and particle board with a teeny tiny bit of real wood.
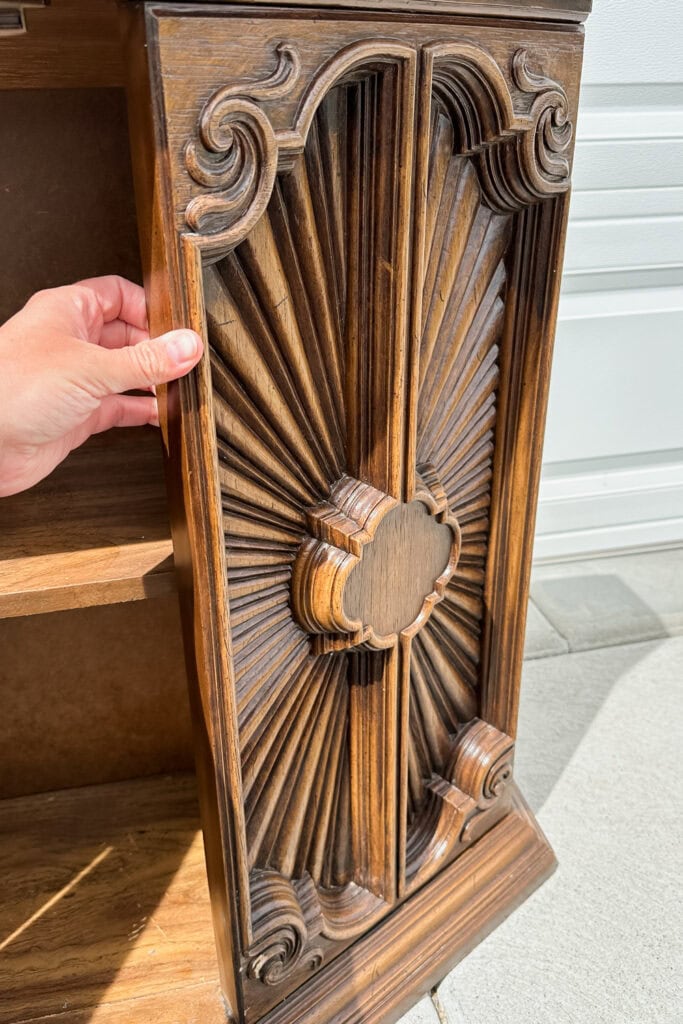
So, this is the perfect piece to test if this paint can actually stick because we have every material under the sun right here on this piece of furniture. Plus, it is full of grooves and details that nobody wants to sand.
As an Amazon Associate, I earn from qualifying purchases. I also may earn from other qualifying purchases with other companies or get free product to review and use. All opinions are my own.
Cleaning Before Painting Furniture
All we did before painting was clean the piece. Now, this paint company has their own surface prep cleaner, and it works great, but I personally use Krud Kutter all of the time, and I have not noticed the difference between it and their specific cleaner.

I cleaned the whole piece with Krud Kutter. It’s my favorite cleaner because it cuts through all of the gross stuff, through the grime and the oils, and it gets the surface ready for paint. All we do is spray everything with it and then use a damp rag to wipe everything off.
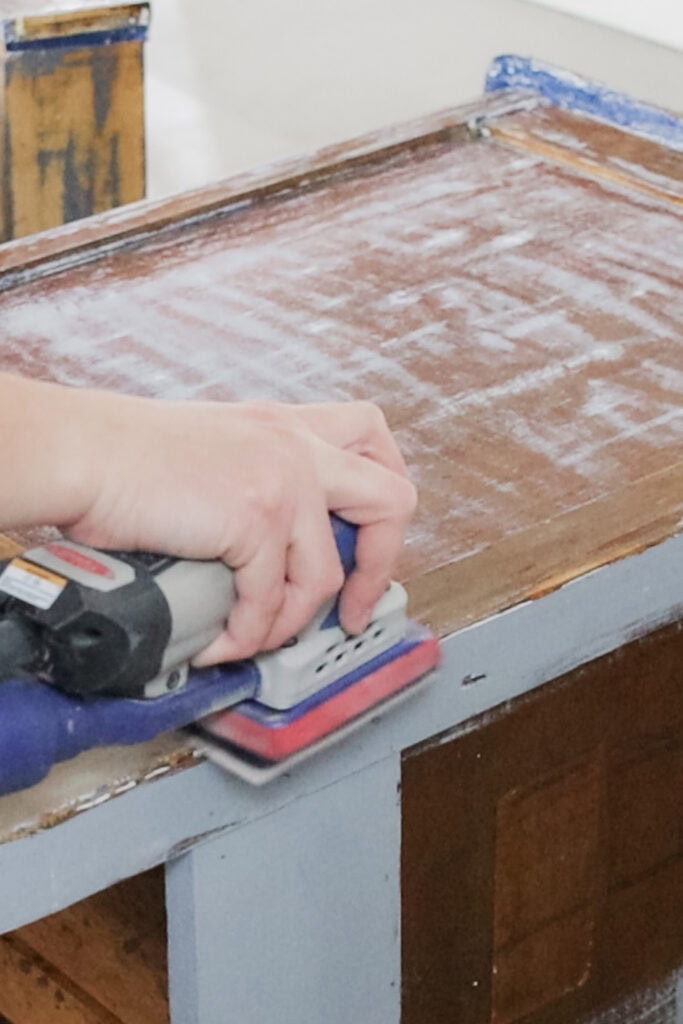
Now, I wanted to test and see if it’s any better to use a primer or not. So, I sprayed one area, this door, with clear shellac, and then the other spot, I had just cleaned it, and that’s all that I did. No sanding at all. Everything that I did was super quick and easy.
Painting Laminate Furniture with Heirloom Traditions Paint
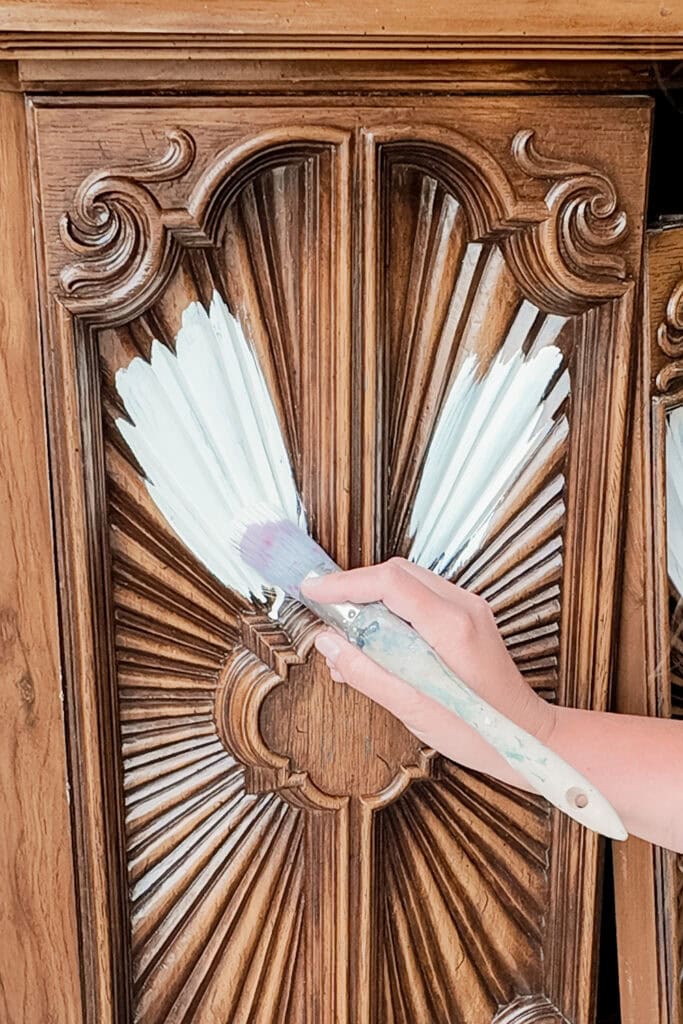
Then, I brushed on Heirloom Traditions paint in the color Bone. The brand claims that all you need to do is use their deglosser, which we did not, since we used Krud Kutter, which is pretty similar. And then you don’t have to sand or prime. You just brush it on or roll it on and then you’re good to go.
So, I brushed a test spot on the door. And then I started brushing on another section, and I thought, “Oh, there is a chance that the clear shellac could have gotten onto this spot.” So I moved over and did another test spot further away, where no shellac should have gotten onto that spot.
Then I let the paint cure for two full days. The paint itself dries to the touch in about an hour, but it takes about 30 days for it to fully cure. I have found that when I have been testing out other paints, it’s about 24 to 48 hours after I apply the paint that I can tell if it’s going to scratch off or not, and get a really good gauge as to what’s going to happen in 30 days.
So, if after 48 hours the paint is not scratching off, that tells me that 30 days later, it’s still not going to scratch off because by then, it’ll have cured even harder and stronger than after just 2 days.

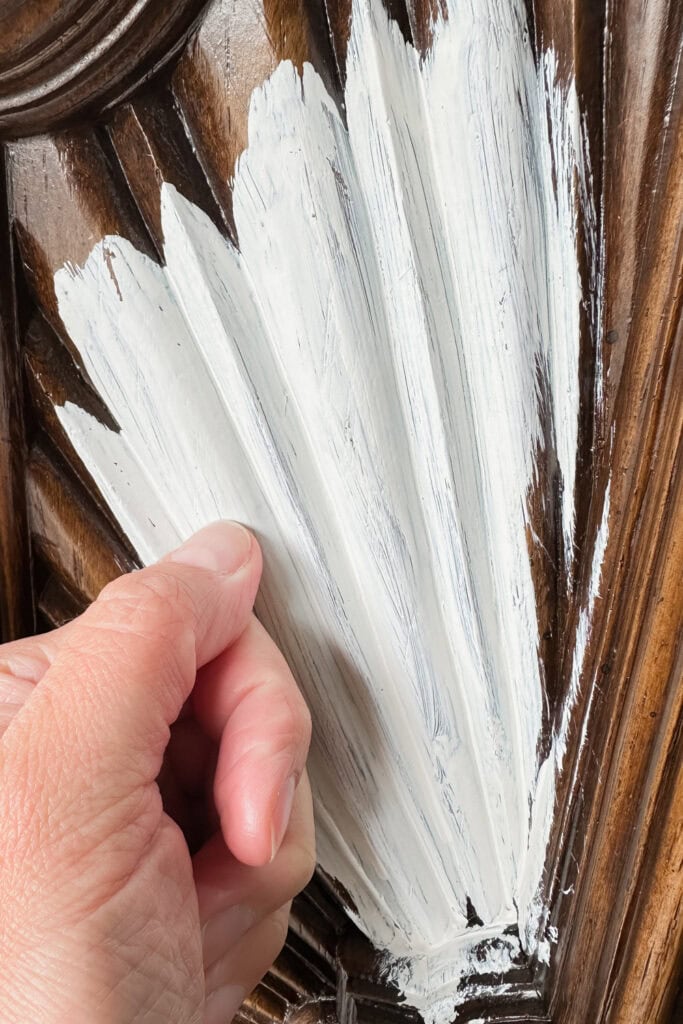
Does Heirloom Traditions Paint Scratch off Laminate Furniture?
So, 48 hours after painting it on, it was time for the scratch test. And honestly, they both held up really well. The paint adhered even without primer and without using their recommended deglosser. I scratched and scratched with my fingernail. And honestly, if the paint’sn’t coming off right now, it won’t come off later.
Would you like to save this?
Now, I want to mention that this does not mean the paint will never come off. Even if you prep, you sand, you prime, you do all of the things, you use the very best paint possible, your paint can still get scratched, dinged, and chipped off if it is impacted hard enough.
Our goal here is to make sure that it isn’t going to scratch off with just regular wear and tear. It should not scratch off if you just rub your finger along it. It shouldn’t scratch off if you slide something very carefully across the top.
Now, if you don’t use the proper paint or use the proper steps for that paint, you will get scratches in your paint just from normal everyday use.
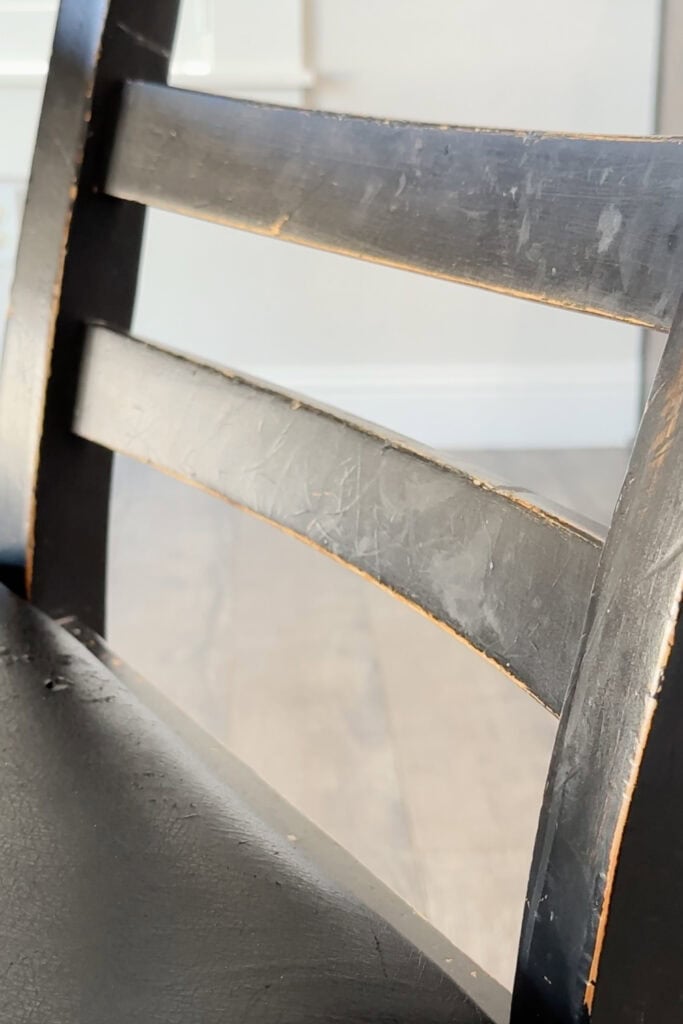
For example, I have some kitchen chairs that I painted about 10 years ago. At that point, I did nothing to really prep them. I think I might have cleaned them, and then I just went in with the paint.
I used my homemade chalk paint recipe. And yes, I did topcoat them with probably two coats. Chalk paint needs more prep than just cleaning and slapping the paint on. Still to this day, if I go and scratch at the chairs, the paint will scratch off, and they look terrible.
So, this test right here shows me that this paint is going to be durable enough to withstand everyday wear and tear. This also just goes to show the importance of choosing your paint. If you want to skip your prep step, you have to choose the right one. Learn more about this no prep furniture paint in my Heirloom Traditions All In One Paint review.
Watch our YouTube video below for more details on this test on skipping sanding!
Inside my course, How to Paint Furniture Like a Boss, I walk you through the exact process I use. From cleaning, choosing the right products for your project, avoiding these common fails so your paint jobs actually last.
This is one of those paints that I talk about in the course, but there are also other products that I use and love. And there are some downsides to this paint, and I also talk about all of that, so you don’t have to make the same mistakes that I have made.
Learn the Art of Updating Furniture!
If painting furniture feels overwhelming or your past attempts didn’t go as planned, this course will guide you step by step.

So yeah, this paint actually stuck, unlike other paints out there. Yeah, I’m talking about chalk paint. I love chalk paint, but you have to take proper steps to make it as durable as you need it to be for everyday use. Learn the basics of how to chalk paint furniture here.
Is Sanding Furniture Before Painting important?
Now, sanding might feel like an extra step, but if you want your paint to really stick like a pro, you should do it. It helps create a slightly rough surface, giving the paint something to grab onto. This is especially important for glossy finishes, where paint would otherwise struggle to adhere.
It’s also about creating a smooth, even surface before you start painting. It removes imperfections, such as scratches, dents, or old layers of paint that could ruin your final look. Think of sanding as setting up the piece for a flawless finish that’s built to last.
Here’s sanding before painting furniture to learn more about why it’s necessary. If you’re unsure of how to do it, check out my guide for sanding furniture for beginners here!
So, yes, you can skip sanding and even priming, if you’ve got the right products and follow some easy prep steps! With the tips and methods shared here, you’re all set to tackle your next DIY project without the hassle of sanding.
More Painting Furniture Resources
- Will Chalk Paint Stick To Laminate
- Best Type Of Furniture Paint For Beginners
- How To Highlight Furniture Details With Paint
Follow us on YouTube to get more tips for painting furniture. Or share your project with us on our Facebook Group and be part of our community. See you there!