Gel Stain Over White Paint


Refinishing with gel stain over white paint is a great option if you don’t want to remove an existing painted finish. It’s one of the refinishing furniture techniques that can help you create a faux stained wood effect in just one coat!
It’s super easy, even if you’re new to DIY projects! So, if you’ve got a white piece you’d like to refresh, keep reading to learn how to transform it with gel stain.
Gel stain is a thick coating that is applied to the surface of the wood and doesn’t need to soak into the finish like a regular wood stain does. It gives the wood a stained look and is great for refreshing old stained furniture or covering up blemishes.

White paint gives furniture and decor a fresh, clean look. It can make an old piece feel bright and new again, and it works with any style or color scheme, no matter if it’s modern, farmhouse, or anything in between.
So why would someone want to put gel stain over white paint? Well, it’s an easy and affordable way to give it the look of stained wood without the hassle of stripping off the old paint. Now, let’s dive into the steps to create this beautiful finish!
Supplies for Applying Gel Stain Over White Paint
As an Amazon Associate, I earn from qualifying purchases. I also may earn from other qualifying purchases with other companies or get free product to review and use. All opinions are my own.
- Matte White Paint
- Krud Kutter
- 220 Grit Sandpaper
- BIN Shellac Based Primer
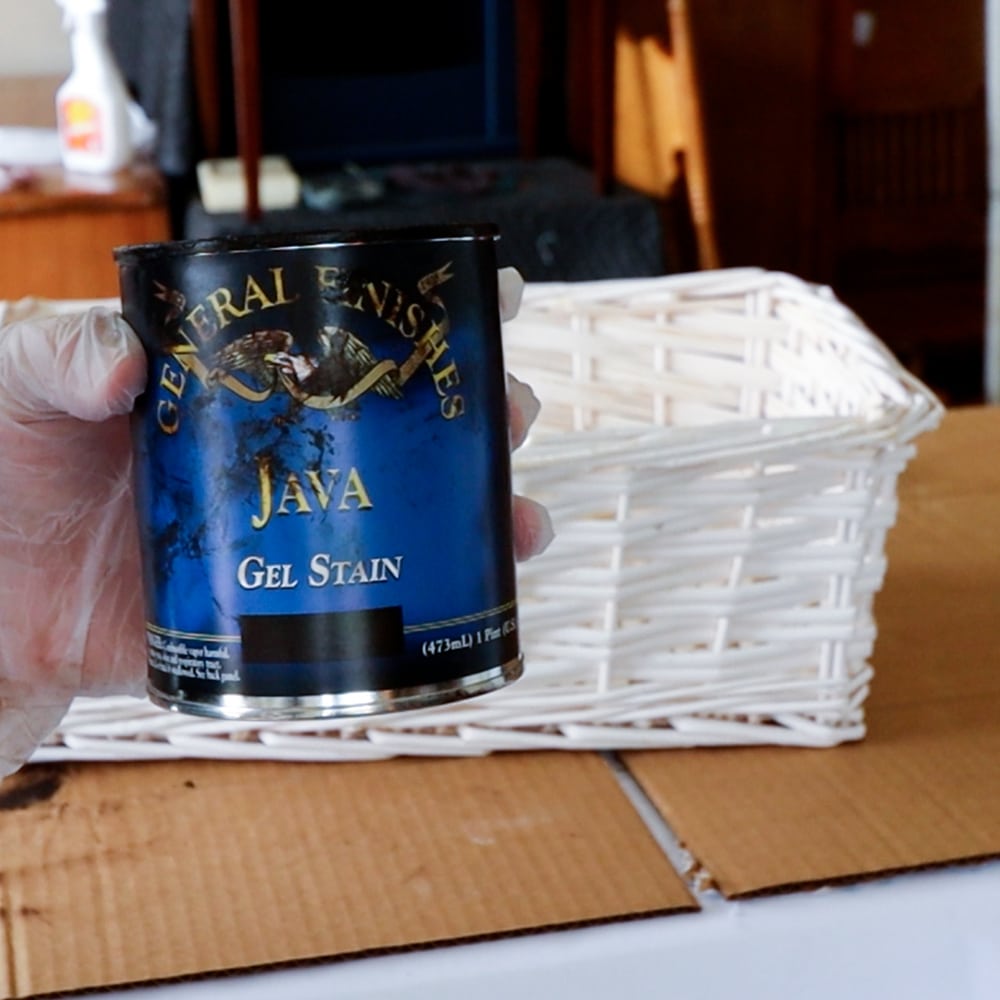
- Gel Stain
- Chip Brush
- Lint Free Rags
- Respirator
- Oil Based Polyurethane
Painting Furniture White
First, you need a white painted surface. Paint like chalk paint is very absorbent and will give you better results with this technique than glossy coating.
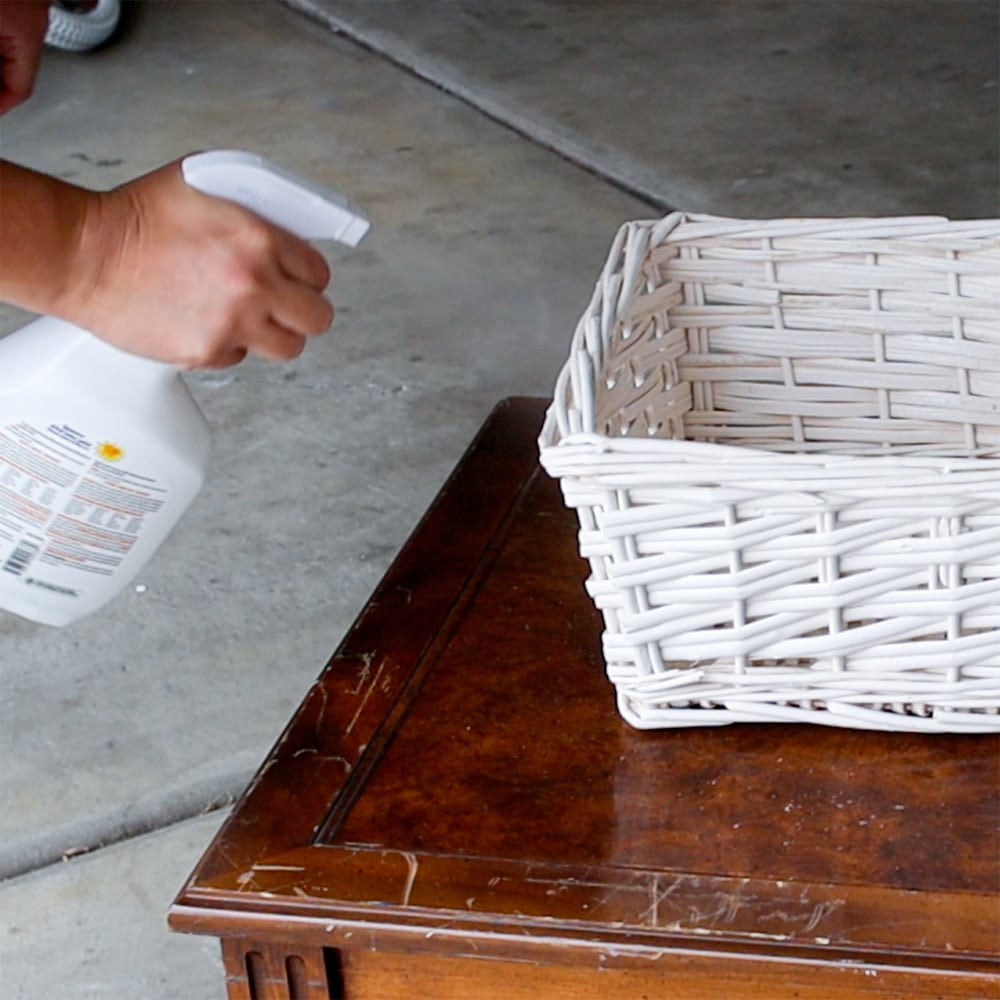
Make sure the surface is clean. Spray some Krud Kutter on it and then wipe it all down with a damp cloth to remove any grease, dirt, or grime.
If you are new to DIY projects and don’t know how to do this step, you can check out our blog post on how to clean furniture before painting.
For best results, lightly sand the surface with 220 grit sandpaper to help your coating stick. Lightly rub some sandpaper over all of the surface, even if you use chalk paint! I promise, it doesn’t stick as well as you might have heard that it does. (Speaking of, learn about the 5 chalk paint problems and how to fix them here.)
Here’s how to sand before painting furniture and how to sand wood by hand here for more tips.
For very slick surfaces, use a primer like BIN shellac based primer to help with adhesion. Here is our list of the best primers for painting furniture for other options you can use for your project.


Then, you can brush, roll, or spray the new color on. Here is our list of the best brushes for painting furniture, the best rollers for painting furniture, and the best HVLP paint sprayers for furniture.
Here is a whole post on how to chalk paint furniture white that will take you step by step through the process. I’ve also listed the best white paint for furniture here for more options.
Make sure your new finish dries completely and for at least 24 hours before moving on to the next step. If your surface is already white, make sure you at least clean it off before gel staining.
Applying Gel Stain Over White Paint
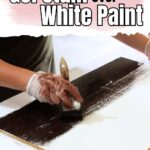
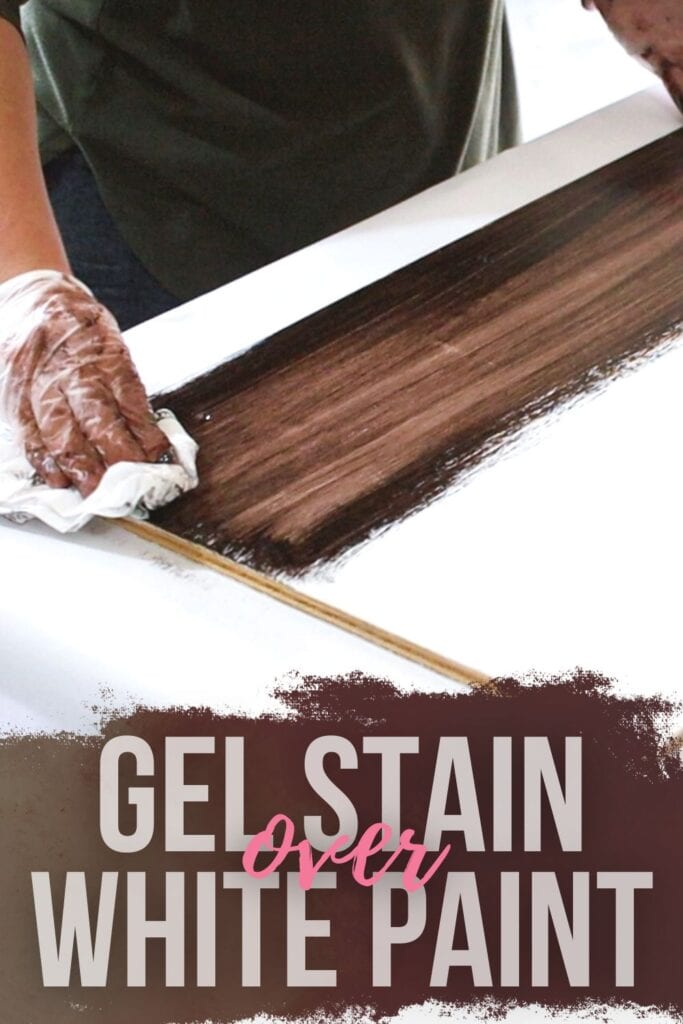
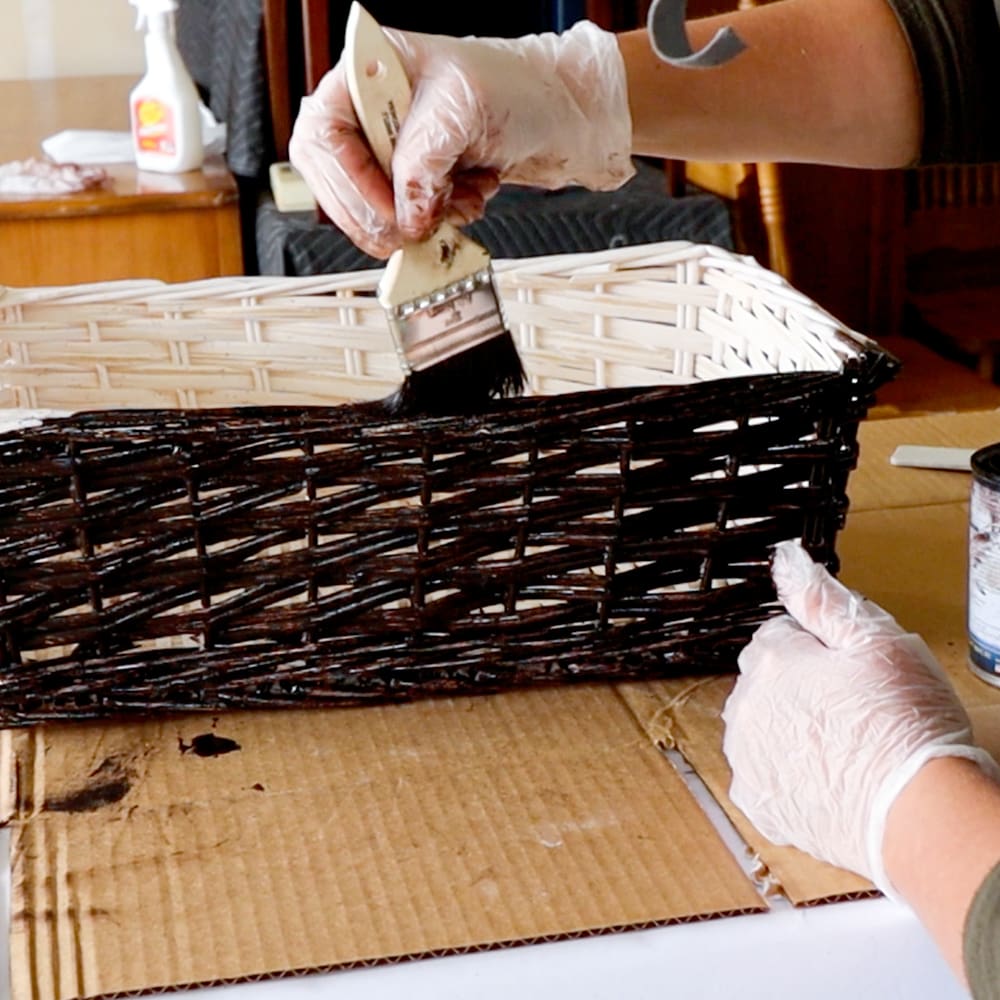
Using a cheap chip brush or a lint free rag, apply it to the surface. Brush in long strokes that all go the same direction to mimic the look of real wood grain.
Would you like to save this?
Here’s our list of the best brushes for staining wood to know the different types available so you can find one that fits your needs perfectly.
Then, use a lint free rag to wipe off the excess. The longer you let it sit on the finish without wiping it off, the darker the final color will be. Learn more about how to stain wood with a rag here.
Use a dark shade to make the finish darker, and use a lighter one to make a lighter finish. This is what a dark one like Java gel stain looks like over white, with the excess wiped away after only a few seconds. For a more detailed guide, check out our can you stain over paint blog post.

To make the finish darker, leave the gel stain on and don’t remove the excess. Beware, though, if you brush on too thick of a coat, it may never completely dry to a hard durable finish.
To prevent this from happening, you can instead use a brown color like Chocolate from General Finishes as the base. Check out my General Finishes Milk Paint review here for more about this product.
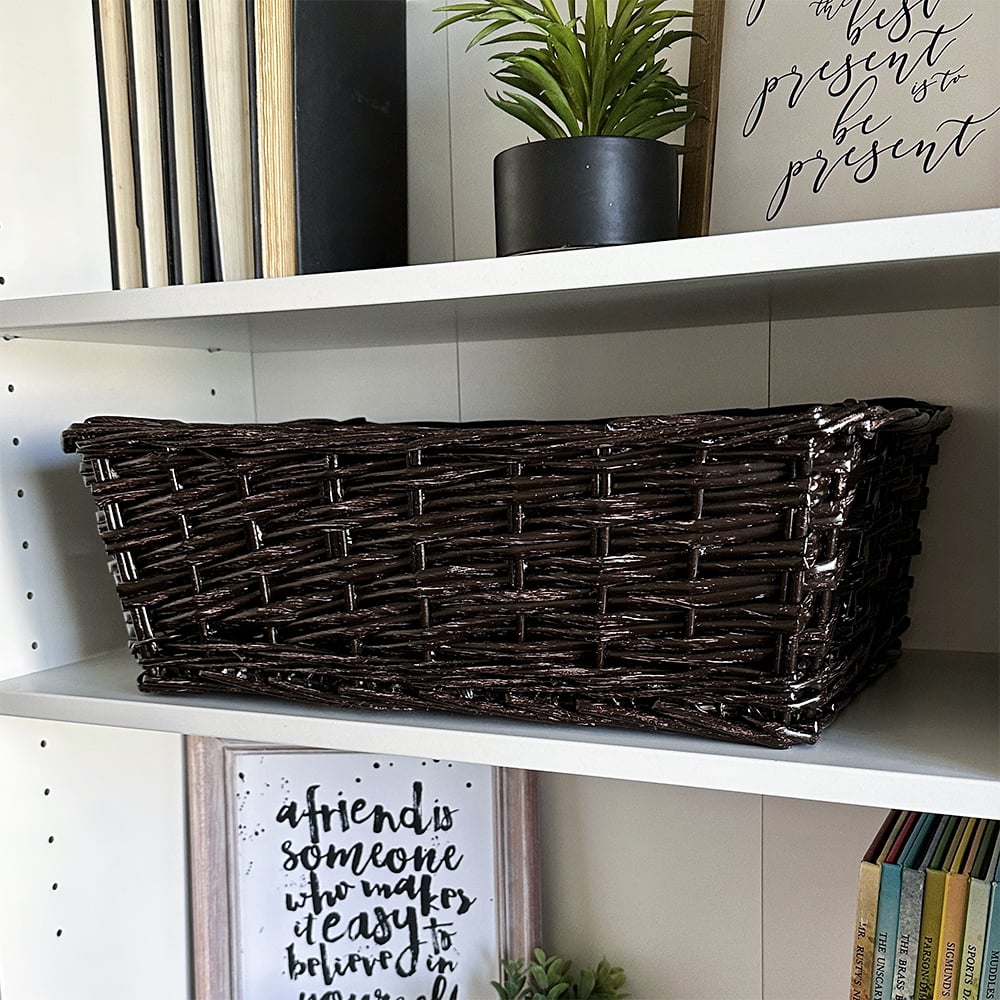
Let the brown base dry completely, and then apply the stain over it, and then remove the excess to create a dark finish that looks more like a very dark stained wood finish.
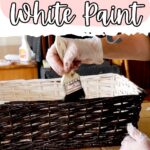
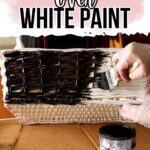
Here is what my white basket looks like with a coat of Java brushed onto it. I did not remove any excess and it was dry within 48 hours. For best results, apply 2 thin coats to get full coverage.
Using gel stain over the old finish is one way how to change wood color without sanding, so you can save time.
Topcoat the Gel Stain
Once you’re happy with the look and it is completely dry, it’s time to add a topcoat. It will help protect the surface from scratches and dings, and it will make it easier to keep it looking clean.
For maximum durability on surfaces like kitchen tables, tops of dressers, and highly used items, apply an oil based polyurethane. Here is a list of the best polyurethane for furniture. If you are just updating decor, you don’t need to worry about topcoating it because it usually doesn’t get handled much.
And that’s all there is to it. Without much work and a day or 2 of dry time, you can completely update your furniture or decor with gel stain over white paint. Have fun!!


Do you have to sand before gel stain?
Using gel stain over the old finish is actually one of the ways how to change wood color without sanding. This saves time and effort, as you do not have to sand the piece beforehand.
And if you’re really set to skip this step, you can use a deglosser or liquid sandpaper instead. This is a chemical solution that removes the top layer from the surface, making it ready for staining. It’s a great alternative for those who don’t have the time or tools to sand down their piece.
However, using sandpaper will still give you more long lasting results. It also helps remove any imperfections or scratches on the surface that may affect the final result. But if you’re short on time and okay with a finish that’s not totally perfect, a deglosser can be a decent alternative.
Learn more about what happens if you don’t sand before painting or staining here. Then, you can proceed to apply the gel stain following the steps mentioned in this guide.

Gel Stain Over White Paint
Refinishing with gel stain over white paint can help you create a faux stained wood effect in just one coat!
Materials
Tools
Instructions
- Clean the surface by spraying some Krud Kutter and wiping it with a damp cloth.
- Lightly sand the surface with a 220 grit sandpaper if you use chalk paint. Then use BIN Shellac based primer.
- Brush, roll, or spray the white paint on the surface. Wait for 24 hours for the paint to completely dry.
- Apply gel stain to the white painted surface using a chip brush or lint-free rag, mimicking the wood grain appearance. Wipe the excess gel stain off with a lint free rag.
- To make the finish darker leave the gel stain on without wiping the excess away. Use a brown paint color like chocolate from General Finishes Milk Paint as the base to have a more successful dark stained finish.
- Apply a topcoat to the dry gel stain using oil-based polyurethane for maximum durability.
Recommended Products
As an Amazon Associate and member of other affiliate programs, I earn from qualifying purchases.


More Furniture Staining tips
- How to Stain Already Stained Wood
- How To Stain Wood With Paint
- How to Stain Wood Furniture
- Heirloom Traditions All in One Stain
- How To Whitewash Stained Wood
Learn the Art of Updating Furniture!
If painting furniture feels overwhelming or your past attempts didn’t go as planned, this course will guide you step by step.

Follow us on YouTube to get more tips for painting furniture. Or share your project with us on our Facebook Group and be part of our community. See you there!
Hi! I love this technique and your tutorial and am hoping to do something similar on stair treads. They are pine treads that we tried to stain with a gel stain and don’t look good as pine doesn’t take stain well in general and the grain is different on the treads as some are old and some are new.
I’m hoping to paint them (to cover the grain) and then gel stain to recreate the wood look. I noticed the milk paint is water based and the gel stain is oil based, is this ok?
To complicate things, I have gel stain on the steps already and would rather not have to resend them, so I was thinking I may need to use an oil based paint over it and then the gel on top to stick with all oil. Do you agree, or am I ok to use the milk paint with gel under and over?
Honestly, for stairs, I would use an oil based paint or something more durable than milk paint. But on furniture, you could do gel stain, primer, milk paint, then gel stain. Wait 48 hours between water based and oil based products. Scuff sand and use primer before painting to help the paint stick to the gel stain. Hope that helps!
Hello,
I want to gel stain over a center ceiling beam that is already a flat white, is the gel stain going to be super shiny if so should I put a matte top coat to make it less shiny?
Thanks Lori
It shouldn’t make it super shiny unless it’s like a high gloss gel stain. But normally, it wouldn’t. But if it does, then yeah, you could put a matte topcoat over the top of it to make it less shiny.