Best Wood Fillers for Furniture


Most old furniture has been damaged in some way. Scratches, chips, or broken parts – these can affect the overall appearance and functionality of your piece. And if you’re looking to paint or refinish, you will need to know about the best wood fillers for furniture.
They are among the many furniture painting tools and supplies that are important for any DIY project. So, let’s explore everything you need to know about them and how to choose the best one!
Wood fillers come in handy for all sorts of different situations, from filling in small cracks and holes to repairing larger damage. You need to tackle these imperfections before you start painting or staining your piece.

If you leave them as they are, they will be more noticeable after the makeover. Your final finish won’t also look smooth and flawless. And for any serious damage, it can affect the structure and stability of your furniture.
So, in this post, we’ll break down the different types on the market and when you should use them. It can be hard to know which one is right for your project, so we’ll give you tips on choosing the best wood filler for your specific needs.
As an Amazon Associate, I earn from qualifying purchases. I also may earn from other qualifying purchases with other companies or get free product to review and use. All opinions are my own.
Types of Wood Filler
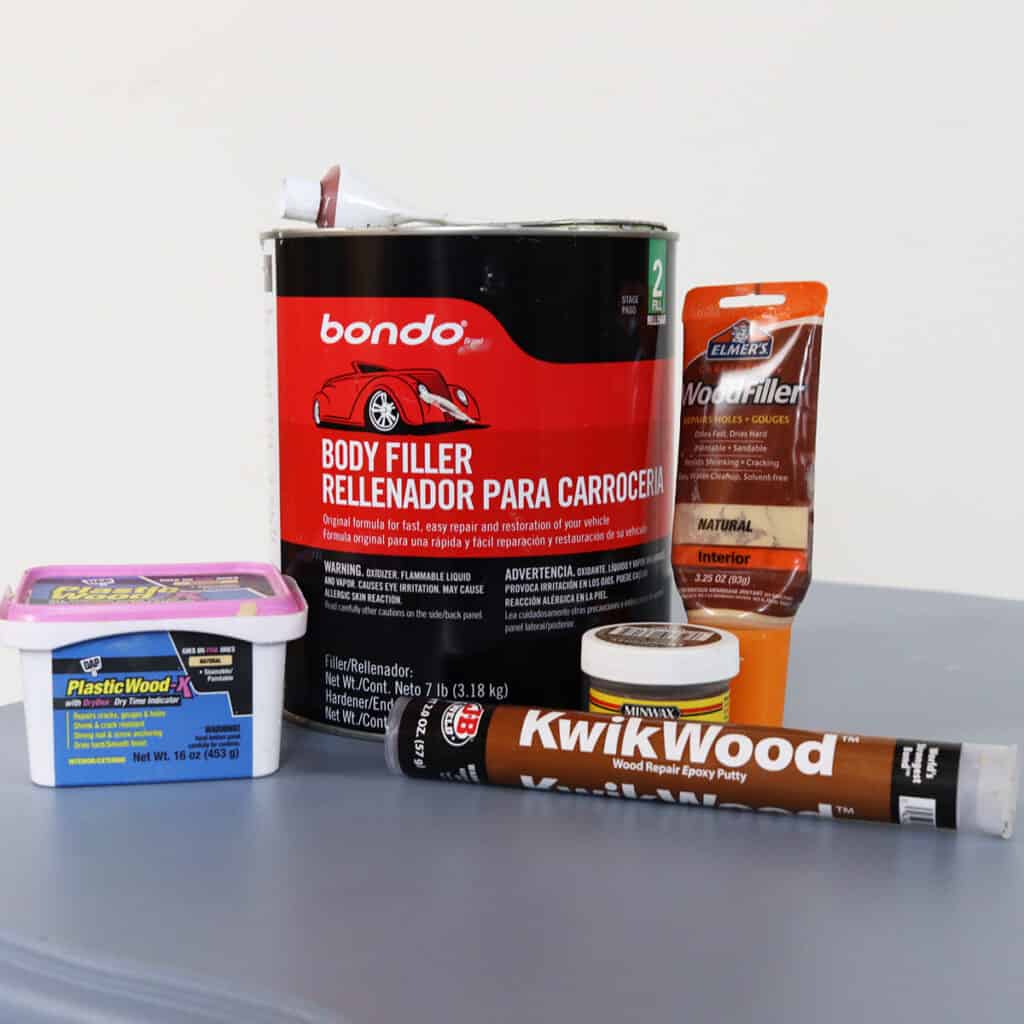
There are two main types we use: epoxy based fillers and latex/waterbased fillers.
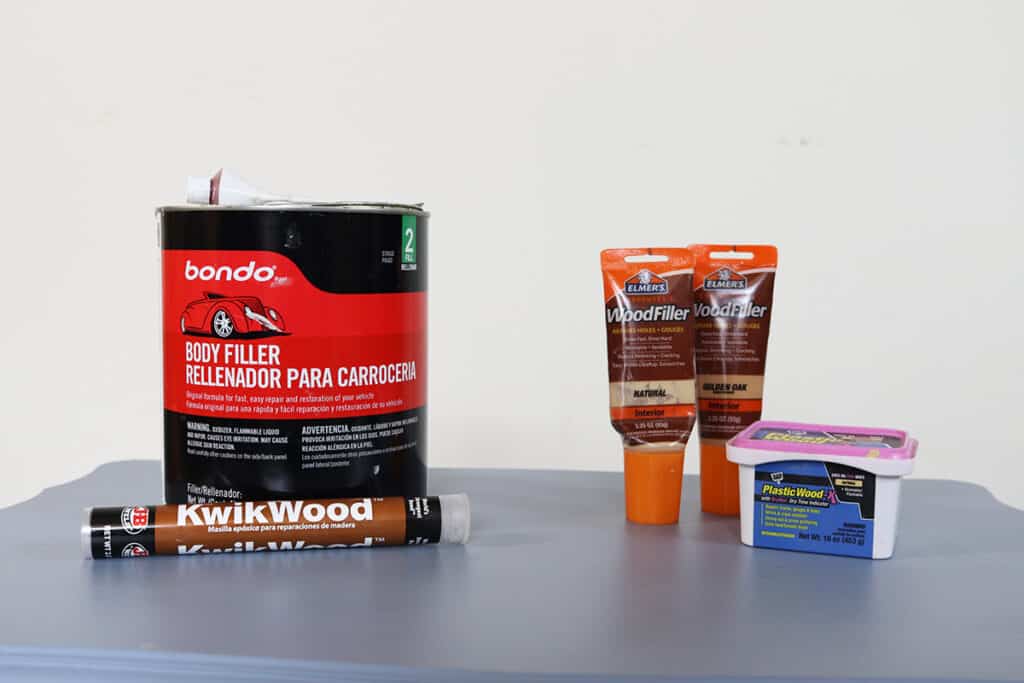
Epoxy based, such as Bondo and KwikWood, come in 2 parts, and once those 2 parts are mixed together, they start hardening.
They dry quickly (within an hour), and they dry hard, so they are better for larger repairs. They provide a strong bond and can be sanded down to create a smooth surface. But, they have more of a smell to them, especially Bondo.
Latex and waterbased, such as Elmer’s wood filler and DAP plastic wood filler, are ready to use out of the container.
They aren’t as durable and are better suited for small repairs like filling in holes or cracks that are less than 1/8″ in size. If you use them on larger repairs, they will shrink a lot or crack. And they will take a very long time to dry.
Best Wood Filler for Veneer Repair
If you have a piece with a large area or multiple areas of chipped veneer, Bondo is the best for you!

It’s a thinner material that is easy to spread over a large area, making it ideal for repairing veneer. Learn more about repairing veneer with wood filler here.
It also doesn’t shrink and crack like regular ones do, and it can easily be sanded smooth. Here’s everything you need to know about Bondo wood repair.
Pros
- Bondo can be sanded down once it dries, making it easy to create a smooth surface
- It dries quickly, so you won’t have to wait long before beginning the next step in your project
- It doesn’t shrink and crack like waterbased ones do. And it is more durable.
- Can be painted or stained (if you use the wood filler version)
Cons
- It has a strong smell, so it’s best to use it outside.
- Once mixed up, it starts to harden within minutes, so you have to work fast and know what you are filling.
- It is messy to work with. You have to mix the 2 parts together, and then it is a thinned consistency so it can easily drip.
- You may need to apply multiple coats or touch it up with waterbased filler to get it completely filled.
Here’s my honest and detailed Bondo wood filler review for more information.
The autobody and Multi Purpose versions work great, too, by the way! Check out how to repair damaged furniture using Bondo here.
Best Wood Filler for Cabinet Holes
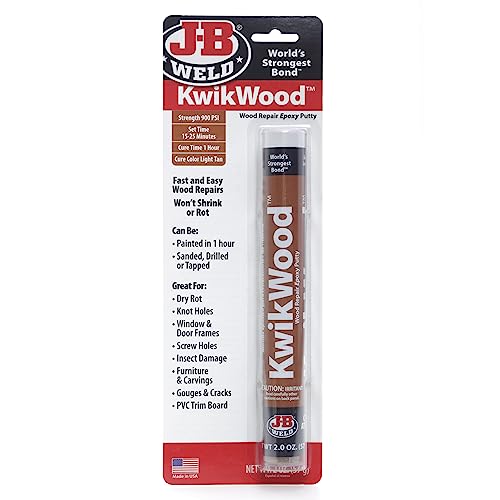
If you need to fill cabinet holes or other deep holes in your piece, JB Weld KwikWood is the best for you.
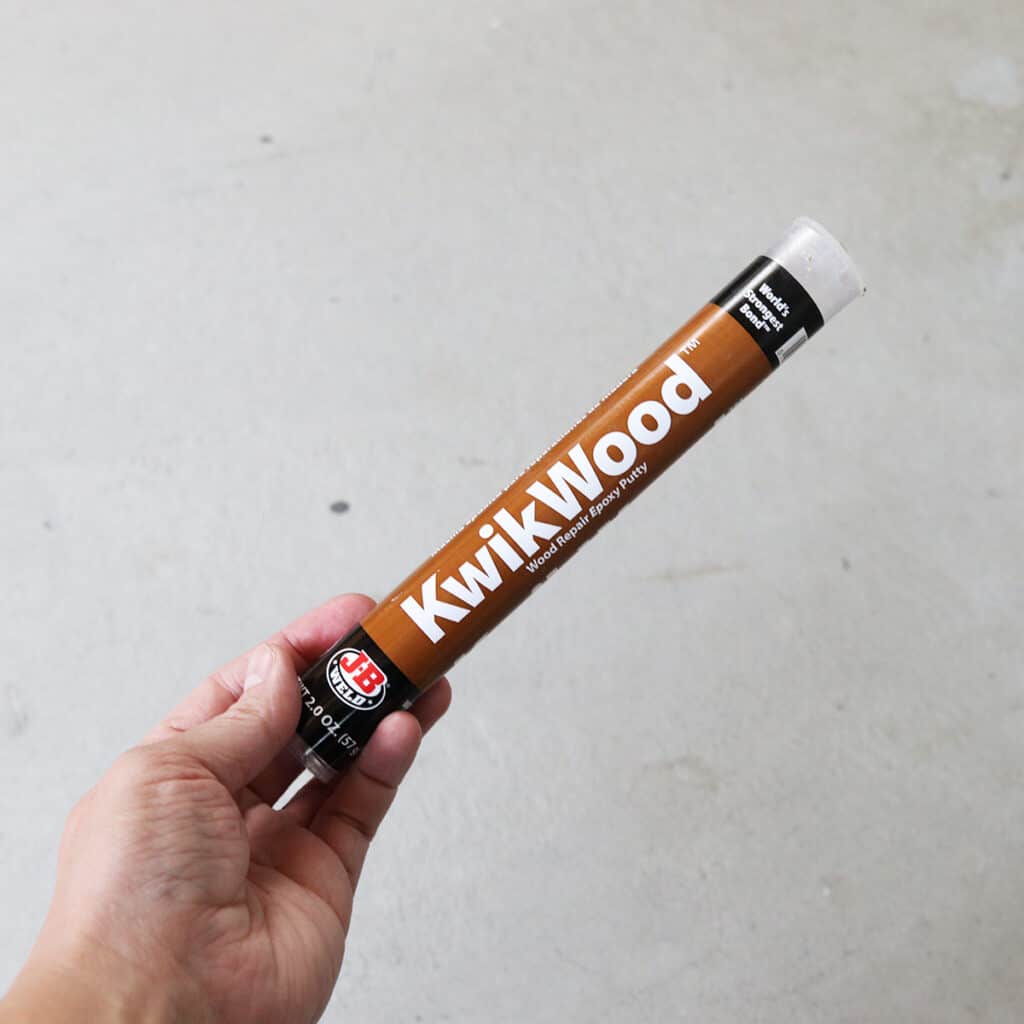
It comes in a tube and is easy to use without a mess. It dries very hard and doesn’t shrink or crack. Learn more about how to use KwikWood here. Wondering how to use wood filler to fill holes in old furniture hardware? Here’s filling holes when replacing cabinet or furniture hardware.
Pros:
- KwikWood dries in an hour or so, so you won’t have to wait long before moving on to the next step in your project.
- It is the consistency of clay, so it can be shaped and molded into the shape you need it to be. And then you don’t have to sand as much after it dries!
- It is durable and will not shrink or crack after it dries, making it a good choice for larger holes or deep cavities.
- There is only a slight smell when using it.
- Can be painted or stained.
Cons:
- It can be more expensive than other types
- It is important to get the right amount and mix completely before applying.
Check out how I fixed a damaged keyhole with Kwikwood in this painting furniture with Lilly Moon Paint makeover.

Best Wood Filler for Painting
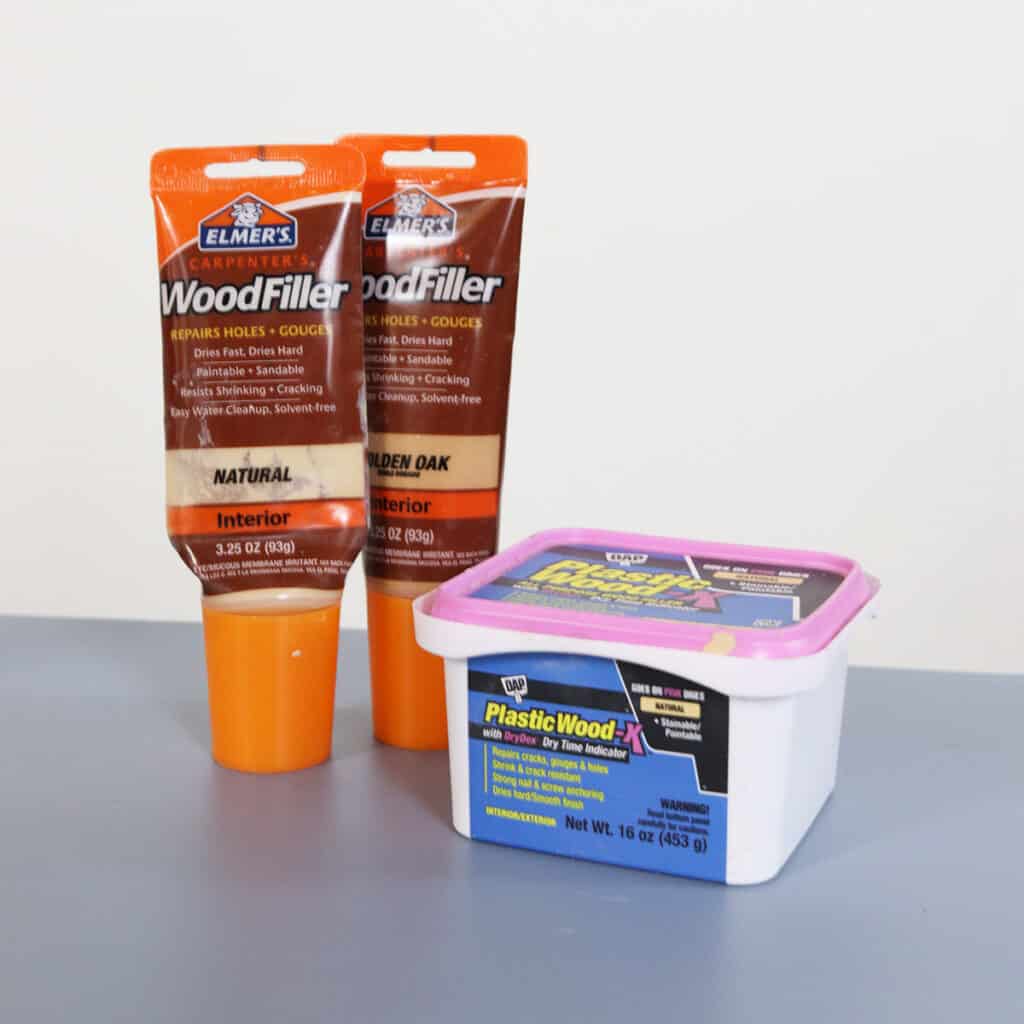
If you want to fill in small cracks and dings before painting, DAP plastic wood filler is the best.
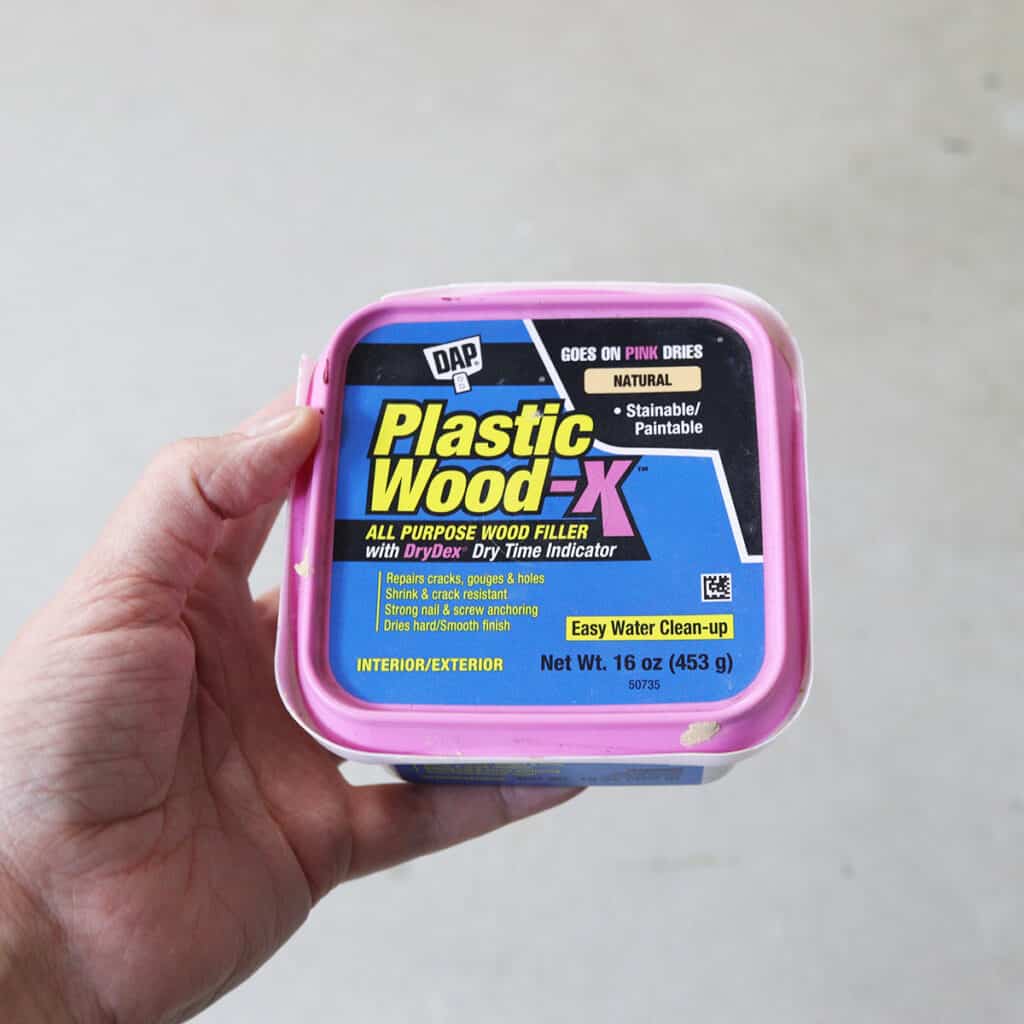
This is ready to use out of the tube or container, dries quickly, and doesn’t shrink or crack as much as other latex ones, making it ideal for filling small damage when painting projects.
Pros
- It is easy to apply right out of the container.
- It can be sanded down after it completely dries, making it easy to create a smooth surface.
- It doesn’t shrink or crack as much as other latex ones.
- DAP plastic comes in a variety of colors, so you can match it to the color of your wood.
- Very little to no smell.
- Can be painted or stained.
Cons
- It only dries quickly if used in small areas (less than 1/8″ thick)
- If used on a large area or deep holes, it will take several applications to create the desired result.
For a detailed guide on tackling cracks, here’s how to fix cracks in wood before painting!
Best Budget Wood Filler
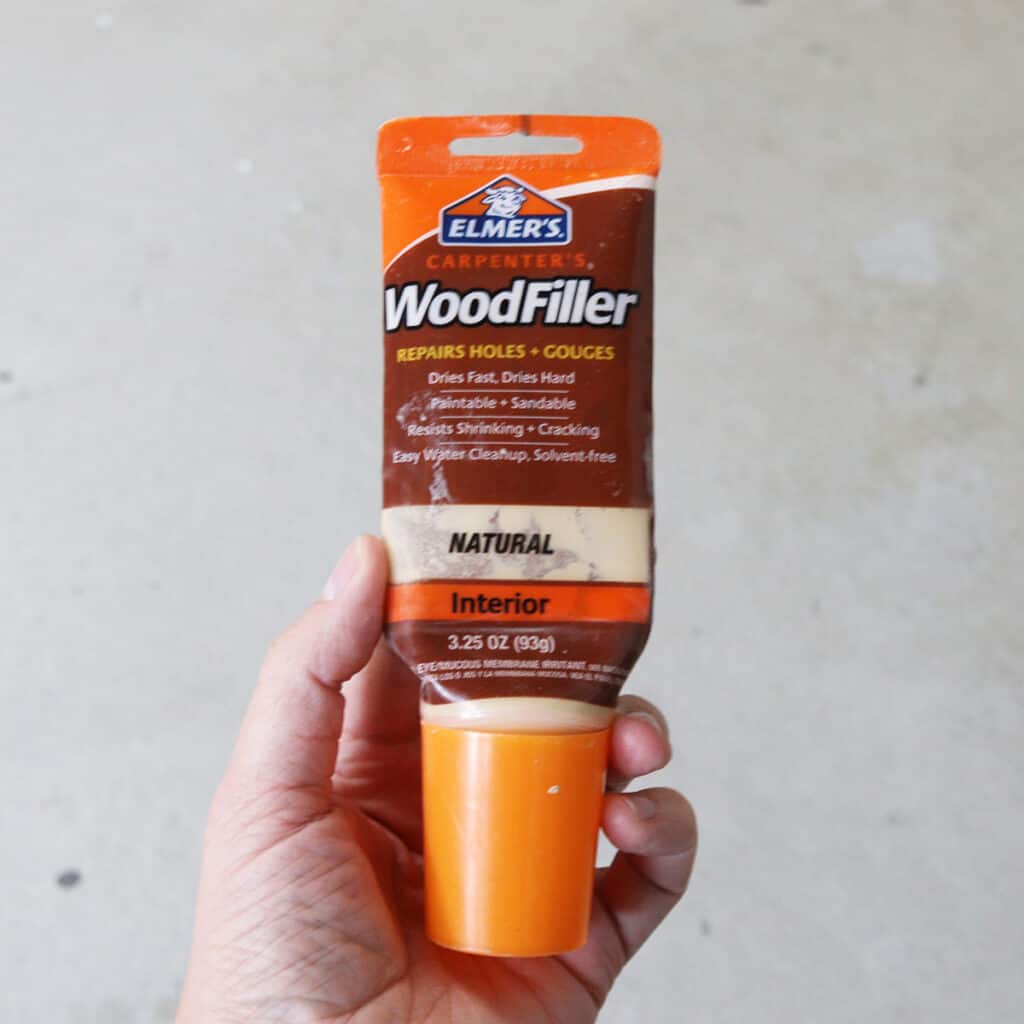
If you are looking for a good option at a budget friendly price, Elmer’s Carpenter’s Wood Filler is the best for you.
Would you like to save this?
It is easy to use and comes in different shades to match your project. Check out our chalk painting end tables black makeover, where we used it!
Pros:
- Cheapest option, so it’s great on your wallet
- Comes in a tube, making it easy to apply and use for small repairs.
- No odor, so it’s easy to use indoors.
- Works well on small cracks, holes, and defects in wood.
Cons:
- Not as durable as the others, so it doesn’t work as well on larger holes or areas.
- Not the best choice if you want a completely smooth, sanded finish after filling.
- Cracks and shrinks when used on larger repairs.
Best Wood Filler for Corners
If your piece has a broken or chipped corner, JB Weld KwikWood or Bondo is the best for the job.

You can shape KwikWood to the shape of the corner, and it dries tough, so you don’t have to worry about it easily breaking again.
Bondo is a more cost effective solution, but it works best if you can make a mold of the shape you need and then mold it into that shape. Learn more about how to fix a chipped wood corner with Bondo here.
Get Our Secrets!
Grab this super convenient How to Repair Furniture Ebook with all of our secrets on how to repair furniture for only $14.
You can print it out and have instant access whenever you come across damaged furniture, and know exactly how to fix it!
Click on the picture of the book to purchase!

We already covered the pros and cons of each of these above.
Sanding Wood Filler
In order for the filler to work its magic, you need to let it dry and then sand it down smoothly. Here are some tips!
How Long Should You Let Wood Filler Dry Before Sanding?
It’s important to let it dry completely. Depending on the type you’re using, how big of a repair you filled, and what the weather is like, it can take anywhere from 1-24 hours.
If you try to sand it while it’s still wet, you’ll just end up making a mess and clogging up your sandpaper.
Waterbased ones that are filling damage smaller than 1/8″ should only take an hour or two. But if you try to fill in hardware holes, it can easily take 24 hours for it to dry completely. Check out this comparison of the different ways of filling holes when replacing cabinet or furniture hardware.
On the other hand, if you use an epoxy type, it should take 30 minutes – an hour. Sometimes, I feel like Kwikwood takes a couple of hours to be completely dry, though. No matter how big the repair is we are filling.
What Grit Sandpaper for Wood Filler?
With waterbased types, I use medium or fine grit sandpaper (180 or 220 grit). But, with Bondo or Kwikwood, I start with a more coarse grit, like 100 or 120, because it takes longer to sand.
When in doubt, start with a finer grit like 220. If it doesn’t sand away the filler very quickly, you can move to a more coarse grit. Learn more about the best sandpaper for furniture painting here.
How Much to Sand Wood Filler?
You don’t need to sand off all of it – just enough so that it’s flush with the surrounding surface. Use gentle, even strokes and avoid applying too much pressure in one spot, which can cause a divot in the area you sand.
Once you’ve finished, wipe away any dust with a clean cloth before proceeding with painting or staining.
How to Make Wood Filler Dry Faster?
You can make waterbased ones dry faster by applying it in thin layers. Then, you can build on the layers as each layer dries. If you try to speed up the drying time with a hair dryer or let it sit out in the direct sun, it might crack.
If you need it to be done quickly in a large area, you may consider using Bondo instead. It dries very quickly, even for large repairs.
Is Wood Filler Stainable?
Yes, it is stainable. After it has dried and you have sanded it flush with the surface around it, you can stain it. But beware that it won’t take the stain the same way the wood around it will. Check out our blog post about staining wood filler to learn more about effective techniques.
The best way is to stain everything with multiple coats of gel stain or use a stain wood repair kit to stain it a closer color to the stained surface around it.

How to Use Wood Filler
So, you’ve picked out which to use for your project. Now, it’s time to put it to use! First things first, make sure the area you’re filling is clean and free of any debris. You want to make sure that the product adheres properly. Get more tips on how to clean furniture before painting here.
Next, follow the instructions for mixing or applying it. Again, some come pre mixed, while others require you to mix them together. If mixing is needed, you usually need to start with a small amount and act quickly before it dries.
Apply it onto the area you’re repairing, and you can overfill it a little bit because you will sand it down later. Use your finger or a putty knife to shape and smooth the product out, making sure to cover any gaps or imperfections completely.
As we mentioned above, sand it down once it’s completely dry, using gentle strokes and gradually moving to finer grits. Once you’ve got a smooth and flush surface, wipe away any dust and prepare for the new finish.
More Furniture Makeovers using Wood Fillers
- How to Fix Damaged Wood Furniture Before Painting
- Repurpose a Desk into Nightstands
- Chalk Painting Furniture Black
- Wood Stain Repair
- How To Repair Cracks In Antique Wood Furniture
Follow us on YouTube to get more tips for painting furniture. Or share your project with us on our Facebook Group and be part of our community. See you there!
Sometimes I see a pink wood filler being painted on with a brush to eliminate a heavy wood grain, what is this called
I think you’re talking about spackling, or some wood filler is a pink color when wet, but brown when dry.