How To Fix Cracks In Wood Before Painting
Your furniture pieces may have stood the test of time, but they may also show signs of wear and tear, such as cracks in the wood. These cracks can be unsightly and make your furniture look old and worn out. However, you can learn how to fix cracks in wood before painting and give your furniture a much-needed makeover.
In this guide, we’ll walk you through the steps of repairing old furniture with cracks and getting it ready for a fresh coat of paint.
Wood is a natural material that expands and contracts with changes in temperature and humidity. Over time, this can cause cracks to form in the wood. Additionally, old furniture may have gone through years of use, further weakening the wood and making it more susceptible to cracking.

Not only are these cracks unsightly, but they can also lead to bigger problems if left unfixed. It’s important to address these before painting to prevent any future issues and make sure your furniture stays in good condition for years to come.
Luckily, fixing cracks in wood is a simple process!
Supplies Used for Fixing Cracks In Wood Before Painting
As an Amazon Associate, I earn from qualifying purchases. I also may earn from other qualifying purchases with other companies or get free product to review and use. All opinions are my own.
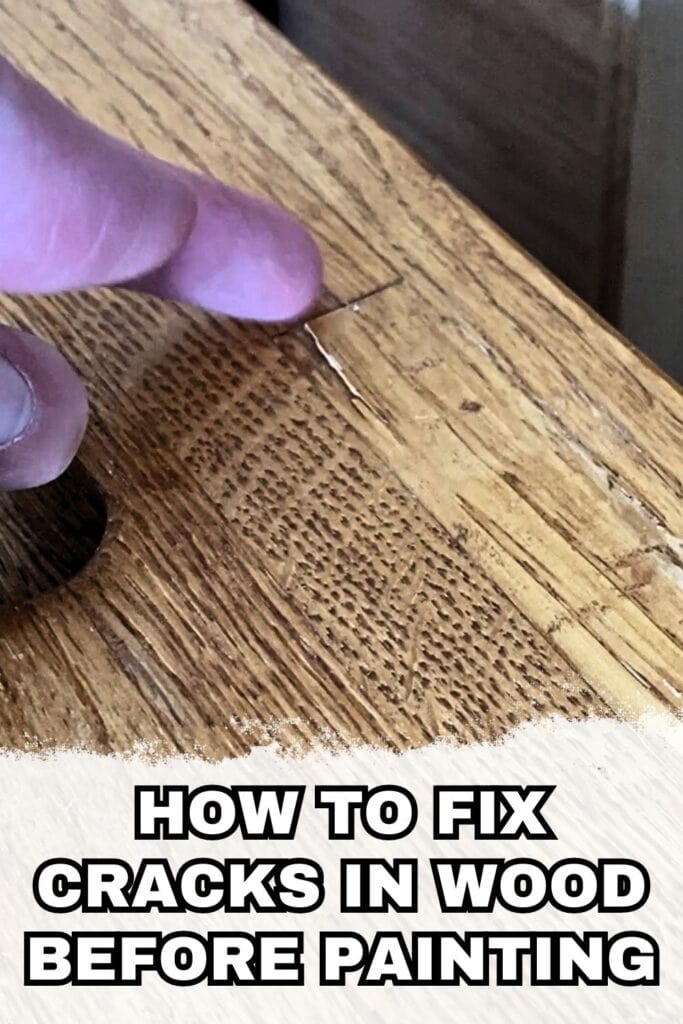
Identifying Cracks in Wood
Cracks in wood can come in different forms, such as hairline cracks or larger gaps. It’s important to carefully inspect your furniture to identify all of these cracks before starting any repairs.
Some common signs of cracks include visible lines or splits in the wood, as well as creaking or shifting when pressure is applied. Another way to identify cracks is by running your hand over the surface of the wood and feeling for any rough patches or gaps.
It’s important to thoroughly check all areas of the furniture, including corners and joints, as cracks can form in these areas as well. Cracks in wood may seem like a minor issue, but it can lead to bigger problems down the line.
If left unfixed, these cracks can continue to widen and cause structural damage to the furniture. Additionally, cracks can allow moisture to seep in and lead to rot or mold growth, further compromising the integrity of the wood.
Applying Wood Glue to Cracks
To repair cracks in wood, the first step is to prepare the wood surface by cleaning it thoroughly and removing any debris or loose pieces of wood. Once the surface is clean and dry, you can begin applying wood glue to the cracks.
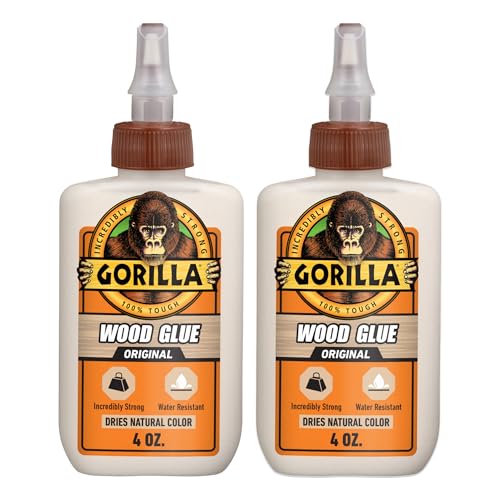
It’s important to use a high-quality wood glue that is suitable for your type of wood. Here are your options for the best glue for repairing wood furniture.
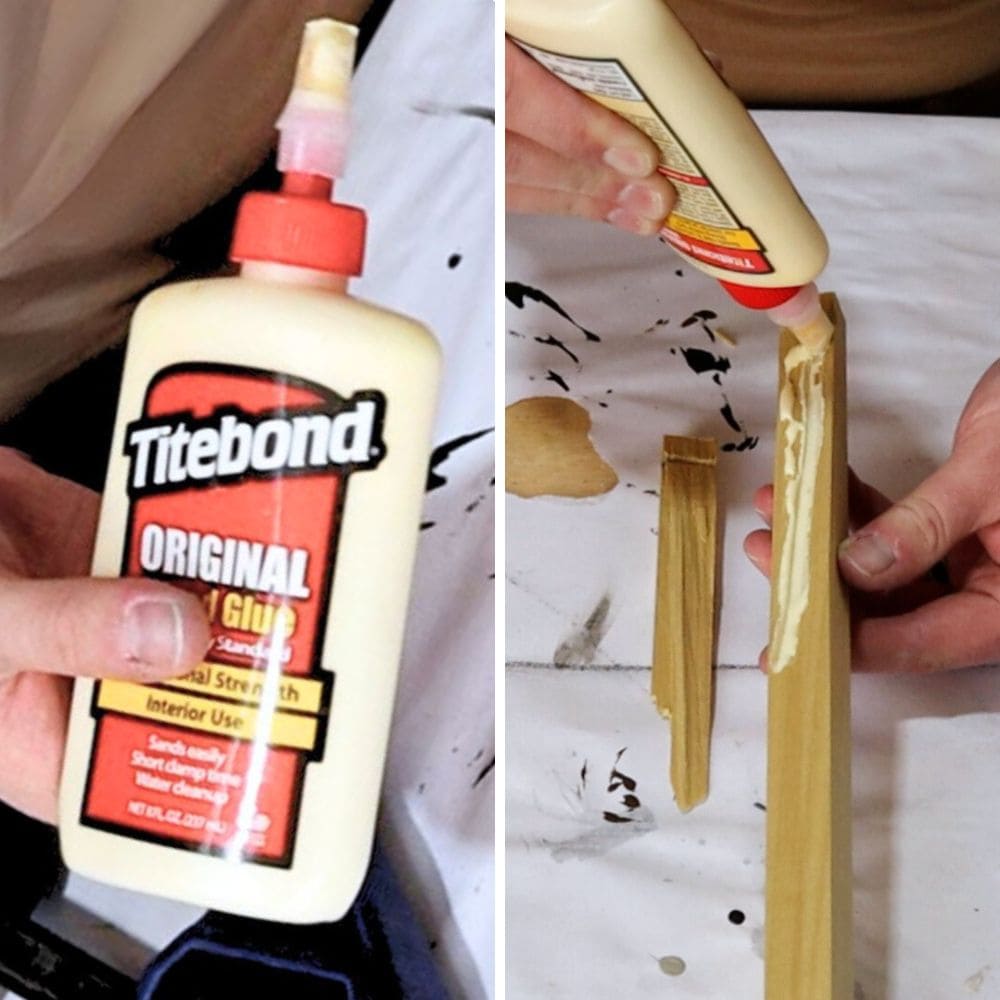
Apply a small amount of glue onto the crack. When applying the glue, it’s important to use the right amount. Too much glue can lead to excess seeping out and creating a mess, while too little glue won’t properly hold the crack together.
A good rule of thumb is to apply enough glue to fill the crack, but not so much that it overflows. You can also apply the glue on both sides of the crack if it is a larger one.
Clamping Wood Crack Together
Once the glue is applied, gently press the two sides of the crack together and hold them in place for a few minutes until the glue starts to set. This will help the two pieces of wood bond together and create a stronger repair.

For a more secure bond, use clamps to hold the wood pieces together while the glue dries. With this, you can make sure that the crack will be fully closed and the two pieces of wood will be tightly bonded together.
Would you like to save this?
If you don’t have clamps, you can use heavy objects such as books or weights to hold the wood pieces together. Just make sure that these objects are evenly distributed and apply enough pressure to tighten the crack while the glue dries.
Drying Time for Wood Glue
So after clamping the wood pieces together, let the glue dry completely before moving on to the next step. The drying time for wood glue can vary depending on factors such as temperature, humidity, and type of glue used.


You can wait at least 24 hours before removing the clamps or weights. However, it’s best to check the specific instructions on your wood glue for recommended drying time. If you’re unsure, you can always give the glue a lot more time to dry. Better safe than sorry!
Once the glue is fully dry, you can remove the clamps or weights and inspect the crack.
Filling Crack with Wood Filler
After the glue has dried and the crack is securely closed, you can fill any remaining gaps and imperfections with wood filler. This will create a smooth surface for painting and help hide any visual signs of the crack. You can choose from these best wood fillers for furniture.
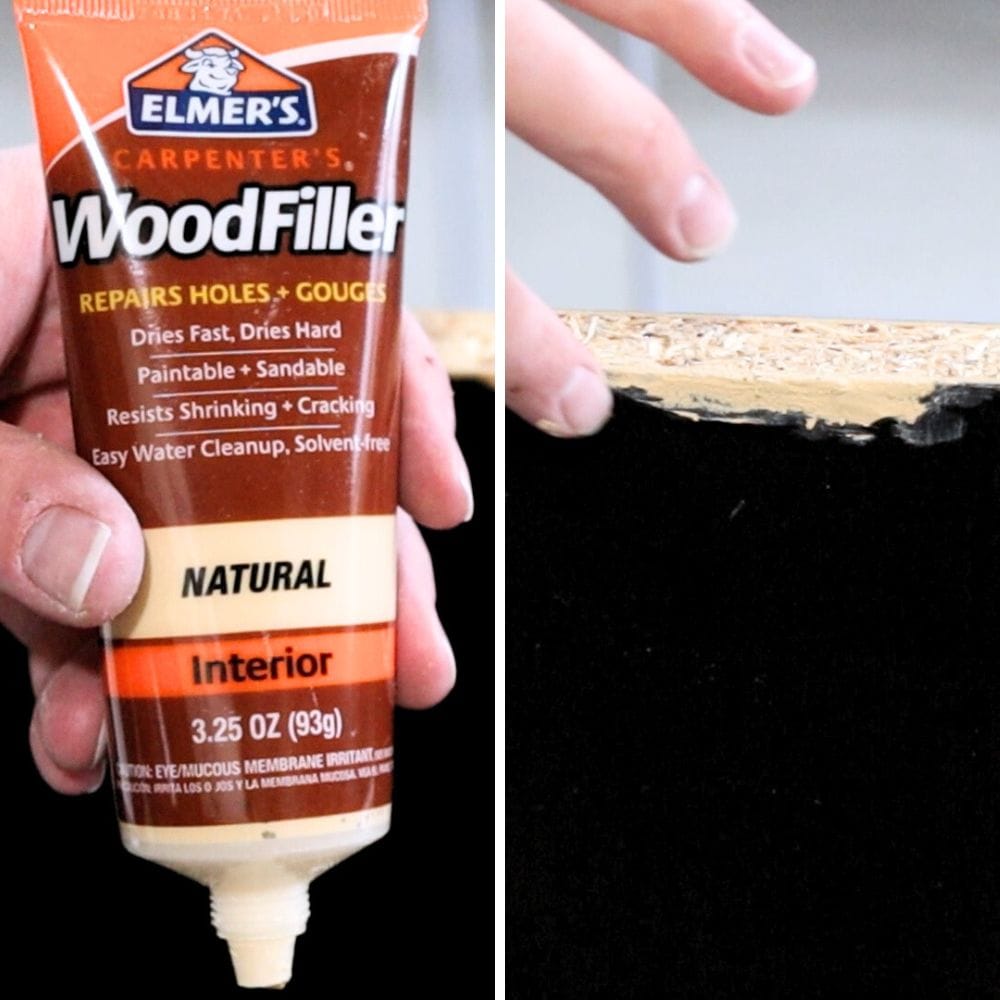
Using a putty knife or scraper, apply the wood filler into the crack and smooth it out evenly. Make sure to fill the crack completely and remove any excess filler. Once the filler is dry, you can sand it down until it is level and flush with the rest of the wood. This will create a seamless finish and prepare your furniture for painting.
Priming Wood with Stain Blocking Primer
For your furniture to be ready for a fresh coat of paint, it’s important to use a stain blocking primer. A primer for painting furniture helps seal the wood and stop stains from bleeding through the paint. It also creates a smooth and durable surface for the paint to adhere to.
When using a stain blocking primer like BIN shellac primer, apply 2 coats for best results. Make sure to let each coat dry for at least an hour, and longer if possible. The longer the primer has to dry, the more effective it will be in blocking stains and creating a strong base for your paint. You can learn about priming wood for painting in our post here.
Painting Over Repaired Wood
Once the primer is fully dry, you can begin painting over your wood furniture! Here are the best paints for wood furniture you can use. You can also check out our ultimate guide on painting furniture for all tips and tricks.
Apply 2-3 coats of your desired paint color, letting each coat dry completely before applying the next one. You can also lightly sand between coats for an extra smooth surface.
Once the paint is fully dry, apply a topcoat to protect the paint and give your furniture a beautiful finish. A polyurethane topcoat works well for sealing painted furniture. You can apply 2-3 coats, sanding lightly between each coat for a smooth and durable finish.
And just like that, your furniture is as good as new with no visible signs of those pesky cracks! By simply following these steps, you can easily fix the cracks in your wood furniture and proceed to paint and transform it into a beautiful piece for your home.

How To Fix Cracks In Wood Before Painting
You can learn how to fix cracks in wood before painting and giving your furniture a much-needed makeover.
Materials
Tools
Instructions
- Clean the wood surface thoroughly and remove any debris or loose pieces of wood before applying wood glue to the cracks.
- Use a high-quality wood glue, apply a small amount onto the crack, and gently press the two sides together for a few minutes until the glue starts to set.
- For a stronger bond, use clamps or heavy objects to hold the pieces together while the glue dries, and let it dry completely before removing.
- Fill any gaps or imperfections with wood filler after the glue has dried, and sand it down to create a smooth surface for painting.
- Prime the wood with a stain blocking primer to seal the wood and prevent stains from bleeding through the paint.
- Apply 2-3 coats of paint, letting each coat dry completely before adding the next one and sanding lightly for a smooth finish.
- Finish off with a topcoat to protect the paint and give your furniture a beautiful, durable finish.
- Enjoy your newly repaired and painted furniture!
Recommended Products
As an Amazon Associate and member of other affiliate programs, I earn from qualifying purchases.


More Furniture Repair Tips
- How To Fix Damaged Wood Furniture Before Painting
- How To Repair Broken Wood
- How To Repair Broken Furniture
- Best Wood Repair Putty
- How To Fix Nicks In Wood Furniture

Follow us on YouTube to get more tips for painting furniture. Or share your project with us on our Facebook Group and be part of our community. See you there!