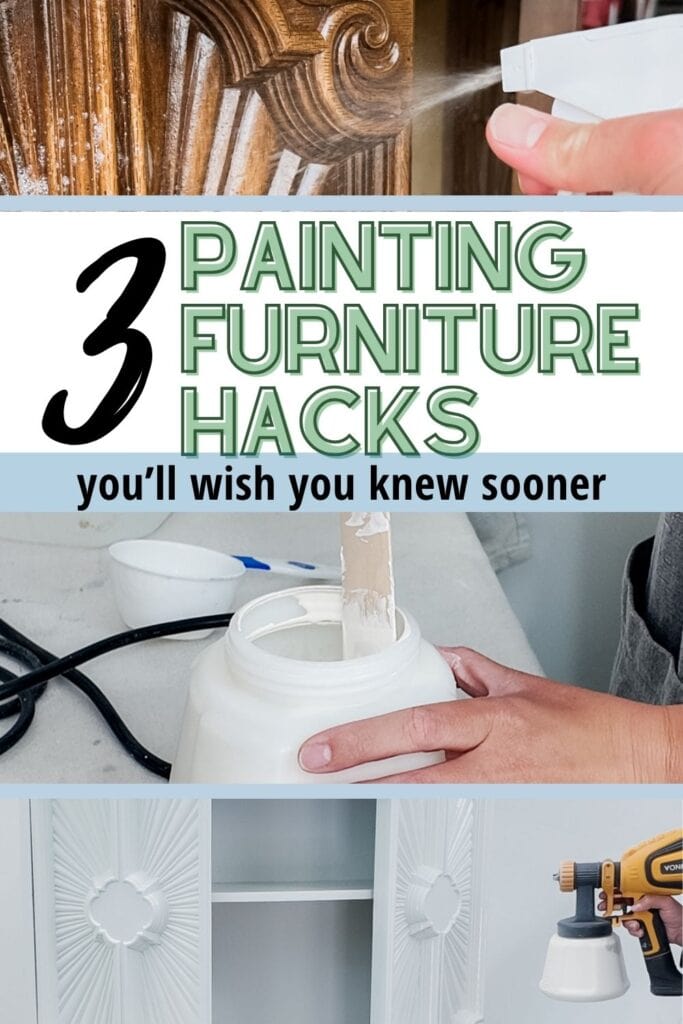
3 Painting Furniture Hacks You’ll Wish You Knew Sooner
Ever feel like painting furniture is more hassle than it’s worth? Don’t worry! We’re sharing 3 painting furniture hacks you’ll wish you knew sooner to make your DIY projects easier and more fun!
If you’re just starting out with furniture makeovers or looking to learn more about these painting techniques for furniture, these tips and tricks will save you time and headaches while getting professional results. Keep reading to know these clever hacks!
When I started painting furniture, I did everything the hard way, even though I thought that I was doing it the quick and easy way. Knowing these three tasks would have saved me so many headaches.

A lot of beginners get overwhelmed because their first few projects don’t turn out like they expected… the paint scratches off, brush marks are everywhere, or the finish just feels off. I have made all of these mistakes, but over time, I figured out the small things that make a big difference.
These three furniture painting tips are things that I come back to all the time, and they will save you hours on your furniture makeover. You can also learn more painting tricks for beginners in my guide on how to paint furniture for beginners!
As an Amazon Associate, I earn from qualifying purchases. I also may earn from other qualifying purchases with other companies or get free product to review and use. All opinions are my own.
Cleaning Furniture Before Painting
Tip number one is to clean your furniture. Now, I know this may seem really simple, but it is actually a pretty big step. But why is it so important?
Paint won’t bond or stick to surfaces that have grease, grime, oil, dirt, stickers, or tape. Those are all things that are on old pieces of furniture. I mean, how many times do you go to a thrift store and there’s a dresser that’s covered in stickers?
So you might think, “Okay, I’ll just get a wet rag and I’ll wipe the surface off.” However, that’s actually not going to remove the grease or grime. It might help you remove the stickers or tape, especially with the help of a scraper, but not enough for a total clean.
That’s why I use Krud Kutter on every single piece of furniture, unless I’m testing something else out. It’s my go to, and it’s not only good for furniture, it’s also great for cleaning things around your house that have a lot of grime buildup.
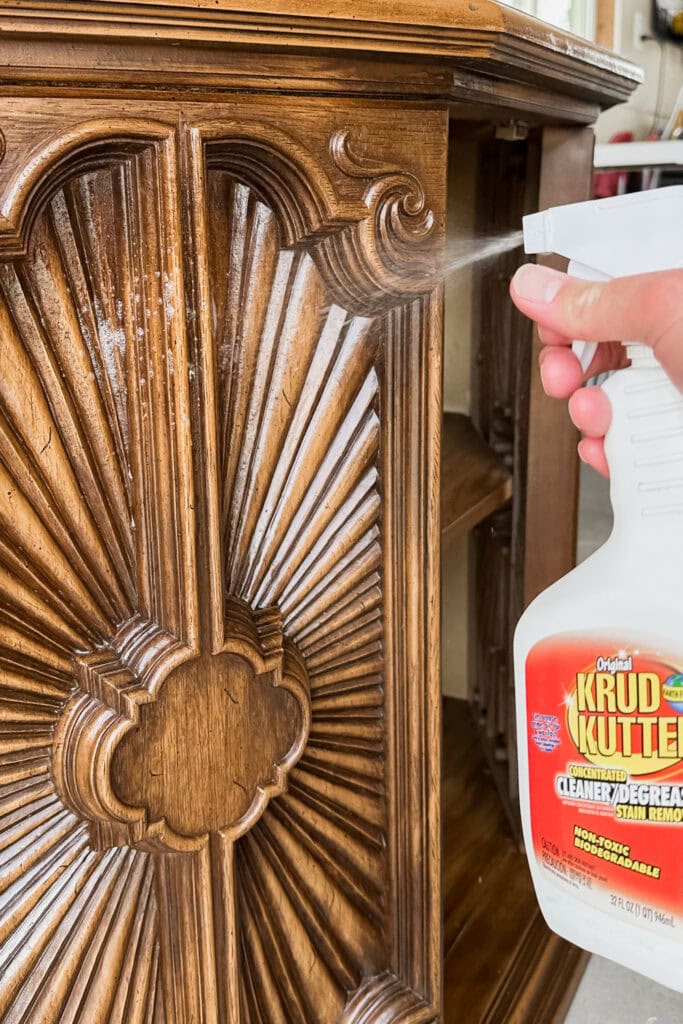
I just spray the Krud Kutter all over the surface, and then come back with a lightly damp rag to wipe off the surface. Now, sometimes my rag becomes super dirty, and it’s disgusting! So I go and rinse it out, come back with a nice, cleanish rag, and rinse everything off again.
Not only does cleaning your furniture before painting help paint stick, but it also makes the finish look so much better in the end. Nobody wants to see texture and stickers that have been painted over. The results will be so much better if you take just five minutes for this step. Get more furniture cleaning hacks in our guide on how to clean furniture before painting here!
Choosing the Right Paint
Number two: all paints are not created equal. Trust me on this one, almost never trust what the paint company says the paint can do. This is marketing at its finest, and a lot of them forget to mention that, oh, it doesn’t do this or that, or that if you use it this way, you’re going to have some issues.
I have tested so many of these types of paint for furniture, and now I know which ones to stay far away from and which ones will give me a quick, easy win. I’ve listed the best paint for furniture options here!

For example, chalk paint. It was the paint that was out when I first started learning how to paint furniture. The masses were telling us that, “Hey, you just slap this paint on, maybe throw on some wax topcoat, and you’re good.” Learn more about what is chalk paint here.
So I tried it, and I fell for the gimmick for a little while until I ran into issue after issue that these paint companies were not talking about: bleedthrough issues, the paint not sticking, wax takes forever to dry, and you can’t use your furniture before it dries, plus it looks hazy and weird. Learn more common chalk painting mistakes to avoid here.
Yes, there are some cases where you can totally slap on some chalk paint and you’re good to go. There are also some chalk paint brands that are better than others. Check out the top chalk paint brands in this post.
I had some kitchen chairs that were in dire need of refinishing. This was probably one of my first twenty projects. I cleaned the surface, but I didn’t really prime or sand or anything, and I used my homemade chalk paint recipe.
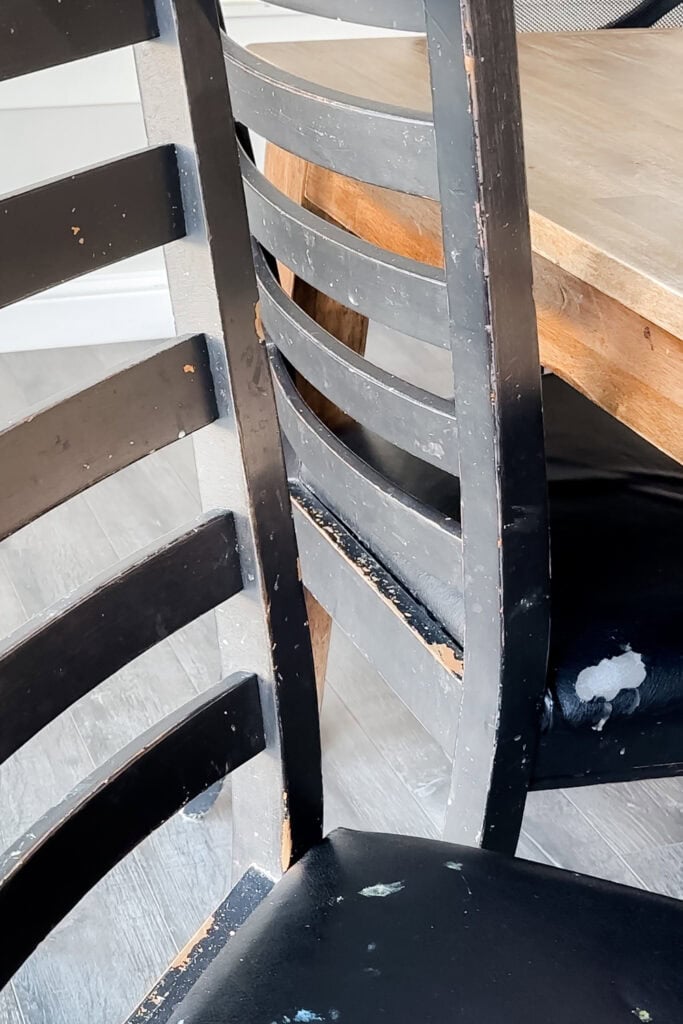
I still have the chairs, and I’m dreading redoing them because I’ll have to remove all the paint and start fresh, because I didn’t prep them properly. I didn’t use the correct paint to not need prep. So I can literally scratch the paint off the chairs, and they look terrible.
So, while I have learned which paint brands to stay away from, I have also learned which ones I love and will continue to use over and over. I also love to test new paint brands or those I haven’t tried before. Because sometimes I come across a gem that I didn’t know about, and I want to share that information with you!
There are definitely paints that you can use that the only prep that you have to do is cleaning. See the best paint for furniture without sanding here. You may still run into some issues, but the paint will still stick, you will just need to fix those issues as they come up.
Would you like to save this?


Using a Paint Sprayer on Furniture
Number three is using a paint sprayer instead of a paintbrush. Brushing paint onto furniture is a total time suck. For example, this cabinet that I just recently painted. It’s a pretty small piece, but it has a ton of details and grooves.
If I had brushed paint onto that piece, it would have taken at least an hour to an hour and a half just to apply one coat. With spraying, I applied one full coat in 5 to 10 minutes. Learn more about this fastest way to paint grooves and details here.
I also chose to paint this cabinet white, which made it even harder if I was brushing it on, because white paint always needs about four to five coats. If you’re doing the math, four to five coats would take at least four to five hours if I were brushing them on.
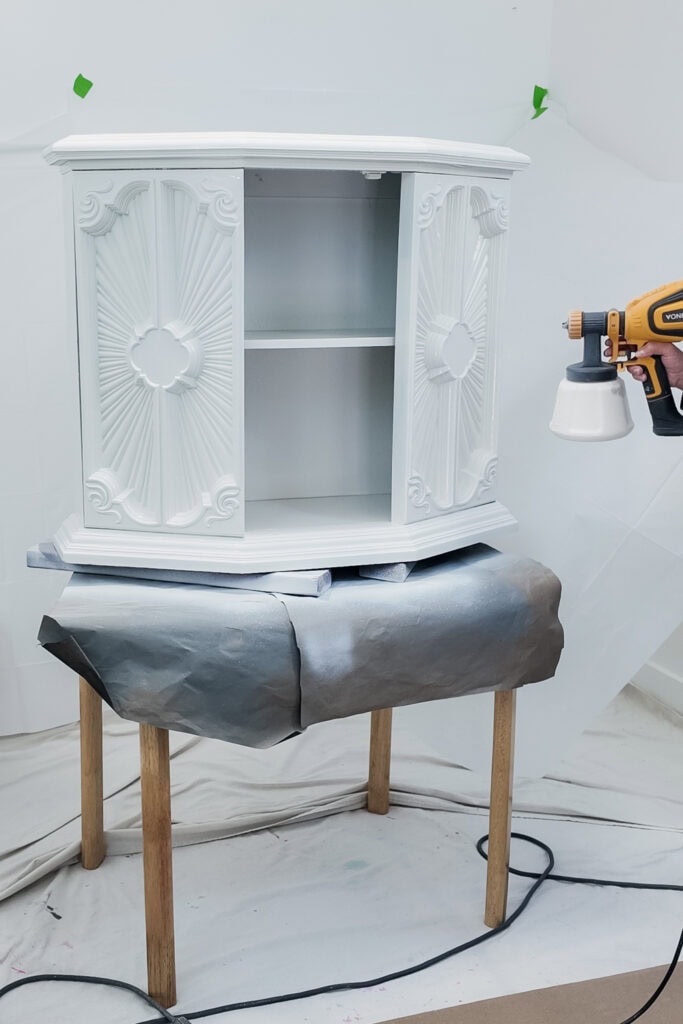
When spraying them on, four to five coats would take about 30-40 minutes for all of the coats. That just saved me over four hours compared to brushing it on! Here’s no sanding furniture paint hack for the full makeover.
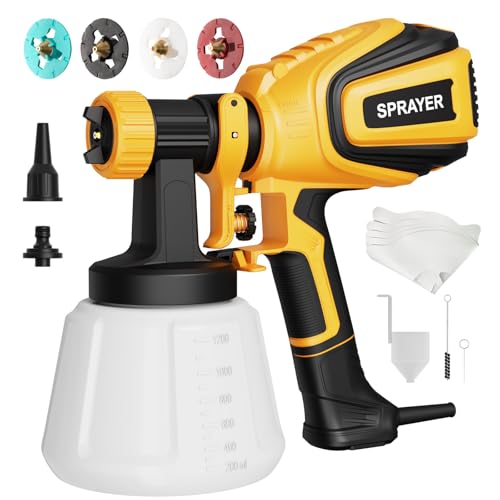
Now, you don’t need any professional level paint sprayer or spend over a hundred bucks on one. You don’t have to have a setup like a spray booth. As long as you have access to the outside or a garage, some plastic, and a cheap paint sprayer, you’re good to go.
The beginner paint sprayer I use all the time costs less than 50 bucks. You can check out our list of the best cheap paint sprayers here and the best paint sprayers for beginners here.
I get it, if you’ve never used one before, it’s terrifying when you’re unsure how to use it. What paint should I even use for this? How do you thin out the paint? We show you how to thin paint for a sprayer in this post.
Oh, what do I do when my sprayer clogs up? How can I protect the surfaces around me from getting overspray? How do I use this? None of that information was available to me when I first started painting furniture with a paint sprayer nine years ago.
So, here are my guides on how to prevent overspray when painting furniture and how to unclog a paint sprayer to help you. And if you’re still wondering, “Can a beginner use a paint sprayer?“, I answer in detail here.
How Hard is it to Clean a Paint Sprayer?
I also remember another huge hurdle that I had to get over was that paint sprayers take forever to clean. Here’s the thing, though, they’re actually not hard to clean. A sprayer takes me about 5 to 10 minutes to clean out, the same amount of time with a paintbrush.
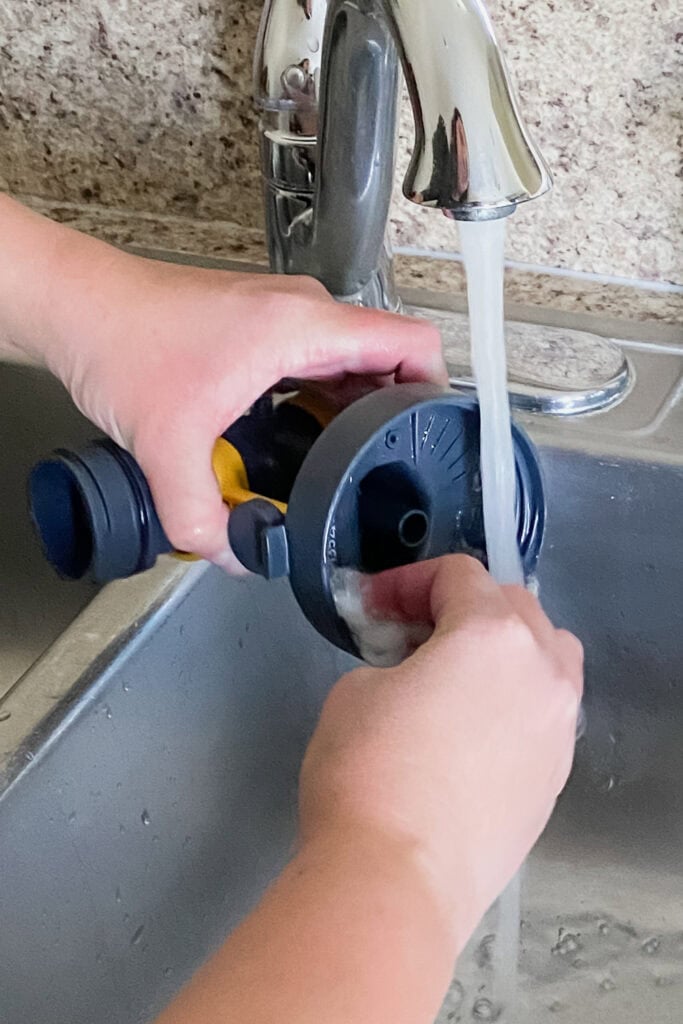
And if I’m being completely honest, I’m less frustrated cleaning out my sprayer than with my paintbrush. Since it’s plastic, it makes it so easy to just get in and out, get it cleaned up, and move on with my life.
Here’s how to clean a Wagner paint sprayer and how to clean Homeright paint sprayer if you have these models, and you can learn what to use to clean paint sprayer here, depending on the product you used in it.
Seriously, I save so much time on every single project I do, not to mention that the sprayed furniture looks so high end with no brush marks. Honestly, the piece will look like it came from the factory.
Watch this guide on our YouTube video below:
All of these tips are part of my painting system. If you want step by step help with picking out products to use, prepping your piece, setting up your paint sprayer, and more, you can check out our furniture painting course here!
Learn the Art of Updating Furniture!
If painting furniture feels overwhelming or your past attempts didn’t go as planned, this course will guide you step by step.

So, for your next DIY project, remember these 3 painting furniture hacks you’ll wish you knew sooner! From cleaning secrets to choosing the right paint and tools, these tips can save you hours of frustration and help your furniture look its best.
More Painting Furniture Tips
- Best Paint for Laminate Furniture
- Can I Leave Paint in a Sprayer Between Coats
- How to Paint a Dresser from Start to Finish!
- Can You Really Skip Sanding? Let’s Test It.
- Painting Furniture With High Gloss Paint
Follow us on YouTube to get more tips for painting furniture. Or share your project with us on our Facebook Group and be part of our community. See you there!