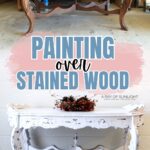
Painting Over Stained Wood

Staining wood is a popular and practical way to enhance the natural beauty of wooden surfaces. However, if you decide to change the color or style of your furniture, painting over stained wood can be a great option!
But before you jump into any of these painting furniture ideas, in this makeover, we’ll share some important tips and techniques for getting a smooth and professional paint finish over the stain and making it last for years to come. Let’s dive in!

Staining wood furniture has been a go-to method for adding character and depth to wooden pieces. The rich tones and unique patterns that result from staining make it a popular choice aside from just painting furniture.

But sometimes, after years of having the same stained wood furniture, you may get tired of its look. Maybe you want to give your space a more modern or colorful touch with a color that better fits your current style. Painting over stain can do just that.
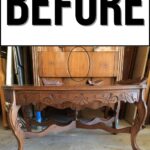
So, if you’re thinking of painting over stained wood, this makeover should guide you and give you the confidence to try it yourself! This French coffee table with carved legs was such a cool find, and we’ll be working on it to give it a brand new look with paint.

Supplies Used for Painting Over Stained Wood
As an Amazon Associate, I earn from qualifying purchases. I also may earn from other qualifying purchases with other companies or get free product to review and use. All opinions are my own.
- Bondo
- Gorilla Wood Glue
- Clamps
- 220 Grit Sanding Screens (Use code RAY10 to get 10% off your order)
- SurfPrep Sander (Use code RAY10 to get 10% off your order)
- Krud Kutter
- Damp Rag
- Fine Grit Foam Pads (Use code RAY10 to get 10% off your order)
- Shop Vacuum
- Tack Cloth
- Clear Shellac Primer
- Behr Latex Paint in Pure White
- Calcium Carbonate Powder
- Vonforn Paint Sprayer
- 220 Grit Sandpaper
- Waterbased Varathane Polyurethane
Repairing Damaged Wood Furniture
First, we repaired some damaged areas on the coffee table. The chipped veneer was fairly easy to fix with some Bondo – learn the process of using Bondo for repairing veneer with wood filler here. After the Bondo dried, we sanded it down with 220 grit sanding screens and our SurfPrep sander to make sure it was flush with the rest of the table.

We also needed to address a couple of broken detail pieces on the top. We used gorilla wood glue to reattach these pieces and held them in place with clamps until the glue dried. This step may seem tedious, but we wanted to restore the original detail back on this piece as much as possible before moving on to the painting process.
Cleaning and Sanding Stained Wood Furniture
Of course, we needed to properly prep our stained wood furniture. You never know what kind of dirt and grime might be on these old furniture pieces, and any grease or grime on there can gum up your sandpaper and even ruin your new paint job. So, we thoroughly cleaned the surface with Krud Kutter and a damp rag.

Next, we gave the stained table a good scuff sanding using 220 grit sanding screens and our SurfPrep Sander. We also switched to fine grit foam pads to tackle the detailed areas. Once we were done sanding, we cleaned up all the dust with a shop vacuum and a tack cloth. Check out our post on sanding for paint prep for even more handy tips and tricks to get your surface ready for paint!
Priming Before Painting Over Stained Wood
Since we were painting over stained wood, we had to make sure the stain wouldn’t bleed through our new paint job. This is where priming comes in! Clear shellac primer is the most effective way to block any potential stains from coming through, and it comes in a spray can version that’s easy to use.

We sprayed the stained coffee table with 2 coats of clear shellac primer, letting the shellac dry between coats. For more on clear shellac and other primer options, check out our best spray paint primer for wood post.
Painting Over Stained Wood with Chalk Paint
Then we mixed up our very favorite chalk paint following our homemade chalk paint recipe. We mixed Behr latex paint in the color Pure White, calcium carbonate powder, and water. Make sure to mix it well until smooth and consistent. If you prefer a bolder choice over classic white, take a look at this dining table makeover using gold spray paint for an eye-catching transformation.
Would you like to save this?

We filtered it into our Vonforn Paint Sprayer, and sprayed 3 coats of paint all over the table, letting each coat dry for about an hour before the next coat. This Vonforn sprayer is one of the best paint sprayer for chalk paint options, so check it out! Get more tips on painting finished furniture in this post.

After the 3 coats, the paint coverage looked really good, so we moved on to distressing. We wanted this piece to have a heavily distressed look, so we really went at it pretty aggressively with the 220 grit sandpaper. You can sand it by hand, but we used a sander to speed things up and take off a bit more paint. Learn more distressing furniture techniques here, aside from sanding.

Topcoating Painted Wood Furniture
Once we were happy with the distressing, we cleaned up all the dust using a vacuum and tack cloth, then got ready to seal our new finish with a topcoat. Adding a topcoat is super important to make sure the paint holds up over time and can handle everyday use.
We mixed up and filtered water based Varathane Polyurethane into our paint sprayer and sprayed 3 coats onto the table. Waterbased polyurethane or polycrylic is a great topcoat because it dries fast and doesn’t yellow over time. Plus, it’s easy to clean up with just soap and water. Here’s polycrylic vs polyurethane to learn how water based and oil based polyurethane compare with each other.

We let the table dry for at least 24 hours before using it to give the polyurethane time to fully dry and harden (although it can take up to 30 days for paint and topcoats to completely cure), providing a durable and long lasting finish.
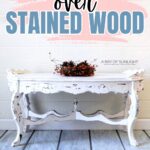
And just like that, our stained wood coffee table has a refreshed look with paint! For similar projects, check out these coffee table makeover ideas.


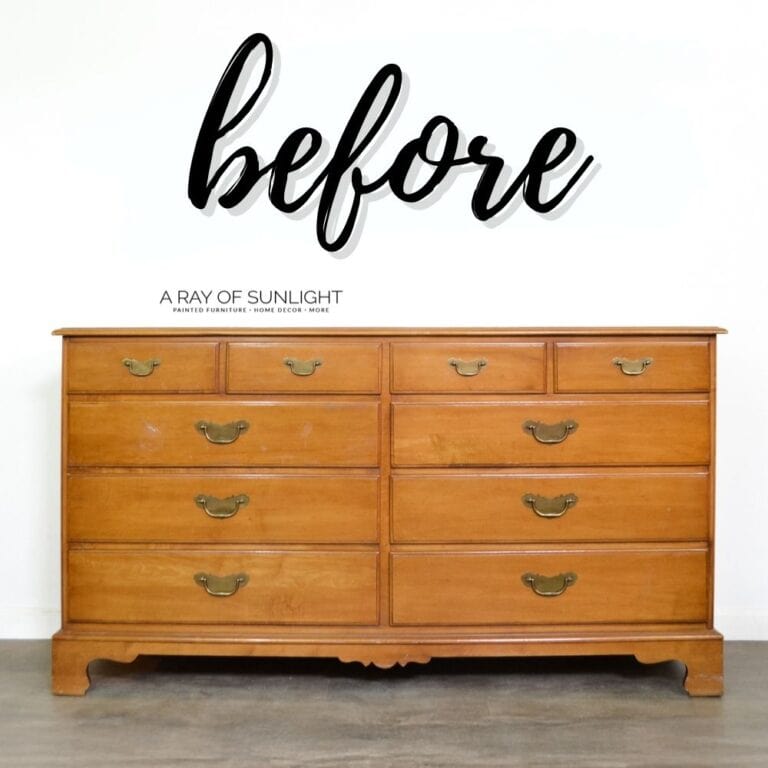
More Before and After Makeovers
See All >
Click any of these “before” photos below to view the “after” of that makeover.


The next time you’re feeling tired of your stained furniture, painting over stained wood will give it a new life, and better fit with your current style. Just remember to properly prep and prime your piece so the old stain won’t appear through the new paint!


Painting Over Stained Wood
Here’s our step by step guide on painting over stained wood and giving your old French coffee table brand new look with paint.
Materials
- Bondo
- Gorilla Wood Glue
- 220 Grit Sanding Screens (Use code RAY10 to get 10% off your order)
- Krud Kutter
- Damp Rag
- Fine Grit Foam Pads (Use code RAY10 to get 10% off your order)
- Tack Cloth
- Clear Shellac Primer
- Behr Latex Paint in Pure White
- Calcium Carbonate Powder
- 220 Grit Sandpaper
- Waterbased Varathane Polyurethane
Tools
Instructions
- First, make sure to thoroughly clean the surface of your stained wood furniture using a degreaser like Krud Kutter and a damp rag. This will remove any dirt or grime that could interfere with the painting process.
- Next, give the surface a good scuff sanding with 220 grit sanding screens and a sander. Switch to fine grit foam pads to tackle the detailed areas. Be sure to clean up all dust with a vacuum and tack cloth before moving on to priming.
- To prevent the old stain from bleeding through your new paint job, apply 2 coats of clear shellac spray primer. Let the shellac dry between coats.
- Mix homemade chalk paint using latex paint, calcium carbonate powder, and water. Filter it into a paint sprayer and apply 3 coats to the surface, letting each coat dry for an hour.
- Once the paint is dry, distress the piece using 220 grit sandpaper. Use a sander for a faster process and a more heavily distressed look. Clean up all dust from distressing.
- Mix and filter waterbased Varathane Polyurethane into a paint sprayer and apply 3 coats to seal the painted surface. Let it dry for at least 24 hours before using the furniture.
- Now, you've got a beautifully painted piece of stained wood furniture that will stand the test of time!
Recommended Products
As an Amazon Associate and member of other affiliate programs, I earn from qualifying purchases.


More Painted Furniture Makeovers
- Painting Rustic Furniture
- Painting A Buffet
- $12.49 Painted Bedside Table
- Painting Stained Furniture Without Sanding
Follow us on YouTube to get more tips for painting furniture. Or share your project with us on our Facebook Group and be part of our community. See you there!
