The Easiest Way to Paint Furniture (It Took Me One Day)
You can completely transform a solid piece of furniture without turning it into a long, overwhelming project. This is the easiest way to paint furniture because it skips sanding, skips topcoat, and still gives you a durable, smooth factory finish.
With the right products and these painting furniture ideas, you can update outdated pieces quickly and confidently. Yes, you can get durable, beautiful results in less time. Keep reading to learn how to paint furniture in one day!

Welcome to Furniture Fixer Upper day, where we join 4 of our talented furniture friends and bring you brand new makeovers! I’ll link to my friend’s makeovers after our after photos at the bottom of this post! Don’t forget to check out their masterpieces!! Okay, back to our makeover!
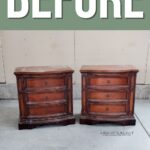
We bought these nightstands off of Facebook Marketplace. It came as a set: a king size bed frame, a very large dresser, and these two nightstands for a total of 250 bucks. Nightstands like these are so nice and very, very popular. They’re on the taller side, and they have extra drawer storage. They’re not solid wood, but still pretty good quality, especially for how new they were.

You might be thinking these look fine. Yes, I could totally just freshen up the stain and move on with my life. But my house has more of those green beige, and gray undertones. None of the surfaces in my home (kitchen cabinets, flooring etc) are warm. So when you bring in a warm orange piece like this, it looks really out of place.
So we’re on a mission to get rid of that, and we’re gonna do this in one day. With this makeover, I’m gonna share my secrets on painting furniture fast and updating orange wood furniture while still being able to do other things throughout the day. Let’s get started!

Supplies Used to Paint Furniture in One Day
As an Amazon Associate, I earn from qualifying purchases. I also may earn from other qualifying purchases with other companies or get free product to review and use. All opinions are my own.
- Screwdriver
- Drill
- Drill Brush Attachment
- Krud Kutter
- Heirloom Traditions Paint in Envy
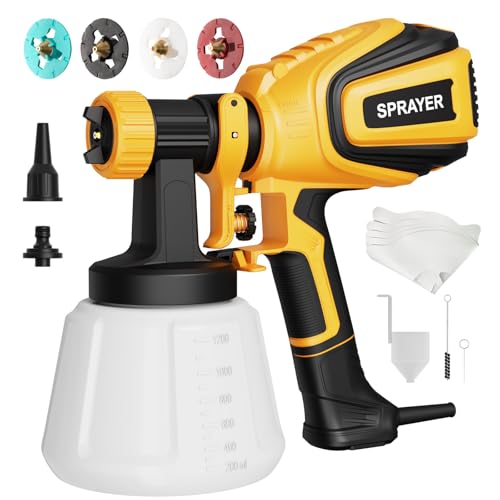
- Paint Sprayer
- Shop Vac
- SurfPrep Sander (Use code RAY10 to get 10% off your order)
- Foam Pads (Use code RAY10 to get 10% off your order)
- Zibra Mini Artist Square Brush
- New Knobs
Prepping the Nightstands
Obviously, we’ve got to get rid of that hardware so we can paint properly. I made sure to set those aside in a bowl so I don’t lose them. If you want to change yours to something new, you can read our guide on how to change hardware on a dresser here.
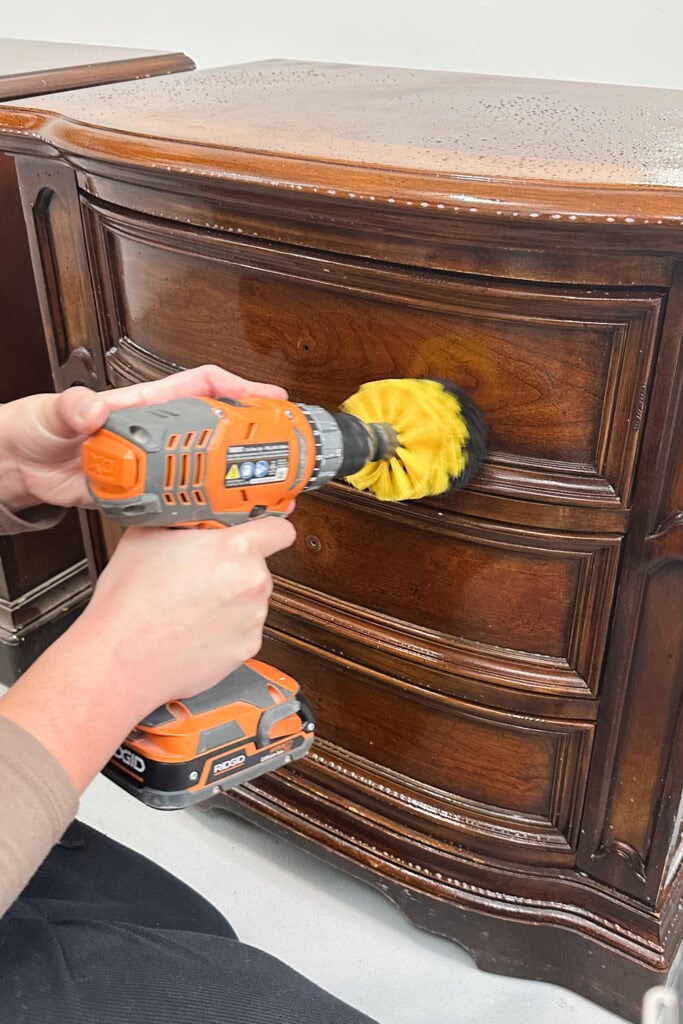
Now these old pieces have been used for many years. This had some sticky residue on the top, and there were so many details where the grime and ick can hide. With Krud Kutter and a drill brush, I was able to get into all of these corners and crevices so easily and quickly.
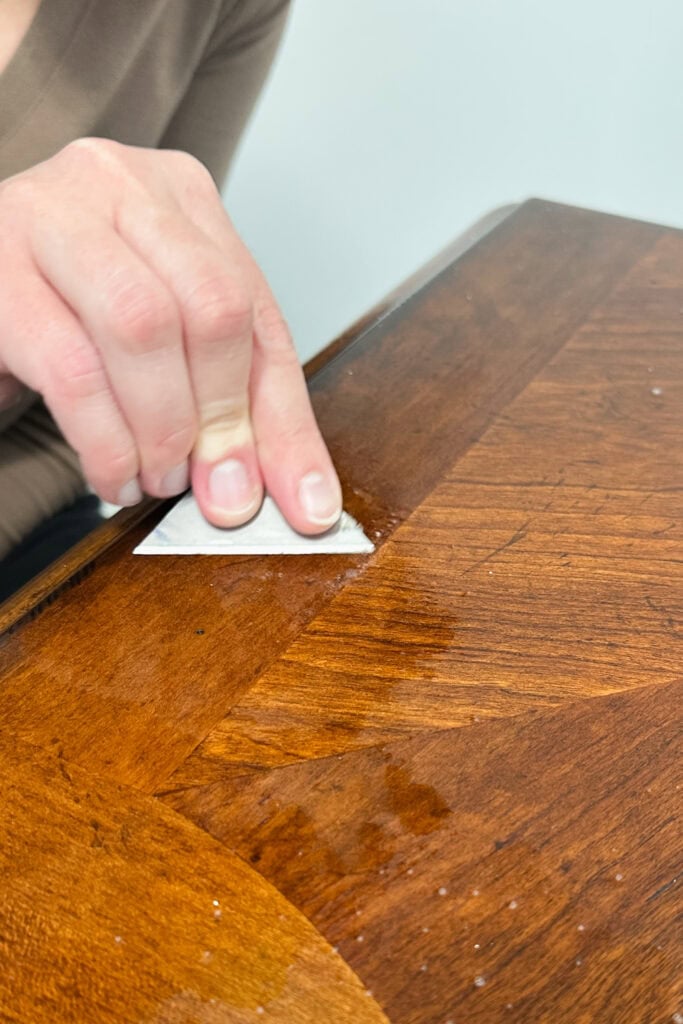
There were also a couple of spots where the finish looked like it had melted, and some other gunk. So I got rid of the gunky stuff with a razor blade.
You could skip cleaning, but your paint is just gonna stick to the grime. And the second that grime comes off, your paint’s just going to come off with it.
Since we’re not priming, sanding, or topcoating here, we really want to get it down to a surface that your paint can stick to. Learn more about how to clean furniture before painting in this post.
How to Paint Furniture Fast
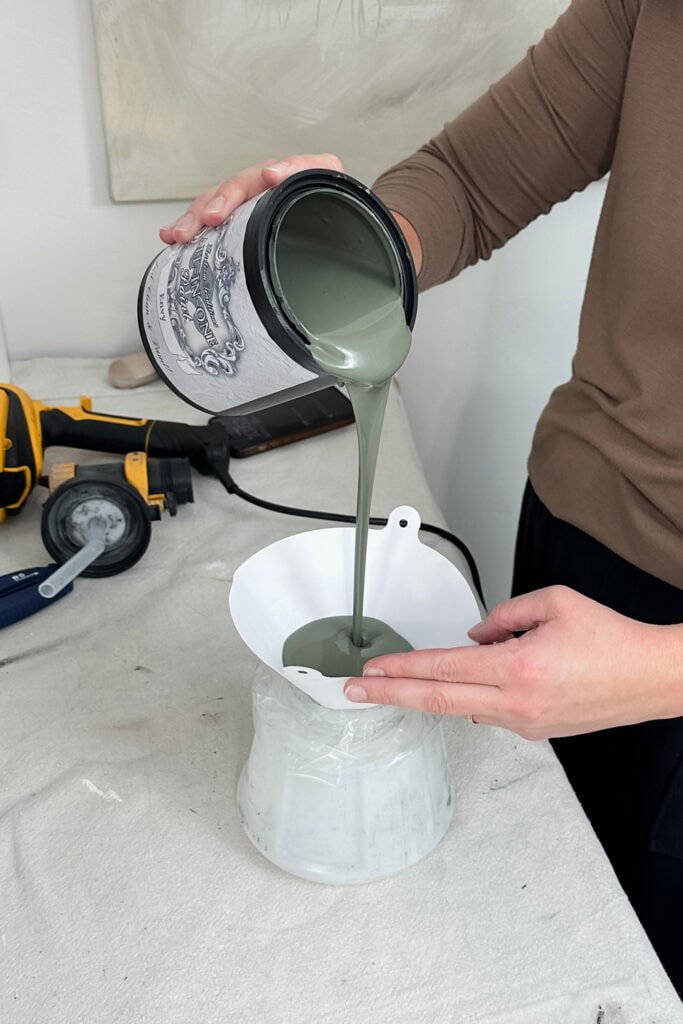
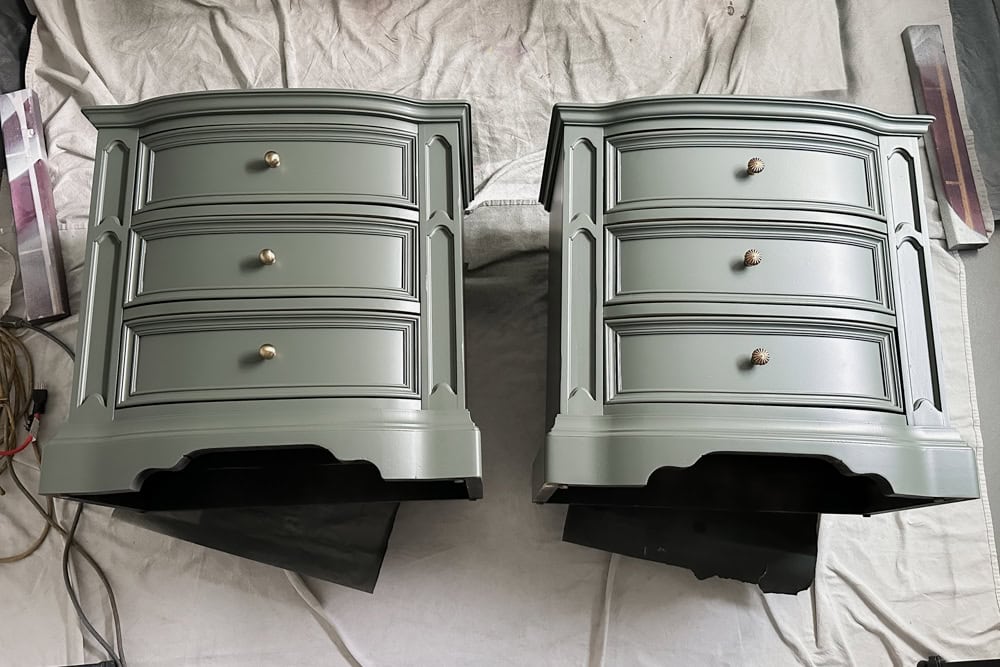
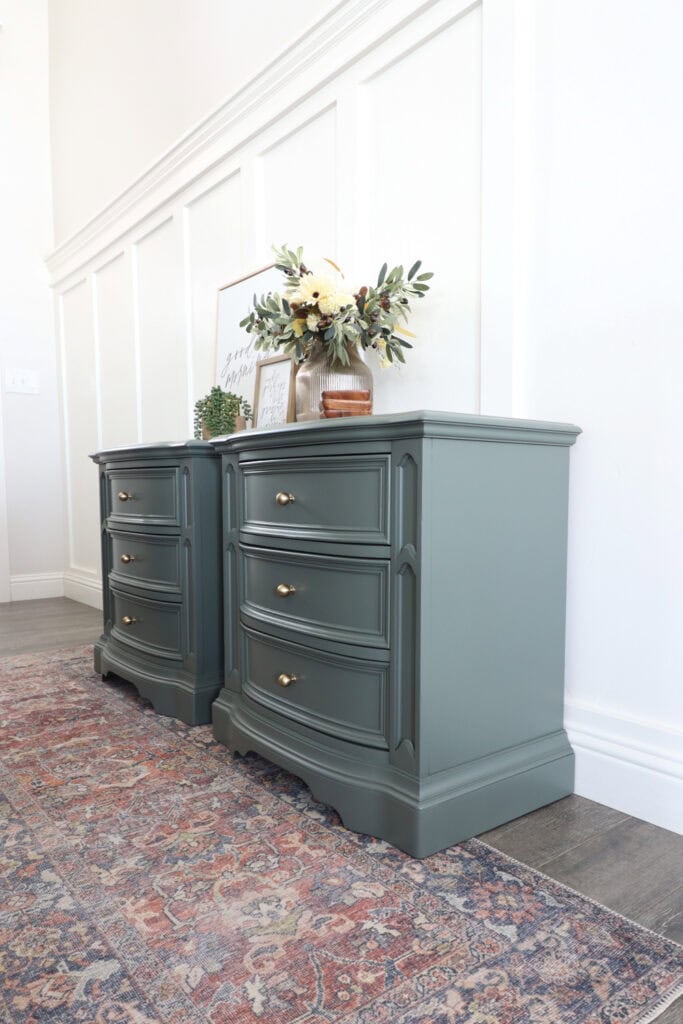
For these nightstands, I used Heirloom Traditions Paint in the color Envy. This is a gorgeous muted green, and it will go so well with the green beige undertones in my house, and I’m sure, for a lot of other houses, most likely, yours included.
Now, I don’t like my furniture to look like it was homemade or DIY. I like to make people wonder if I painted or bought it. That’s always so fun when people can’t tell.
Brush vs Paint Sprayer
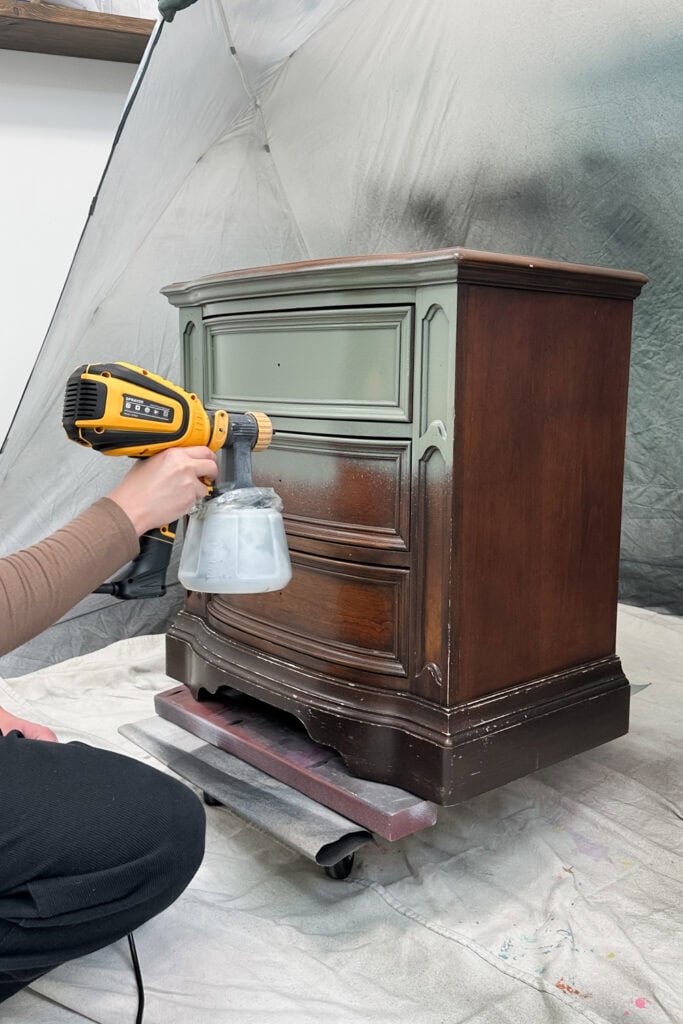
So here’s our little secret: instead of brushing on the paint, I use this beginner level paint sprayer. You can use a brush, but you’ll end up with brush marks and texture. There are only a few paints that really level out when you brush them on.
Plus, there are some other techniques involved to make it look as smooth as possible. Check out our guide on how to paint furniture without brush marks here.
Not only does using a sprayer give a really smooth, professional looking finish, but it also takes minutes to paint furniture compared to brushing it on. Check out my comparison post on spray paint vs brush paint furniture here.
It would take me over an hour to brush one coat on a nightstand, and this paint requires two to three coats. Do that for two nightstands, and that’s four to six hours. That means I’m brushing paint on this project all day long.


Sanding the Nightstands
But there were a lot of scratches on the top of the nightstands, and holes everywhere (from how they were built). After the first coat, I filled them in with plastic wood filler, then sanded it down once dry. You could sand by hand here, but that takes about 5x as long and makes a big ole mess.
Instead, I grabbed my Surfprep Sander that is connected to a shop vac, attached the foam pads, and was able to sand in a fraction of the time without getting dust everywhere while I sanded inside.
The SurfPrep Sander is definitely not for beginners, so if you’re just starting out, grab yourself this Dewalt sander and these foam pads. You can use this adapter to connect it to this shop vac hose that universally fits shop vacs to make it a dust free setup. Learn how to attach shop vac to sander here.
And then just attach your velcro sanding discs, and you’re good to sand quickly without destroying the curves on your furniture.
One step up: grab these SurfPrep foam pads, which are even squishier, to avoid sanding your curves too much. Check out our SurfPrep Sander alternative here for another perfect beginner friendly option.
Would you like to save this?
Painting the Drawers
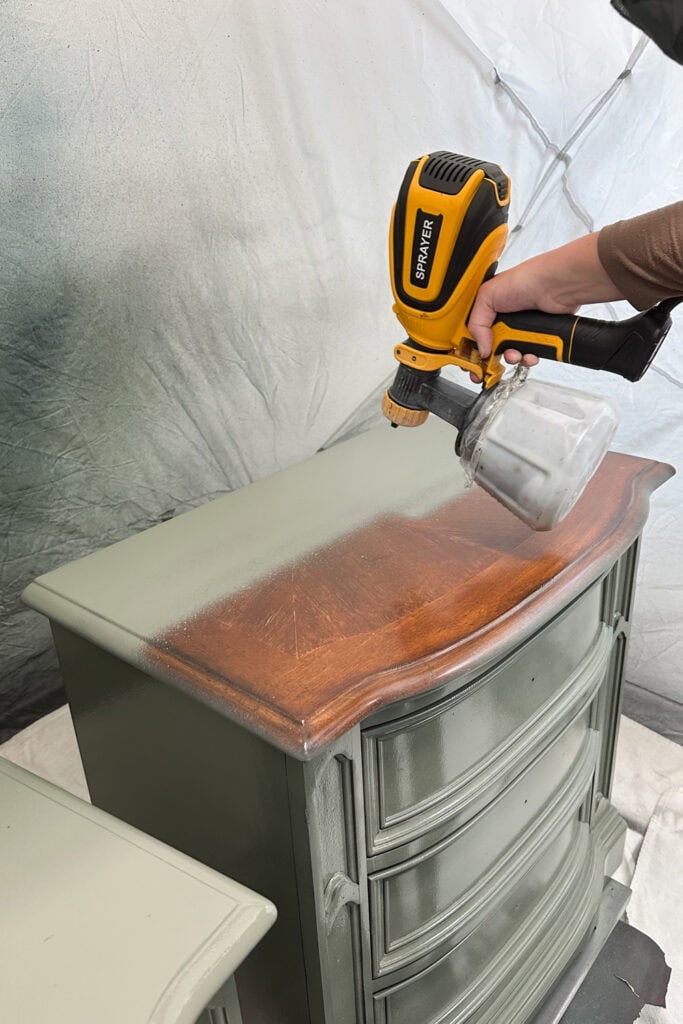
For the drawers, I always leave them in while I’m spraying, and they don’t stick when you spray them. A lot of times, I tape them off with plastic, and it takes about 3 minutes per drawer.
But this time, I decided to just brush them with a Zibra mini artist square brush. I had to apply 3 coats to each drawer, and it took about 20 minutes per coat. And I had to do that 3 times. That was an hour of time.
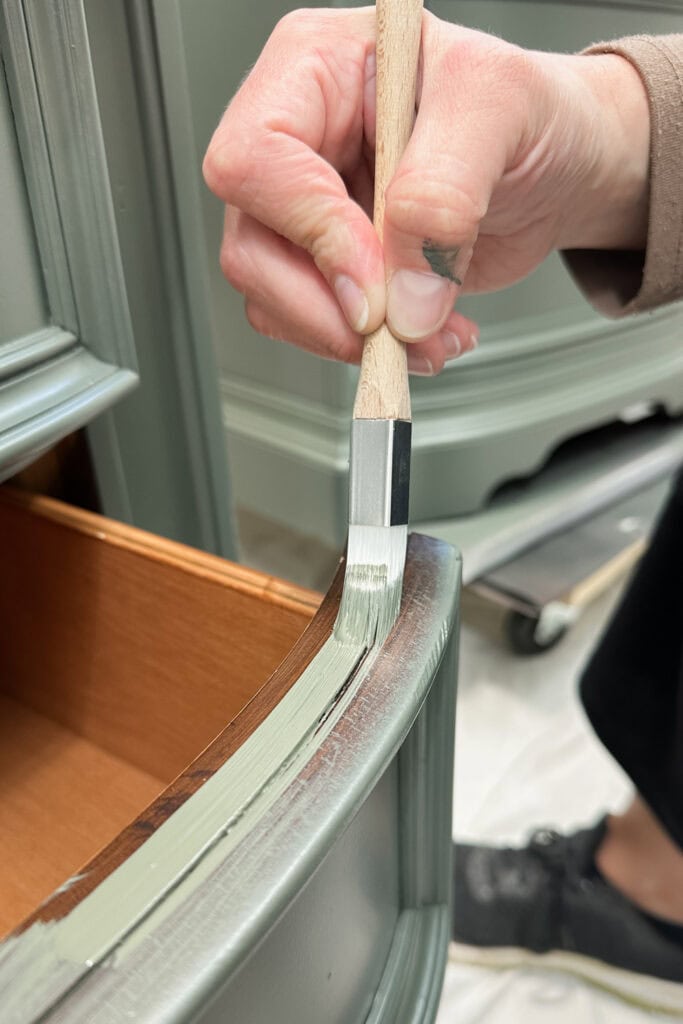
If I had just taped these drawers off, it would’ve been 30 minutes at most. So sometimes, spending a little more on supplies saves you a lot of time.
There were a few areas where I had sanded down to bare wood to smooth out scratches, so I ended up doing three coats of paint on these nightstands. If I hadn’t needed to fix those spots, two coats would have been enough.
Do I Need to Topcoat?
The other amazing thing about this paint is that you really don’t need a topcoat. It’s durable on its own. It has a more eggshell satin sheen, which is better than matte finishes that get dirty so fast, even if you barely touch them with your hands.
Even when you paint slick surfaces, after it dries for two days, you can scratch at it, and it’s not gonna scratch off. So 30 days later, when it’s completely cured, it will be hard and durable.
Heirloom Traditions Paint Review
You would think that sanding down to raw wood in some spots would give me bleedthrough issues, but no, I didn’t have them. Here are more tips on how to stop stains from coming through paint.
This paint is very, very good at blocking stains and creating full coverage, so you don’t have sheen differences where you’ve sanded down to raw wood and where you haven’t. It really has a great built in primer. And again, you don’t even need a topcoat. Check out my Heirloom Traditions All In One Paint review here for more.
I did end up having to sand, but it wasn’t for adhesion. It was just to fix the imperfections, not because it was part of the painting process. If your furniture already looks great, you don’t need to sand it.
Adding New Hardware
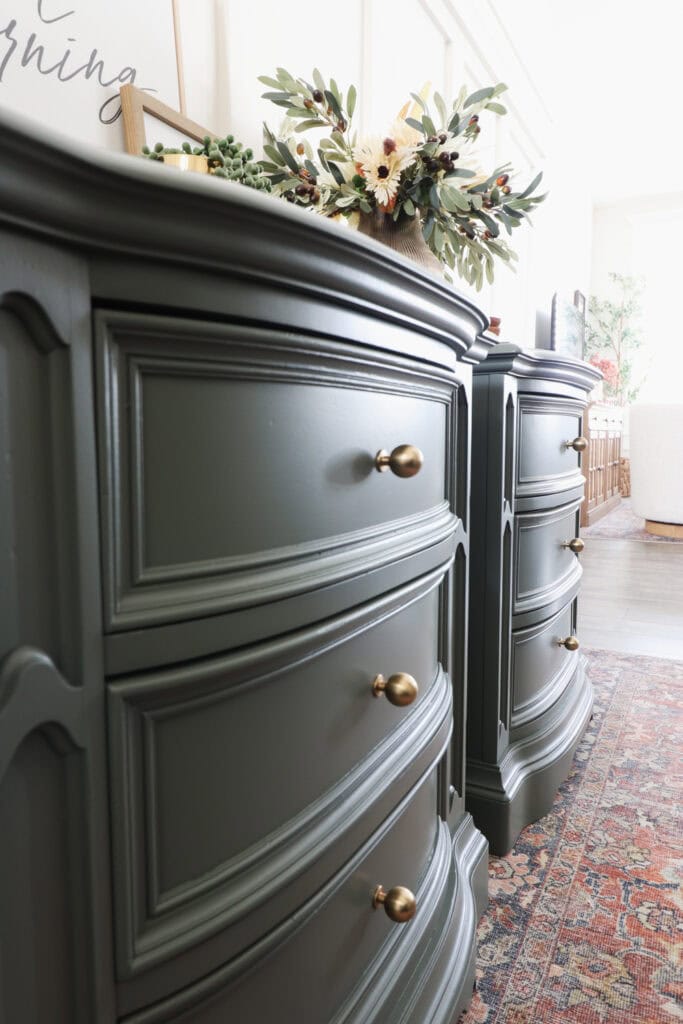
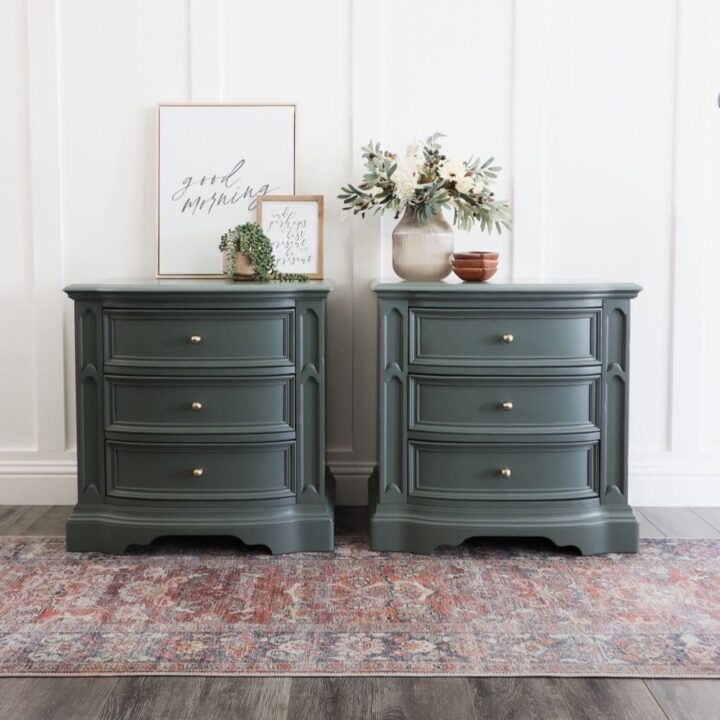
I thought maybe I would put the same hardware back on, but where is the fun in that? It just felt boring to use the same ones, so I did a little scroll on Amazon and found these two really pretty knobs.
One is more like a flower knob, and the other is just a really classic round one. When I tried them out next to each other, I really loved the classic round knob. Let me know which one you would’ve gone with!
I attached the new hardware with the old screws, and here’s what the nightstands look like now.
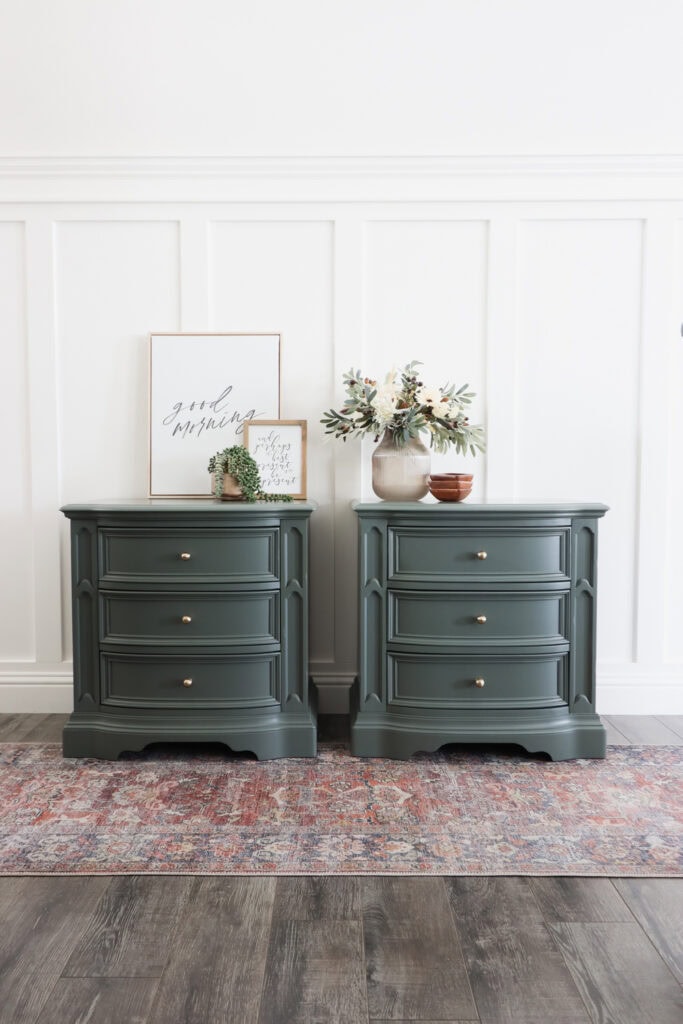
This makeover took me one day. I started around 9 or 10 in the morning, and I finished at 8 in the evening. But mind you, I ran errands and spent time with family, I was not stuck working on it all day long.
Aren’t they SO pretty now!?? I think I need to keep these, or redo my larger nightstands in this color, because I’m obsessed!
Don’t forget to check out these other awesome before and after furniture makeovers from my Furniture friends!! (Click the links below the photos!)
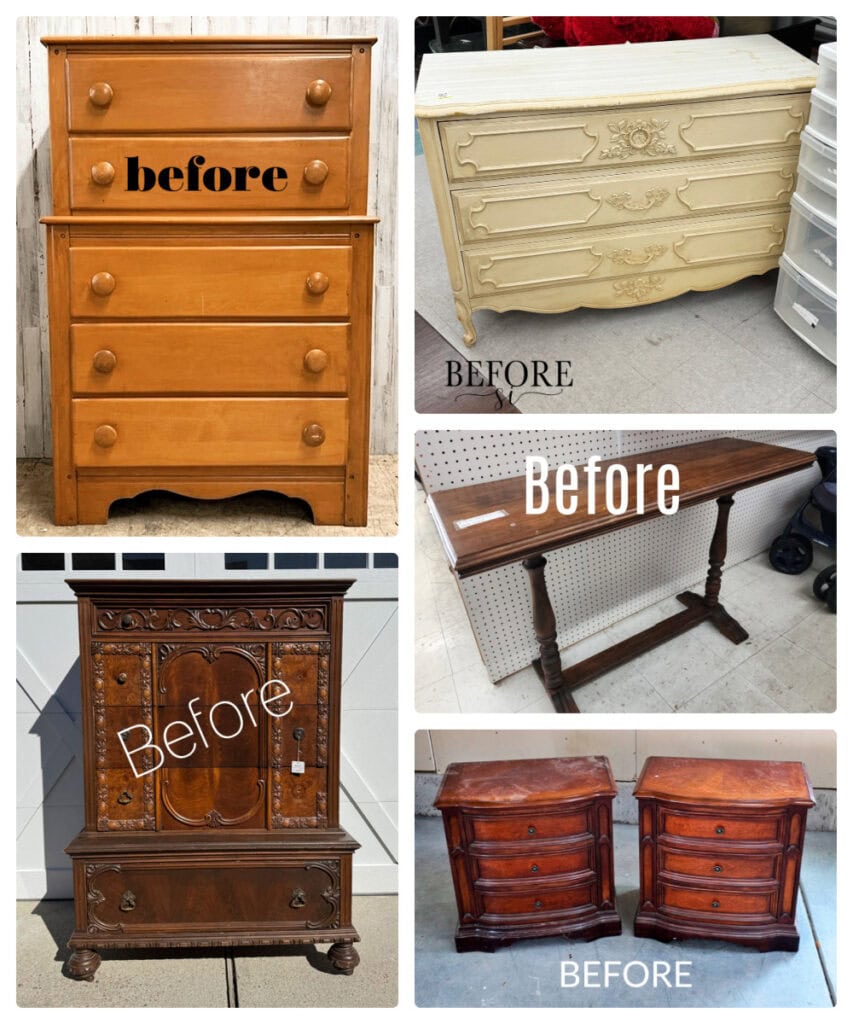
- Tall Black Dresser Makeover from Petticoat Junktion
- Black Wash Console Table Makeover from My Repurposed Life
- Matching Nightstands Makeover (you are here!)
- Nautical Dresser Makeover from Salvaged Inspirations
- The Prettiest Antique Dresser Makeover from Confessions of a Serial DIYer
More Before and After Makeovers
See All >
Click any of these “before” photos below to view the “after” of that makeover.


The Easiest Way to Paint Furniture
This is the easiest way to paint furniture because it skips sanding, skips topcoat, and still gives you a smooth factory finish.
Materials
Tools
Instructions
- Remove the hardware so you can paint properly. Set the knobs and screws aside in a container so you do not lose them.
- Clean the surface thoroughly, as old pieces have been used for many years, and grime can hide in the details. Use Krud Kutter and a drill brush attachment to get into all the corners easily and quickly.
- Apply Heirloom Traditions Paint in the color Envy, a gorgeous muted green, with a paint sprayer instead of a brush to avoid brush marks and texture. Apply two to three coats of paint for full coverage.
- After the first coat, fill in and sand any imperfections. You can attach a shop vac to your sander so you do not have to breathe in dust or make a big mess.
- After the paint has dried, reinstall the old hardware. You can also add new ones for a fresh look.
Recommended Products
As an Amazon Associate and member of other affiliate programs, I earn from qualifying purchases.


More Painting Furniture Resources
- Why Most People’s Furniture Paint Jobs Fail (and How to Fix It)
- How to Take Orange out of a Wood Dining Table
- How To Paint And Distress A Small Table
Follow us on YouTube to get more tips for painting furniture. Or share your project with us on our Facebook Group and be part of our community. See you there!
These are gorgeous, Natalie! The small classic round pulls were perfect for them! XOXO
Ahh thanks Christy! So glad you like the round pulls we used!
I’m obsessed with this color too – GORGEOUS Natalie! Pinned XOXO
Aww yay! Thanks so much Denise!!
Too complicated, I never even saw the completed look
Hey Tracy! You can find the AFTER at the end of the blog.
Natalie,
I love this color, and I’m not usually a fan of green furniture. I use a lot of HTP paint, and I love everything about it. As always, your tips are so helpful. The nightstands are beautiful!
Pinned!
gail
Aww thank you SO much Gail!
I love these, Natalie! But I love all your pieces. You always know just what to do with each piece of furniture you redo, whether it’s paint or stain or a combination finish. And I love all the colours you choose, whether it’s a light and fresh hue or something rich and dark. Green is my favourite colour and I love the green you chose for these nightstands. Thanks so much for sharing all your tips!
Aww thanks so much Anita! I really appreciate all the kind words!
Turned out beautiful. Wish I could do such a good job
Aww thanks Kathy! That means so much to us. We truly believe you could do this too. Everyone starts somewhere. Do not be afraid to give it a try!