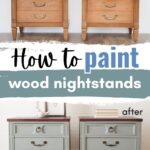
How to Paint Wood Nightstands

These pieces were a little scratched up and outdated, but knowing how to paint wood nightstands properly made all the difference. A new color is such an easy way to update older furniture, give it more style, and help it fit more seamlessly into your decor.
For more color or design inspiration before you start, check out our collection of painted nightstands ideas here. Now let’s get started with this makeover!
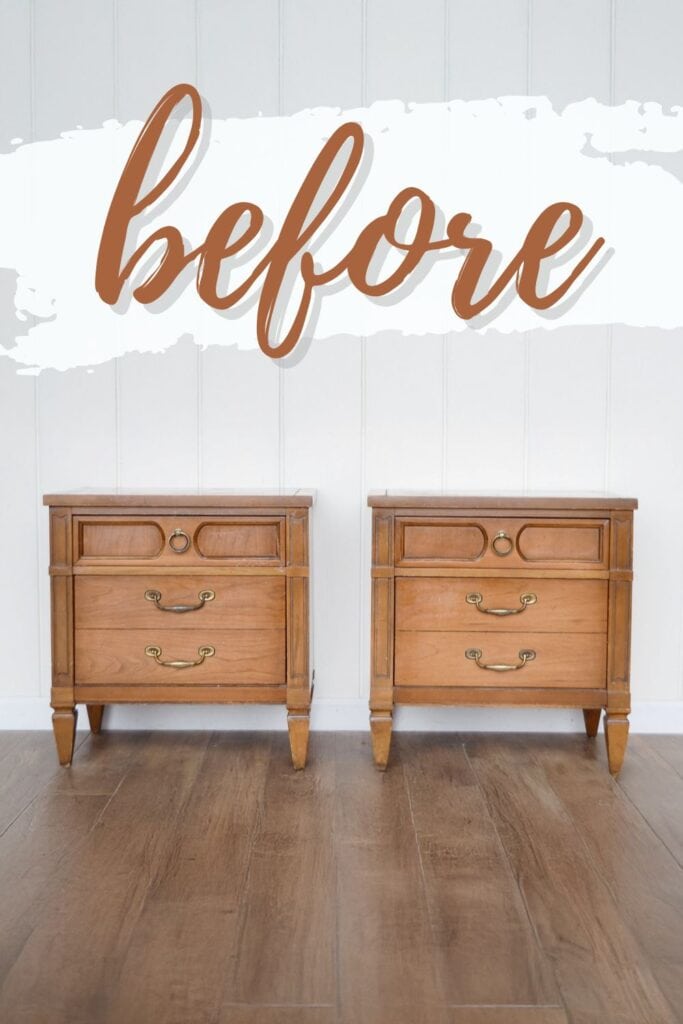
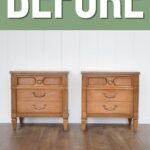
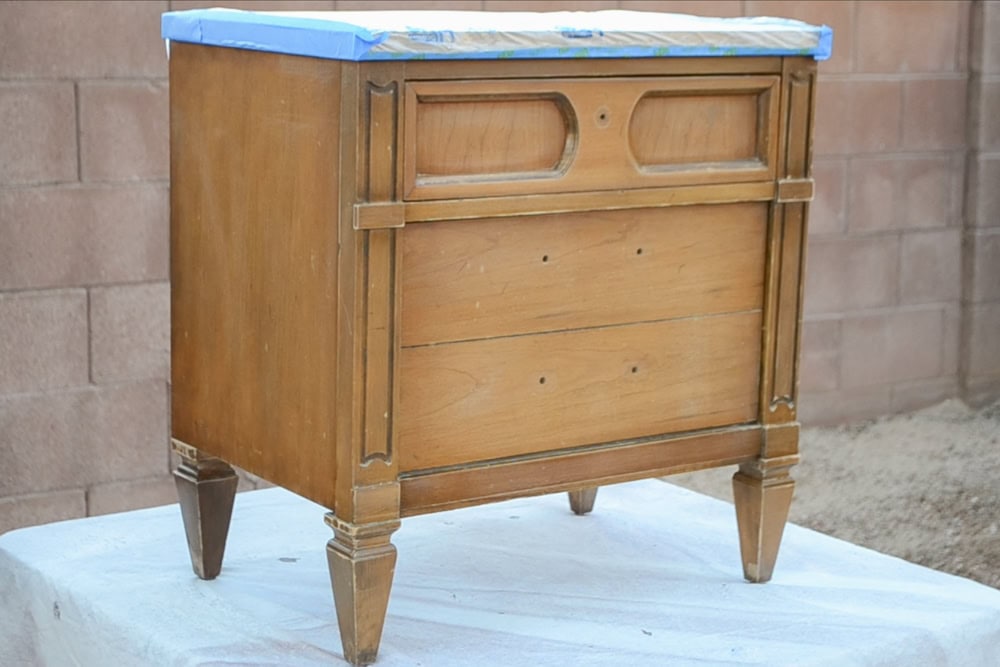
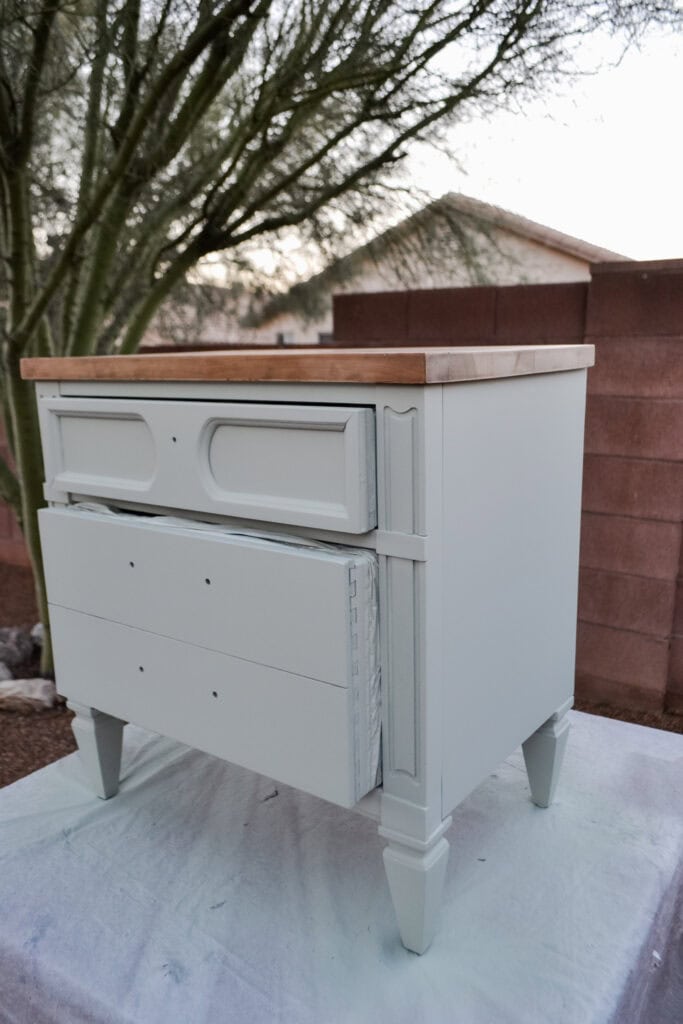
I love the look of these modern little nightstands with three drawers, but when we bought them from the estate sale, they looked a little bit rough and scratched up. Older furniture often has wear on the surface, but as long as it’s still sturdy, it is worth updating.

Nightstands are some of the most useful pieces in a bedroom because they keep everything you need close by. Having a matching set makes it even better since you get the same storage and style on both sides of the bed.
It’s hard to pass up a solid pair like this, especially when a simple update can make them look completely refreshed. So keep reading to see how we cleaned them up and transformed them with a fresh coat of paint!

Supplies Used for Painting Wood Nightstands
As an Amazon Associate, I earn from qualifying purchases. I also may earn from other qualifying purchases with other companies or get free product to review and use. All opinions are my own.
- Painters Tape
- PreTaped Plastic
- Electric Screwdriver
- Krud Kutter
- Damp Rag
- Clear Shellac
- 220 Grit Sandpaper
- Behr Latex Paint
- Calcium Carbonate Powder
- Paint Sprayer
- Varathane Waterbased Polyurethane
Prepping Wood Nightstands
The first thing I did was strip the top of these nightstands. We’re not going to go into that, because we’re going to talk more about how to paint a wood nightstand, but if you want to know more about removing the old finish before staining, go over to our blog post on how to remove stain from wood without sanding.
I taped off the raw wood tops using painters tape and pretaped plastic so they wouldn’t get painted. Then we removed the hardware. We love this electric screwdriver that’s so easy to use. You just push it in, and it twists for you, so it saves so much time when removing and reattaching the hardware.
We set the hardware aside so we could put it back on after we were done painting. If you want to change yours to give it a new look, here’s my guide on how to change hardware on a dresser.
Then we cleaned the nightstands with Krud Kutter and a damp rag to get rid of all the grease and grime. This old furniture we bought was really gross. They’ve just been used for years and haven’t been cleaned. So we got rid of all that dirt so the paint would stick.
If there are any dings or scratches on your piece, fill those in and lightly sand them down with 220 grit sandpaper. We didn’t really have a ton of deep scratches to fill and fix on these. Check out my guide on how to repair damaged wood finish to learn how to tackle those imperfections.
Priming Wood Before Painting
After that, we took it outside to our backyard, set it on a table, and sprayed it with clear shellac. Even though you would think that it’s a topcoat, it’s actually a great primer. It helps the paint stick and prevents bleedthrough issues, so we love it as a primer underneath chalk paint. It’s so fast and easy to spray on. Then we let it sit for at least a few hours or overnight for the best results.
Since we were working with a medium tone paint, it was very likely that we would have bleedthrough stains, so my recommendation for using a medium to light color is to never skip the spray shellac.
It dries fast, but make sure you let it sit overnight so it can start to seal everything and cure in that amount of time. If you just paint over it after an hour, the primer will not do as well a job at sealing in the bleedthrough stains.


Painting Wood Nightstands
I love spraying my paint on. You can spray chalk paint, milk paint, alkyd paint, and enamel paint. You can spray it all, even oil based paint. But I don’t because I don’t like the fumes, and the cleanup is a lot harder too.
I made my own homemade chalk paint with this specific sage green color that I don’t remember the color anymore, but I color matched it with Home Depot Behr latex paint in flat sheen. I mixed it with water and calcium carbonate powder, following my homemade chalk paint recipe here.
Would you like to save this?
Now, that’s not necessary, but latex paint doesn’t stick very well to slick surfaces. It’s made for walls or porous surfaces, so turning it into homemade chalk paint helps it to stick even better and not scratch off easily. Even if you topcoat latex, it’s still more likely to scratch off.
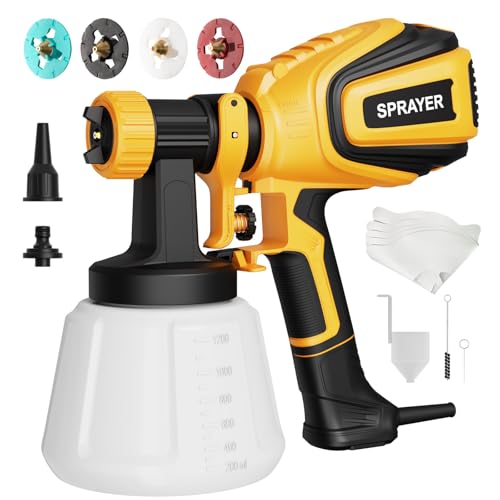
So I made it into chalk paint, and then I put it into our paint sprayer. I used our Wagner Double Duty sprayer, but it’s no longer available. Now I recommend using the Vonforn sprayer. It comes with the filters and everything that you need to get started. It’s much more powerful and sprays a fantastic glass like finish. You can check out my Vonforn paint sprayer review here.
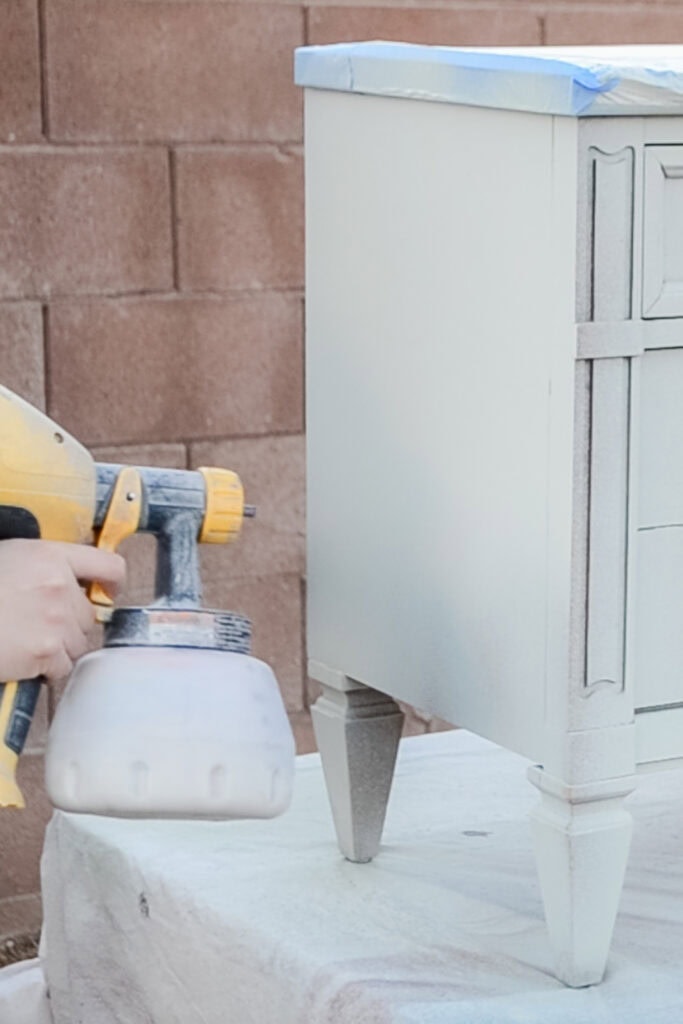
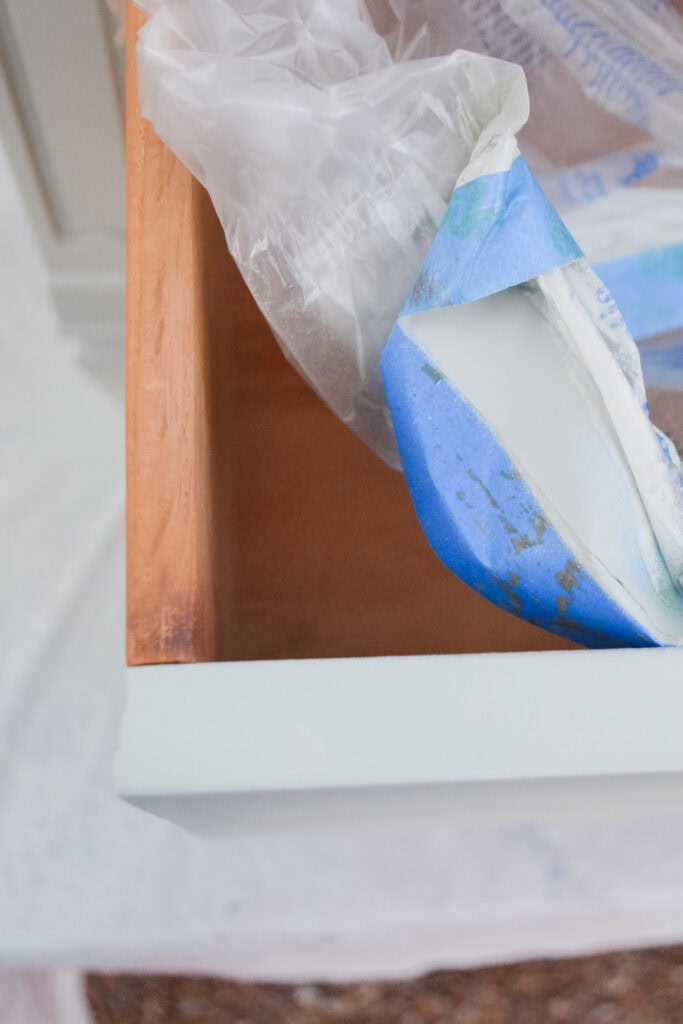
I sprayed the paint everywhere on these nightstands. I needed two to three coats for this light color. And yes, I did paint the insides of the drawer edges because I had those taped off with the pretaped plastic. I show how to tape off drawers for painting with a paint sprayer here.
Topcoating Chalk Paint
Then we added the topcoat. Chalk paint is very matte, and we need to topcoat it to make it look nice, easy to keep clean, and more durable. We put Varathane waterbased polyurethane in Satin in our sprayer just like the paint. I usually like to spray on three coats for maximum durability.
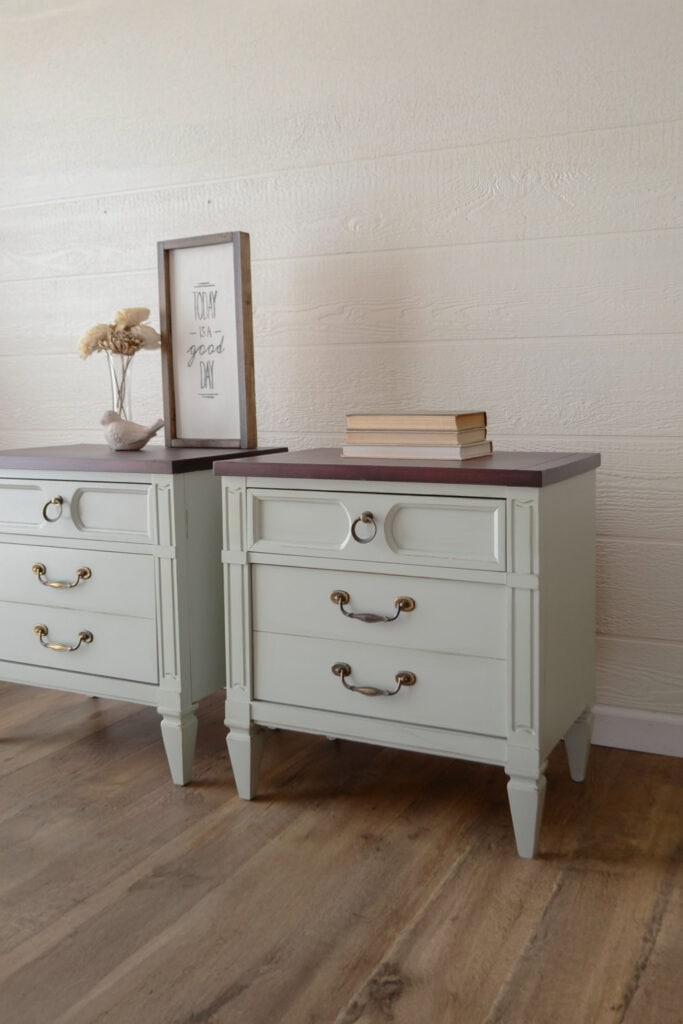
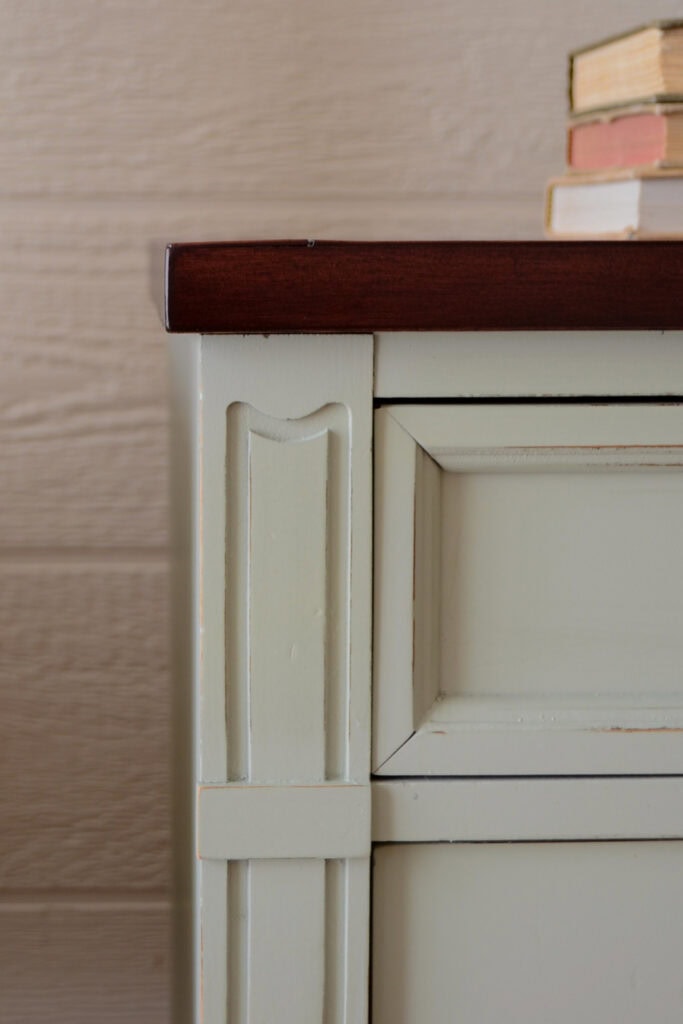
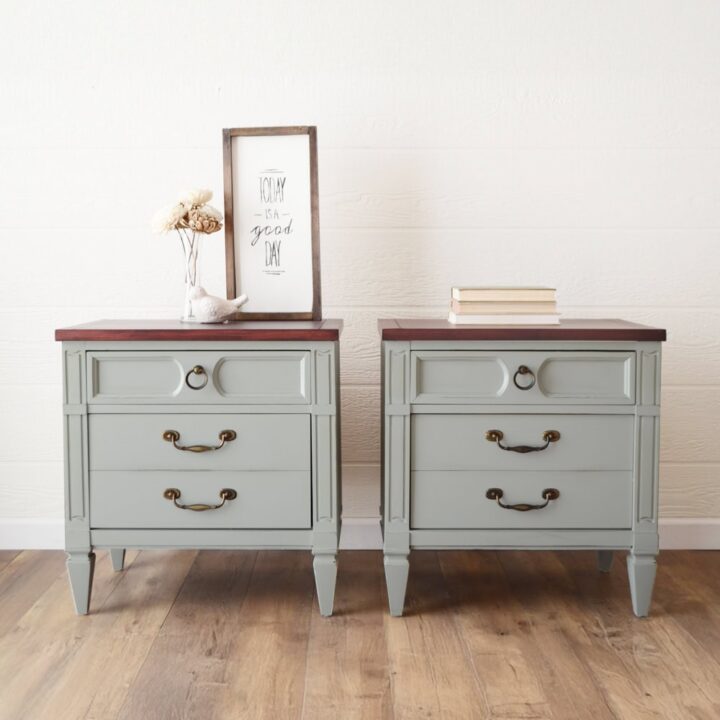
And then we stained the tops very carefully so as not to get stain on the paint. We used a mahogany stain because that was what our client requested. That gave us a fresh top that was no longer damaged. You can learn more about how to stain wood furniture here.
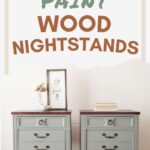
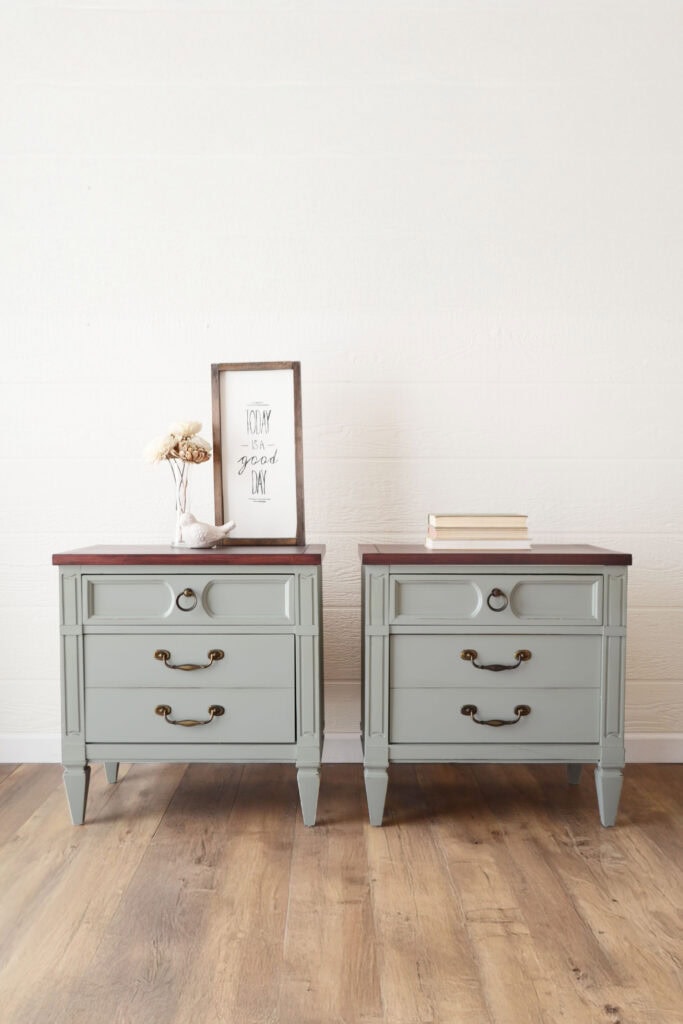
We put the original hardware back on, and here’s what they look like now! They’re so cute in this sage green color.
More Before and After Makeovers
See All >
Click any of these “before” photos below to view the “after” of that makeover.


How to Paint Wood Nightstands
Learn how to paint wood nightstands and see how scratched up and outdated pieces can be transformed with a fresh coat of paint.
Materials
- Painters Tape
- PreTaped Plastic
- Krud Kutter
- Damp Rag
- Clear Shellac
- 220 Grit Sandpaper
- Behr Latex Paint
- Calcium Carbonate Powder
- Varathane Waterbased Polyurethane
Instructions
- Tape off any areas you do not want painted using painters tape and pretaped plastic. Remove the hardware with an electric screwdriver and set it aside for later.
- Clean the furniture with Krud Kutter and a damp rag to get rid of grease, grime, and years of buildup. This helps the paint stick and gives you a cleaner surface to work with.
- Fill any dings or scratches if needed and lightly sand smooth with 220 grit sandpaper.
- Spray the piece with clear shellac to prime it and block bleedthrough. Let it sit for a few hours or overnight so it can seal and cure properly.
- Mix latex paint with water and calcium carbonate powder to make homemade chalk paint. This helps latex paint stick better to slick surfaces and makes it less likely to scratch off.
- Spray on your chalk paint using a paint sprayer for a smooth finish. Apply two to three coats until you get solid, even coverage.
- Add a topcoat by spraying Varathane waterbased polyurethane in Satin over the paint. Chalk paint is very matte, so the topcoat keeps it durable and easier to clean.
- Reattach the hardware once everything is dry. You can also use new hardware if you want a different look and style for your nightstands.
Recommended Products
As an Amazon Associate and member of other affiliate programs, I earn from qualifying purchases.


More Painting Furniture Ideas
- Painting Furniture With Wall Paint
- How to Paint Particle Board Furniture Without Sanding
- How To Paint Fake Wood Furniture The Easy Way With Latex Paint
Follow us on YouTube to get more tips for painting furniture. Or share your project with us on our Facebook Group and be part of our community. See you there!