How To Add Legs To A Dresser


Learning how to add legs to a dresser can give new life to an old or outdated piece! Small changes like this can make a huge difference in how your furniture looks and feels. Plus, it’s an easy and beginner friendly update that anyone can tackle!
With this guide, you’ll be inspired to recreate these DIY dresser makeover ideas and add more height and style to your pieces. Keep reading to get into the details!
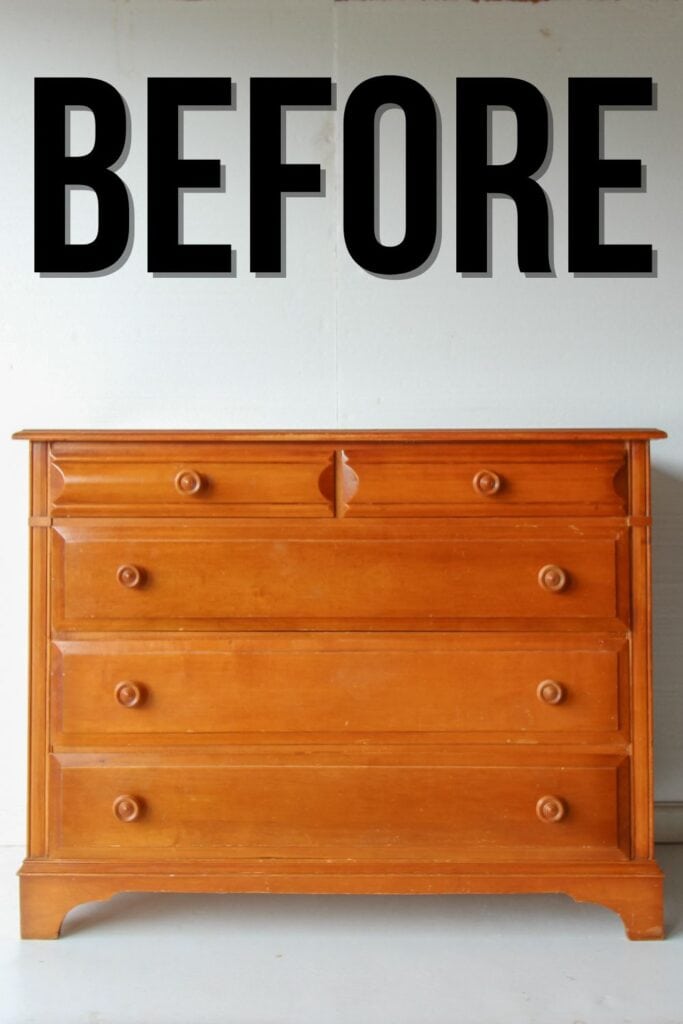
So maybe you have a vintage or antique piece of furniture, and you don’t really love the way it looks on the bottom. I didn’t love the way this dresser looked… it was fine, but I wanted it to have turned legs instead.

Or maybe you just need to add some height to it. Some dressers may be too short for what you really need, and it’s amazing how just a little extra height can make a big difference. It can totally make your piece more stylish and functional!
No matter your reason, it’s actually pretty easy to add these legs. This little upgrade works for so many different styles and sizes, so you can also do it for other types of furniture. For now, let’s dive into how to add legs to a dresser!

Supplies Used to Add Legs To A Dresser
As an Amazon Associate, I earn from qualifying purchases. I also may earn from other qualifying purchases with other companies or get free product to review and use. All opinions are my own.
- Electric Screwdriver
- Hammer
- New Furniture Legs
- Mounting Plates (came with these legs)
- Screws (came with these legs)
- Measuring Tape
- Drill
- Drill Bit
- Phillips Screw Bit
Removing Bottom of Dresser
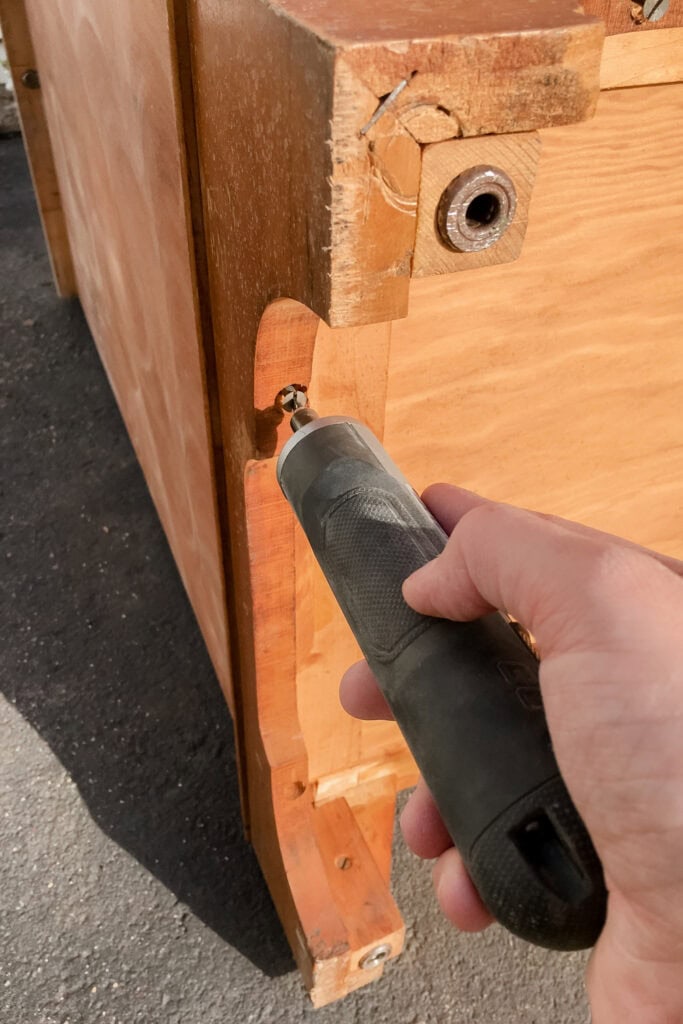
The base of this dresser looks kind of built in, right? But when we flipped it over onto its back, we could see that there were places where the base was screwed in. And so we just used our screwdriver to easily unscrew the bottom.
Now, you might see little triangle looking braces underneath as well. Those were glued onto the base. So I had to use a hammer to knock them off. It didn’t take very many hits, and then they were all off. And then I was left with a flat base.
Not all dressers are like this, so you will have to flip your dresser onto its back to see what you are left with. Some dressers go all the way down, and you can’t just take off the base.
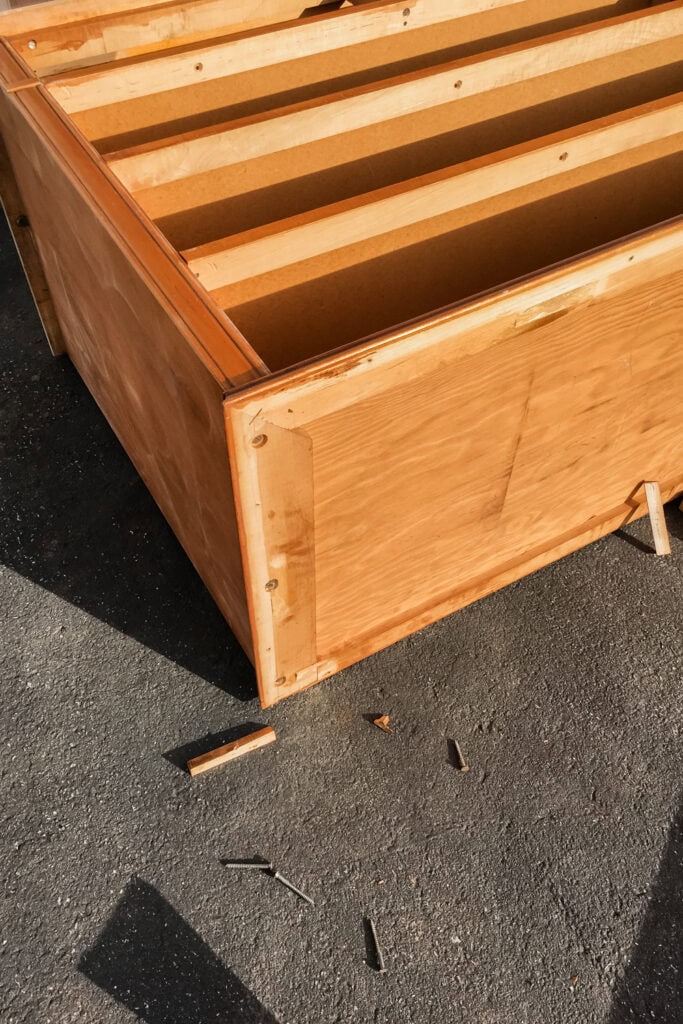
In that case, check out our guide on adding legs to a dresser, where we used a different approach to remove and create a base where we can attach new legs. Thankfully, for this dresser, we were left with a pretty flat base that we could work with.
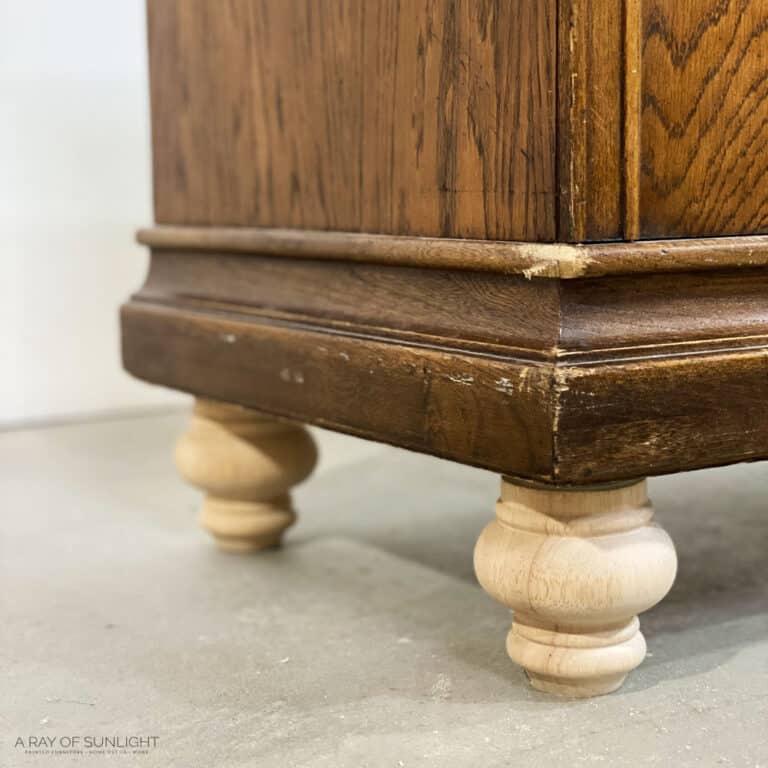
Adding Legs to Dresser
Okay, so now the next thing is what legs to put on. You can check out my list of the best wood legs to add to furniture, I have some great options there for you.
So for this, you just need an electric drill, a drill bit, and the Phillips screw bit. You’ll also need a tape measure to make sure that all the legs are the same distance from the edge. I measured how far I wanted the metal base away from the edge, which was about a quarter of an inch.
You can see on this dresser that I lined them up kind of where they would be a continuation of the front sides of the dresser. Anyways, just make sure that wherever you place the metal base, you won’t see it when you flip the dresser back over.
These specific legs came with these basic metal plates and screws. I centered the plates on top of the legs, marked the holes with a pen, and then drilled into those four holes using a smaller drill bit than the screws.
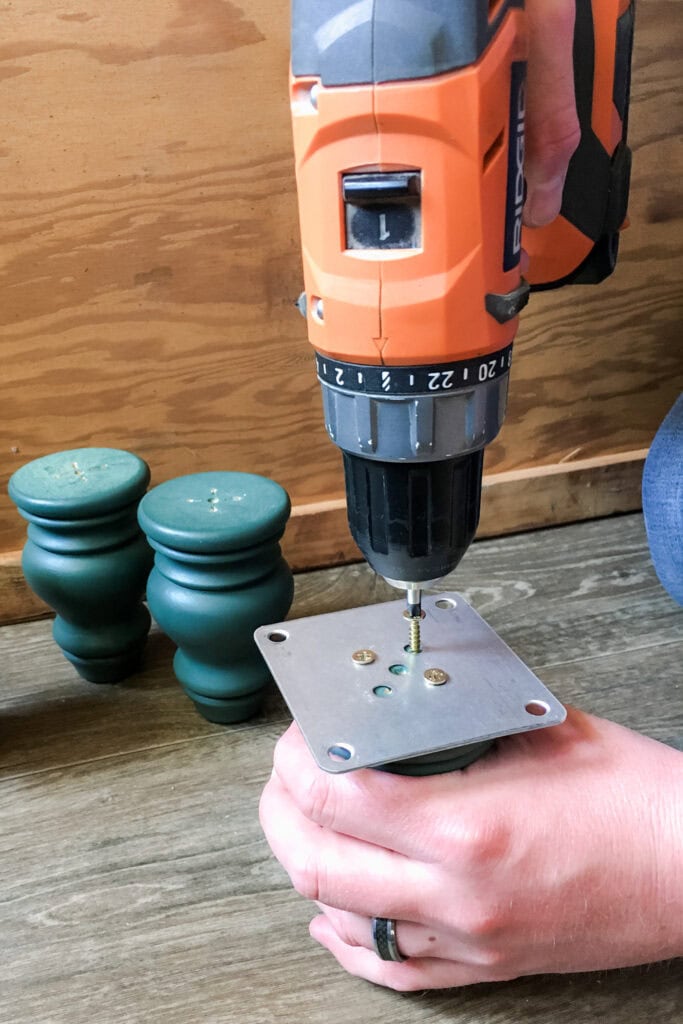
This is just a starting hole or a pilot hole. It helps the screws go in easier and better. When I drilled, I didn’t want to drill as deep and as wide as the screws are. This just helps the screws go in without splitting any wood or causing any damage.
After the legs are attached to the metal plate, I lined them up with the metal plates attached to the four corners of your furniture, making sure to keep them evenly spaced on all corners.
Would you like to save this?
If one leg is an inch from the edge on both sides, we want to make sure that it stays that way for all four legs, so they’re all evenly spaced and positioned in the same way.

And then I do the same thing when I’m attaching the plate to the bottom of the furniture. I marked where the holes were, then I pulled the plate off. I drilled pilot holes again, and then put the plate back on, and then screwed in the screws.


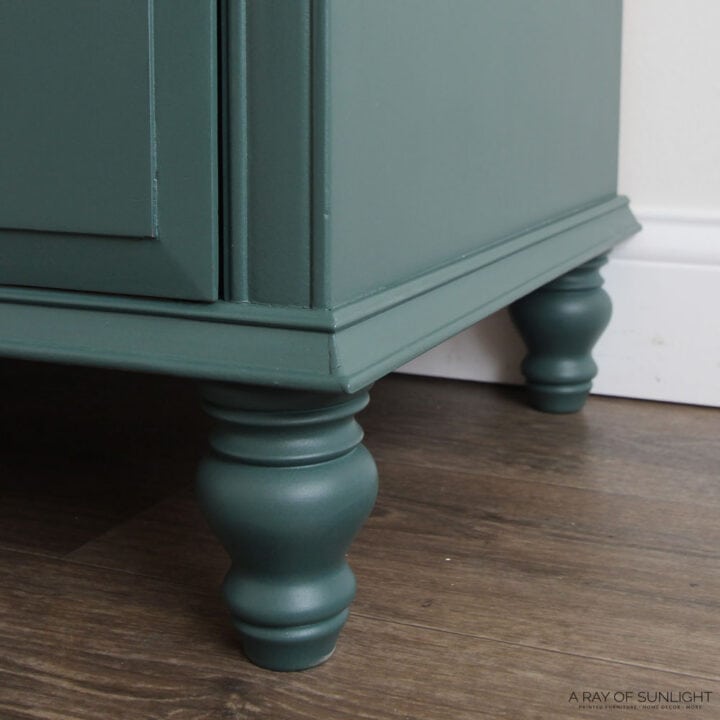
Painting the Dresser and Legs
I did refinish the dresser before I added the legs. I stripped the old finish from the top, check out our blog post on how to remove wood stain to learn more about this step. And then I taped it off so it doesn’t get paint on it.

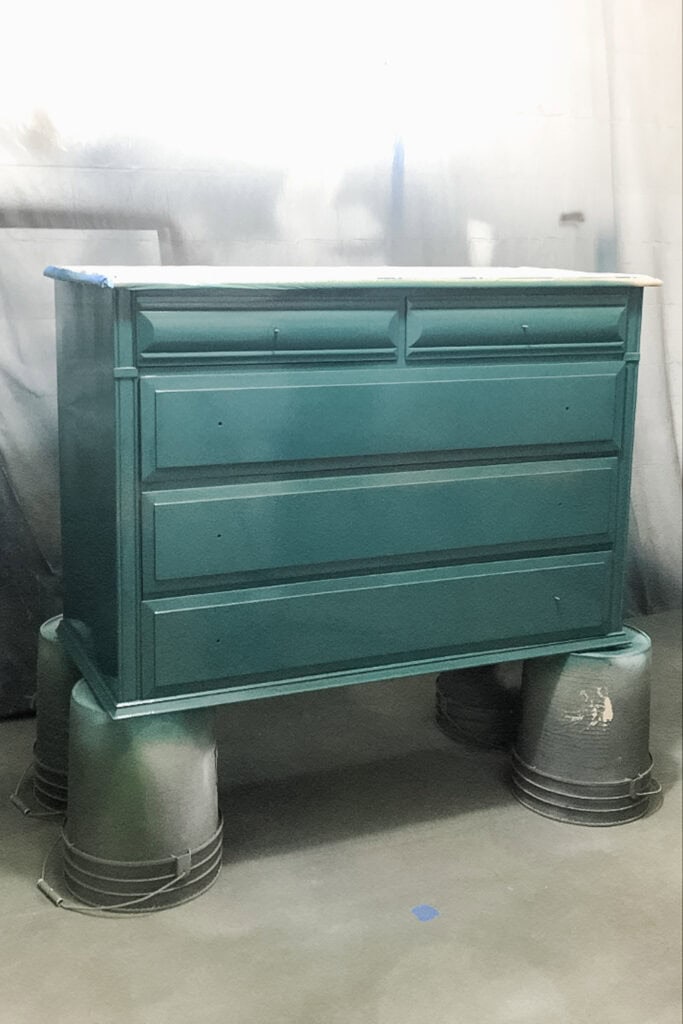
Actually, I painted this piece first with Mud Paint in the color Hunter Green, and it was really streaky. I wanted a clean finish without streaks or variations in the color, and I was just not getting that.
So, I color matched some Home Depot Behr latex paint to this same color and used calcium carbonate powder to make my homemade chalk paint recipe. Here’s another homemade chalk paint dresser makeover I did for more tips on using this homemade version.
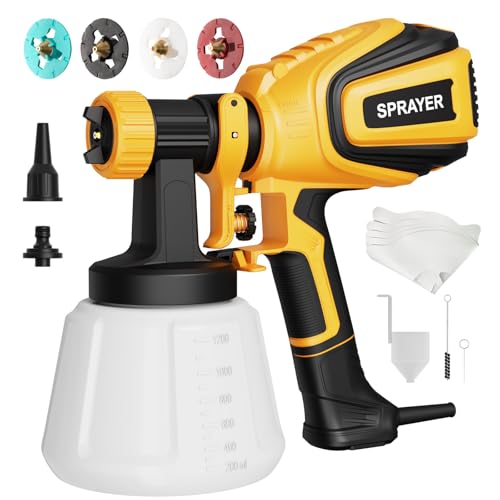
Then, I used my Fuji paint sprayer to apply it on. Our beginner friendly sprayer that’s less than 50 bucks also does a fantastic job at spraying paint on with a smooth finish. Learn about it in my Vonforn paint sprayer review here.
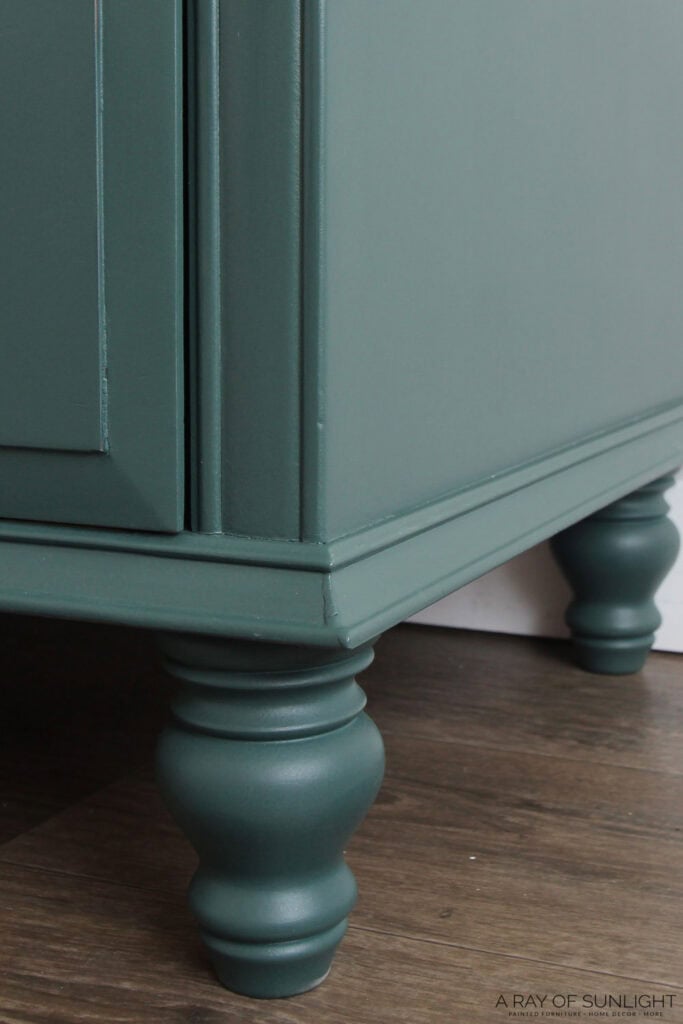
After that, I topcoated it with waterbased polyurethane, and then I removed and painted the legs as well. For a more natural look, you can learn how to refinish wood furniture legs in this post.
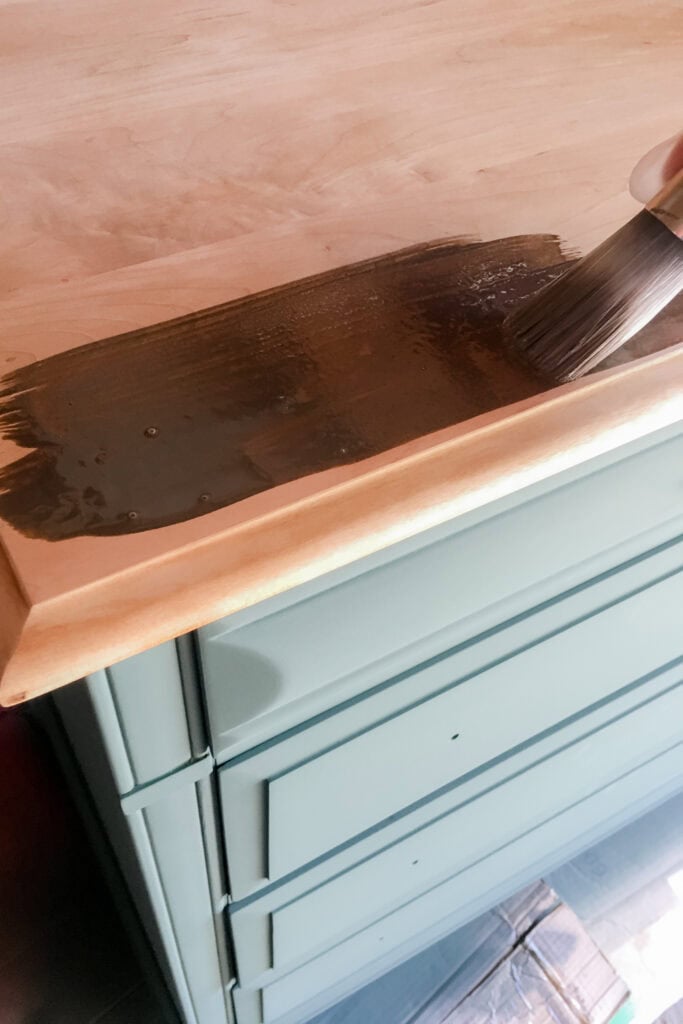
Then I removed the plastic on the top, and I stained it with Special Walnut oil based stain. If you haven’t done it before, here’s my guide on how to stain furniture for beginners to get you started. I let it dry and then topcoated it with more waterbased poly.
And then I was able to attach the legs! You can also check out my other guides on how to add legs to a cabinet and how to add legs to a buffet to see what the process is for different types of furniture out there.
See how adding legs is such an easy way to refresh an old dresser? With just a few tools and simple steps, you can give your furniture a new look that’s both stylish and functional. This DIY hack is perfect for both beginners and pros, so try it on your next dresser makeover!


More Before and After Makeovers
See All >
Click any of these “before” photos below to view the “after” of that makeover.


How To Add Legs To A Dresser
Learn how to add legs to a dresser for an easy and beginner friendly update that can give new life to an old or outdated piece.
Materials
- New Furniture Legs
- Mounting Plates
- Screws
Tools
- Electric Screwdriver
- Hammer
- Measuring Tape
- Drill
- Drill Bit
- Phillips Screw Bit
Instructions
- Flip your dresser onto its back to see what you're working with underneath. Use your screwdriver to easily unscrew the bottom base if it's attached with screws.
- Knock off any braces that are glued onto the base with a hammer. You'll be left with a flat base to work with.
- Pick out what legs you want to put on your dresser and gather your electric drill, drill bit, and Phillips screw bit. You'll also need a tape measure to make sure all the legs are the same distance from the edge.
- Measure how far you want the metal leg plates away from the edge - about a quarter of an inch works well. Make sure they are the same distance.
- Center the plates on top of the legs and mark the holes with a pen. Drill into those four holes using a smaller drill bit than the screws to create pilot holes.
- Attach the legs to the metal plates first, then line them up with the four corners of your furniture. Keep them evenly spaced on all corners so they're positioned the same way.
- Mark where the holes are on the bottom of the furniture, then pull the plate off and drill pilot holes again. Put the plate back on and screw in the screws to attach everything securely.
More Furniture Legs Resources
- How to Add Legs to a Nightstand
- How to Refinish Wood Furniture Legs
- How to Change the Bottom of a Dresser
Follow us on YouTube to get more tips for painting furniture. Or share your project with us on our Facebook Group and be part of our community. See you there!
Gorgeous dresser but it appears the base mounting plate is too large. Did you have to add extra wood for proper support?
Aww thanks Anna! For this one, we didn’t really worry about adding extra wood. We had that one that didn’t have a screw going into wood, but three out of the four was enough. It felt stable and secure enough so that’s how we did it. But in the past, we’ve done ones where we have added pieces of wood if we feel like it needs it to be more stable. Hope that answers your question!