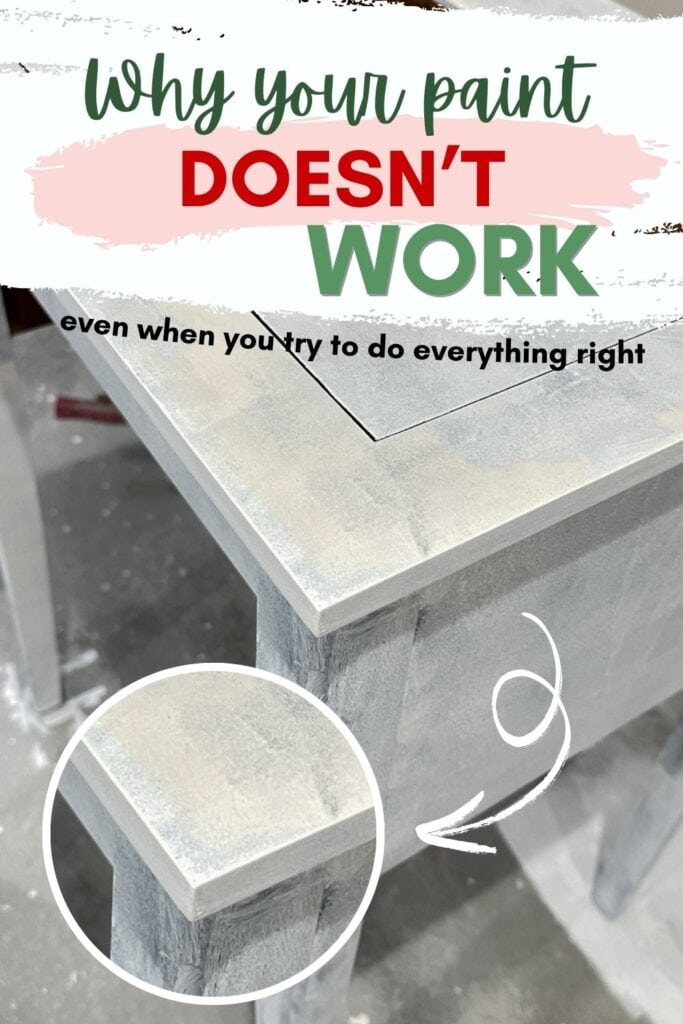
Why Your Paint Doesn’t Work (Even When You Try to do Everything Right)

Ever wondered why your paint doesn’t work even when you try to do everything right? You’re not alone! So many of us get frustrated when the paint peels or won’t stick, especially after spending hours on a project.
In this post, I’ll dive into the reasons why your paint jobs fail and how to tackle them for good, so when you recreate these painting furniture ideas, you’ll get that smooth, professional finish every single time!
Think you can prep all furniture the same way? I once used the wrong method, and the dresser swelled up like cardboard. Here’s the thing: even if you use the right products, if you don’t treat the material correctly, your paint job can still fail.

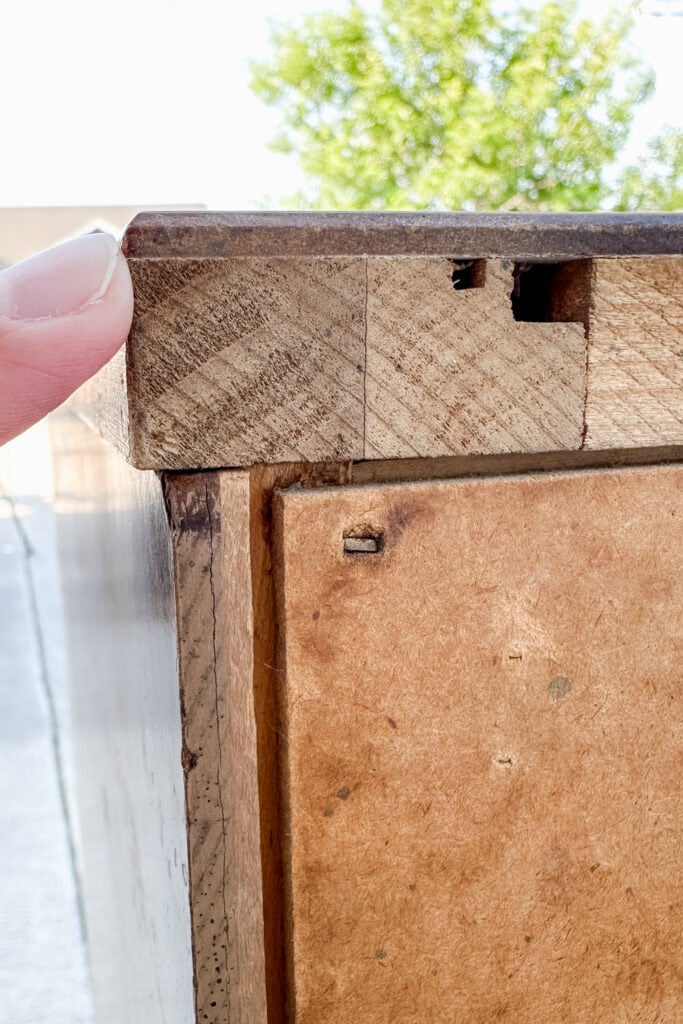
Most thrifted or secondhand furniture is not solid wood. It’s often a mix of wood, laminate, and particle board, and sometimes all on one piece. Even if it all looks like real wood, they are hiding it. It is not all real wood anymore.
And each one of these materials reacts totally different when you paint it. Once you know what you’re dealing with, you can prep each of them the right way. Let’s get into the details so your next furniture makeover turns out just the way you want!
Wood vs Laminate vs Particle Board
Wood bleeds through with these weird stains if you don’t prime. Laminate will fight your paint unless you scuff it up and give it something to grab onto. It’s kind of like a new phone without a case. When you don’t have a case on, your phone can just fall out of your hand. It’s so slick, but when you put a case on that phone, you are able to hold on to it really well.
The same thing happens with laminate and paint. Here’s more on how to paint laminate furniture. And then particle board, it swells and bubbles if you even think about putting a waterbased product straight onto it. Get more tips on how to paint particle board furniture here.
Once you know how to spot what you’re working with, the panic goes away. You can keep it simple and still get a professional looking finish.
Here’s one of my biggest mistakes: I found this beautiful dresser. It was Stanley made. I thought it was solid wood back when I didn’t know any better. I cleaned and sanded it, and then I just went straight on with my chalk paint.
I did not even prime it back then. Right after the brush hit that one corner where there was just straight particle board, it started bubbling. It was like wet cardboard. That’s what particle board does when water based products hit it raw.
It swells, gets soft, and the texture never goes back to smooth. I let it dry, sanded it as smooth as I could get it, but the particle board just flakes apart once it’s bubbled, and you try to sand it. It’s kind of like trying to sand wet cereal. I could never get that section to look right again. And it made the whole dresser feel cheap, even though the rest looked fine.
Yellow Stains Coming Through Paint
Bleed through stains were another hard lesson. I cannot count the number of times I have thought that maybe I could skip the primer on this one, only to watch the yellow, pink, and brown splotches come through every single coat of paint.
Learn all about how to stop stains from coming through paint in this post. Get more answers on why is yellow coming through white paint here.
At first, I thought it was just my paint or my technique. I didn’t really understand where these little stains were coming from. But no, it is the wood or the furniture itself. The oils, tannins, and even old stains on furniture can just leech right through unless you seal them. And they will not go away unless you prime.
And don’t get me started on laminate. I learned early that if you don’t prep, the paint will scratch right off. You touch your fingernail to it, and the finish is gone.
I remember the first time I painted some IKEA furniture. It was one of those cubed bookshelves. And yeah, I took some extra time prepping it. I sanded and cleaned it really well, but I didn’t prime it.
And I can’t believe that I did that. I still get a little bit annoyed with myself for not priming that laminate piece. I should have known better. That surface was so slick. I painted it, and sure enough, that paint just scratched right off.
Back then, distressing was so in. And so I did distress this, and man, the paint peeled. Usually, when I paint furniture and distress it, the paint doesn’t just peel off like this, but it peeled off. It was a disaster.
Thankfully, I learned pretty fast after that incident. You can’t really apply most paints to laminate furniture. I’ve seen enough pieces peel and scratch to just know that it is not worth skipping prep. Check out the best paint for laminate furniture and the best chalk paint for laminate furniture options in these posts.
As an Amazon Associate, I earn from qualifying purchases. I also may earn from other qualifying purchases with other companies or get free product to review and use. All opinions are my own.
Why Priming Is Important When Painting Furniture
That is why primer is so important. I cannot stress this enough: primer is so important. Here’s more about priming wood for painting. And it’s why on this project, I actually used two different primers.
Would you like to save this?
This MCM dresser is made of laminate, particle board, and real wood. If I had just thrown some paint onto it without thinking too much, the laminate would have peeled, the particle board would have bubbled up, and the raw wood would have bled through.
Even though I’m using a darker paint color, you still could have seen the wood tannins bleed through the paint. Trust me on this. I have seen wood bleed through on black paint. Now, it’s not as noticeable as other paints, like white or light colored paints, but I could still see bleeding through the black finish.


Why White Primer Under Dark Paint Doesn’t Work
Normally, I tell beginners they can just keep it super simple and use a tinted primer like BIN shellac. It does everything. It seals particle board, blocks stains, and helps paint stick to slick laminate. However, BIN primer is white, and I’m using a dark paint color here.
White primer under dark paint is not my favorite. Heaven forbid if and when the paint chips, you will see a big, bright white spot. The contrast between the dark paint and the white primer is just way too much.
And yes, while we want to use the most durable paint that we can and follow the correct process, your paint will inevitably just chip or scratch, especially if you have kids or pets or if you’re not super soft with your furniture.
I mean, think about paint on cars. It is very, very durable paint, but heaven forbid when somebody door dings you, the paint chips or scratches. The same thing is true with painting furniture.
A lot of these paints are very good for your furniture and are very durable. But if they get hit hard enough, it’s going to chip or scratch. And if you have dark paint with white primer underneath, you are going to see that white primer show up, and it does not look good.
The other thing about white primer under dark paints is that it can actually take more coats to fully cover, and sometimes it even makes the final paint color look a little bit lighter. So, I didn’t really want to use a white primer underneath this dark paint.
How to Prep Furniture With Laminate, Wood and Particle Board
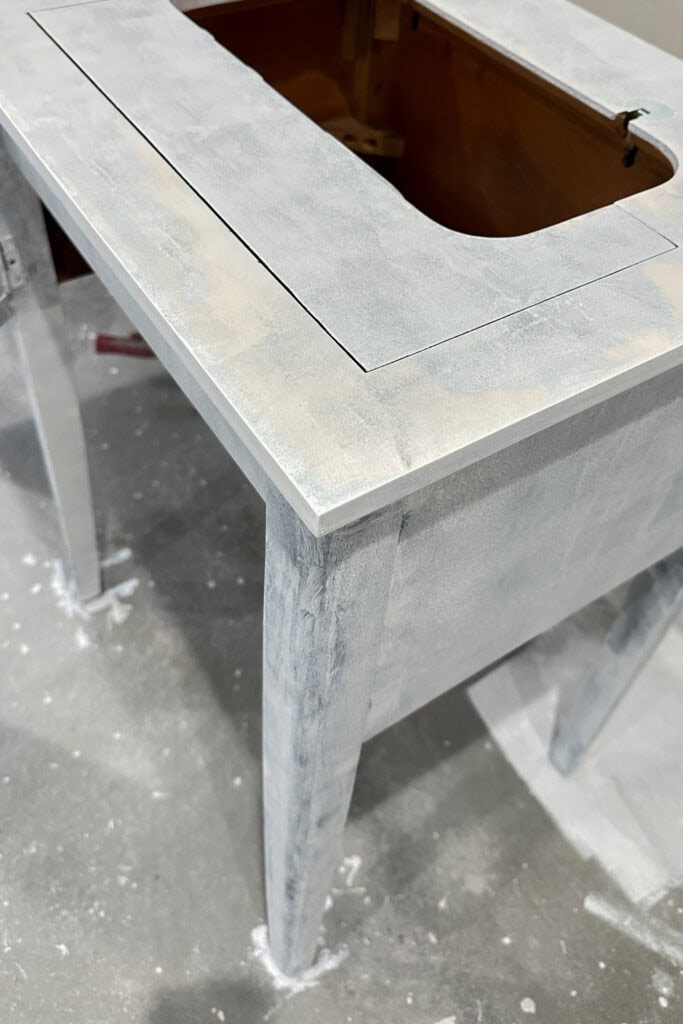
For this project, I sealed everything with clear shellac first. That sealed in the particle board and gave me adhesion everywhere. The laminate, the wood, and the particle board were all sealed in. Learn more about how clear shellac is one of the best bonding primer for laminate furniture options in this post.

Then I went in with this black Aqualock primer to even out the surface. And here’s why it matters: when you sand down a piece, you end up with splotchiness all over. Patches of raw wood, patches where the finish is still there, and some places in between.
And if you skip that tinted primer, you will see all of that through the paint. The raw wood soaks up the paint and makes it kind of look flat, and then the finished spots stay a little bit shiny.
Your sheen will look flat, shiny, and satin. Kind of like polka dots all over. It’s not good, and it will look blotchy. No matter how nice your paint is, if it has some primer in it, it will still look splotchy. Trust me on this one.
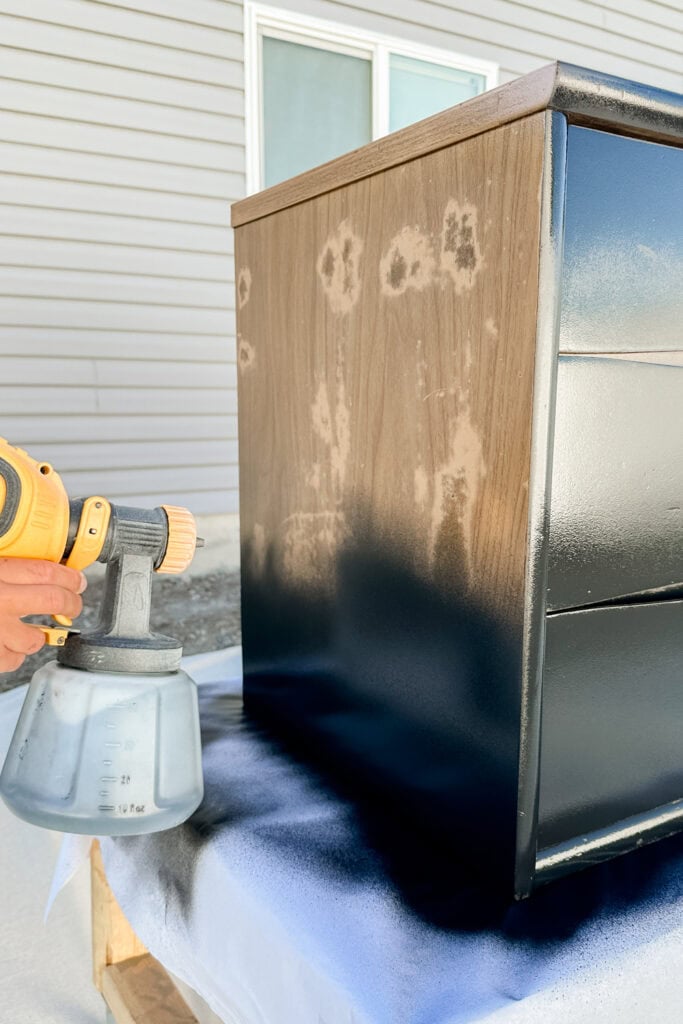
This black primer hides all that and gives you a consistent surface, so the dark paint looks rich and even everywhere. It’s such a good primer!
Watch this guide on our YouTube video below:
If you’ve ever had paint bubble or stain, it is not just you. And it’s not just your paint. Most of the time, it’s because of what your furniture is actually made of and how it reacts to the products you’re using.
That’s why I put together my Paint Furniture Like A Boss course that shows you how to prep, how to paint, and walks you through real life examples of what each material looks and feels like. So, even if you have never painted before, you’ll know exactly what you’re working with and how to handle it.
Learn the Art of Updating Furniture!
If painting furniture feels overwhelming or your past attempts didn’t go as planned, this course will guide you step by step.

Now this dressser is actually ready for a durable paint job that will last. It’s prepped the right way, and there is no bubbling, no peeling, and no bleedthrough.
If you want to see the full makeover of this dresser and how I turned this $50 dresser into something that looks like it came straight out of West Elm with a smooth, professional finish, then check out this post, can you really fix a broken dresser?
More Painting Furniture Tips
- No Sanding Furniture Paint Hack
- I Used the Wrong Paint on This End Table, Here Is What Worked Instead
- Painting Over Stained Wood
- How To Distress MDF Furniture And Plastic Furniture
Follow us on YouTube to get more tips for painting furniture. Or share your project with us on our Facebook Group and be part of our community. See you there!