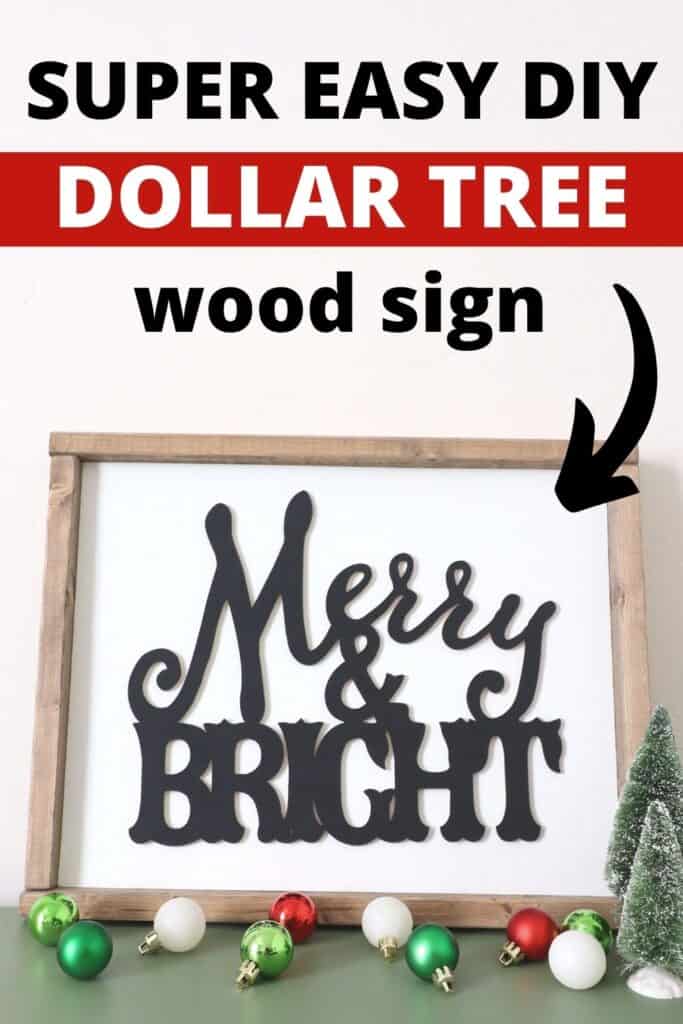
Merry and Bright Wooden Sign | Dollar Tree Christmas Decoration
Today I’m sharing a suuuper simple and CHEAP Christmas sign idea from the dollar store. Here’s how to make a Merry and Bright wooden sign for only a few dollars! This DIY farmhouse Christmas decor project is perfect for adding a rustic touch to your holiday home without breaking the bank.
If you’re like me, you love finding affordable ways to decorate your home especially for the holidays. So let me show you how to transform a basic wooden sign into a beautiful piece that will make your home feel warm and cozy. Let’s dive in!
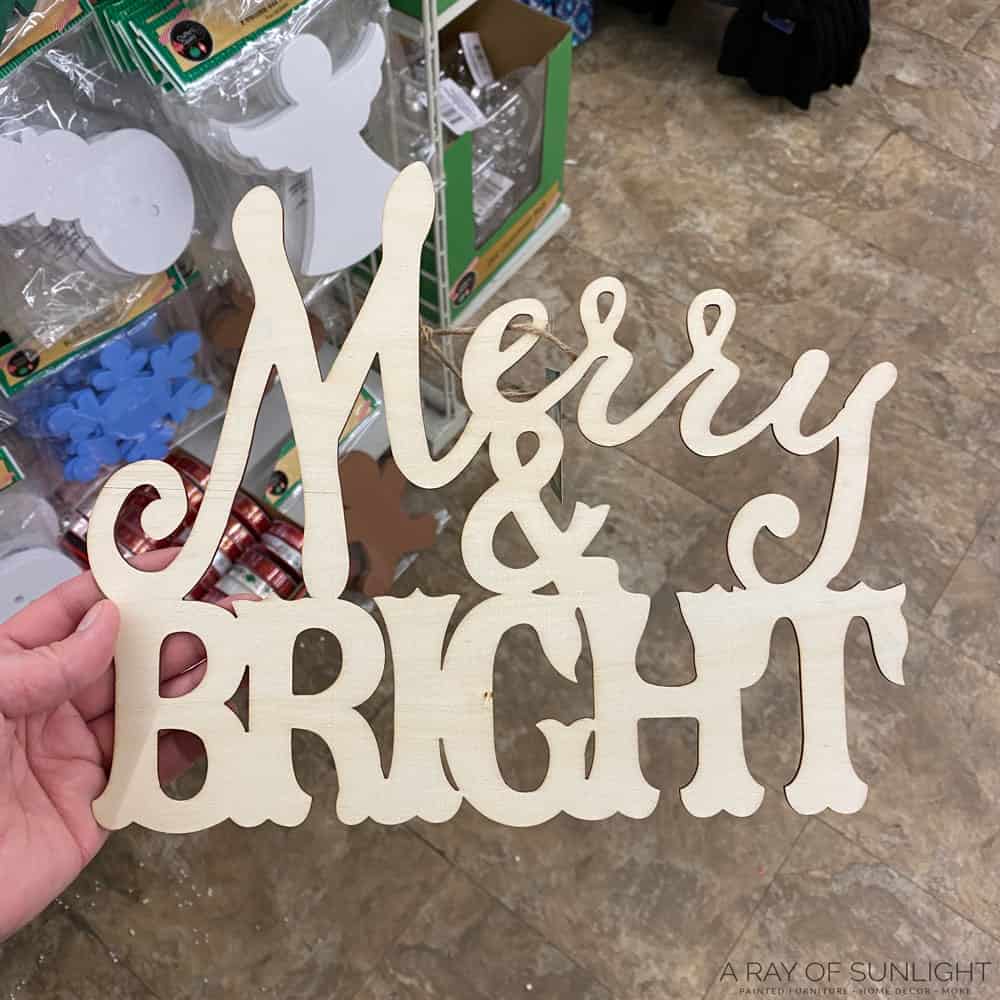
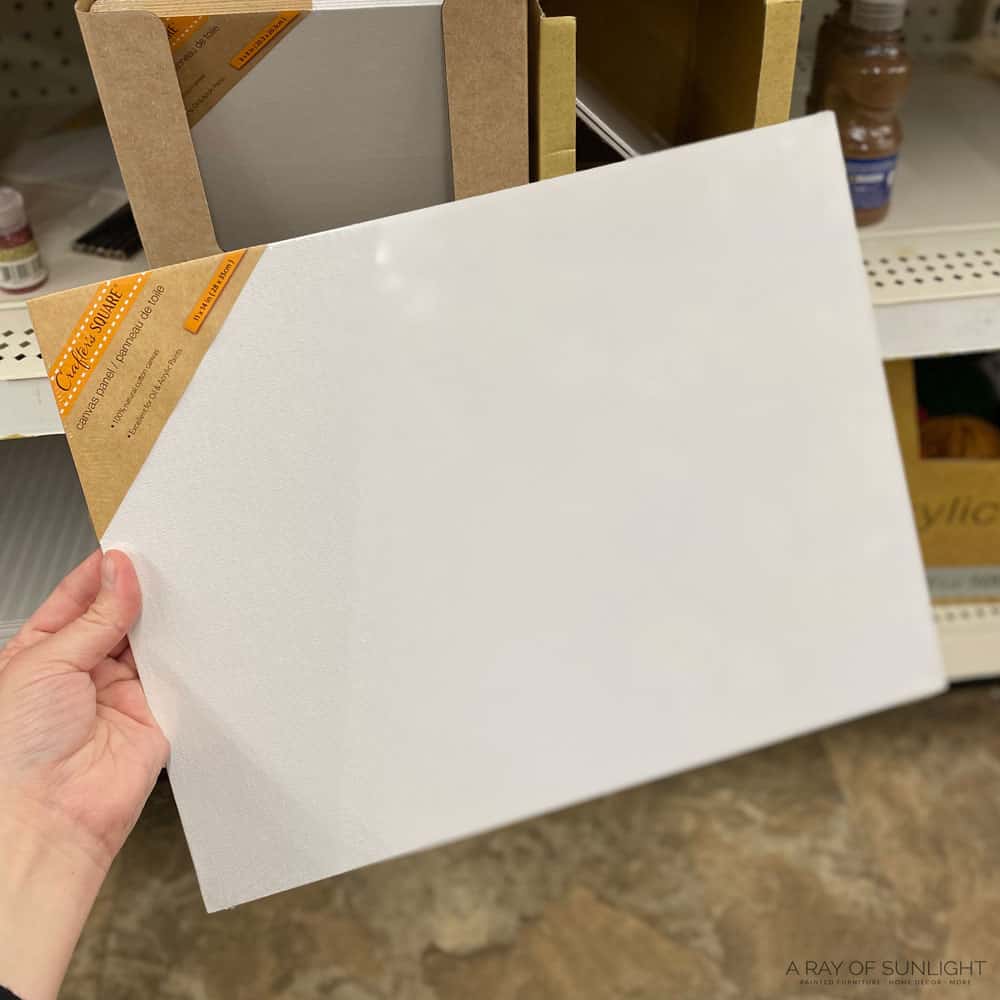
We recently went into the dollar store and found a couple of little wooden cutouts, including this Merry and Bright sign. I also found some 11” x 14” canvas panels that were perfect for a quick sign! I figured this combo would make for a nice little Christmas sign.

I love how quick this farmhouse sign was to put together, but even better, once you have the frame built, you can easily switch the canvas out for a new design! Build the frame once, use it for all different holidays!
With the hustle and bustle of the holiday season, it can be easy to overspend on decorations. But with this DIY project, you can already make a beautiful and festive addition to your home that you can reuse year after year, occasion after occasion.
Supplies Used for Merry and Bright Wooden Sign
As an Amazon Associate, I earn from qualifying purchases. I also may earn from other qualifying purchases with other companies or get free product to review and use. All opinions are my own.
- Merry and Bright Wooden Cutout
- 11″ x 14″ Canvas Panel
- (1) 1″ x 2″ x 8′ Furring Strip
- 220 Grit Sandpaper
- Paint / Stain for the Wooden Frame
- Brad Nailer and 1 1/4″ Brad Nails (Or hammer and small nails)
- Hot Glue
How to Make a DIY Farmhouse Sign Frame
We’ll start with assembling the wooden frame for our Merry and Bright sign. This would be the base for our Christmas sign decoration and would also serve as the frame for future designs. So let’s get started!
Cut Wood Frames
First, I cut out:
- 4 pieces that were 11” long
- 2 pieces that were 15 7/16” long.
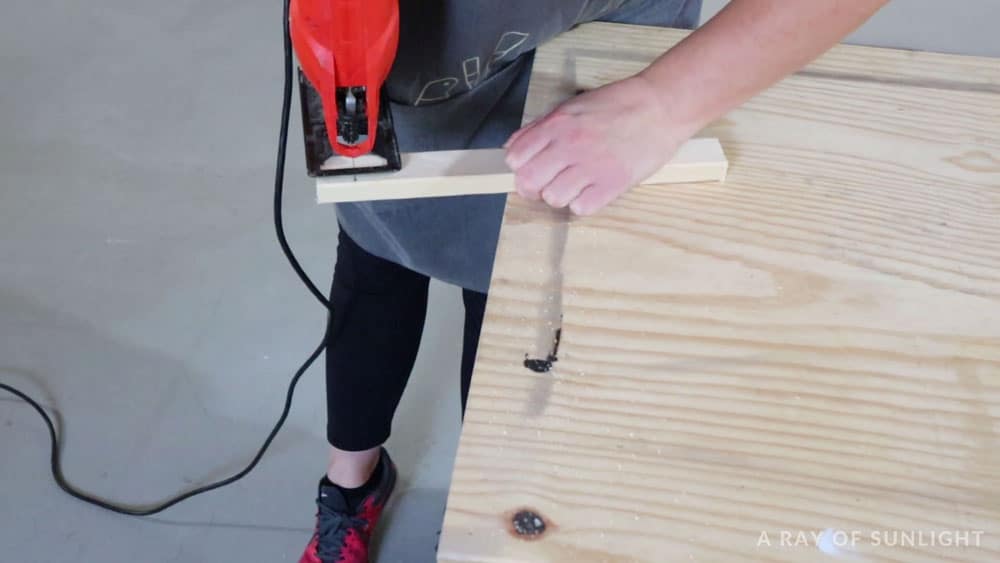
NOTE!! My furring strips were exactly 5/8” wide. Depending on how wide (the skinniest side) your furring strips are, may make the exact measurements you need to cut a little different. Remember, just because it says it is 1″ x 2″, doesn’t mean those are the exact measurements of the wood.
Sand Wood Frames Smooth
Then I used 220 grit sandpaper to sand the edges of the wood a little bit to remove the split ends and splinters. It’s tempting, but you definitely don’t want to skip this step! You don’t want anyone getting a splinter when they pick up your sign.
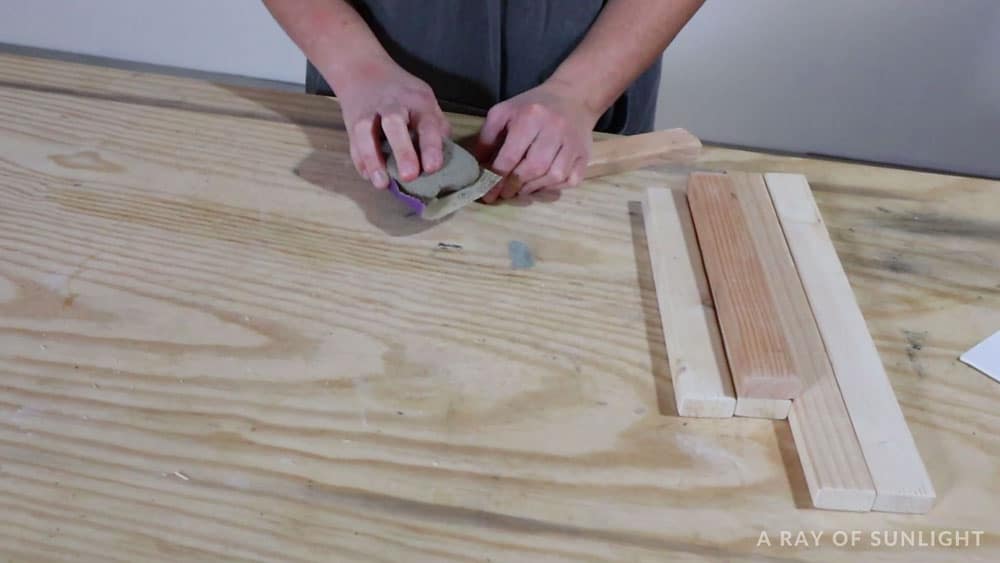
Plus, sanding will make the wood look much nicer and more polished. Again, no need to go crazy on the sanding – just a quick run over all the edges will do.
Stain Wood Frames
Then I removed all of the dust and stained the frames. I used a homemade water based stain made from brown latex paint and water so I didn’t have to worry about fumes or a long dry time.
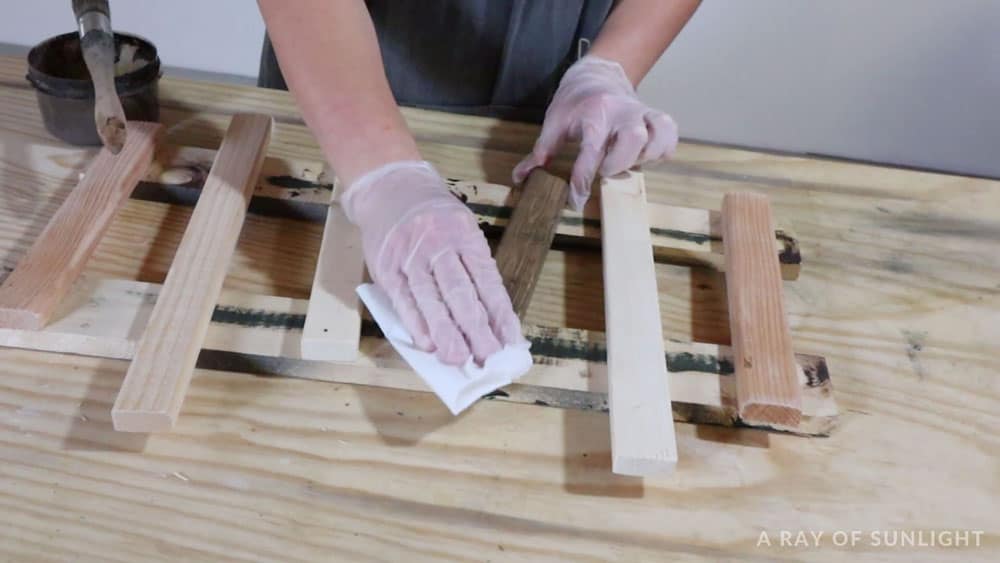
NOTE: You can make your own water based stain from water based paint and stain by mixing a small amount of paint with more water. Then mix it really well. It should be a really thin consistency.
Paint Merry and Bright Wood Sign
While I waited for the stain to dry, I painted the Merry and Bright wood cutout with some black paint. You can use any color you like, but I think black gives it a nice contrast against the wood frame. But you can go as colorful and bright as you want for this Christmas decoration!
Would you like to save this?
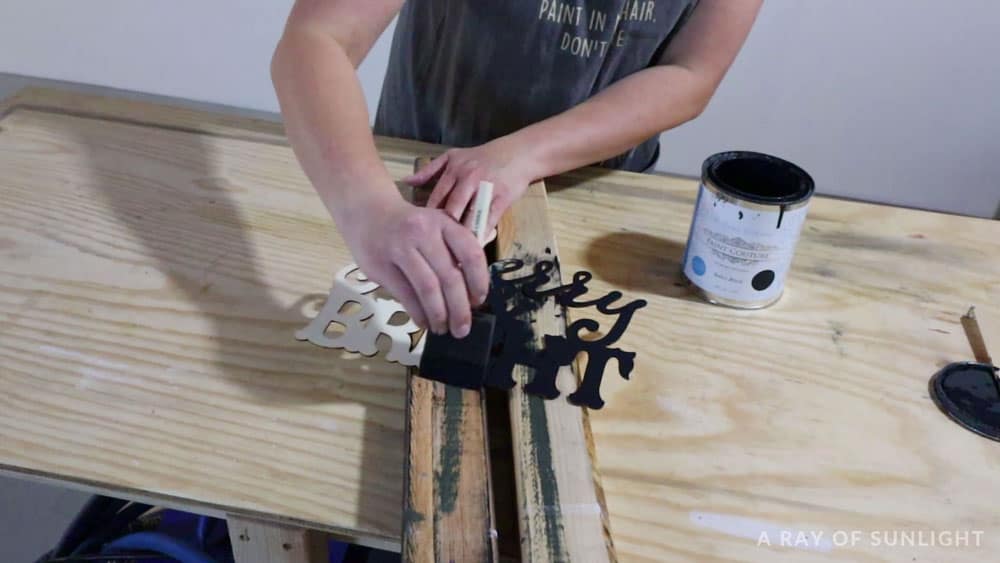
For some extra flair, you could even use glitter paint or metallic paint. Just make sure to let the paint dry completely before moving on to the next step so you don’t accidentally smudge and ruin it.
Nail Wood Frames Together
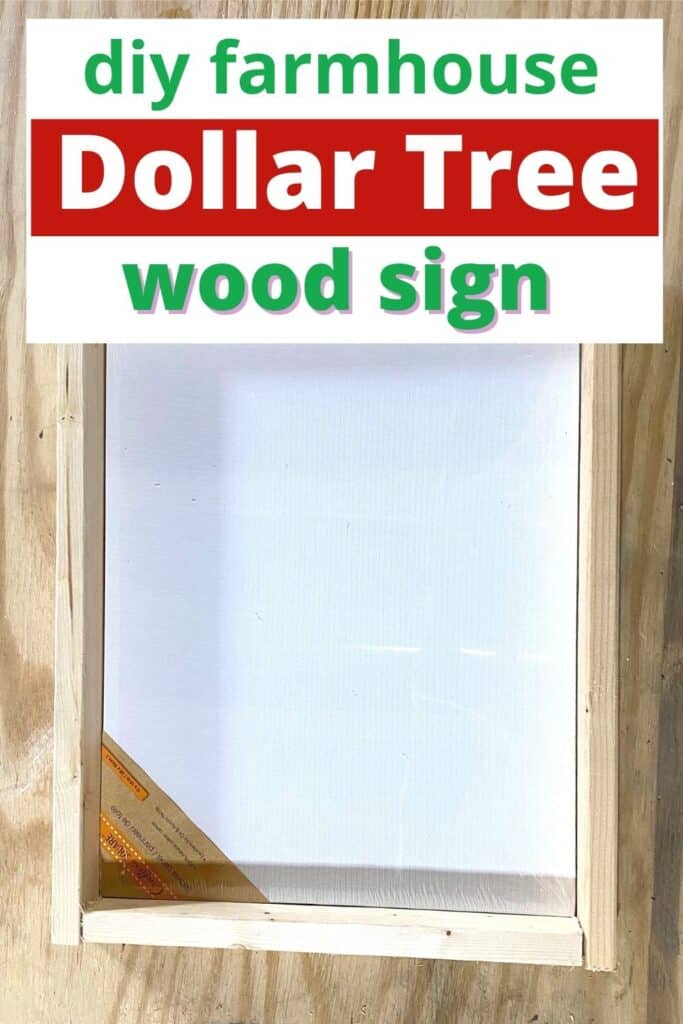
After the stain was dry, I nailed together my frame. I put the frame around the canvas panel to make sure that the frame would be square and that it would fit the canvas in it. Then I worked my way around the 4 sides and nailed the frame to itself.
A brad nailer is the easiest for this, but if you don’t have one, you can use little nails and a hammer! Using clamps to hold the frame together while you’re working would also make things even easier. Then I flipped it over and attached 2 of the 11” pieces on the back to support the canvas.
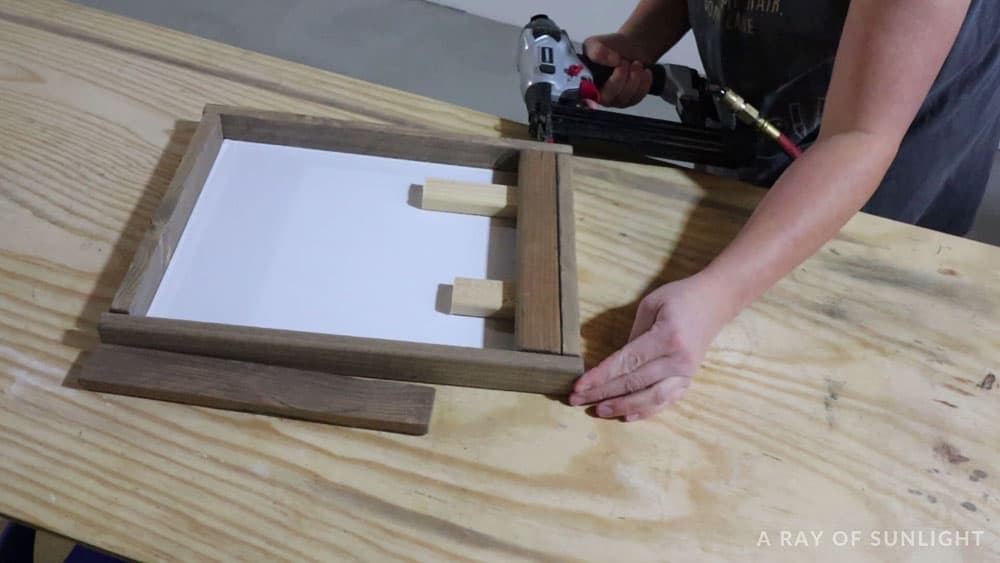
I used some scrap pieces of furring strips to make the supports line up with the edge of the frame, and then I nailed it together with a few more nails all over.
Glue Merry and Bright Cutout to Canvas Panel
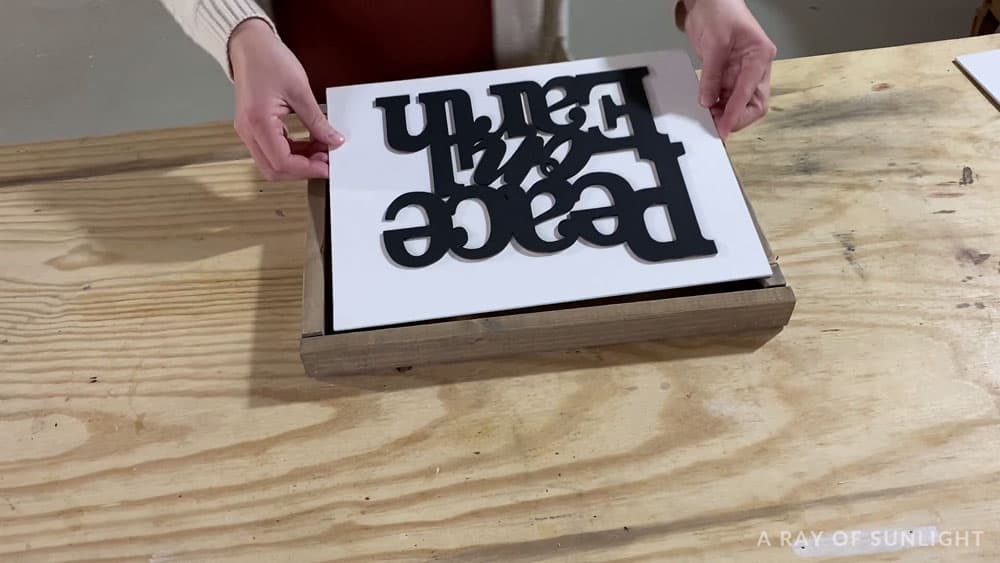
Once the frame was built, I pushed the canvas into place against the back braces. Then I placed the wood cut out where I wanted it and glued it down. I used hot glue, but it dried so fast so I had to work faster than I wanted to.

A glue like E6000 would be better for this! Just make sure to not use very much or it will squeeze out from under the wood cutout!

Watch this quick full video to see exactly how to make your own DIY farmhouse sign frame.
Enjoy your new Dollar Tree Merry Christmas Sign!
The best part about this sign is that I can easily swap out the canvas panel for something else, so you really only have to make the frame once, and then you can make a different sign for each season by switching out the panel!
There are also many cut-outs to choose from, like this DIY Believe Sign from Dollar Tree. Here are more DIY Dollar Tree Christmas signs and Dollar Tree Christmas signs that you can recreate with simple and affordable materials. This small Merry Christmas sign and this homemade wooden Christmas tree sign are beginner friendly and fun projects you can do, too!
You can also check out these best Christmas signs and wooden Christmas signs that you can easily get and use for your home decor this holiday season. If you want to brighten your home while incorporating your faith, here’s a list of Christian Christmas signs you should check out.
Pair up your signs with these rustic Christmas decor, creating a festive and inviting atmosphere for your holiday celebrations. Or put up some reindeer Christmas signs to spread joy and merriment throughout your home.
And we know decorations for Christmas can be a bit pricey so if you’re still looking for more budget friendly options, here are Dollar Tree Christmas decoration ideas. We also have this list of DIY Dollar Tree spring decor so you’re ready for this season!

Merry and Bright Wooden Sign | Dollar Tree Christmas Decoration
Make your own DIY Dollar Tree Merry Christmas sign, featuring a Merry and Bright sign you can add to your rustic holiday decor.
Materials
- Merry and Bright Wooden Cutout
- 11″ x 14″ Canvas Panel
- (1) 1″ x 2″ x 8′ Furring Strip
- 220 Grit Sandpaper
- Paint / Stain for the Wooden Frame
- 1 1/4″ Brad Nails (Or small nails)
- Hot Glue
Tools
- Brad Nailer (or hammer)
Instructions
- Cut the furring strips into 4 pieces that are 11 inches long and 2 pieces that are 15 7/16 inches long. These pieces create a rectangle frame and will be the base of our DIY farmhouse sign.
- Sand down all the edges and sides of the wooden pieces using a 220 grit sandpaper to avoid any splinters or rough spots. This will also help the paint or stain to adhere better.
- Stain the wooden frame using a homemade water based stain made from brown latex paint and water to create a beautiful rustic look. You can also use a pre made stain of your choice.
- Paint the Merry and Bright wooden cutout with black paint or any color of your choice. This will make it stand out against the wood frame and give a nice contrast.
- Once both the frame and cutout are dry, nail the frame together using a brad nailer or small nails and a hammer. Then flip it over and attach 2 11 inches long pieces of the on the back to support the canvas.
- Place the canvas panel into the frame and glue down the Merry and Bright cutout using hot glue or a strong adhesive like E6000. Make sure to work quickly before the glue dries.
- Your DIY Merry and Bright wooden sign is now complete and ready to be displayed as a festive Christmas decoration!
More DIY Decor Ideas
- DIY Faux Olive Tree Plant – How to
- DIY So I Can Kiss You Anytime I Want Sign
- Christ the Savior is Born – DIY Wooden Christmas sign
- Build Your Own Christmas Village
- DIY Farmhouse Christmas Wreath
Follow us on YouTube to get more tips for painting furniture. Or share your project with us on our Facebook Group and be part of our community. See you there!